A grape arbor is more than just a place to grow delicious grapes; it’s a destination, a place to unwind, and a focal point in your backyard. What if you could enhance its allure and functionality with a personalized pathway? Creating stepping stones is a delightful DIY project that adds a touch of character to your arbor, and using molds makes it surprisingly simple. This guide dives into the world of grape arbor stepping stone molds, helping you craft a unique walkway that reflects your style and complements your outdoor haven.
Picture this: You’re strolling through your grape arbor, the sun dappling through the leaves, and a charming pathway guiding your steps. Stepping stones are the perfect solution for creating a well-defined walkway that’s both beautiful and useful. They prevent muddy feet, define the space, and inject personality into your landscape. Plus, they’re a project you can tackle at your own pace, allowing for creativity and a sense of accomplishment. Using molds simplifies the process, making it accessible to beginners and experienced DIY enthusiasts alike. Let’s explore how you can make this vision a reality.
Choosing the Right Stepping Stone Mold: Shape, Size, and Material
Selecting the correct mold is the first, and perhaps the most enjoyable, step. The mold dictates the shape, size, and overall look of your stepping stones. Consider these factors:
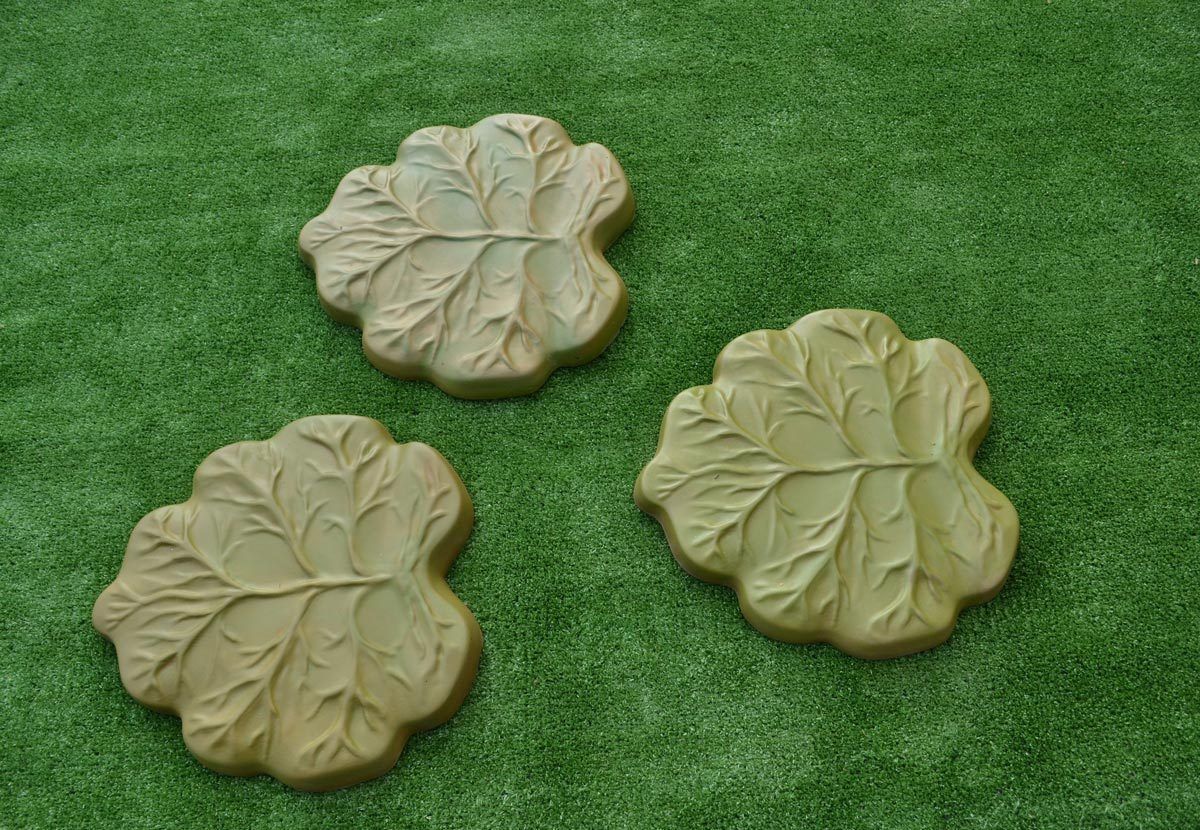
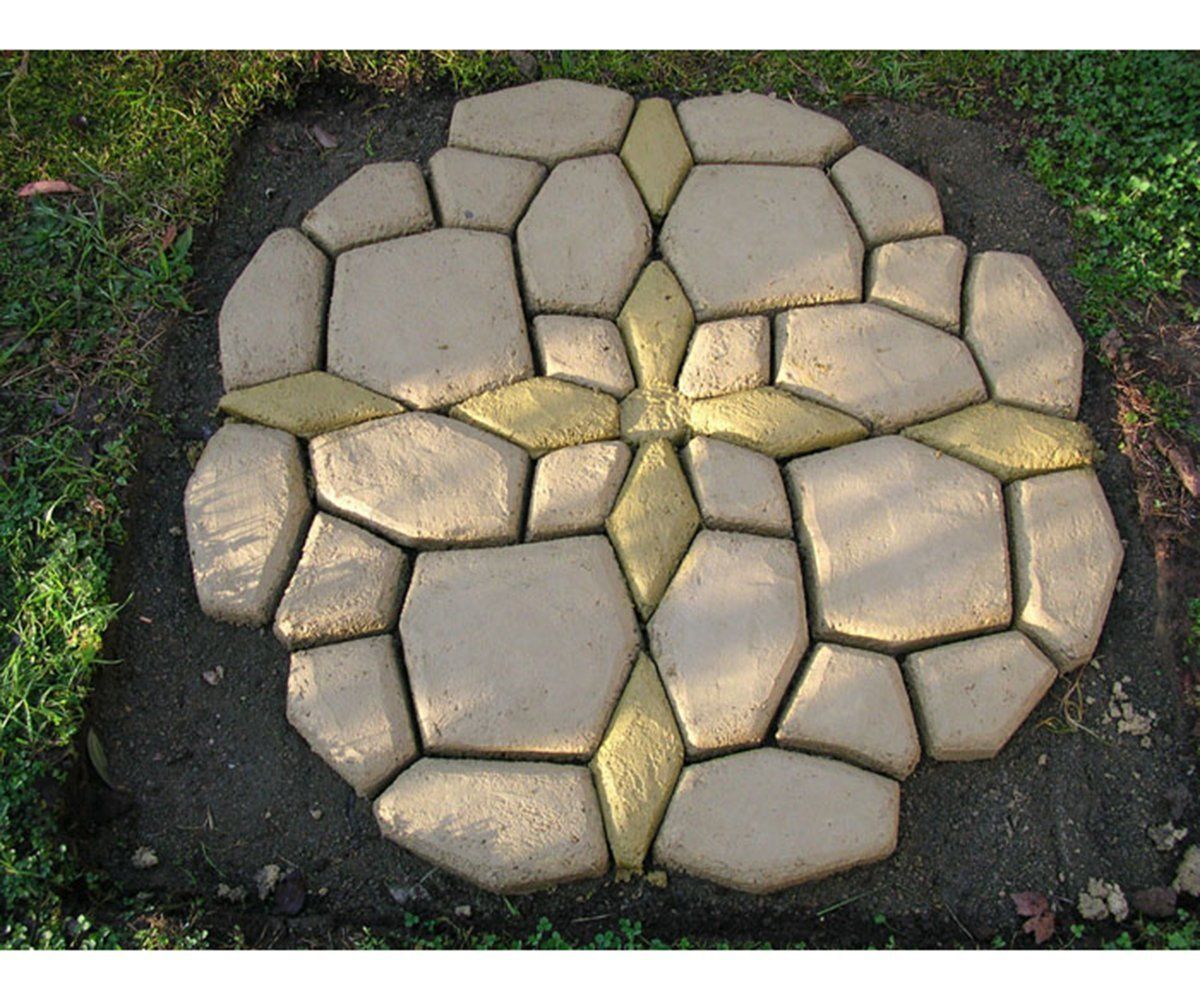
- Shape: Round, square, rectangular, or even uniquely shaped molds are available. Think about the aesthetic you want to achieve. Do you want a classic look, or something more whimsical?
- Size: The size should be proportional to your arbor and pathway. Smaller stones create a more intricate look; larger ones are faster to install. Consider the spacing between stones and how much room you have.
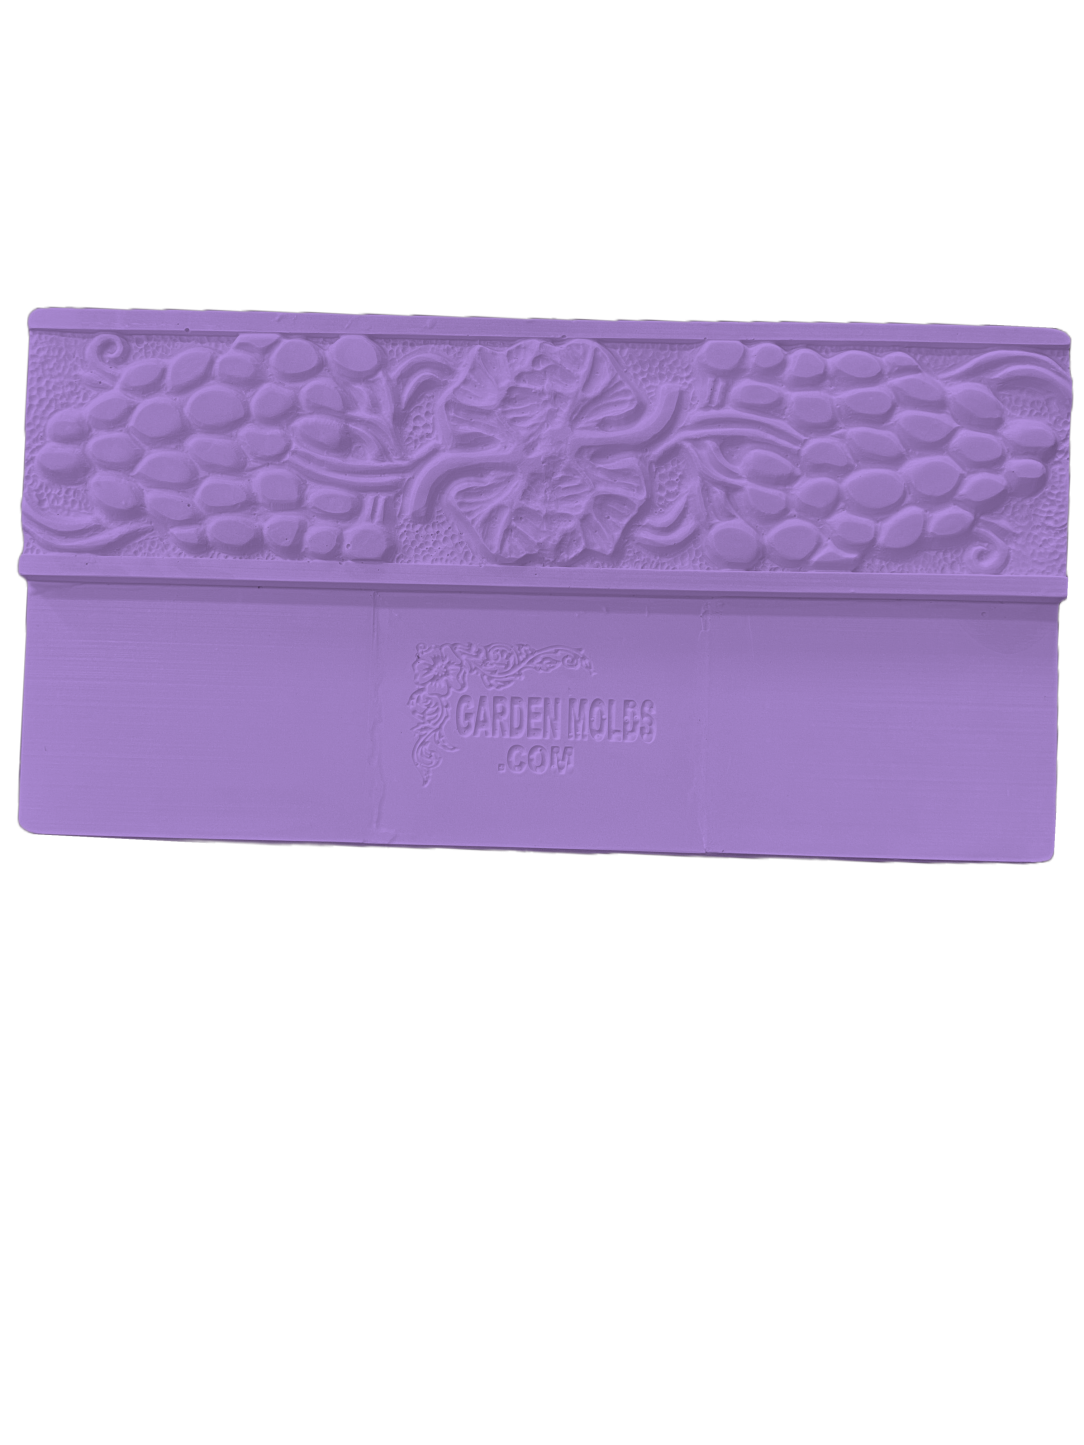
- Material: Molds come in various materials, including plastic, rubber, and even metal. Plastic molds are budget-friendly and easy to find, rubber molds offer more flexibility for removal and allow for detailed designs, and metal molds are very durable and can withstand frequent use. Choose a material that fits your budget and the number of stones you plan to make.
When selecting, consider the design. Do you want a simple, smooth stone, or a stone with a textured surface or imprinted design? The mold’s details will directly influence the final result. I usually advise new crafters to begin with a simple, sturdy plastic mold. It is easy to get the hang of it, and you can always upgrade later.
Materials You’ll Need: Gathering Your Supplies
Once you’ve chosen your molds, it’s time to gather your materials. Here’s a list of essentials:
- Concrete Mix: Pre-mixed concrete is the easiest option for beginners. Look for a mix specifically designed for outdoor use.
- Water: Follow the concrete mix instructions for the correct water-to-mix ratio.
- Mold Release Agent (Optional): This helps the concrete release from the mold easily. Cooking oil can sometimes work in a pinch, but dedicated mold release is preferable.
- Mixing Container and Trowel: Use a sturdy container for mixing the concrete and a trowel or shovel for mixing and pouring.
- Protective Gear: Gloves, safety glasses, and a dust mask are essential. Concrete can be irritating to the skin and eyes.
- Additives (Optional): Consider adding color pigments, pebbles, or other decorative elements to the concrete mix to customize your stones. Remember to follow the manufacturer’s instructions for adding additives.
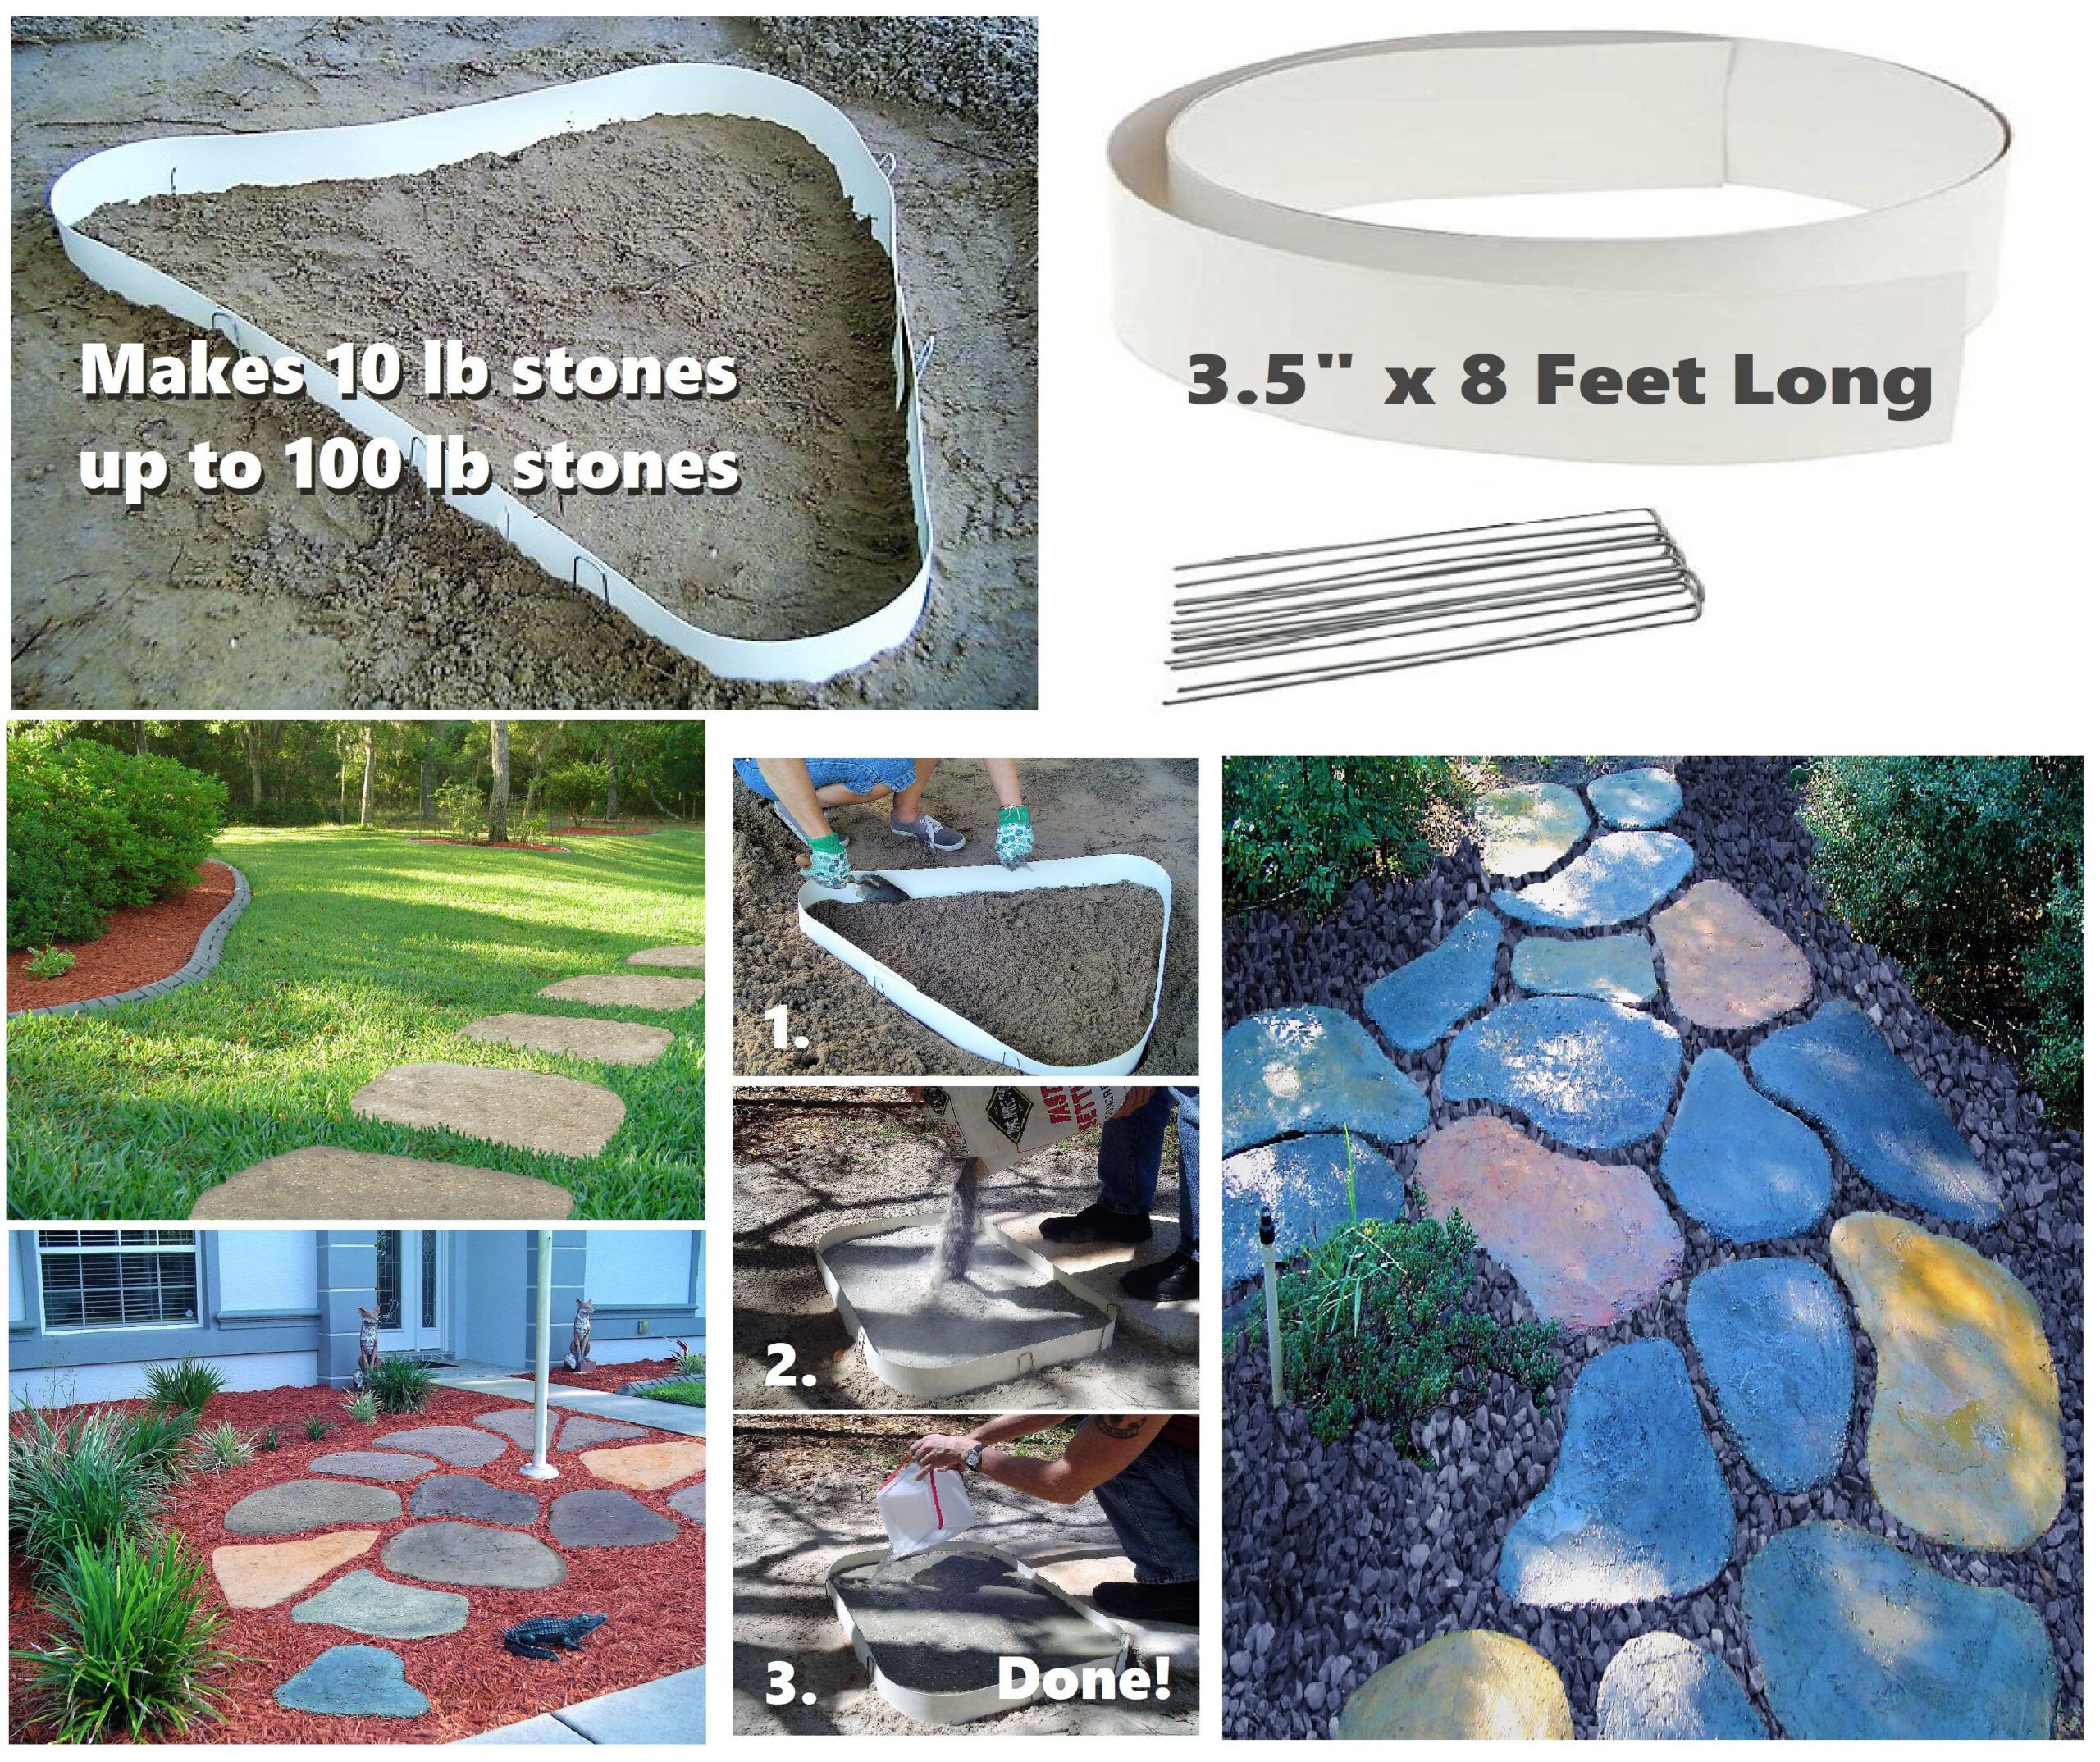
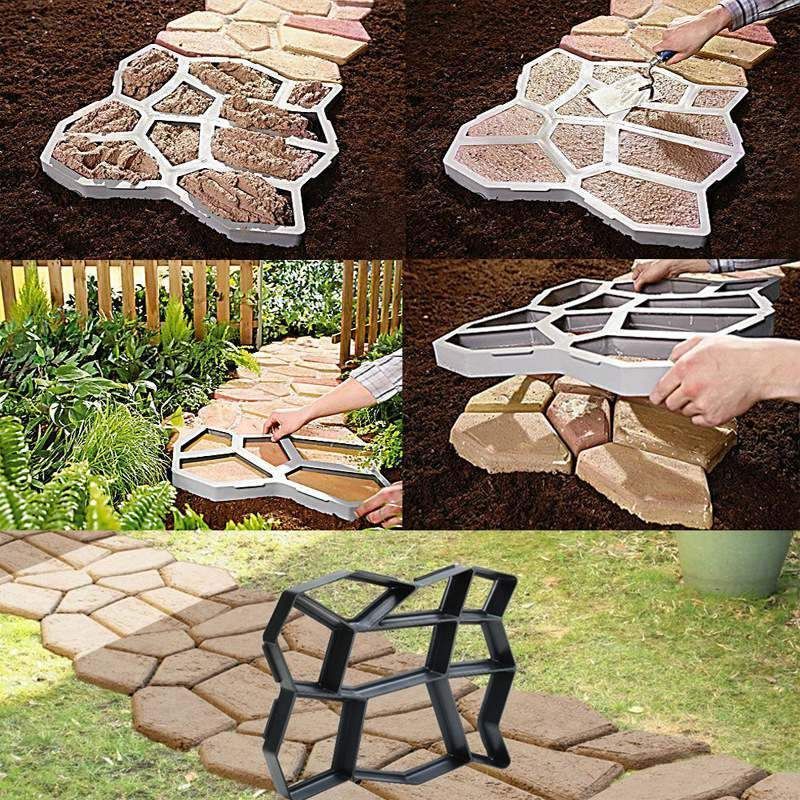
The Step-by-Step Guide: Creating Your Stepping Stones
Now, let’s get our hands dirty! Here’s a simple guide to creating your stepping stones:
- Prepare the Mold: Clean your mold thoroughly and apply mold release agent if using. This step will help the stones slide out smoothly.
- Mix the Concrete: In your mixing container, combine the concrete mix and water according to the manufacturer’s instructions. Mix well until you get a smooth, consistent consistency. Avoid over-mixing, which can weaken the concrete.
- Pour the Concrete: Carefully pour the concrete mix into your mold. Tap the mold gently to release any air bubbles.
- Add Embellishments (Optional): If you want to add decorative elements, gently press them into the concrete while it is still wet.
- Cure the Concrete: Cover the mold with plastic sheeting to retain moisture. Allow the concrete to cure for the time specified by the manufacturer, usually several days. Keep the stones moist during this time. This is crucial for strength and durability.
- Remove the Stones: Carefully turn the mold over and gently tap to release the stepping stone. If it doesn’t come out easily, try a rubber mallet or a bit more patience.
- Cure (again): Let the stepping stones cure for a longer period after removing them from the mold. This will further strengthen the concrete. A week or two is usually ideal.
Tip: If you’re using a textured mold, make sure to tap the mold firmly after pouring to ensure the concrete fills all the details.
Adding Color and Texture: Customizing Your Creations
One of the best things about creating stepping stones is the opportunity to personalize them. Here are some ideas for adding color and texture:
- Color Pigments: Mix concrete color pigments directly into the concrete mix before pouring. Experiment with different shades to match your arbor’s aesthetic.
- Staining: After the stones have cured, you can stain them with concrete stains for a more subtle color effect.
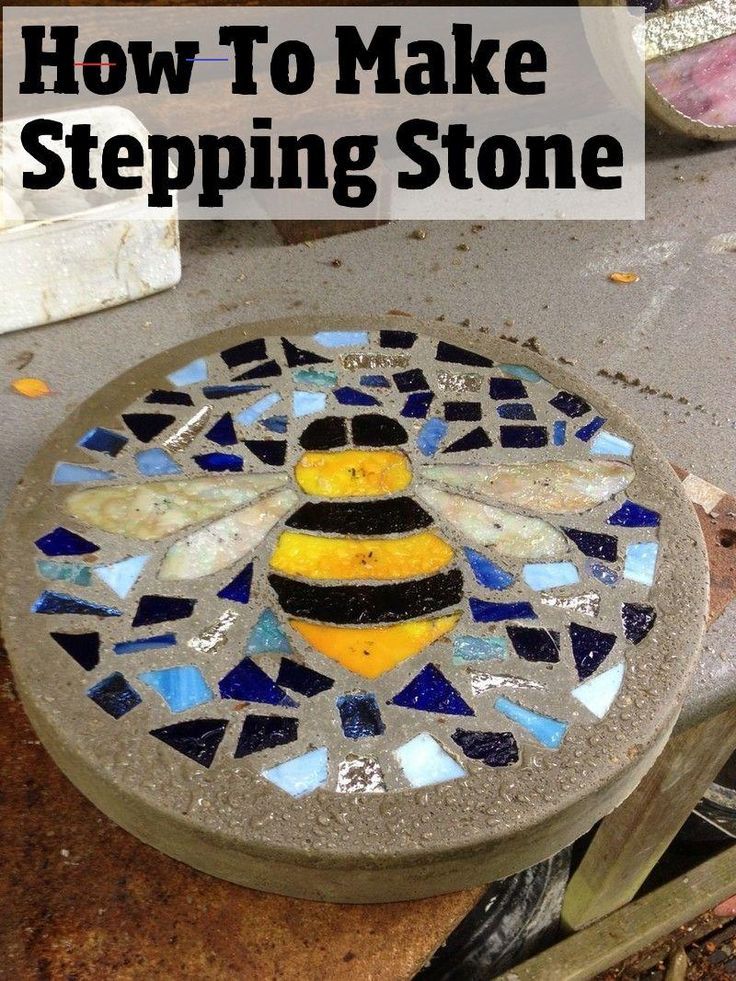
- Exposed Aggregate: While the concrete is still wet, sprinkle pebbles, glass beads, or other decorative aggregates onto the surface. Gently press them into the concrete. Once the concrete cures, you can brush away any excess cement to reveal the aggregate.
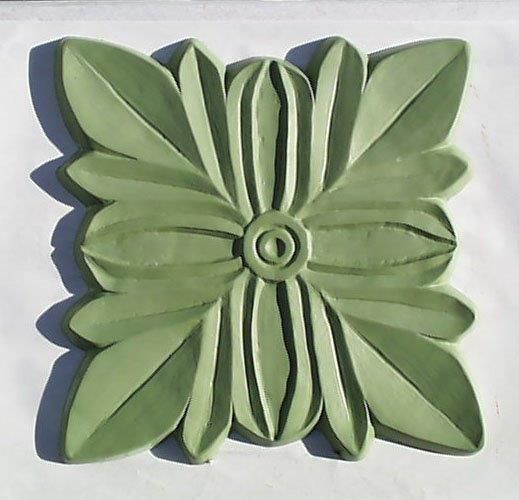
- Imprints: Use leaves, stencils, or even your own handprints to create unique designs. Press the item into the wet concrete and remove it carefully before the concrete sets.
- Textured Molds: Use molds with textured surfaces to create interesting patterns on your stepping stones.
Installation and Placement: Bringing Your Pathway to Life
Once your stepping stones have fully cured, it’s time to install them. Here’s how:
- Plan Your Pathway: Before you start digging, plan the layout of your pathway. Consider the spacing between the stones and the overall design.
- Prepare the Ground: Dig out the area where you’ll be placing the stones. The depth should be enough to bury the stones slightly below the soil surface. This will make them more stable and prevent them from shifting.
- Add a Base: Add a layer of gravel or crushed stone to the bottom of the trench for drainage and stability.
- Place the Stones: Carefully place the stepping stones in the prepared area, ensuring they are level. You can use a level to check their position.
- Fill the Gaps: Fill the gaps between the stones with mulch, gravel, grass, or other ground cover. This completes the look and helps with drainage.
Tip: Consider creating a slight slope in your pathway to aid with water runoff.
Troubleshooting and Maintenance: Keeping Your Pathway Beautiful
Even the best-laid plans can run into a few snags. Here’s how to handle common problems:
- Cracking: Cracks can happen. Ensure you used the correct water-to-concrete ratio. If cracking occurs, you can sometimes repair it with concrete crack filler.
- Uneven Stones: If your stones are uneven, you can adjust them by adding or removing soil beneath them.
- Fading Color: Over time, the color of your stepping stones may fade. You can re-stain them or apply a concrete sealer to protect the color.
- Weeds: Prevent weeds from growing between the stones by using landscape fabric or applying a weed killer.
Regular maintenance includes cleaning your stones with water and a mild detergent and removing any debris that accumulates. With proper care, your stepping stones will provide years of enjoyment.
Crafting stepping stones for your grape arbor is a rewarding project that blends creativity, functionality, and a touch of outdoor magic. From choosing the right mold to installing the finished stones, the process is an adventure in itself. The best part? Each stepping stone you create is a testament to your vision and a unique contribution to your personal paradise. So, gather your materials, unleash your creativity, and begin the journey of transforming your grape arbor into an even more enchanting space. You’ll be amazed by the results and the satisfaction of a job well done. Happy crafting, and enjoy the path you create.