Hello, fellow crafters and garden lovers. Ever wanted to add a touch of whimsy and artistry to your outdoor space? Well, you’re in the right place. Today, we’re going to dive headfirst into the delightful world of hummingbird stepping stones, perfect for a charming pathway or a little splash of color in your flowerbeds. This guide is tailored for beginners, so don’t worry if you’ve never worked with concrete before. We’ll go through every step, making it easy and fun.
Hummingbirds, with their vibrant colors and energetic flight, symbolize joy, resilience, and the beauty of nature. What better way to celebrate these tiny wonders than by creating stepping stones in their image? These stones are not only beautiful but also incredibly practical. They provide a safe and attractive pathway through your garden, while also giving you a chance to express your creativity. Plus, making them is a fantastic way to de-stress and connect with your artistic side. Trust me, there’s a real sense of satisfaction in crafting something with your own two hands and then seeing it used and admired. And, and it’s far more rewarding than just buying something. Let’s get started on this fun project.
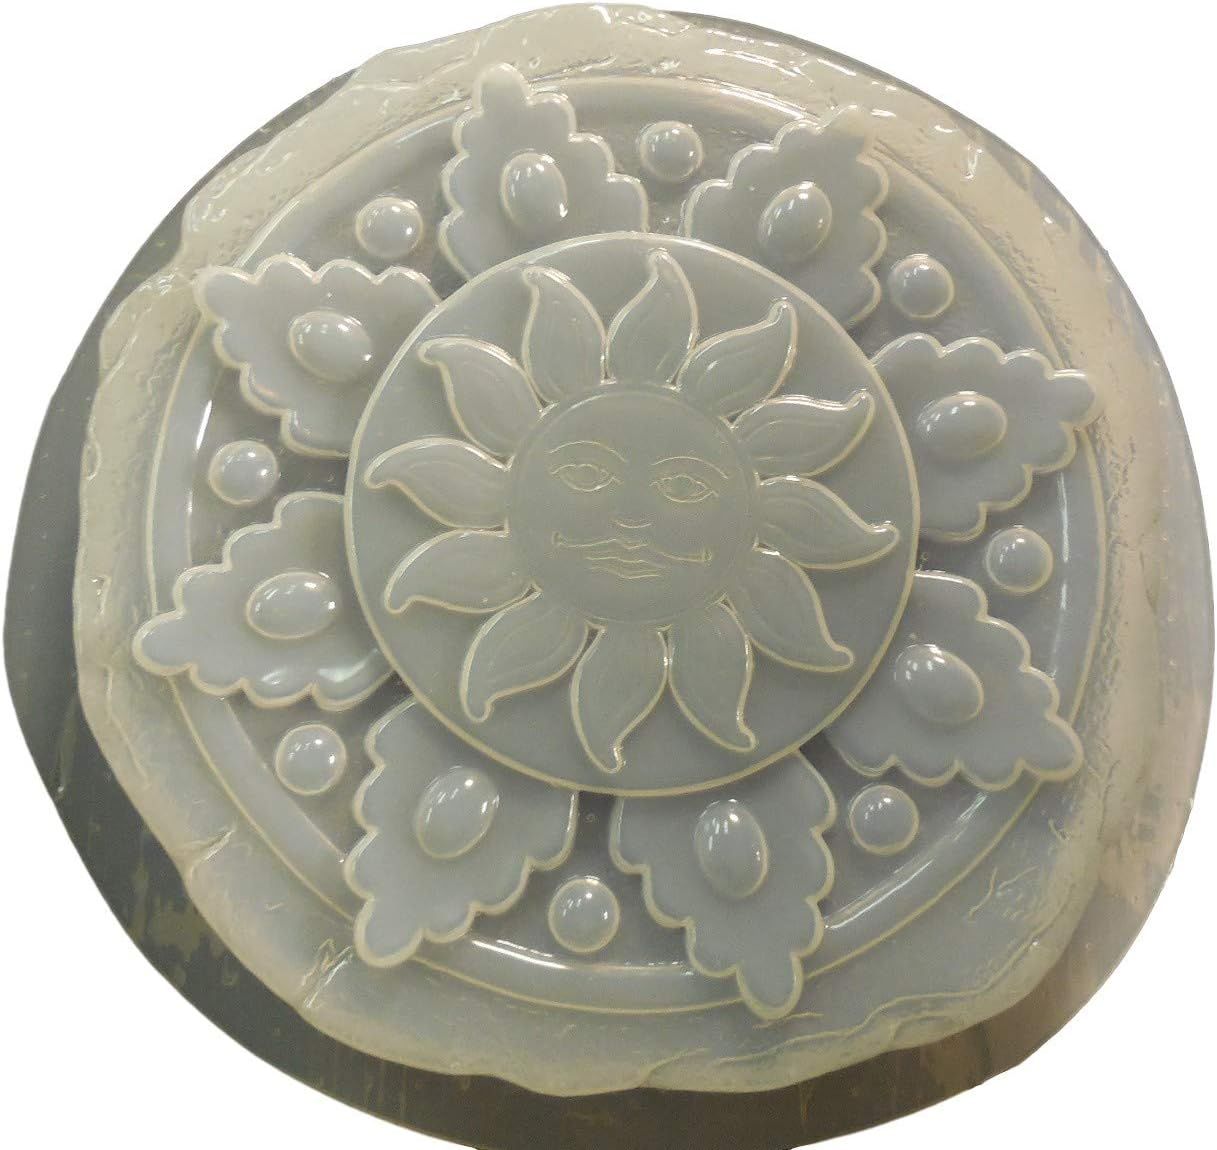
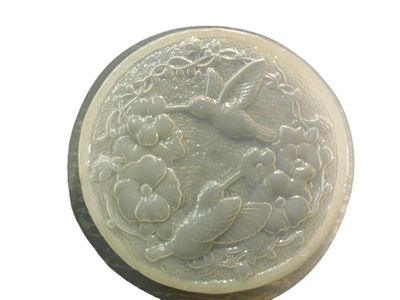
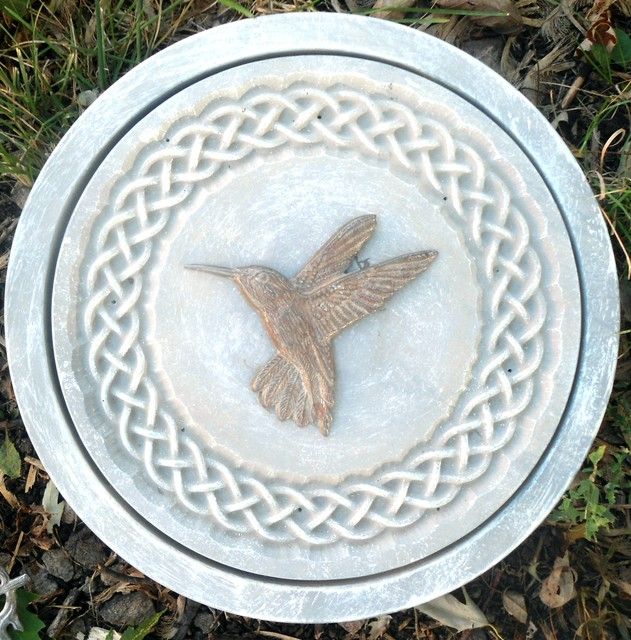
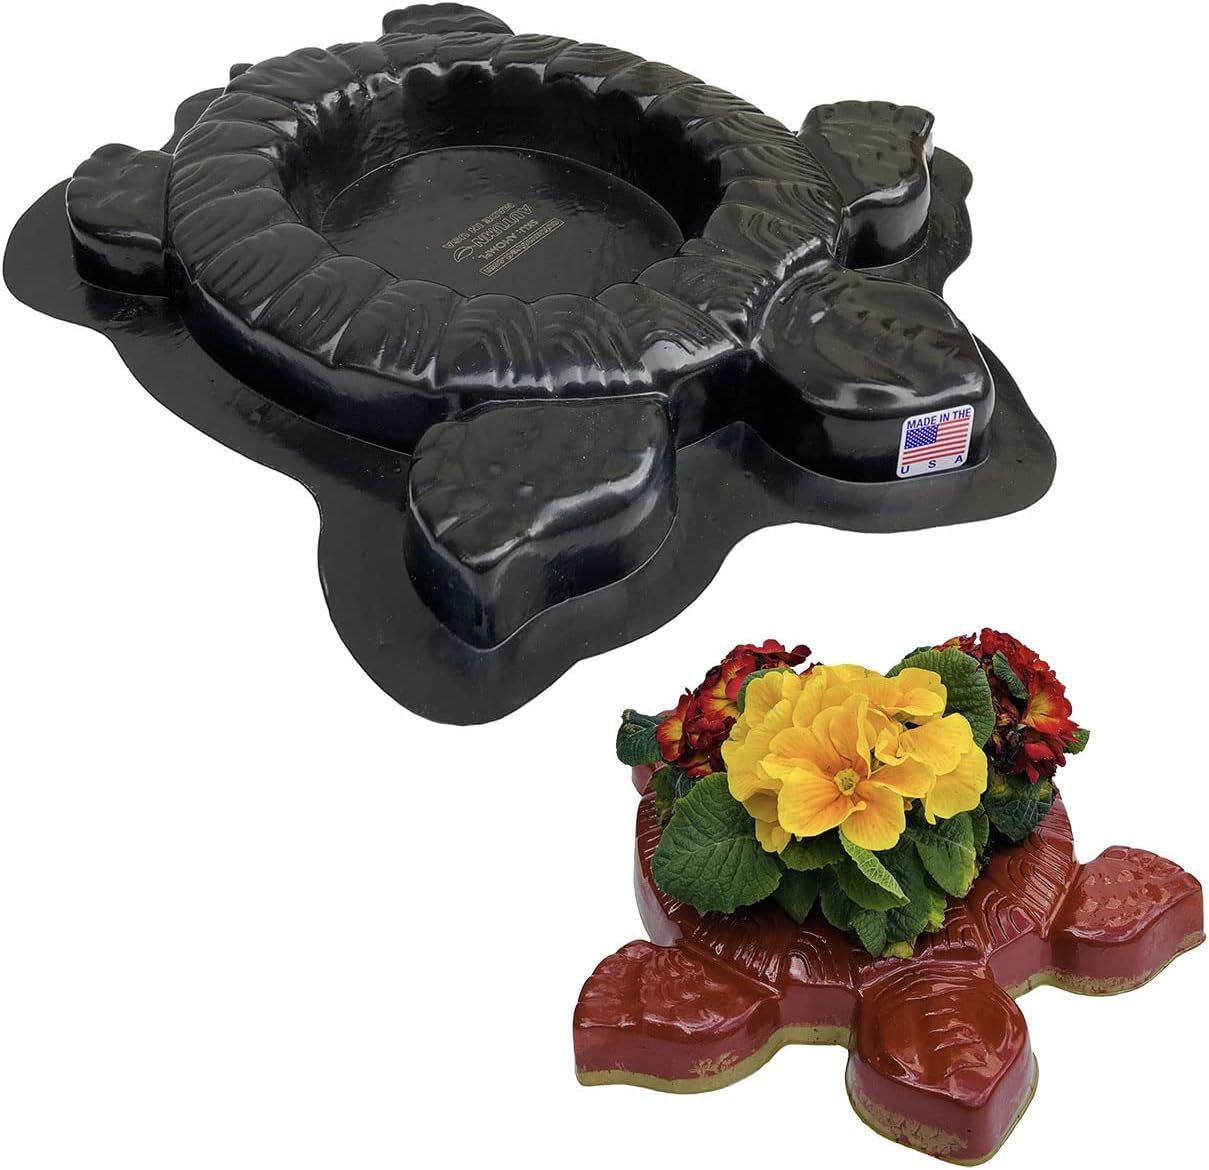
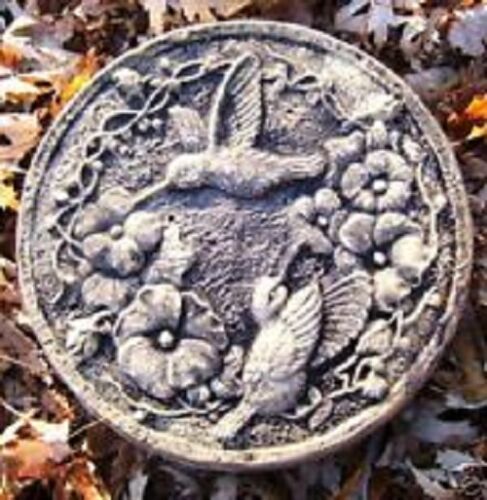
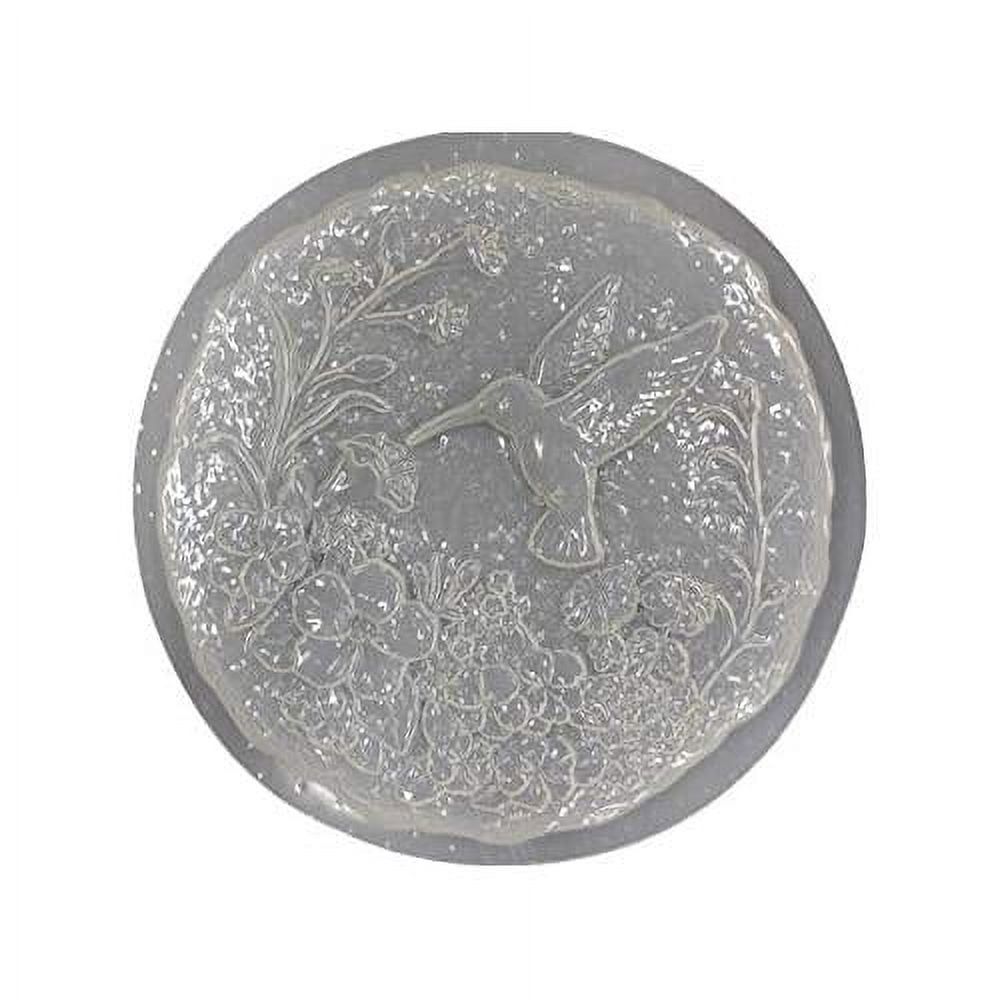
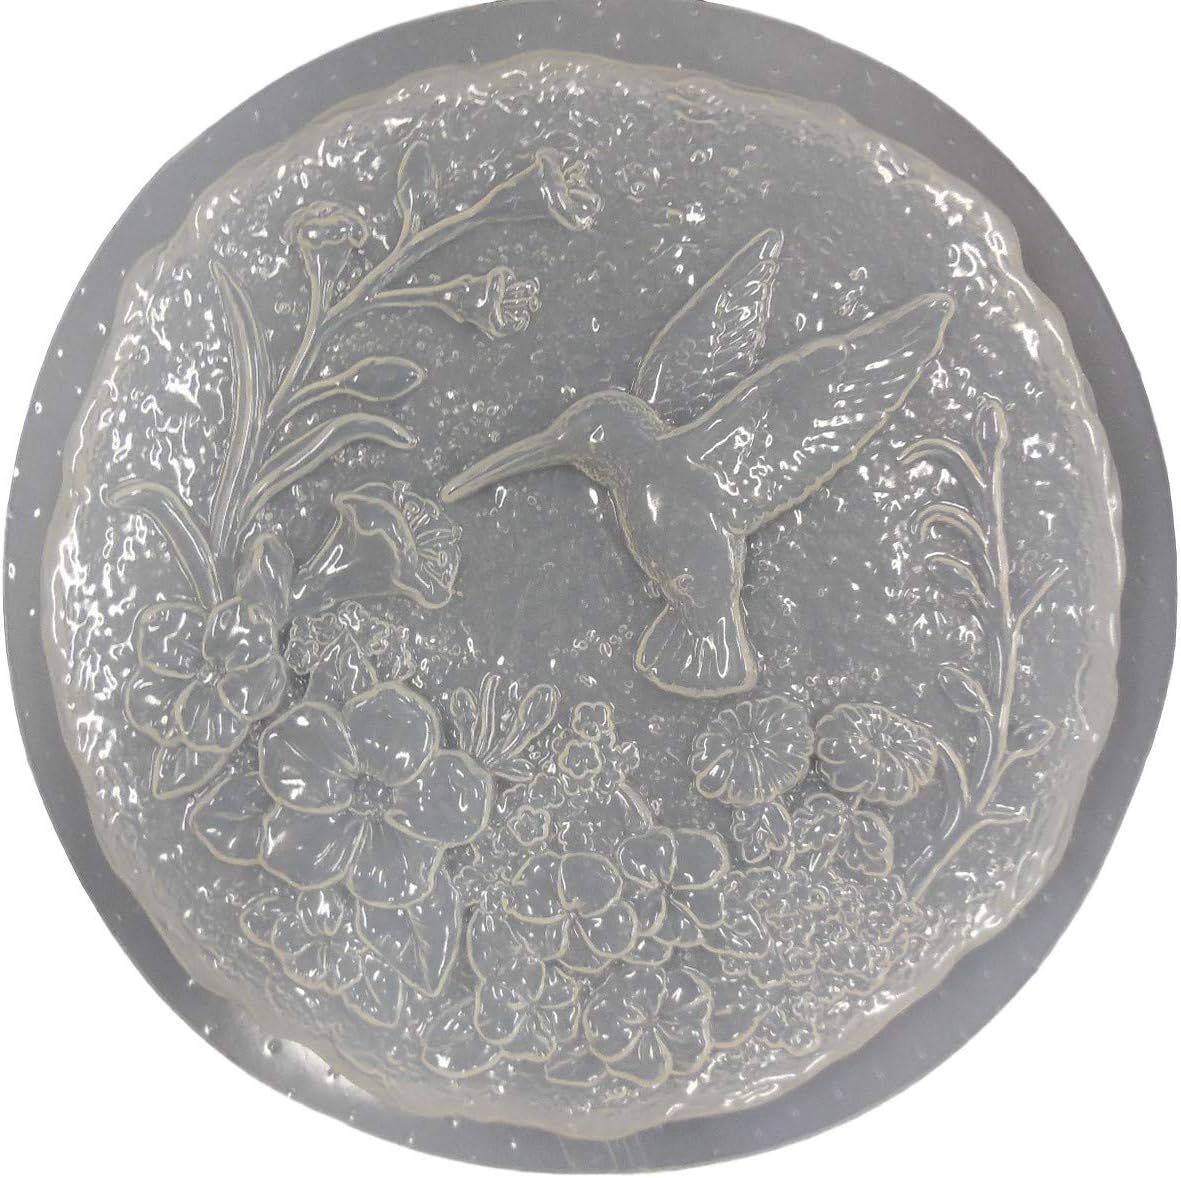
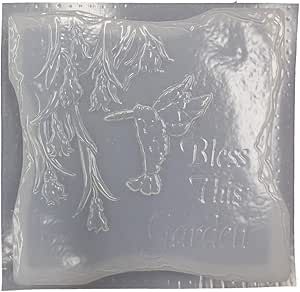
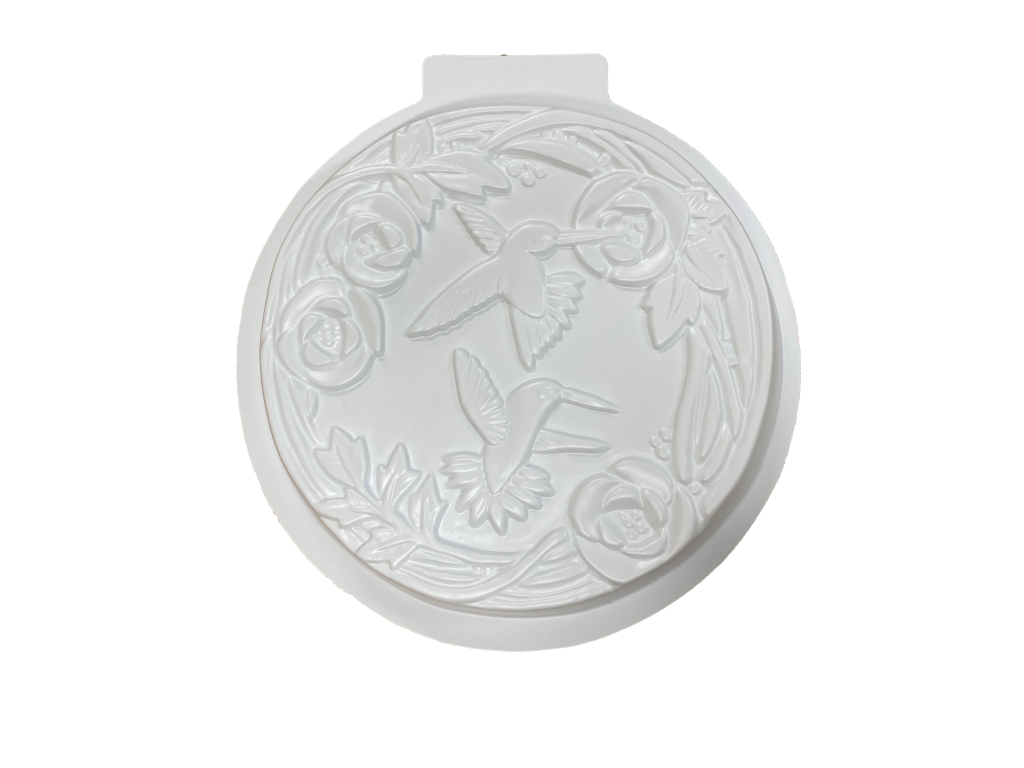
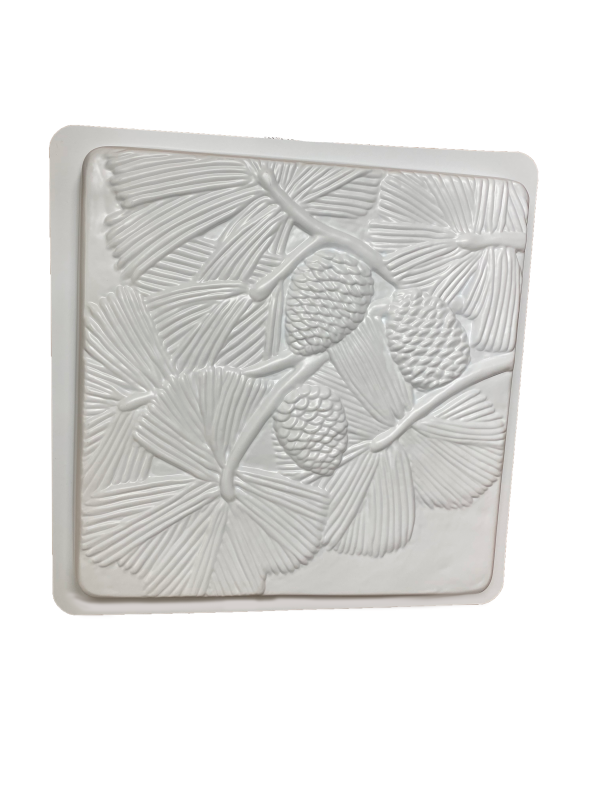
Choosing Your Hummingbird Stepping Stone Mold
The first and most important step is selecting the right mold. Luckily, there’s a vast array of options available. You can find molds in various shapes, sizes, and designs, from simple outlines to intricate hummingbird and flower combinations.
- Material: Most molds are made from plastic or rubber. Rubber molds tend to be more flexible, making it easier to remove the finished stepping stone. Plastic molds are often more rigid and can be a bit more affordable. The chioce is up to you.
- Size and Shape: Consider the size of your garden and the desired look. Smaller, rounder stones are great for a more informal, whimsical feel, while larger, square or rectangular stones create a more structured pathway. Think about how many you’ll need and the overall design you want to achieve.
- Design: Do you want a simple hummingbird silhouette, or would you prefer a design that incorporates flowers and leaves? Some molds even have textured surfaces, allowing for really detailed results. Look for designs that appeal to your personal taste and complement your garden’s aesthetic.
When choosing your mold, keep in mind that quality matters. A sturdy mold will last longer and produce better-looking stepping stones. Read reviews and compare options before making your final decision. Don’t be afraid to experiment with different designs.
Gathering Your Materials
Once you’ve selected your mold, it’s time to gather everything else you’ll need. Here’s a list of the essential materials:
- Concrete Mix: Look for a pre-mixed concrete specifically designed for stepping stones. This will typically include cement, sand, and aggregate. You can find these at your local hardware store. Quick-setting concrete can be tempting, but it can also be a bit trickier to work with for beginners, so a slower-setting mix might be a better choice.
- Water: You’ll need water to mix with the concrete. Follow the instructions on your concrete mix packaging for the correct water-to-concrete ratio. Overwatering can weaken the finished stone, so be careful.
- Mixing Container: A sturdy bucket or tub is perfect for mixing the concrete. Make sure it’s big enough to comfortably hold your concrete mix and water.
- Mixing Tool: A trowel, a sturdy stick, or even a small garden hoe will work for mixing. The goal is to thoroughly combine the concrete and water.
- Protective Gear: Safety first. Wear gloves to protect your hands from the concrete, and consider safety glasses to shield your eyes from any splashes. A dust mask can also be helpful when mixing the dry concrete.
- Optional Materials:
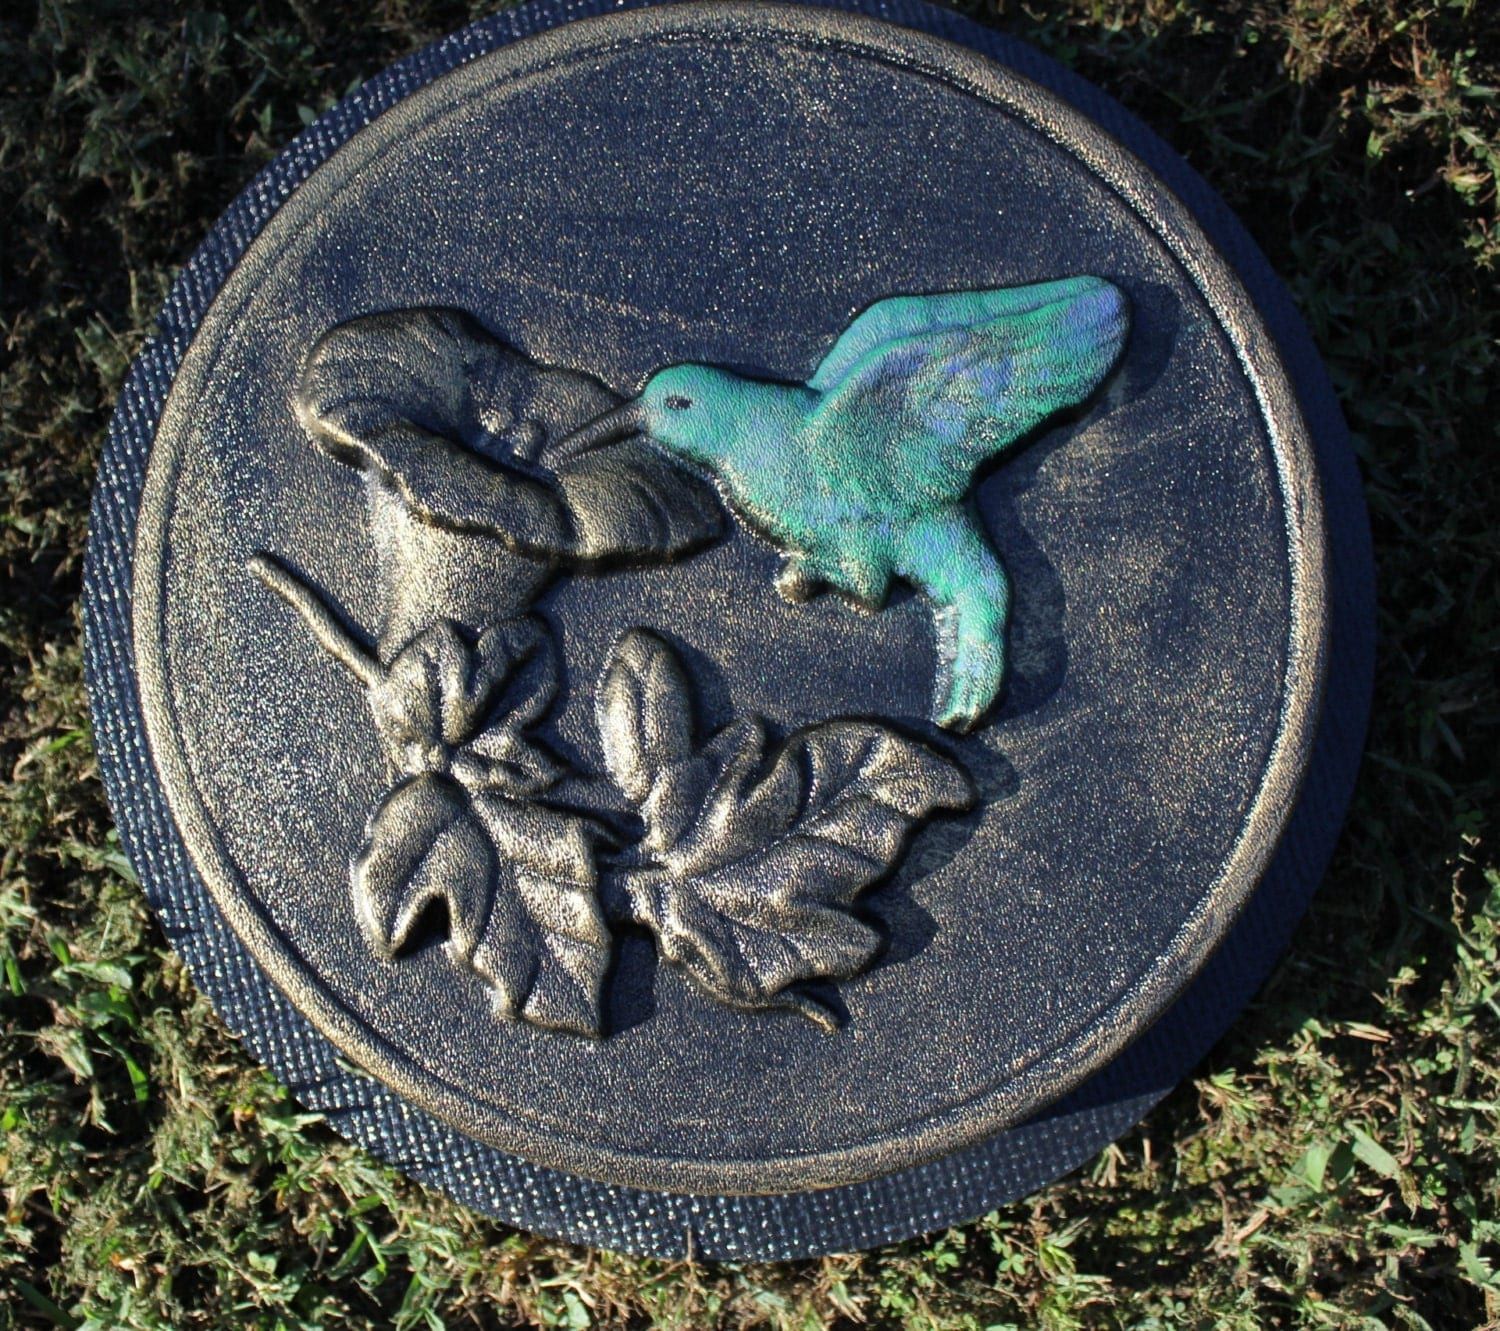
- Colorants: Concrete dyes or pigments can add color to your stepping stones. These are usually added to the concrete mix before pouring.
- Decorative Elements: Glass beads, mosaic tiles, small stones, or even shells can be pressed into the wet concrete to add visual interest. The possibilities are endless.
- Sealer: A concrete sealer will protect your stepping stones from the elements and help them last longer.
Mixing the Concrete and Pouring into the Mold
Now comes the fun part – actually making the stepping stone. Here’s a step-by-step guide:
- Prepare the Mold: Place your mold on a flat, level surface. This will ensure that your stepping stone has a nice, even base. Lightly spray the mold with a mold release agent (or even a little bit of cooking spray) to make it easier to remove the finished stone. This step isn’t strictly necessary, but it can make your life a whole lot easier later on.
- Mix the Concrete: In your mixing container, pour in the concrete mix. Gradually add water, following the instructions on the package. Mix thoroughly until you achieve a thick, creamy consistency. You want it to be like a thick milkshake, not too runny or too dry. If you’re adding colorants, mix them in now, making sure the color is evenly distributed.
- Pour the Concrete: Slowly pour the concrete mixture into the mold. Fill it to the top, and then gently tap the sides of the mold to release any air bubbles. Air bubbles can weaken the stone and create unsightly holes on the surface.
- Add Decorations (Optional): If you’re using decorative elements, carefully press them into the wet concrete. Arrange them as desired. Don’t push them in too deep, or they might sink to the bottom.
- Smooth the Surface: Use your trowel or a flat tool to smooth the surface of the concrete, removing any excess mixture and ensuring a level finish.
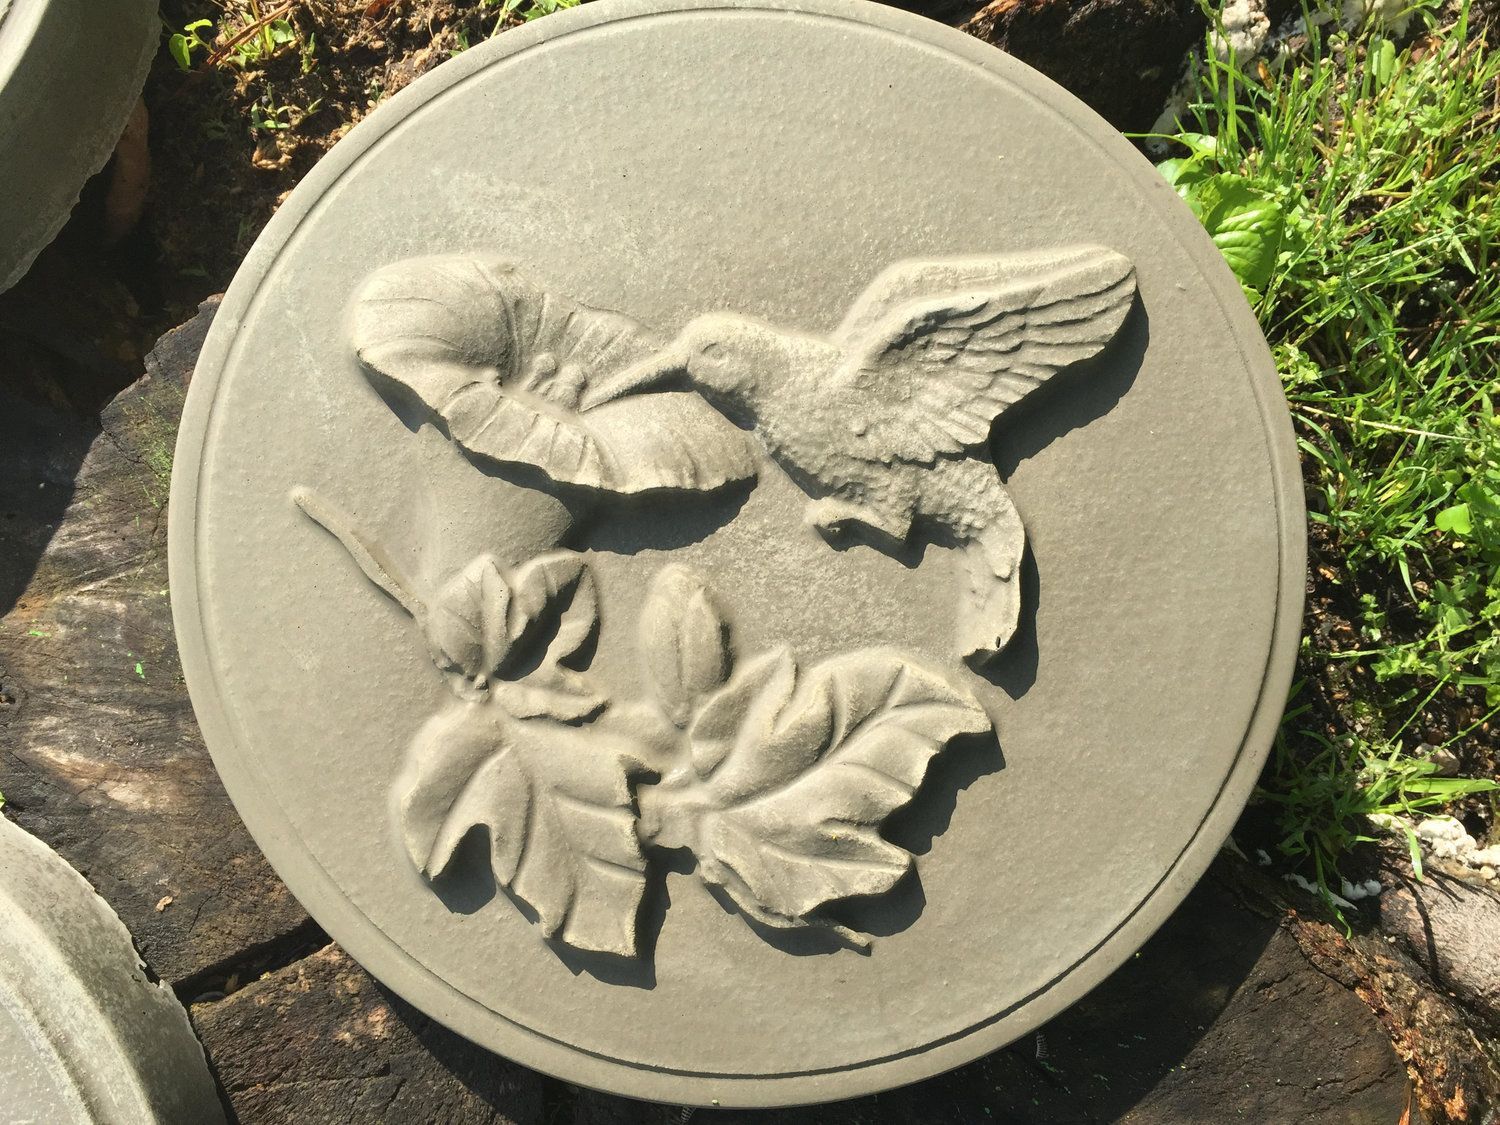
Curing and Removing Your Stepping Stone
Curing is a critical step in ensuring the strength and durability of your stepping stone. Here’s how to do it right:
- Cover the Mold: After pouring and decorating, cover the mold with a plastic sheet or a damp cloth. This helps to retain moisture and prevents the concrete from drying out too quickly. Rapid drying can cause cracks.
- Let it Cure: Allow the concrete to cure for at least 24-48 hours, or as directed on your concrete mix packaging. The longer it cures, the stronger it will become. Avoid disturbing the mold during this time.
- Remove the Stone: Once the concrete has cured, carefully remove the stepping stone from the mold. If you used a mold release agent, it should come out easily. If not, you might need to gently flex the mold or tap it to loosen the stone.
- Clean and Dry: Once you’ve removed the stone, let it dry completely. You can wash away any extra concrete with water and then allow it to dry for a couple of days.
Finishing Touches and Placement
Your stepping stone is almost ready to grace your garden. Here’s how to finish it off:
- Cleaning and Trimming: If there are any rough edges or imperfections, use a file or sandpaper to smooth them out. Be careful not to remove too much material.
- Sealing (Optional): Applying a concrete sealer will protect your stepping stone from the elements and extend its lifespan. Follow the instructions on the sealer packaging.
- Placement: Choose a location for your stepping stone in your garden. Consider the pathway, the surrounding plants, and the overall design of your space. Dig a shallow hole, place the stepping stone, and then backfill around it with soil or gravel to keep it stable. Space the stones appropriately for comfortable walking.
- Enjoy!: Step back and admire your handiwork. You’ve created a beautiful and functional piece of art for your garden. The sense of accomplishment is wonderful.
Tips for Success and Troubleshooting
Here are some extra tips to help you along the way:
- Work in a shaded area: Direct sunlight can cause the concrete to dry too quickly, leading to cracking.
- Don’t overmix: Overmixing can weaken the concrete. Mix only until you achieve the desired consistency.
- Be patient: Curing takes time. Don’t rush the process.
- Clean your tools immediately: Concrete hardens quickly. Clean your mixing container, tools, and any spills before the concrete sets.
- Troubleshooting:
- Cracks: If your stepping stone cracks, it may be due to rapid drying, too much water, or a weak concrete mix. Make sure the concrete is properly cured and that you follow the instructions on your concrete mix packaging.
- Rough surface: A rough surface can be caused by air bubbles or improper mixing. Tap the mold after pouring to release air bubbles and ensure you’ve mixed the concrete thoroughly.
- Difficulty removing the stone: If the stone is stuck, try flexing the mold gently or tapping it with a rubber mallet. Make sure you used a mold release agent. If the stone is still stuck, you might need to let it cure for a little longer.
- Experiment and Have Fun: Don’t be afraid to try different designs, colors, and techniques. The more you experiment, the better you’ll become at creating beautiful hummingbird stepping stones. That is the whole point of the process – to have fun and explore your creativity.
Creating hummingbird stepping stones is a rewarding experience, offering a blend of creativity, relaxation, and the joy of beautifying your outdoor space. From choosing your mold to placing the finished stones, each step is an opportunity to express yourself and connect with nature. Remember to have fun, embrace the learning process, and don’t be afraid to experiment. The most important thing is to enjoy the journey and the beauty you’re creating. Happy crafting. And remember, your garden – and those buzzing hummers – will thank you for it.