Hey, garden enthusiasts. Ever wanted to add a touch of elegance, and a personal touch, to your outdoor space? Well, one of the most rewarding and creative DIY projects is crafting your own rose stepping stones. They’re beautiful, functional, and a fantastic way to showcase your love for gardening. Plus, working with molds is surprisingly easy, even for beginners. This guide will take you through the entire process, from picking the right materials to the final finishing touches. Get ready to transform your garden path into a rose-filled paradise. and I’m here to help you every step of the way, sharing my years of experience and a few secret tips along the way.
Let’s get started.
Why rose stepping stones, you might ask? Because they’re charming, they’re unique, and they’re a testament to the beauty of nature, captured in a durable form. Roses, with their timeless beauty, instantly elevate any garden. Imagine a winding path, each step adorned with a delicate rose design. It is a delightful experience. Furthermore, creating your own stepping stones is a relaxing and fulfilling activity. It’s a chance to get your hands dirty, and it’s a project that will bring joy for years to come. And, most importantly, you can customize them to perfectly match your garden’s aesthetic. So, let’s dive into how you can bring this vision to life.
Gathering Your Supplies: The Essentials
Before you begin, you’ll need to gather your supplies. Don’t worry, it’s not a long list. Here’s what you’ll need:
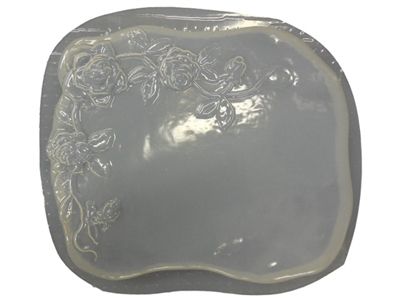
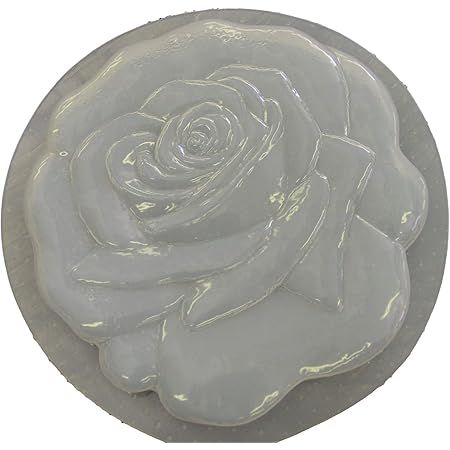
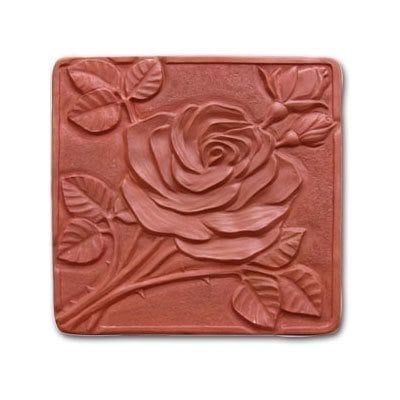
- Rose Stepping Stone Molds: You can find these in various sizes and designs. Pick one that suits your style. I personally love the ones that have intricate rose details.
- Concrete Mix: Look for a concrete mix designed for stepping stones. This usually contains cement, sand, and small aggregate. You can buy it pre-mixed, which is the easiest option.
- Water: For mixing the concrete. Make sure you have access to a water source.
- Mixing Container and Tools: A bucket or wheelbarrow for mixing, and a trowel or shovel.
- Protective Gear: Gloves, safety glasses, and a dust mask are essential. Concrete can be irritating to the skin and eyes, so safety first.
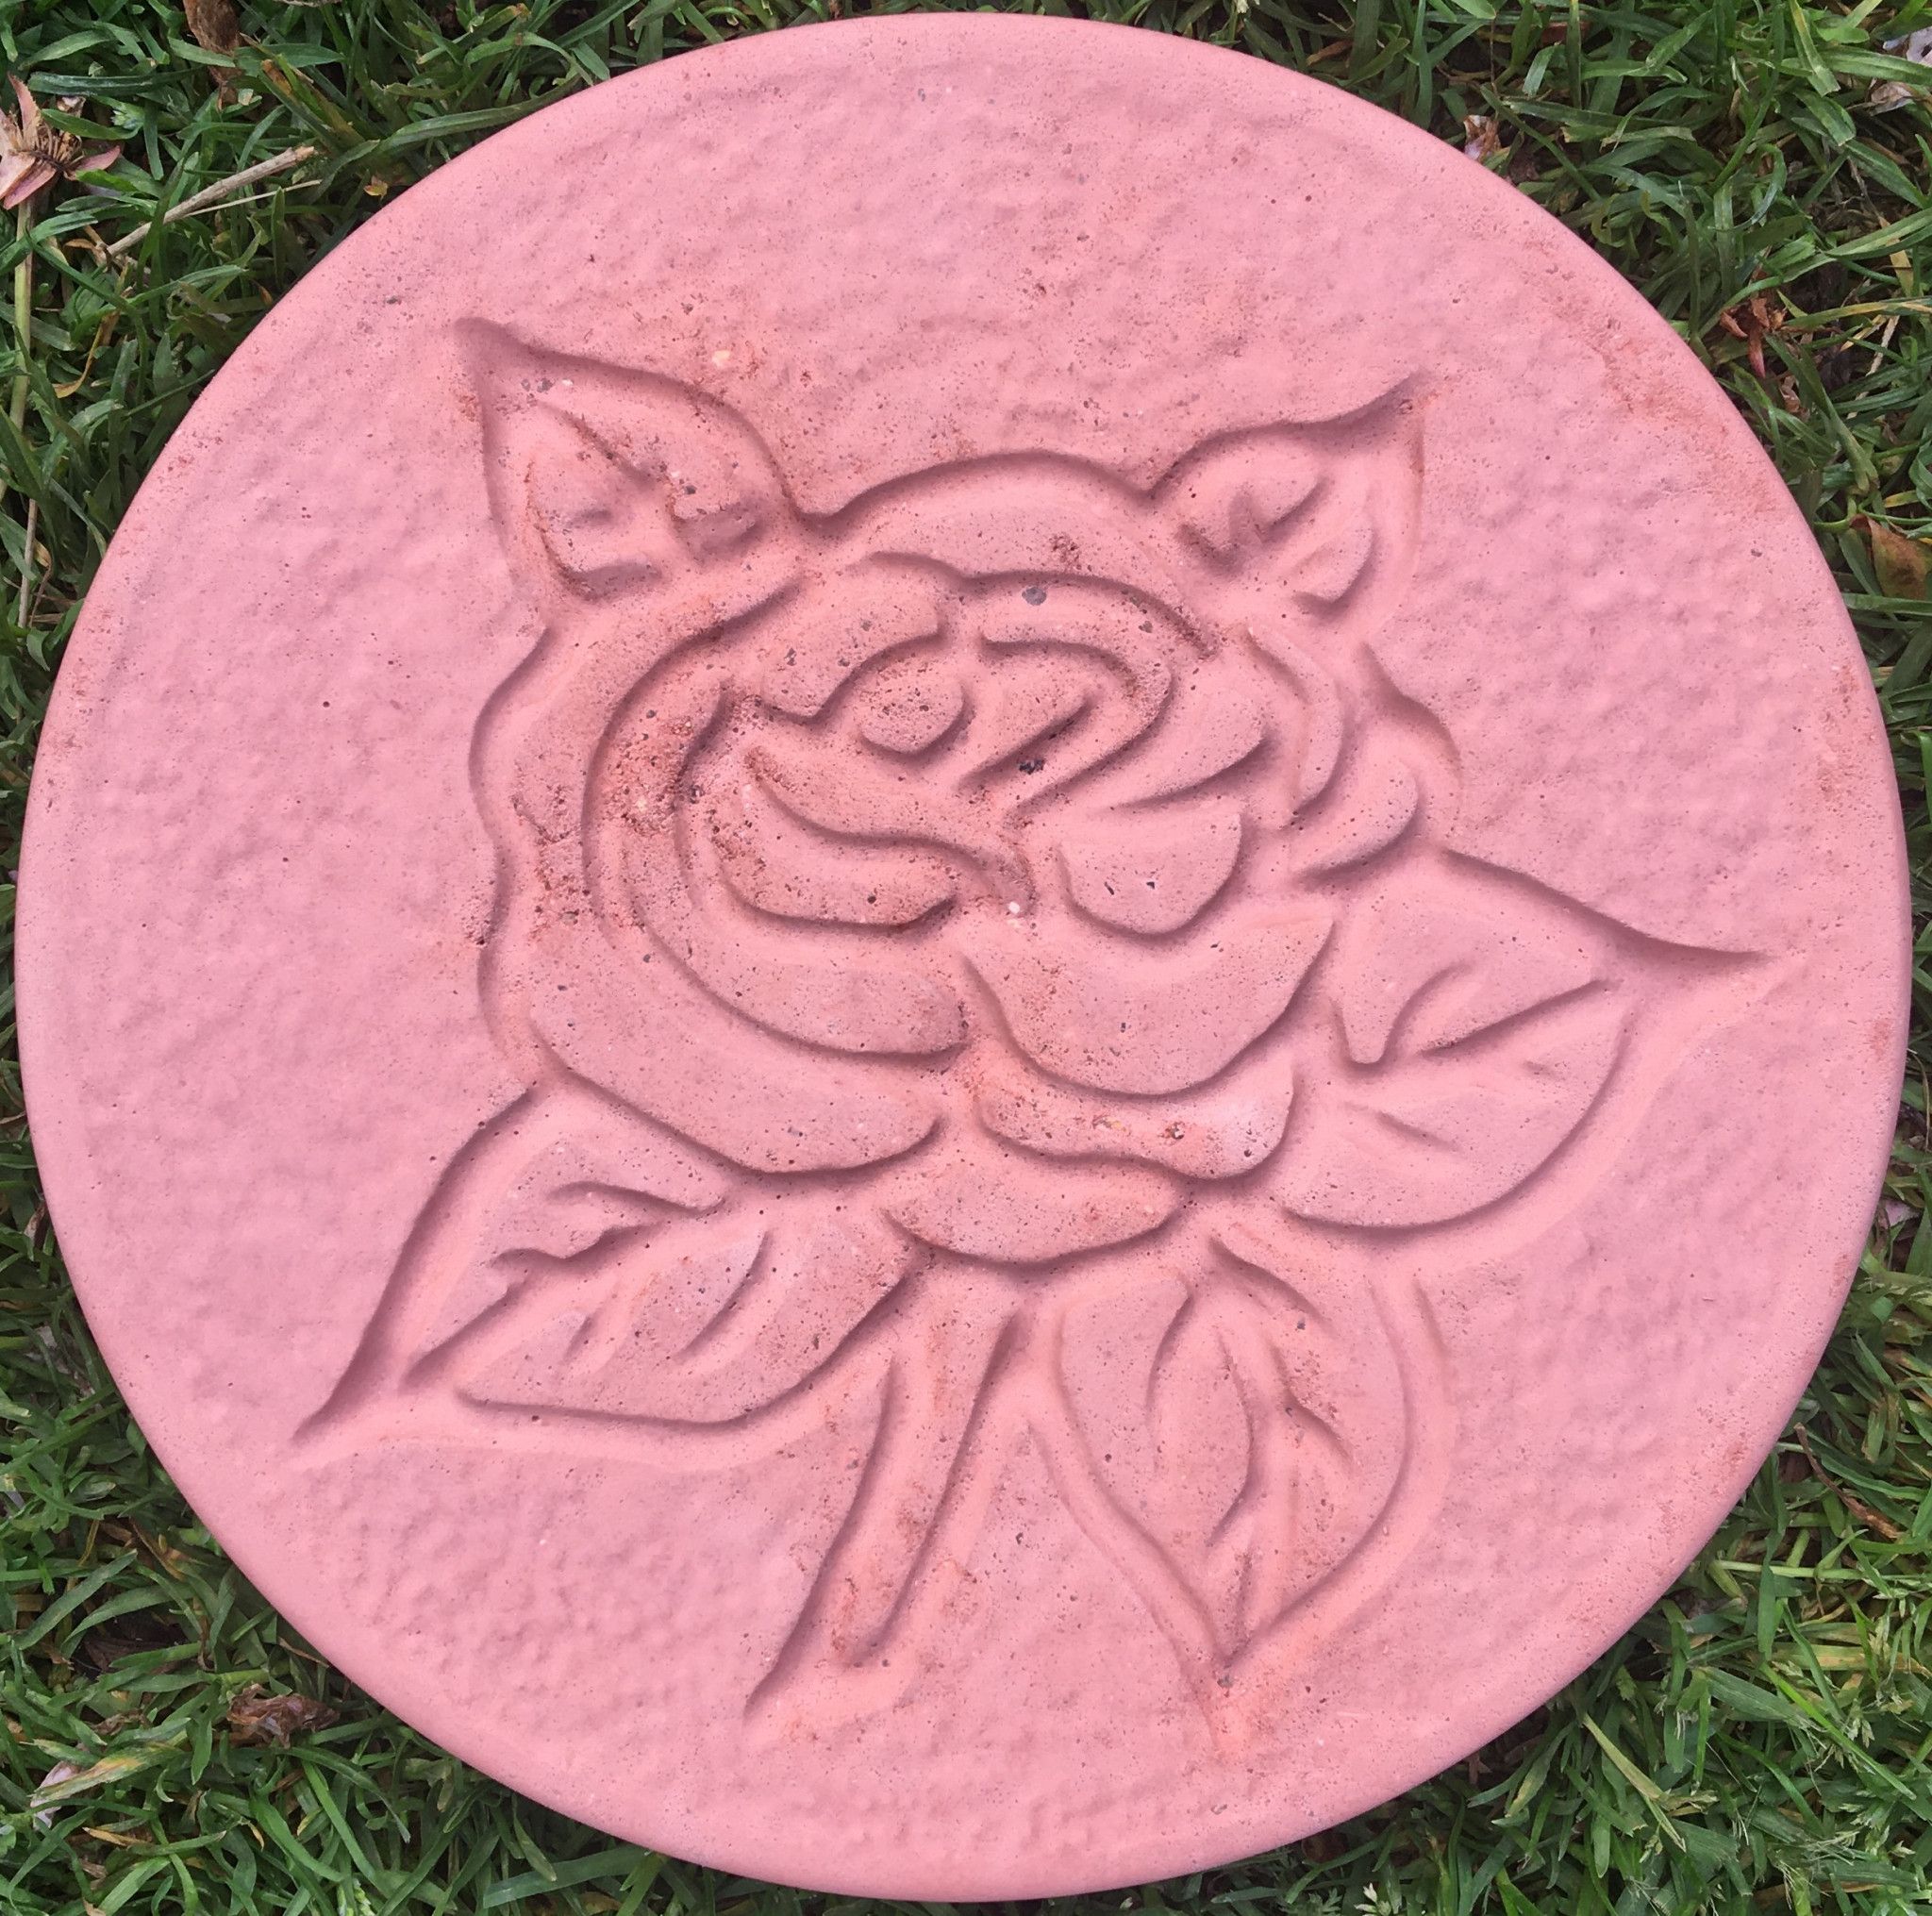
- Coloring Agents (Optional): Concrete dyes or pigments can add a splash of color to your stepping stones. You can get creative here and experiment with different hues to match your garden’s color scheme.
- Sealer (Optional): A concrete sealer helps to protect your stepping stones from the elements and makes them last longer.
- Release Agent (Optional): This helps the concrete release cleanly from the mold. Cooking spray works well too.
Pro Tip: Always read the instructions on your concrete mix packaging. Each brand may have slightly different mixing instructions.
Preparing Your Molds and Mixing the Concrete
Preparation is key for a successful project. First, clean your molds. Make sure they’re free of any debris or residue. Then, apply a release agent. This will prevent the concrete from sticking to the mold, making it much easier to remove the finished stepping stones.
Now, let’s mix the concrete. In your mixing container, combine the concrete mix and water according to the package directions. Start with a little water and add more gradually until you achieve a thick, pancake batter-like consistency. Be careful not to add too much water, as this can weaken the concrete. Mix thoroughly, ensuring there are no lumps. If you’re using coloring agents, add them now and mix until the color is evenly distributed.
Example: I once tried adding too much water, and the resulting stepping stones were crumbly. Learn from my mistakes. Follow the package instructions precisely, and you’ll be fine.
Pouring, Setting, and Finishing
Carefully pour the concrete mixture into your molds. Fill them completely, and tap the molds gently on the ground to release any trapped air bubbles. These bubbles can weaken the stepping stones, so it’s important to get rid of them. Next, let the concrete set. This process usually takes 24-48 hours, but it can vary depending on the weather conditions and the type of concrete mix you’re using. Check the package directions for specific times.
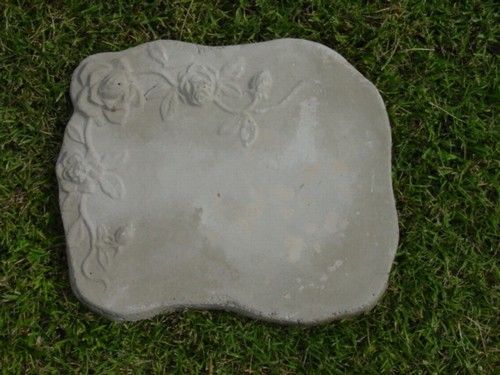
Once the concrete is set, it’s time to remove the stepping stones from the molds. Carefully flip the molds over, and gently tap them to release the stones. If you used a release agent, this process should be easy. However, if the stones are stubborn, you might need to use a rubber mallet or a gentle tapping tool. After removing the stones, inspect them for any imperfections. You can use a trowel or sandpaper to smooth out any rough edges or surface irregularities. Finally, if you’re using a sealer, apply it according to the manufacturer’s instructions. This will protect your stepping stones from the elements and help them last for many years.
Actionable Tip: Don’t rush the setting process. Patience is a virtue. The longer the concrete sets, the stronger your stepping stones will be.
Adding the Rose Touch: Design and Details
The beauty of using molds is that they come with the rose design built-in. However, you can enhance the design further with some extra touches. Consider these ideas:
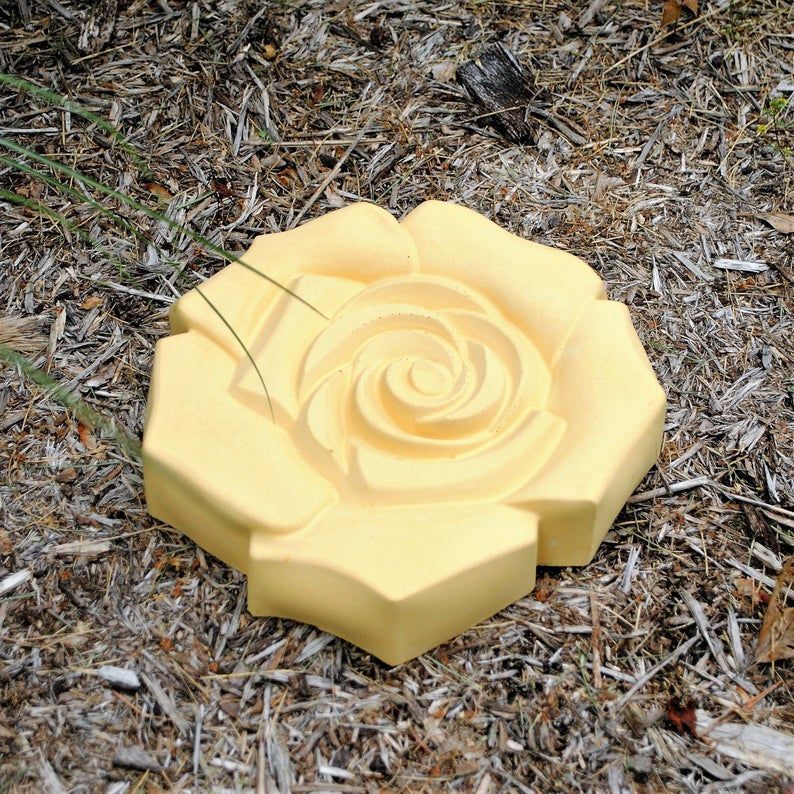
- Color Variations: Use different colored concrete mixes to create depth and dimension. For example, you could make the rose petals a lighter shade than the background.
- Embellishments: While the concrete is still wet, you can add small pebbles, glass beads, or mosaic tiles to the surface. These will add visual interest and texture.
- Texturing: Use a sponge or brush to create a textured finish on the surface of the stepping stones. This will add a rustic charm.
- Leaf Imprints: For a natural look, you could press real leaves into the wet concrete before it sets. Remove the leaves once the concrete hardens.
Real-Life Example: I’ve seen people use crushed seashells to add a coastal vibe to their stepping stones. The possibilities are practically endless. Get creative. It’s your art.
Placement and Maintenance: Keeping Your Roses Blooming
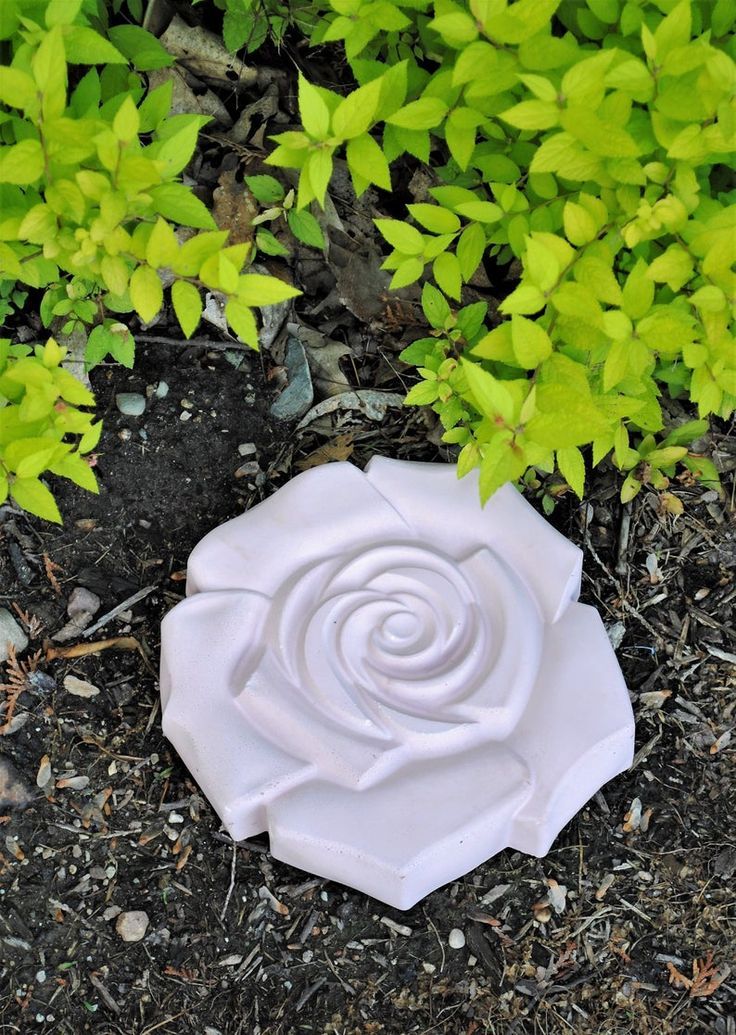
Once your rose stepping stones are ready, it’s time to place them in your garden. Consider the overall design of your garden and how the stepping stones will enhance the space. You can create a straight path, a winding path, or even a series of stepping stones that lead to a specific focal point, such as a rose bush or a seating area. Space the stones appropriately to ensure comfortable and safe footing.
Maintenance is relatively simple. Regularly clean your stepping stones with mild soap and water to remove dirt and debris. Avoid using harsh chemicals, as these can damage the concrete. If you live in an area with harsh winters, consider covering your stepping stones during the winter months to protect them from freezing and thawing cycles. Reapply sealer every few years to maintain their protection and appearance.
Expert Advice: When laying your stepping stones, make sure the ground is level. You may need to dig out some soil and add a layer of gravel or sand to ensure stability and prevent the stones from sinking.
Troubleshooting and Common Problems
Even the most experienced DIYers run into problems sometimes. Here are a few common issues and how to address them:
- Cracking: This is often caused by using too much water in the concrete mix, or by the concrete drying out too quickly. Prevent this by following the package directions and keeping the stones moist during the curing process.
- Sticking to the Mold: This usually means you didn’t use enough release agent. Try using more next time, or consider using a different type of mold material.
- Uneven Surface: This can be caused by air bubbles or by not leveling the concrete properly. Tap the molds to release air bubbles, and use a level to ensure the concrete is flat.
- Fading Colors: Over time, the colors in your stepping stones may fade. To prevent this, use UV-resistant concrete dyes and seal the stones regularly.
Problem-Solving Tip: If your stepping stones crack, you can often repair them with concrete patching compound. It may not be perfect, but it can extend the life of your stepping stones.
Creating rose stepping stones is a rewarding project that allows you to express your creativity and enhance the beauty of your garden. By following these steps and tips, you can craft stunning stepping stones that will bring you joy for years to come. Remember to take your time, enjoy the process, and don’t be afraid to experiment with different designs and colors. With a little effort, you can transform your garden into a rose-filled paradise. So go ahead, get your hands dirty, and start crafting your own rose-kissed path. Your garden will thank you for it, and so will your soul. Happy gardening, everyone. And, as always, keep blooming.