Hey everyone. It’s your pal, [Your Name], here, ready to dive into the world of porcelain pavers. If you’re dreaming of a stunning patio, walkway, or even a driveway, you’ve likely stumbled upon these amazing tiles. They’re beautiful, durable, and can seriously upgrade your outdoor living experience. But, let’s be real, setting them up can seem a little daunting. Don’t worry, that’s what I’m here for! I’ve spent years getting to know these pavers inside and out, and I’m going to break down the whole process for you, step-by-step and in a way that’s easy to get a handle on.
This guide is tailored for the average homeowner – no fancy construction lingo, just clear, practical advice. We’ll cover everything from planning and prep work to the actual installation, plus some tips and tricks I’ve picked up along the way. So, grab a cup of coffee, let’s dig in, and let’s get those pavers in place, okay?
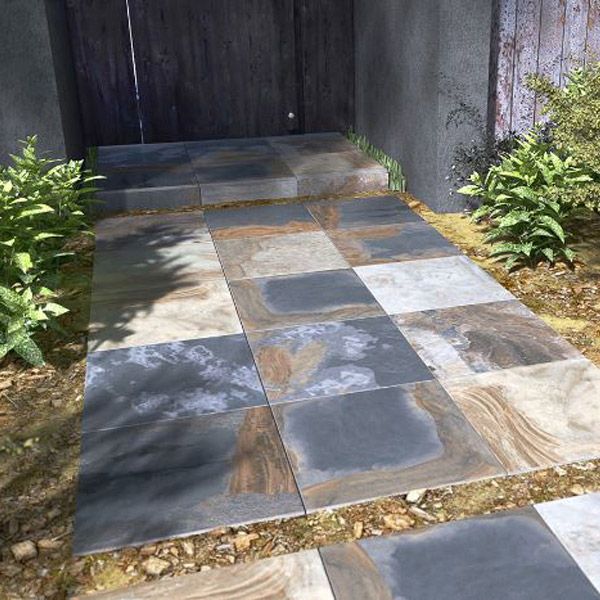
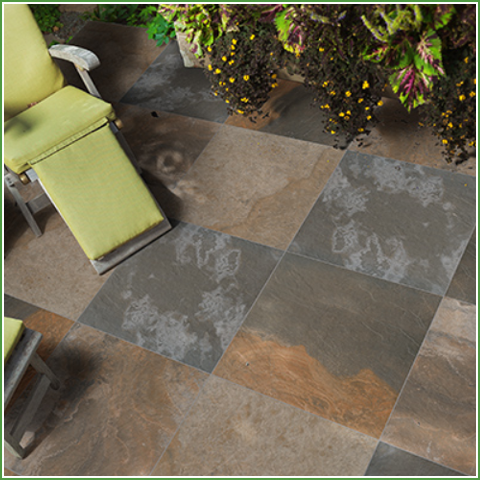
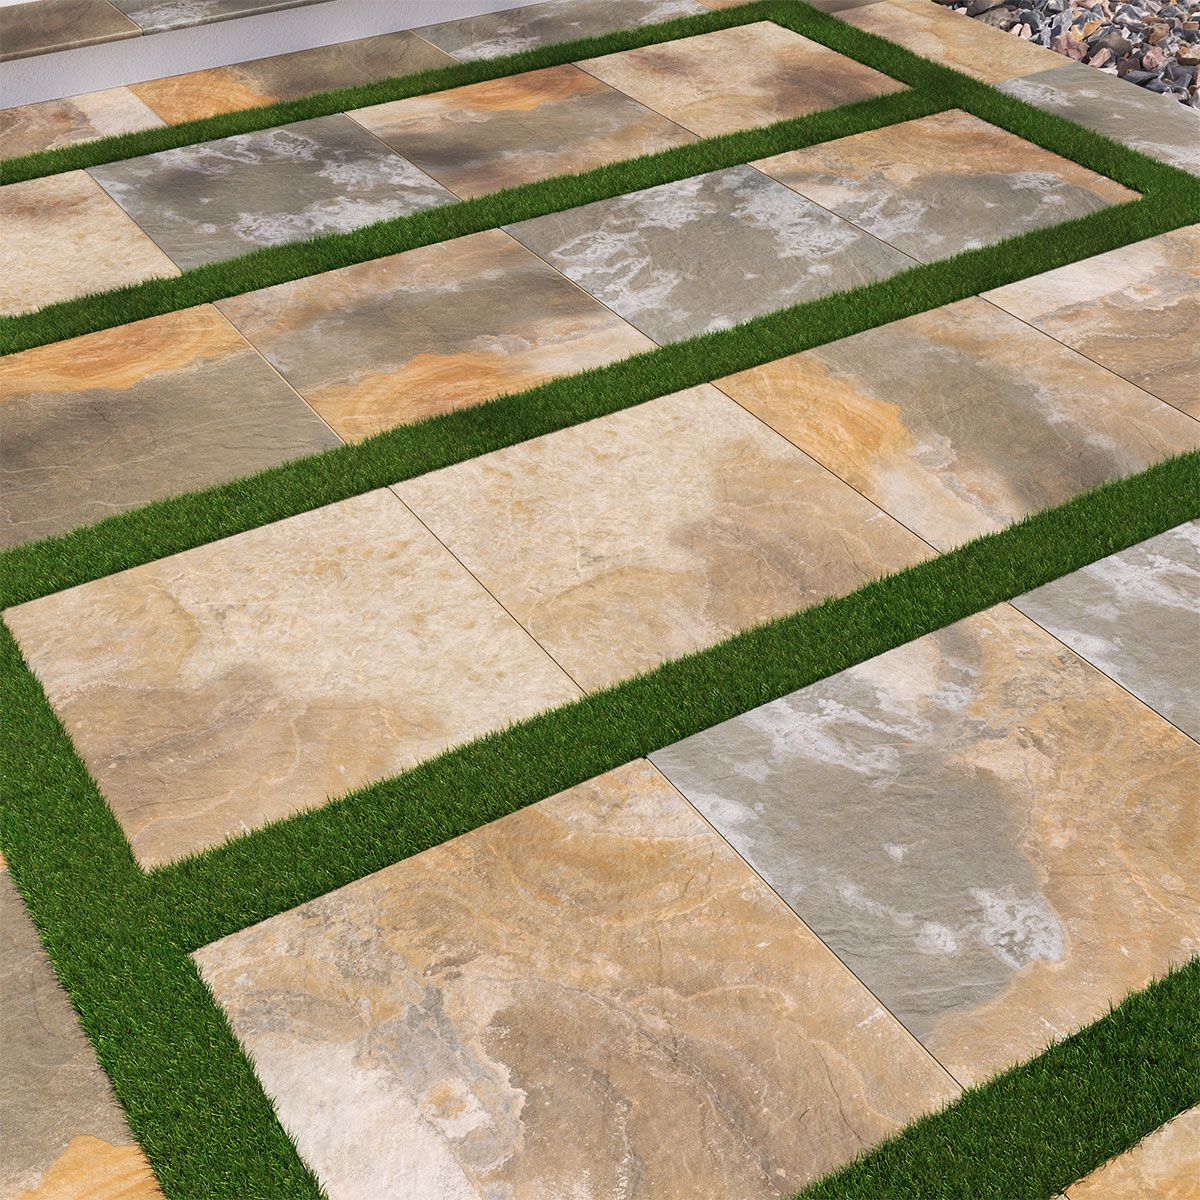
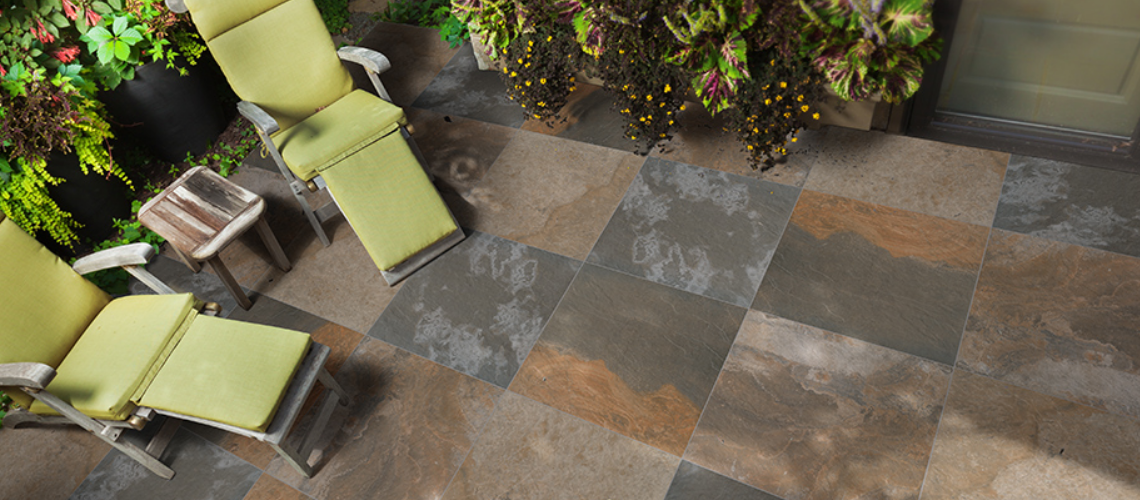
So, why porcelain pavers, anyway? Well, they’re a fantastic option for a bunch of good reasons. They look amazing, they’re super tough, and they can stand up to all sorts of weather. Plus, they’re relatively low-maintenance, which is a huge win for busy folks like us. Think of it as a long-term investment in your home’s look and value.
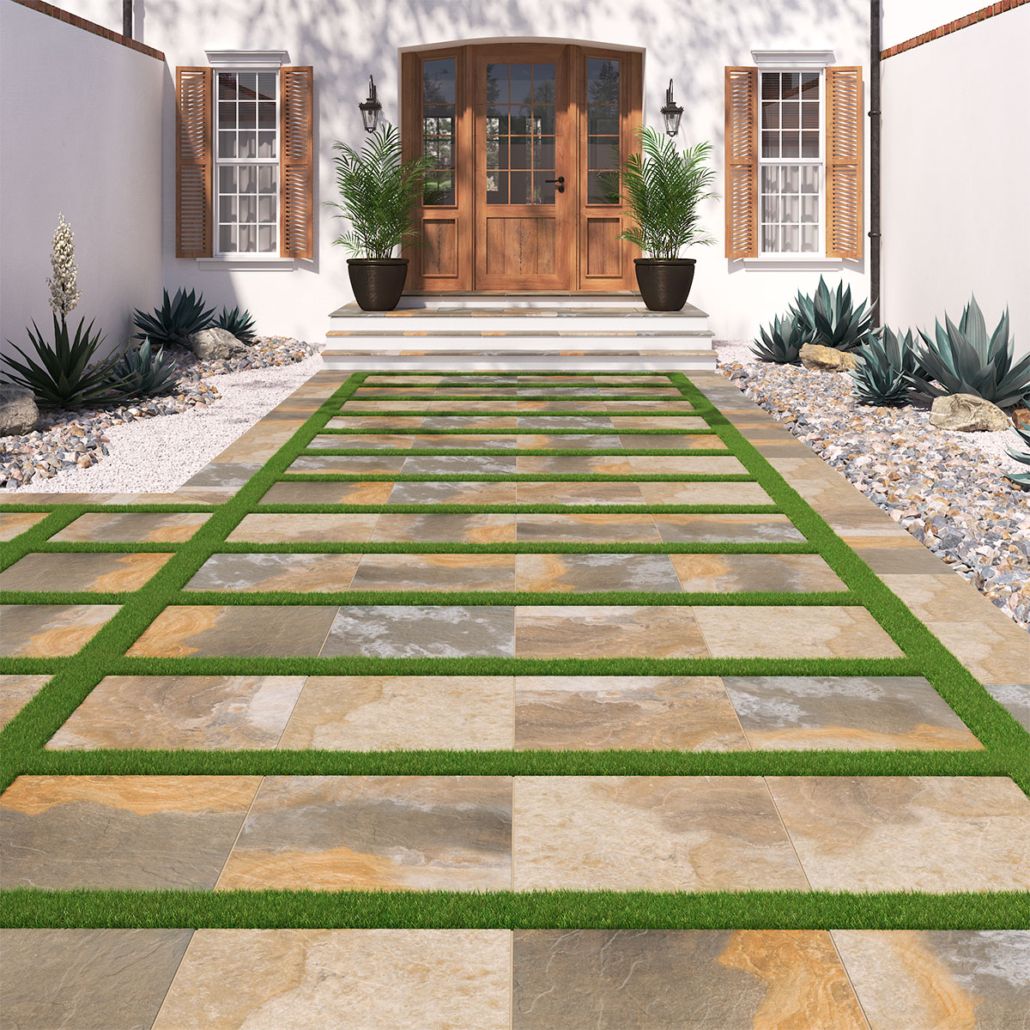
But, and there’s always a but, installing them can be a bit of a challenge. It’s not rocket science, but it does involve some planning, hard work, and paying close attention to detail. That’s why I’m writing this. The goal is to give you the knowledge and confidence to either tackle the project yourself or at least understand what’s involved if you decide to hire a pro. We’re going to focus on a 52 sq ft area to keep things manageable, perfect for a small patio or a stylish walkway.
Phase One: Planning & Preparation – The Foundation of Success
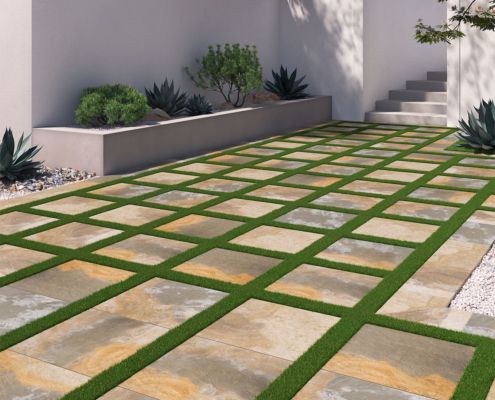
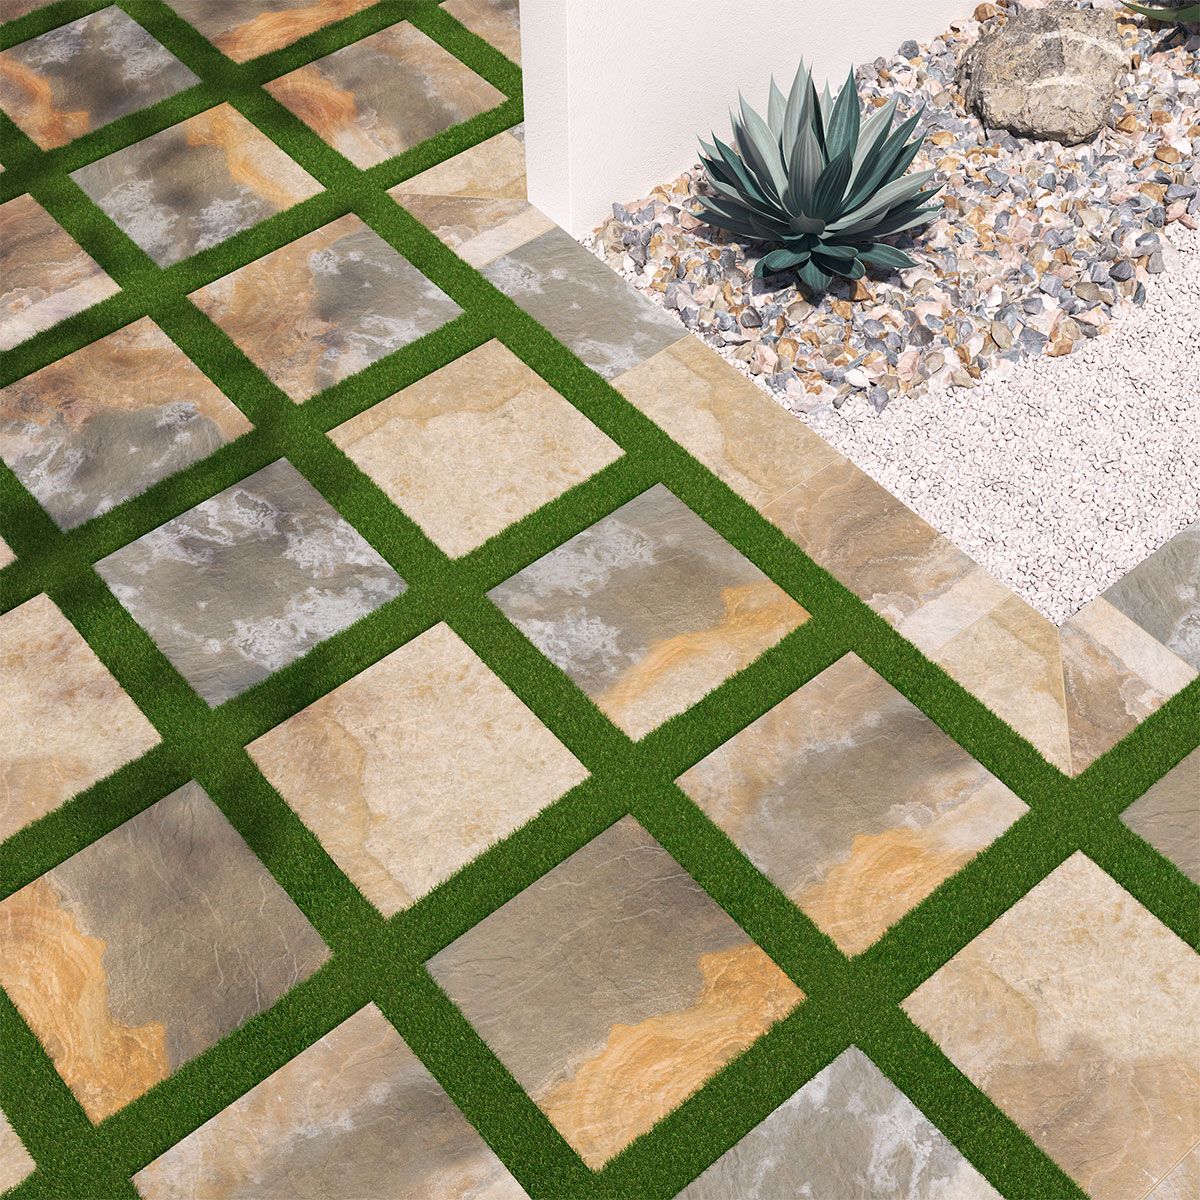
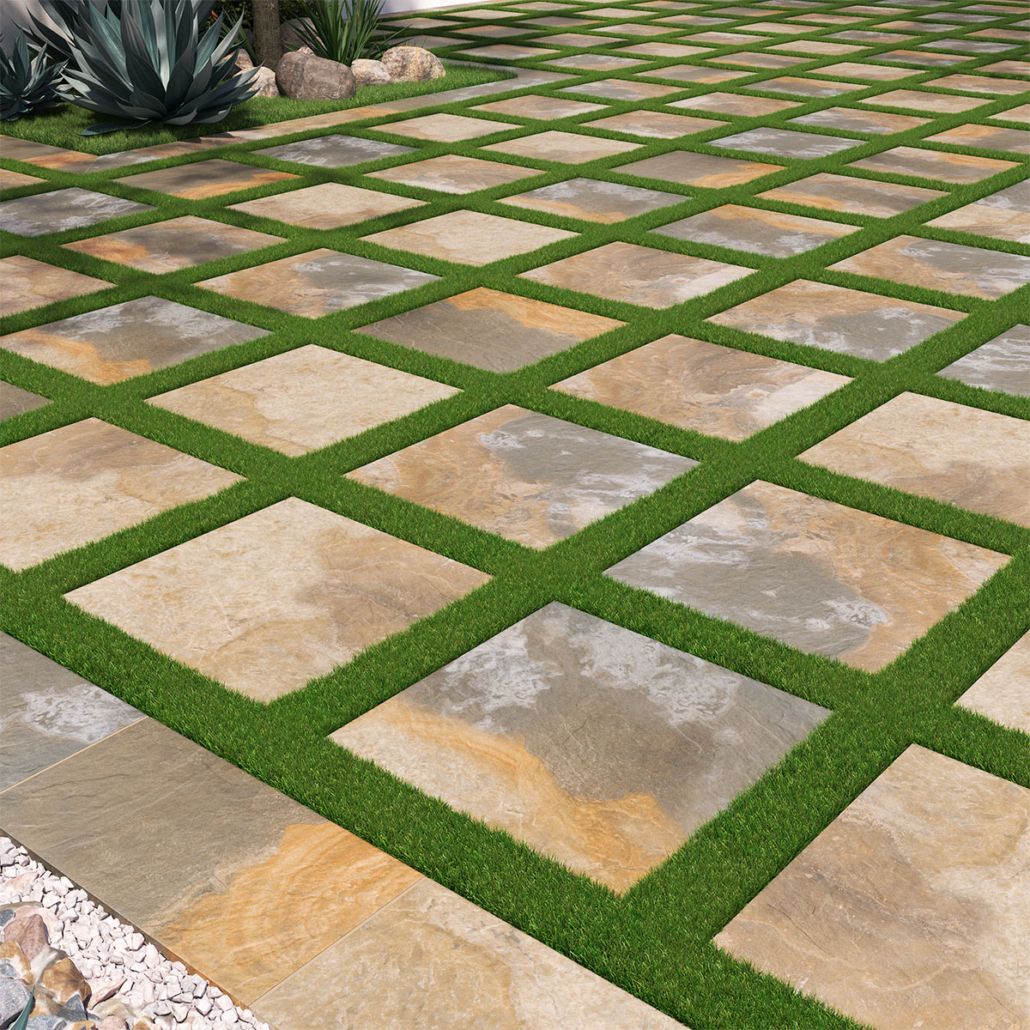
Before you even think about laying a single paver, you’ve got to do some planning. First up, measure your area carefully. Accuracy is key here! Double-check your measurements and sketch out your design. Think about the pattern you want – running bond (like bricks), a grid, or something more creative. Next, you have to figure out how much material you will need. It’s always a good idea to add about 10% extra to account for cuts and mistakes.
Then comes the preparation of the ground. This is probably the most important step. You’ll need to excavate the area to a depth of about 6-8 inches, depending on the paver thickness and the sub-base materials. This means removing any existing grass, dirt, or other materials. Once you’ve excavated, you’ll need to create a solid base. This usually involves laying down a layer of compacted gravel (about 4-6 inches), followed by a layer of sand (about 1-2 inches). This base is crucial for drainage and stability.
Phase Two: Gathering Your Tools & Materials – What You’ll Need
Okay, let’s get your tools and materials sorted. Here’s a handy checklist:
- Porcelain Pavers: Obviously! Make sure you’ve chosen your favorite style and color. Remember to factor in that extra 10% for cuts.
- Gravel: For the base layer.
- Sand: For the leveling layer.
- Landscape Fabric (optional): To prevent weed growth. A very good idea.
- Edge Restraints: To keep the pavers from shifting.
- Tamper or Plate Compactor: To compact the gravel and sand.
- Level: A long, sturdy level is your best friend.
- Measuring Tape: Precision is key.
- String and Stakes: For setting up guidelines.
- Rubber Mallet: For tapping the pavers into place.
- Chalk Line: For marking straight lines.
- Wet Saw (or Angle Grinder with a Diamond Blade): For cutting pavers. Safety glasses are a must!
- Gloves, Safety Glasses, and Knee Pads: Safety first, always!
- Wheelbarrow: For moving materials.
- Shovel and Rake: For spreading materials.
- Jointing Sand or Grout (optional): For filling the gaps between the pavers. The kind you use will depend on your paver style and how you want it to look.
Don’t try to skimp on tools. Good quality tools make the job easier and safer.
Phase Three: Laying the Foundation – Building a Solid Base
With your area excavated, it’s time to build your base. Start by laying down a layer of landscape fabric (if using) to prevent weeds. Then, spread a layer of compacted gravel. Use your plate compactor to make sure it’s nice and solid. This is what will provide the drainage and stability for your pavers. Next, add a layer of sand. Use a screed (a straight piece of wood or metal) to level the sand to the correct depth. Make sure to check your level frequently. This sand layer is where you will carefully place your pavers, so taking your time and getting this right is important.
- Tip: A slight slope (about 1/4 inch per foot) is recommended for drainage, so water runs away from your home or building.
Phase Four: Setting the Pavers – The Art of Placement
Now for the fun part! Start laying your pavers, following your design plan. Begin at one corner and work your way out. Use the string and stakes as guides to keep your rows straight and your spacing consistent. As you place each paver, use your rubber mallet to gently tap it into place. Make sure the pavers are level with each other. If a paver is a little high, tap it down. If it’s a little low, add a bit more sand underneath.
- Important: Leave a small gap (typically 1/8 to 1/4 inch) between the pavers for expansion and contraction. This also gives you room to use jointing sand or grout later.
As you get to the edges, you’ll need to cut some pavers to fit. This is where your wet saw or angle grinder comes in. Measure carefully, mark your cut lines, and take your time. Safety first here, too! Wear those safety glasses and gloves.
Phase Five: Finishing Touches – Sealing, Sanding, and Enjoying Your Work
Once all your pavers are in place, it’s time for the finishing touches. If you’re using jointing sand or grout, follow the manufacturer’s instructions. Typically, you’ll sweep the sand or grout into the joints, then use a plate compactor to help settle it.
- Pro Tip: Consider sealing your pavers. Sealing helps protect them from stains and weathering, and it can also make them easier to clean. Follow the sealer manufacturer’s instructions.
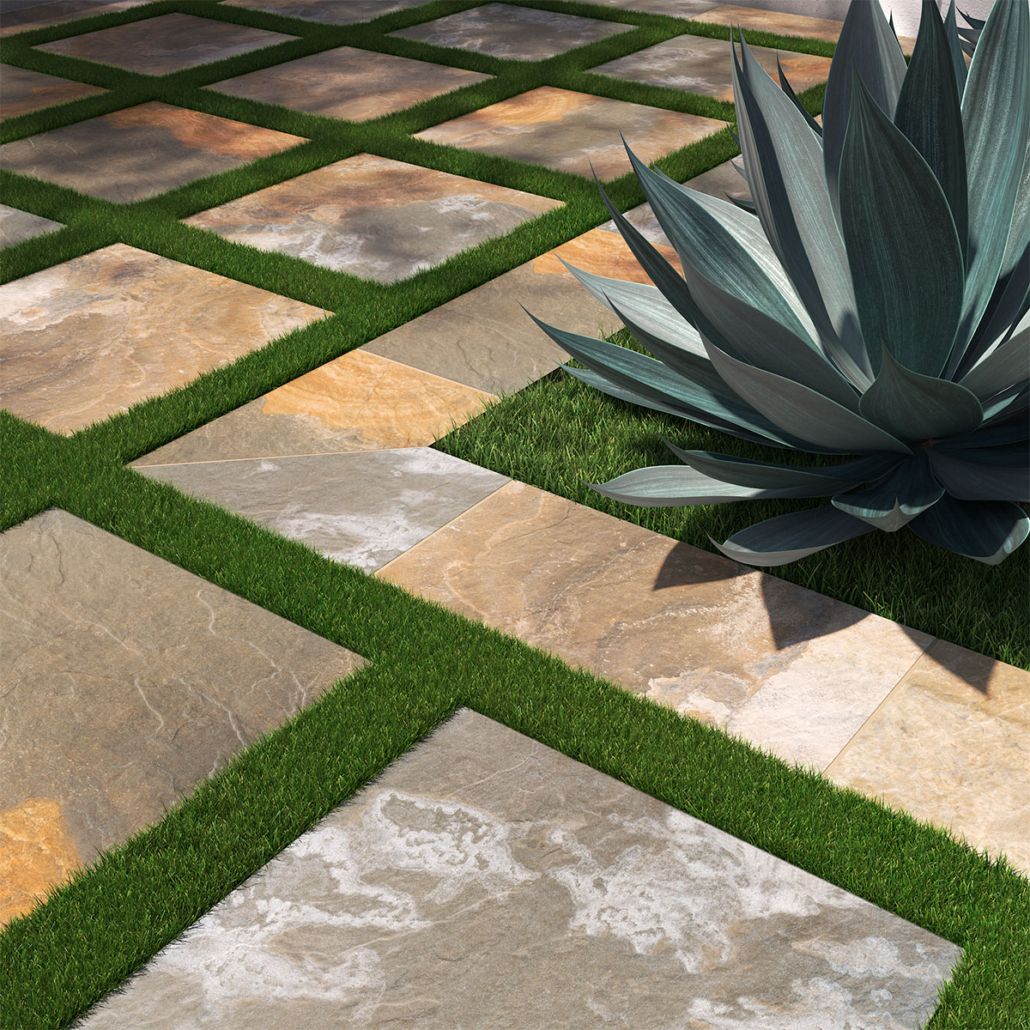
Finally, after everything is set and dry, stand back, admire your hard work, and enjoy your new outdoor space. Pour yourself a cold drink, and get ready to relax.
Bonus Tips & Troubleshooting – Making it Smooth Sailing
Here are a few extra tips to make your project even easier:
Work in sections: Don’t try to do the whole area at once. Lay a few pavers at a time and take breaks. It’s less overwhelming.
Check the weather: Avoid working in extreme heat or cold, and keep an eye on the forecast. Rain can ruin your work.
Rent, don’t buy: If you’re only doing this one project, consider renting a plate compactor and wet saw. It’ll save you money.
Don’t rush: Take your time, and don’t be afraid to redo something if it’s not right. Patience is key!
Troubleshooting:
- Uneven pavers: Check your sand base and adjust as needed. You might need to remove a paver, add or remove sand, and re-lay it.
- Pavers shifting: Make sure your edge restraints are secure.
- Weeds growing: Ensure your landscape fabric is installed correctly, and consider using a pre-emergent herbicide.
There you have it – a comprehensive guide to installing porcelain pavers. It’s a project that takes some time and effort, but the result – a beautiful, durable, and low-maintenance outdoor space – is totally worth it. Remember to plan carefully, gather your tools, and take your time. Don’t be afraid to ask for help if you need it. And most importantly, have fun. The satisfaction of creating something with your own two hands is a really special thing. So go out there, get started, and enjoy the process. I know you can do it. Until next time, happy paving.