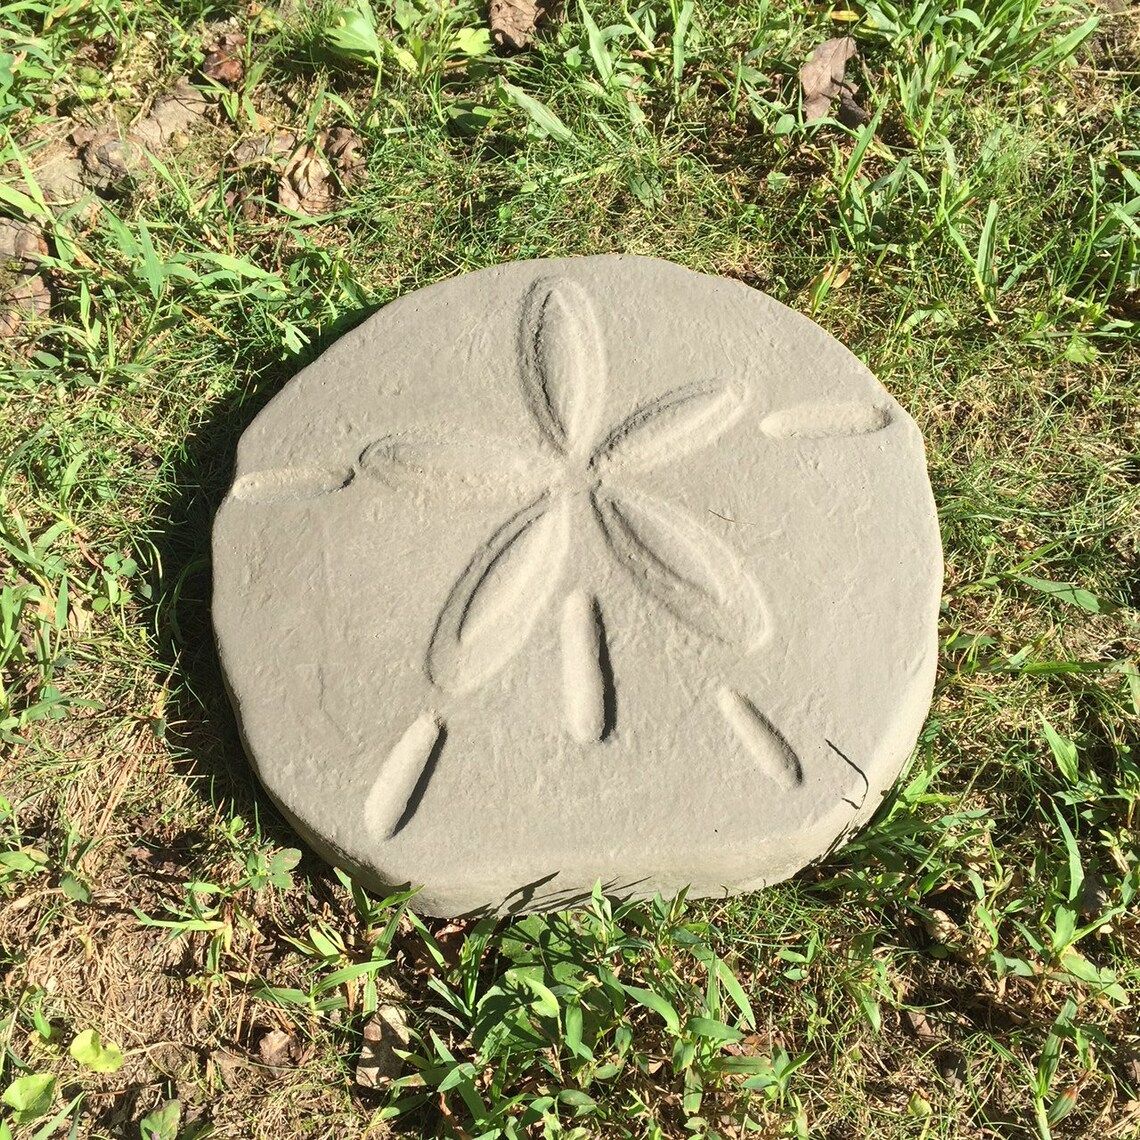
Hey everyone. It’s me, and welcome back to my channel. Today, we’re diving into a project that’s near and dear to my heart: crafting gorgeous sand dollar stepping stones. It’s a beautiful way to repurpose those precious sand dollars you’ve collected, adding a touch of seaside charm to your outdoor areas. And the best part? It’s a super satisfying and relatively easy project, even if you’re new to the world of DIY. Get ready to turn your beach finds into something truly special.
Do you love the beach as much as I do? There’s something magical about collecting treasures along the shore, and for me, nothing beats finding a perfectly preserved sand dollar. But what do you do with all those beauties? Well, if you’re like me, you want to show them off, and what better way than by creating unique stepping stones? This guide will walk you through every step, from preparing your sand dollars to mixing the concrete and adding the finishing touches. Get ready to create something amazing. And the best part is you can share your creations with friends and family. It’s a great way to get outside and have fun.
Gathering Your Supplies: What You’ll Need
Before you start, let’s make sure you have everything you require. This project calls for a few basic materials, most of which you can find at your local hardware store. Here’s what you’ll want:
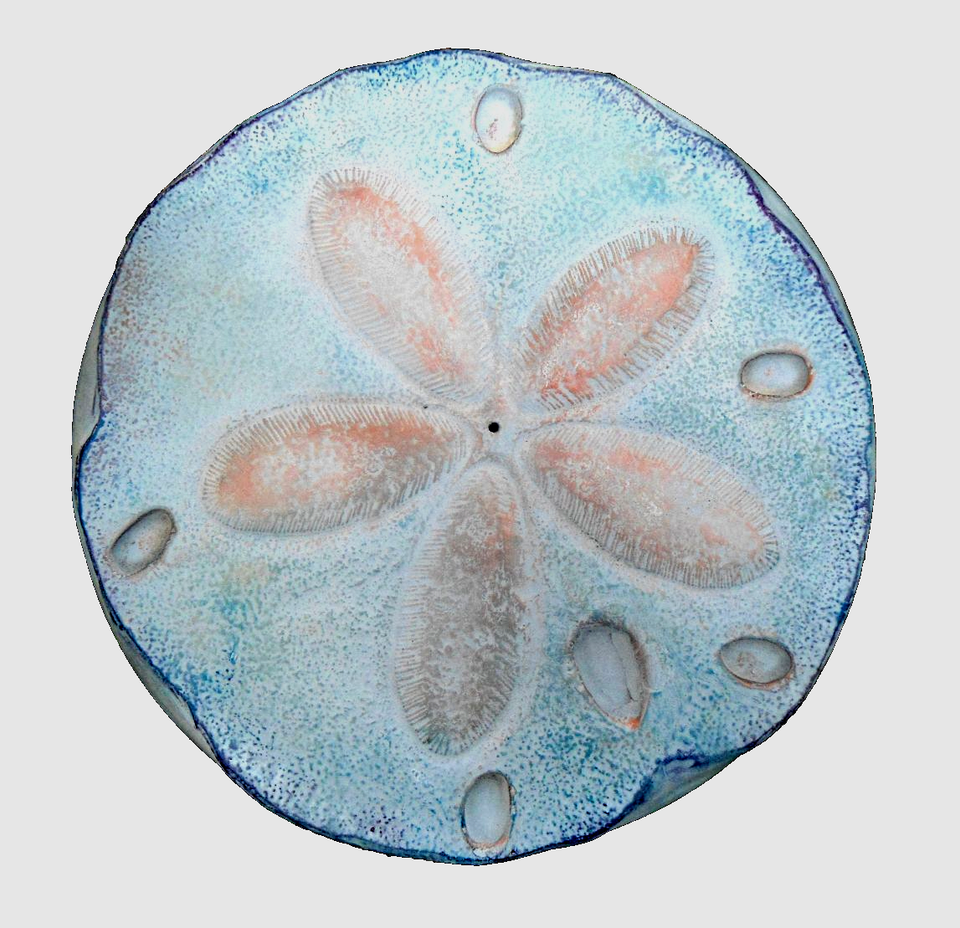
- Sand Dollars: Of course. The stars of the show. Collect them responsibly, and make sure they are dry and clean before you start.
- Concrete Mix: A ready-mix concrete will work wonderfully. I recommend a mix designed for outdoor use to withstand the elements. Look for a quick-setting variety if you want to speed up the process.
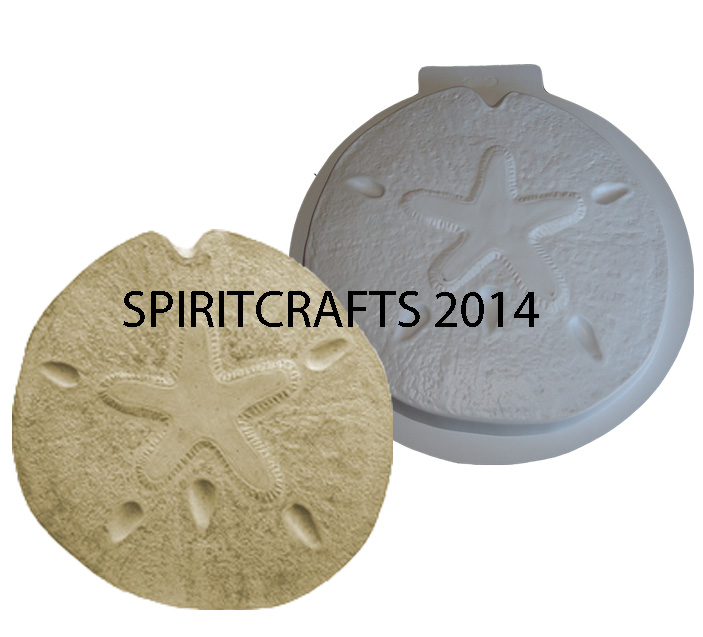
- Molds: You can use store-bought stepping stone molds or get creative. Consider using plastic containers, cake pans, or even old pie tins. The shape is up to you. Just make sure it’s something that will hold the concrete.
- Water: For mixing the concrete, obviously.
- Mixing Bucket & Trowel: Essential for blending the concrete.
- Gloves & Safety Glasses: Protect your hands and eyes.
- Optional: Concrete Sealer: To protect your stepping stones from the weather and dirt. I advise this, especially if you’re placing them in an area with a lot of foot traffic. It will help them last longer.
- Optional: Color Pigments: If you want to add some color to your stepping stones, you can use concrete pigments.
Preparing Your Sand Dollars
This is a crucial step. You need to make sure your sand dollars are ready to become a part of your stepping stones.
- Cleaning: Gently brush away any sand or debris. Be careful; sand dollars are fragile.
- Drying: Ensure your sand dollars are completely dry. Moisture can affect the concrete’s setting process.
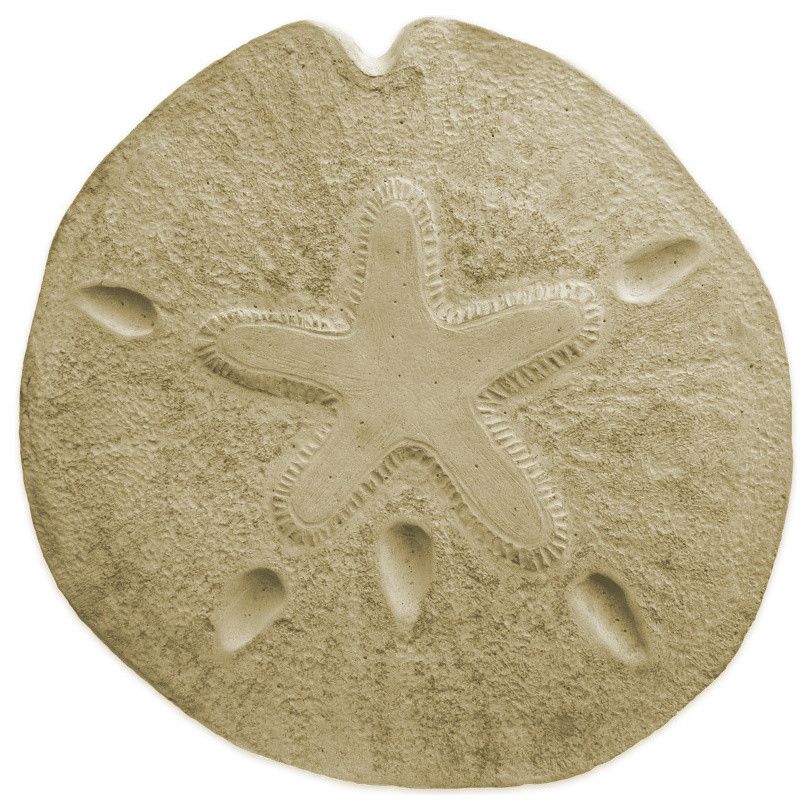
- Arrangement: Plan out how you want to arrange your sand dollars in the molds. This is where your creativity can shine. Will they be in a circle, a line, or scattered randomly? Think about the design before you pour the concrete and have a visual representation in mind.
- Sealing (Optional): Some crafters choose to seal their sand dollars before embedding them in concrete. This can help prevent the concrete from seeping into the sand dollar’s pores and potentially preserving its color better. You can use a clear acrylic sealer, following the manufacturer’s directions.
Mixing the Concrete: The Right Recipe
Mixing concrete is simple, but getting the ratios right is key. Always follow the instructions on your concrete mix packaging. Generally, you’ll add water gradually to the concrete mix in your bucket, stirring thoroughly with your trowel. You’re aiming for a consistency that’s like thick pancake batter – not too runny, and not too dry.
- Safety First: Always wear your gloves and safety glasses while mixing concrete to shield yourself from potential irritants.
- Consistency Matters: If the mixture is too watery, the stepping stones might crack. If it’s too dry, it won’t spread evenly. Add water slowly, and mix until you get it right.
- Pigments: If using color pigments, add them to the concrete mix before you add water. Mix everything well to ensure a uniform color.
Pouring and Embedding: Bringing It All Together
Now for the fun part.
- Pour the Concrete: Fill your molds with the mixed concrete, leaving a little room at the top.
- Arrange the Sand Dollars: Carefully place your sand dollars into the wet concrete, arranging them according to your plan. Gently press them down slightly so they are partially embedded. You don’t want them completely submerged.
- Leveling: If necessary, use your trowel to smooth the surface of the concrete and ensure the stepping stones are level.
- Bubbles: If any air bubbles appear on the surface, gently tap the mold to help them rise and pop.
Curing and Finishing: Patience is a Virtue
This is where you’ll have to excercise patience. The curing process is essential for strong, durable stepping stones.
- Curing Time: The length of time depends on the concrete mix you’re using, but generally, you’ll want to let the concrete cure for at least 24-48 hours. Check the packaging for specific instructions.
- Protecting from the Sun and Wind: During the curing process, protect your stepping stones from direct sunlight and strong winds. Cover them with a plastic sheet if necessary to keep them moist.
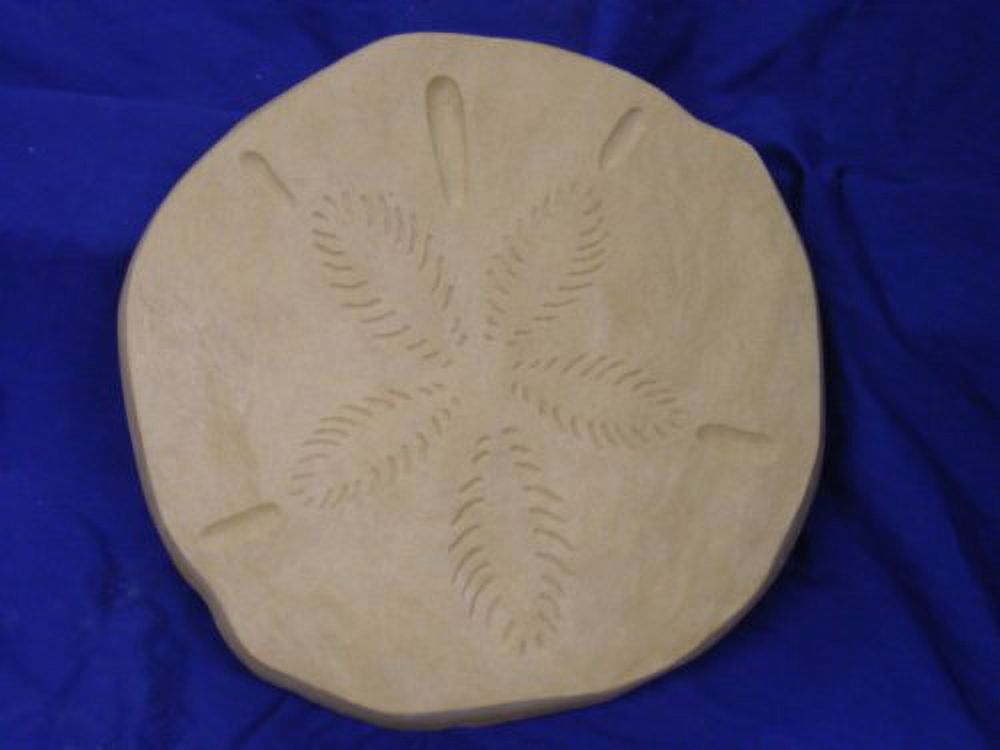
- Demolding: Once the concrete has cured, you can carefully remove the stepping stones from the molds. This part can be tricky, so go slowly.
- Cleaning Up: Use a brush or cloth to remove any excess concrete from the sand dollars.
- Sealing (Recommended): Apply a concrete sealer to protect your stepping stones from the elements, especially if they will be exposed to rain or foot traffic. Follow the sealer’s instructions.
Adding Your Sand Dollar Stepping Stones to Your Landscape
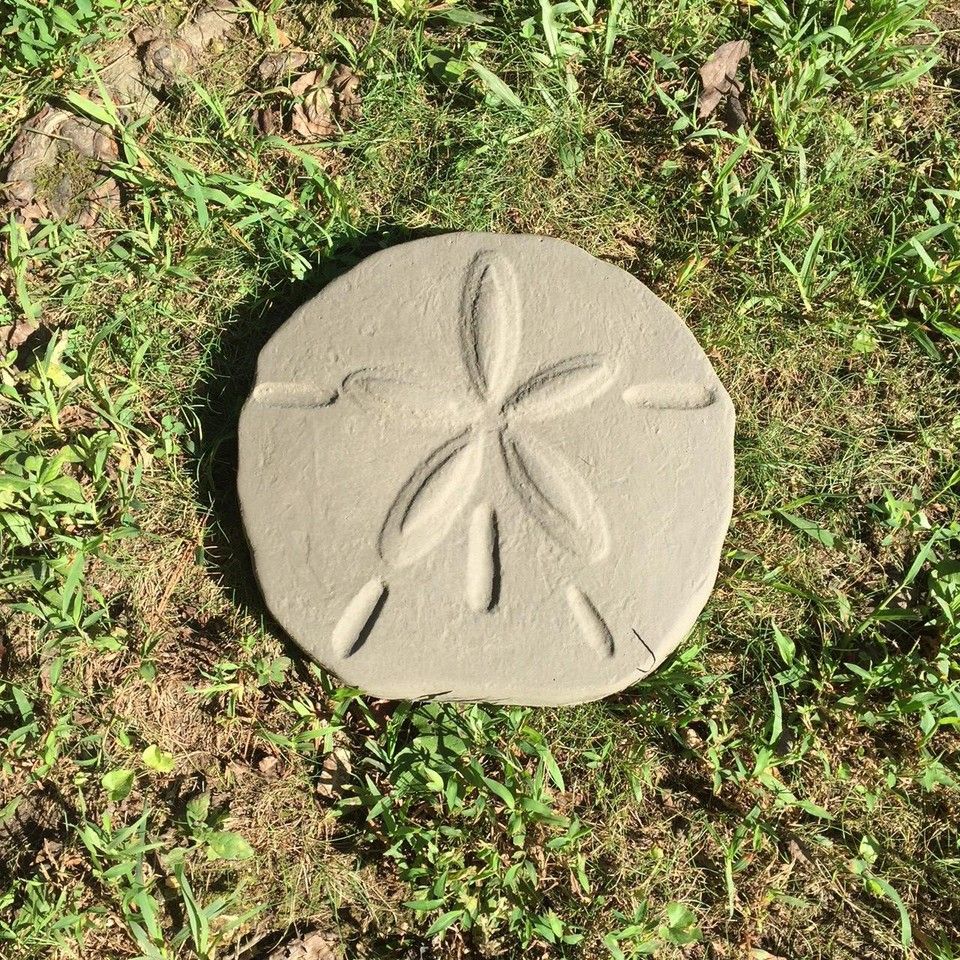
Congratulations. You’ve done it. Now it’s time to put your beautiful sand dollar stepping stones to good use.
- Planning: Map out where you want your stepping stones to go. Consider the layout and spacing.
- Digging: Dig shallow holes for each stepping stone, ensuring they are level with each other.
- Placement: Carefully place your stepping stones in the holes.
- Filling the Gaps: Fill the gaps around the stones with gravel, mulch, or whatever material complements your garden design. And there you have it. Your very own, handcrafted sand dollar stepping stones, adding a touch of coastal charm to your outdoor space. I hope you enjoy this project, and I can’t wait to see what you all create.
Creating sand dollar stepping stones is a rewarding project that combines creativity, a love for the beach, and a touch of DIY magic. From gathering the supplies and preparing your sand dollars to mixing the concrete and adding the finishing touches, each step is a chance to express your unique style. So, grab your favorite sand dollars, gather your materials, and get ready to transform your backyard into a coastal paradise. Remember, crafting is all about the process, and the joy of creating something beautiful with your own hands. Happy crafting, everyone. And, as always, don’t forget to share your creations with me. I love seeing what you all come up with.