Hey everyone, it’s your friendly neighborhood mold-making guru! I’m thrilled to be sharing my passion for Celtic design mold making with you all today. This isn’t just about making molds; it’s about capturing the intricate beauty and rich history of Celtic art. It’s about taking something ancient and making it tangible, something you can hold, admire, and even share. I hope you’re ready to get your hands dirty and your minds inspired, because we’re about to embark on a fantastic adventure into this captivating craft. Let’s get started.
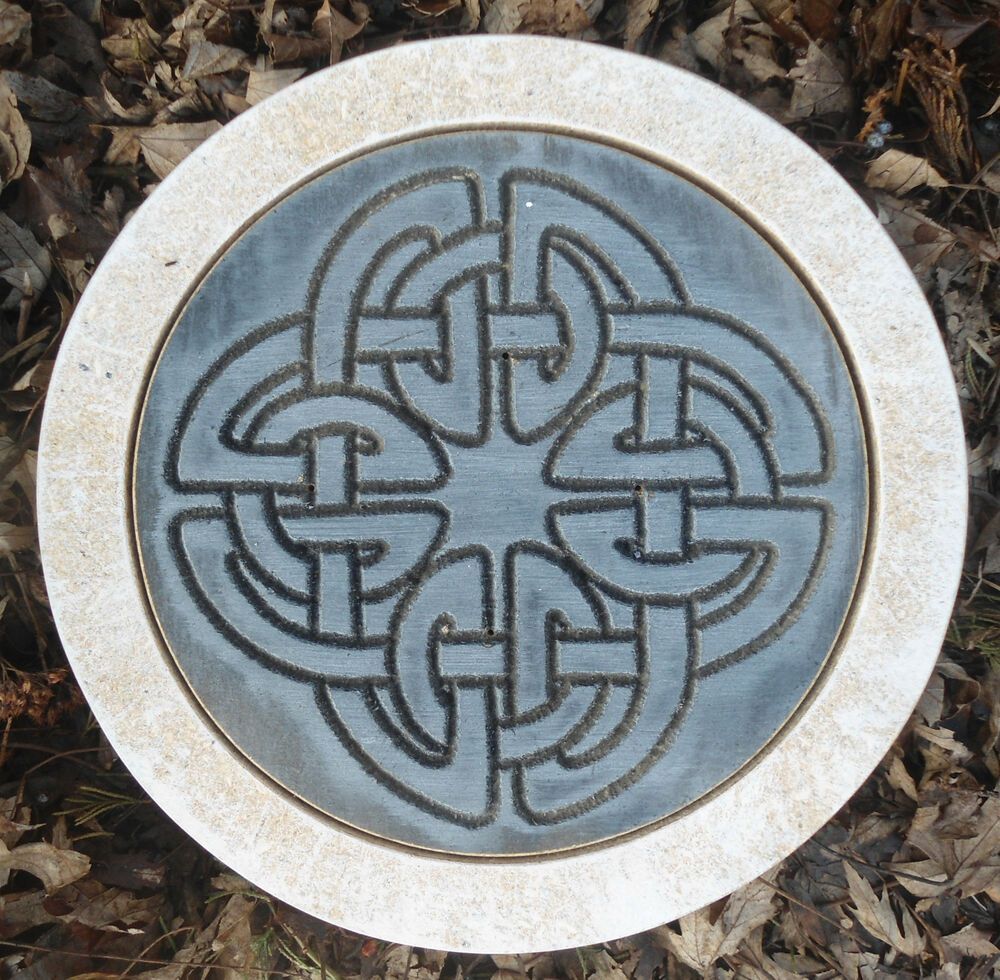
Celtic design, with its interwoven knots, spirals, and symbolic creatures, holds a timeless allure. The complexity and beauty of these designs are captivating. Learning how to replicate these designs through mold making opens up a world of creative possibilities. You can create stunning pieces for jewelry, home decor, and even functional items. But where do you begin? How do you translate the intricate beauty of a Celtic knot into a usable mold? That’s precisely what we’ll explore in this guide. We’ll go over the essential techniques, tips, and tricks I’ve gathered over years of working with these designs. We’ll make this easy to understand, even if you’re a beginner. Prepare to unleash your inner artisan and bring these age-old patterns to life!
Choosing Your Design and Materials
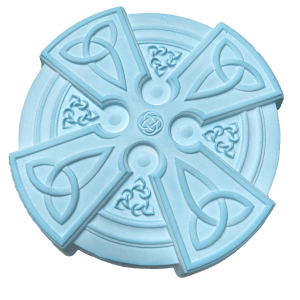
First things first: you have to pick your design. The internet is full of free Celtic knot patterns, or you can sketch your own. Start simple, especially when you’re starting out. A single knot or a basic spiral is a great place to begin. And remember, you can always scale up your designs later.
Next, you need to choose your material for the master. This is the original piece you’ll be making your mold from. Good choices include:
- Sculpting wax: Easy to shape and detail.
- Polymer clay: Bakes hard, holds detail well.
- 3D-printed masters: Provides highly intricate detail.
For mold making, you’ll want to use silicone. It’s flexible, durable, and great at grabbing all those details from the master. There are many different types of silicone, so choose one that’s right for your project. You’ll also need a mold box (which can be anything from a plastic container to a custom-built box), release agent, and tools for mixing and pouring.
Preparing Your Masterpiece: The Art of Detailing
Once you’ve selected your design and material, it’s time to create the master. This is where your artistic vision comes to life! Take your time, and pay close attention to the details.
- Cleanliness is key: Make sure your master is free of dust, debris, and any other impurities. This will ensure a clean mold.
- Smooth surfaces: Sand or smooth your master to remove any imperfections. This will help with the final product.
- Undercuts: Avoid undercuts, which are areas that the mold can’t release from. You can do this by making sure all your lines taper slightly. If your design has undercuts, you might need a two-part mold, which is more complex, but totally doable with practice.
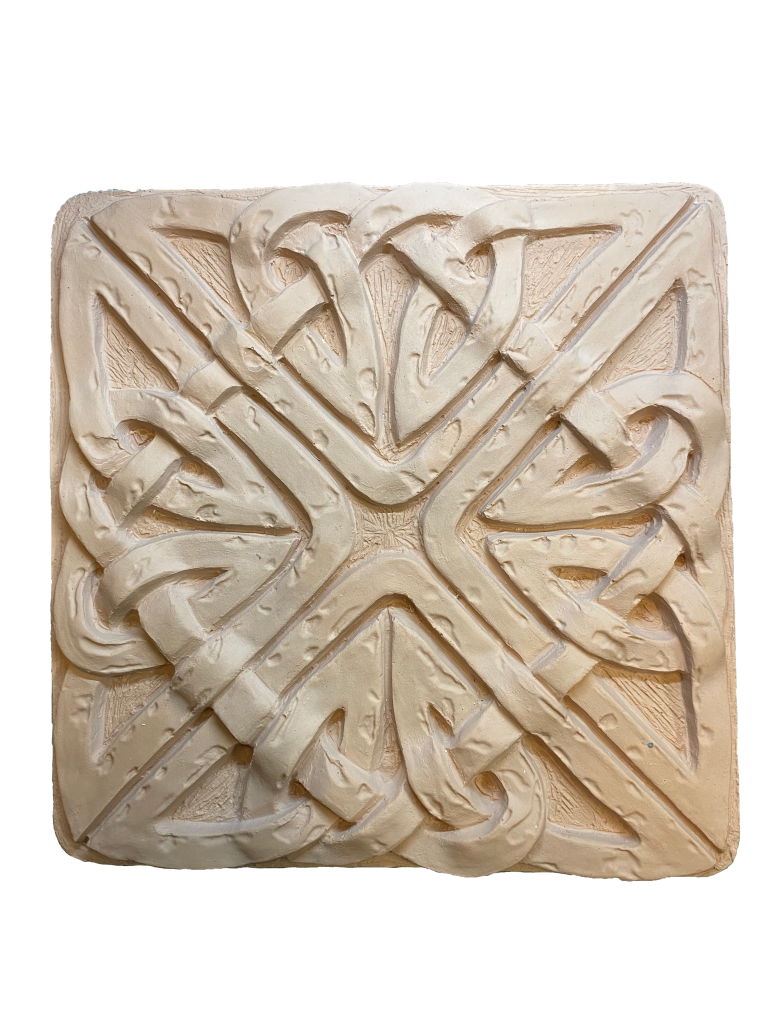
For instance, when crafting a Celtic knot, pay attention to the interlacing. Ensure the strands flow seamlessly, and that the knot is balanced. The more effort you put into your master, the better the final mold will be.
The Molding Process: Step-by-Step Guide
Now, let’s get to the fun part: mold making. Here’s a straightforward guide:
- Prepare the mold box: Make sure your mold box is clean and properly sealed. Apply a release agent to the box and the master. This prevents the silicone from sticking.
- Mix the silicone: Follow the manufacturer’s instructions for mixing the silicone. This usually involves mixing two components together. Work quickly, as silicone has a limited pot life.
- Pour the silicone: Slowly pour the silicone over your master. Pour from a low height to minimize air bubbles. Make sure the master is completely covered.
- De-gassing (Optional but recommended): If you have a vacuum chamber, de-gassing the silicone can remove air bubbles for a perfect mold.
- Curing: Let the silicone cure according to the manufacturer’s instructions. This can take anywhere from a few hours to a day.
- Demolding: Once the silicone is fully cured, carefully remove the mold from the box and separate it from the master. This is where you will see your work pay off.
Mastering Two-Part Molds (When You Need Them)
Sometimes, your Celtic design will have undercuts, making a single-part mold impossible. This is where two-part molds come into play. The process is a bit more involved, but the results can be spectacular. Here’s a simplified overview:
- Prepare the first half: Follow the steps above for the first pour, but only pour half-way up the master.
- Create a registration system: Before the silicone cures, add registration keys (small bumps or divots) to the exposed silicone. These will help align the two halves of the mold later.
- Apply release agent: Once the first half has cured, apply a generous amount of release agent to the first half of the mold and the master.
- Pour the second half: Pour the second half of the silicone, ensuring it covers the remaining part of the master.
- Cure and demold: Let it cure, then carefully separate the two halves of the mold and remove the master. You now have a two-part mold ready for casting!
Casting Your Celtic Creations
Once your mold is ready, it’s time to cast! There are many different materials you can use, including:
- Resin: Great for detail and durability.
- Metal clay: Allows you to create stunning metal pieces.
- Epoxy resin: Excellent strength and durability.
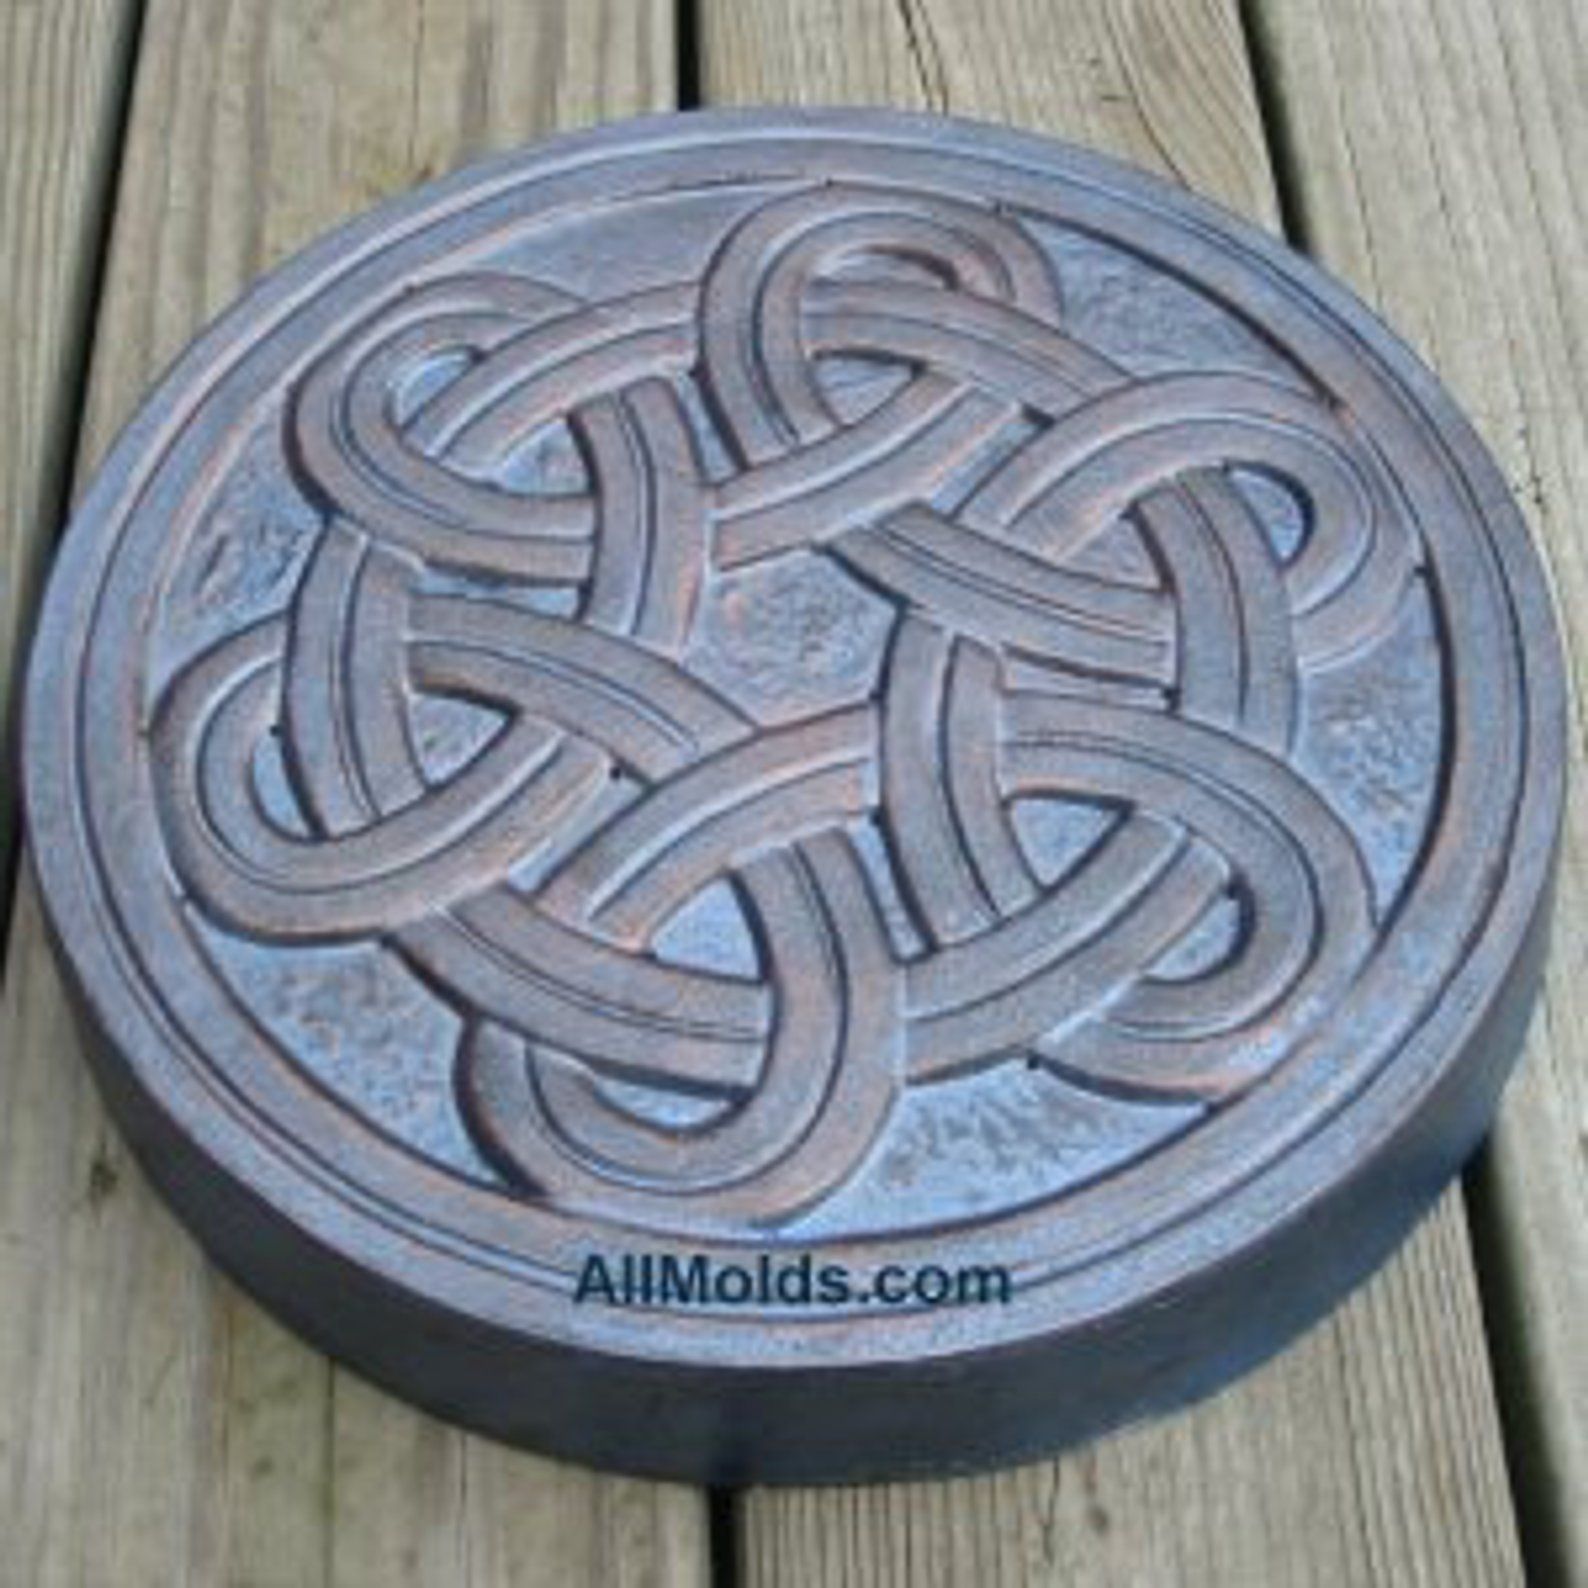
Follow the instructions for your chosen casting material. Pour the material into the mold, let it cure, and then demold your beautiful Celtic design. You might need to trim or finish your casted piece to remove any imperfections. If you’re using resin, you can add colorants, glitters, or other effects to really make your creations pop. Experiment and have fun with it.
Remember to always work in a well-ventilated area, and wear appropriate safety gear like gloves and eye protection, particularly when working with resins.
Troubleshooting and Refining Your Skills
Mold making is a skill that improves with practice. Don’t get discouraged if your first few attempts aren’t perfect. Here are some common issues and how to fix them:
- Air bubbles: Use a vacuum chamber or pour the silicone slowly from a low height.
- Tears in the mold: Use high-quality silicone and handle the mold with care.
- Poor detail: Make sure your master has crisp lines and that the silicone is fully cured.
Keep learning, keep experimenting, and don’t be afraid to push your boundaries. Watch videos, read articles, and join online communities to connect with other mold makers. Each project is a chance to refine your techniques and expand your skillset. The more you practice, the better you’ll become. And remember, even the most experienced artists started somewhere! Be patient with yourself, and enjoy the journey of crafting these timeless designs. You will get there. And don’t forget to have fun; it is very important.
Mold making for Celtic designs is a rewarding craft that blends artistry with technical skill. From selecting your design and materials to mastering the pouring process and demolding your finished piece, each step is a step towards creating something truly special. Remember, the key is practice, patience, and a passion for the art. So go forth, create, and share your Celtic creations with the world. I can’t wait to see what you all come up with. Happy crafting, and may your molds always be successful. Sláinte!