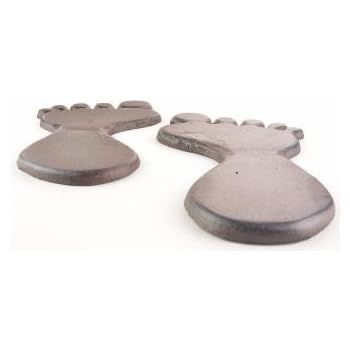
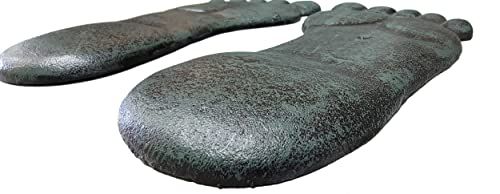
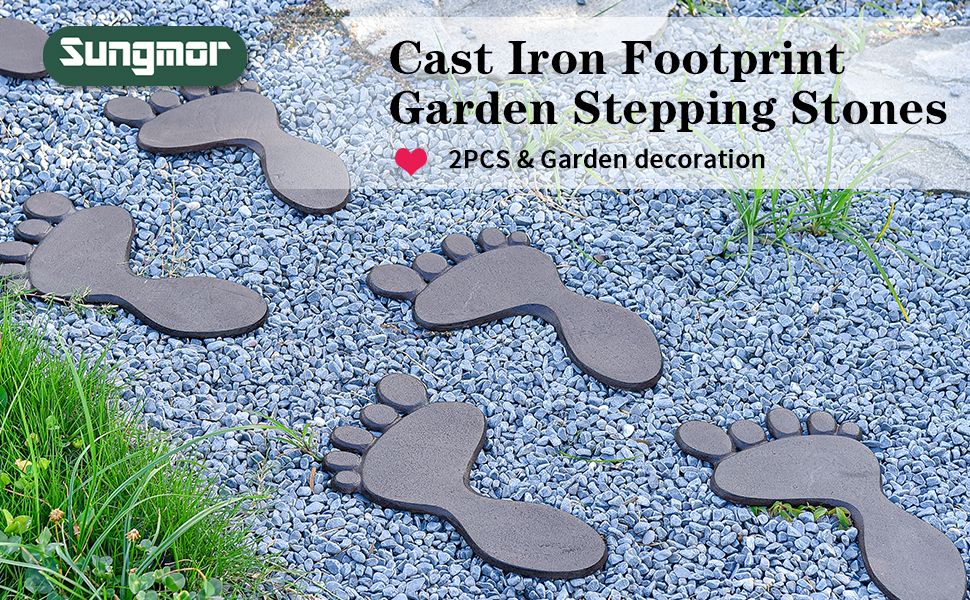
A garden path is more than just a way to get around; it’s a journey. And what better way to personalize that journey than with a path of cast iron footprint stepping stones? These charming additions bring a touch of whimsy, character, and enduring beauty to any outdoor space. They’re a wonderful way to leave your mark, literally and figuratively, on your garden. I’m going to share with you everything you need to know to create a beautiful and long-lasting garden path using these unique stepping stones, from planning to installation and maintenance.
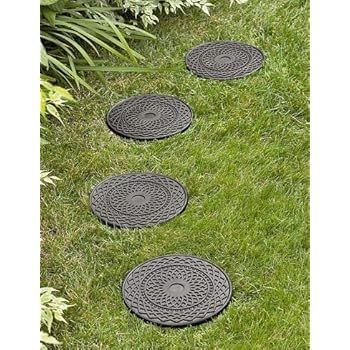
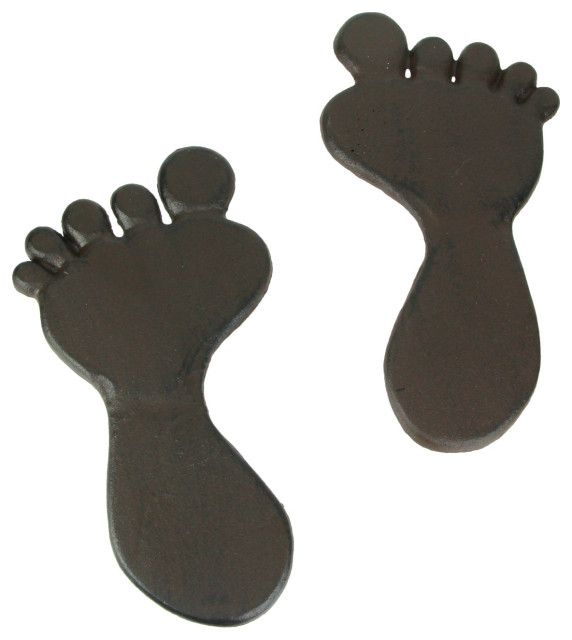
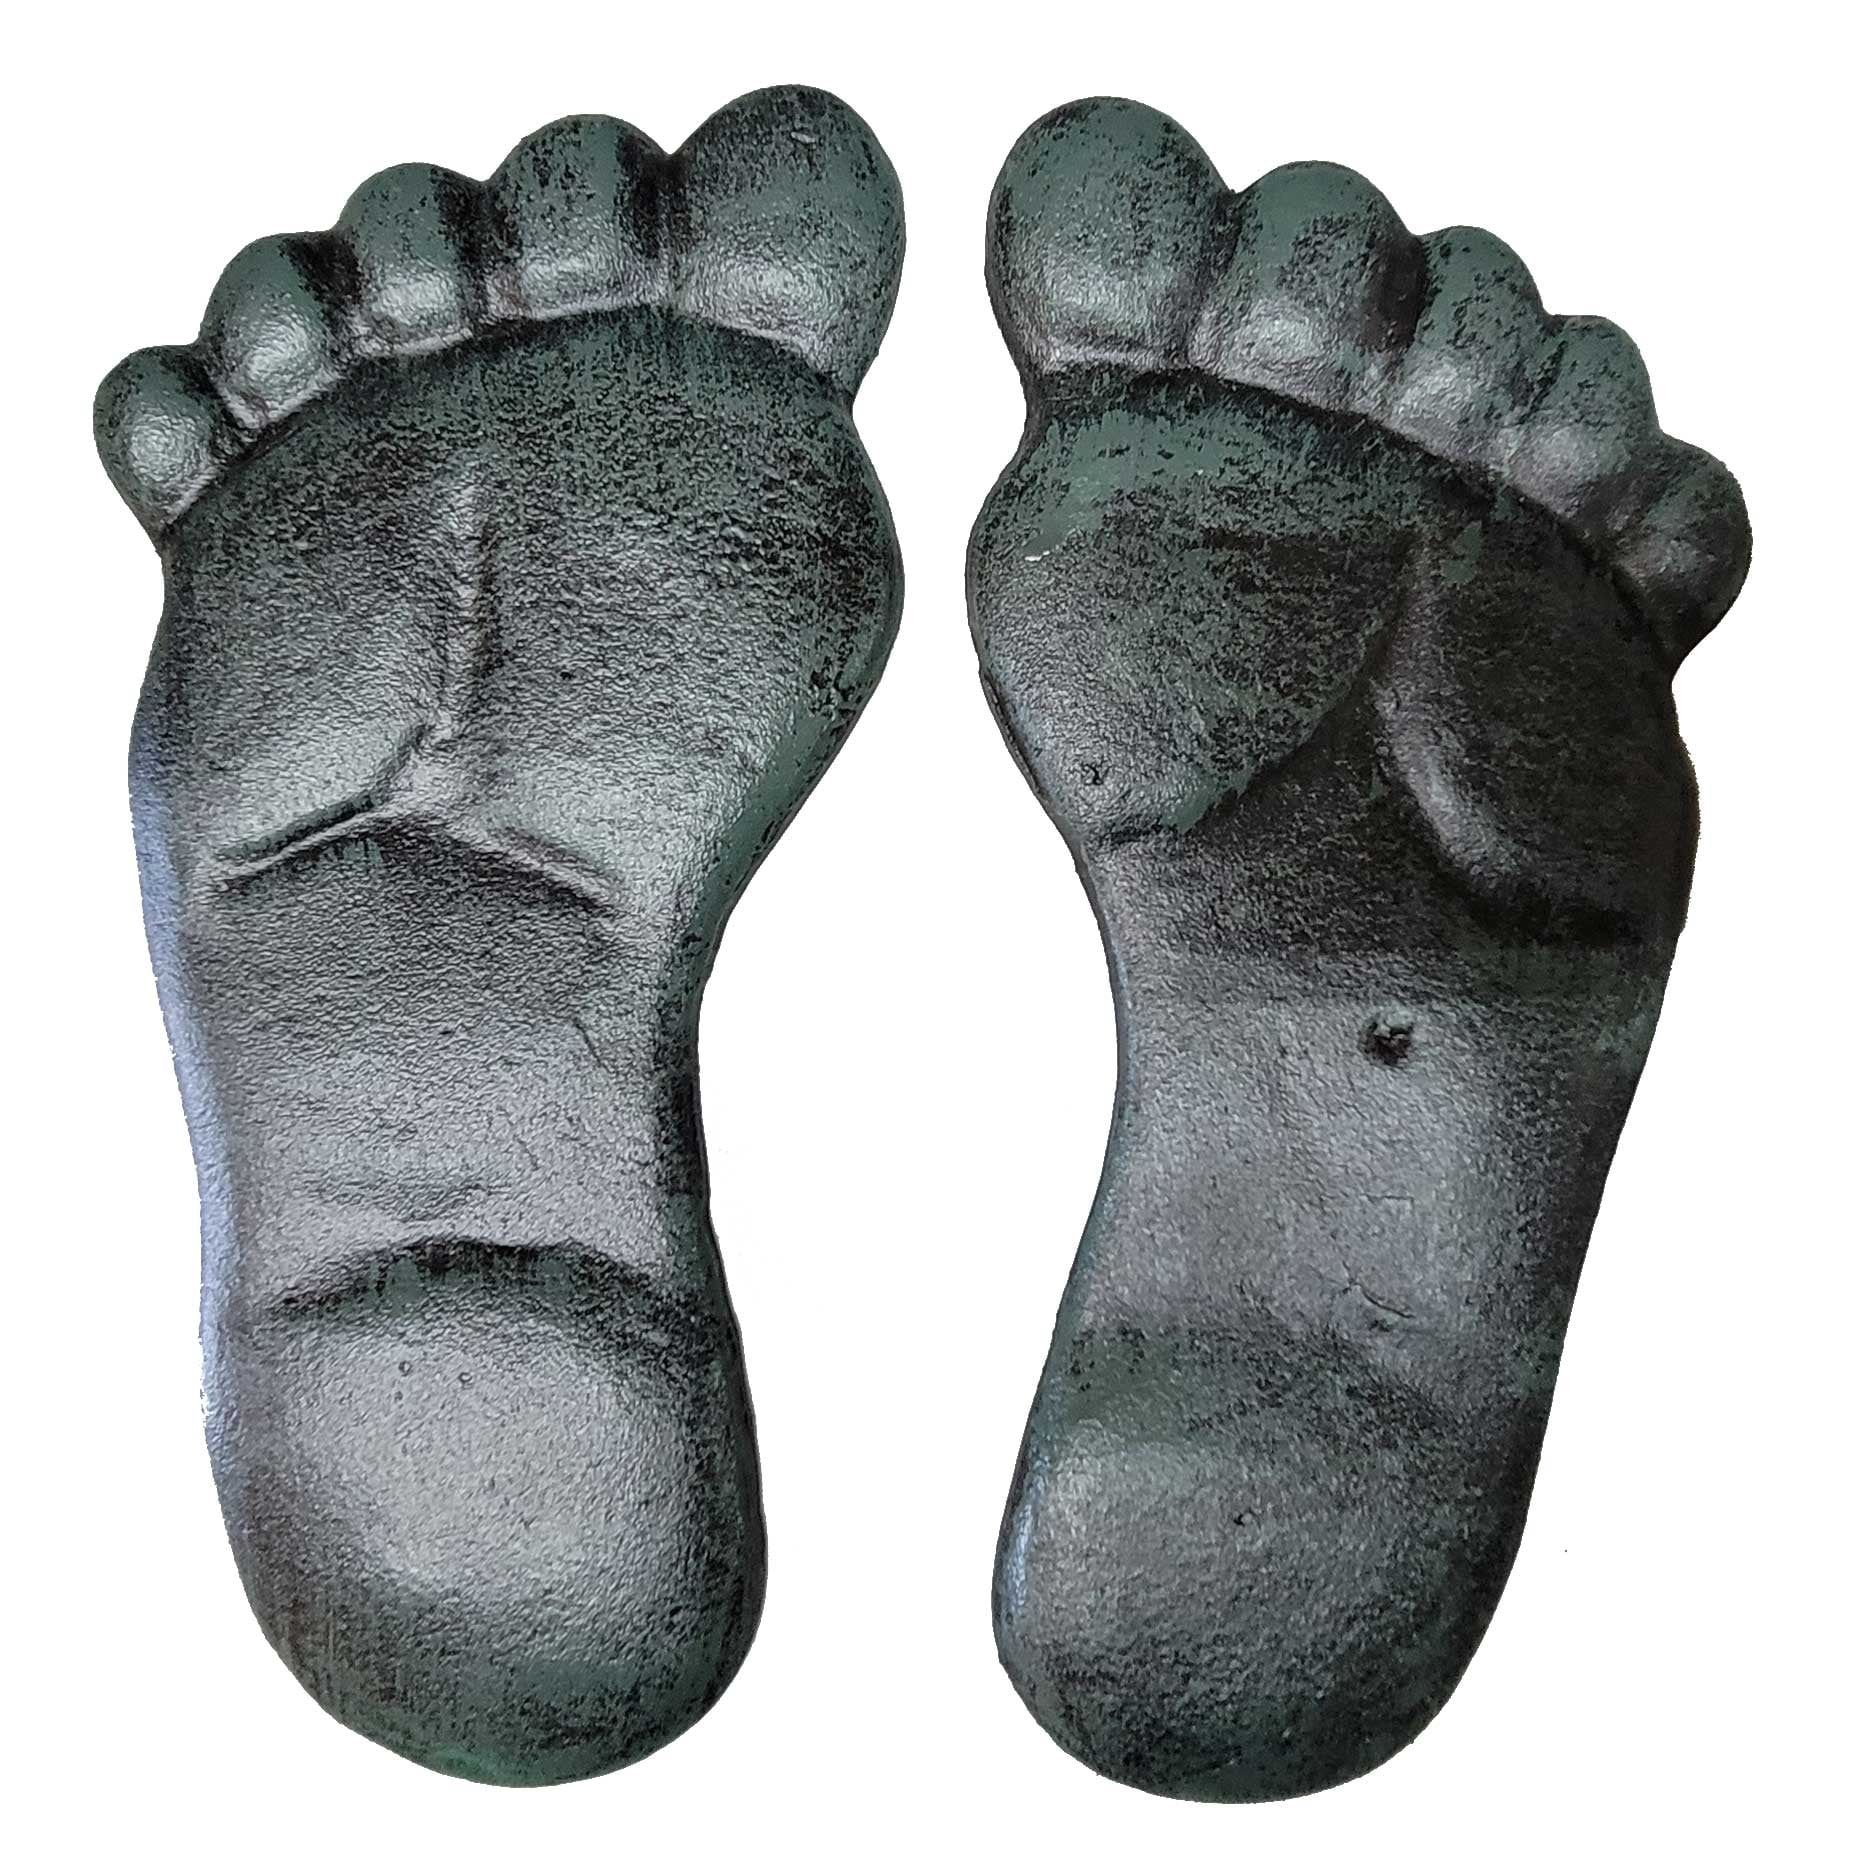
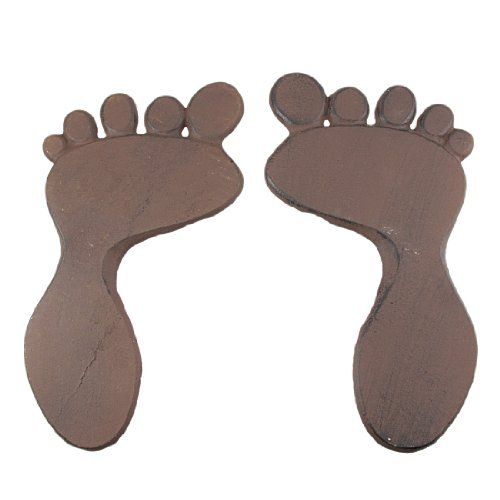
Why choose cast iron footprint stepping stones? Simple: they’re classic, robust, and utterly delightful. Unlike some other materials, cast iron is built to withstand the elements, promising years of service. They’re heavy, so they won’t budge easily, and their unique shape adds a playful element to your garden design. Plus, they’re a great conversation starter. Imagine the smiles as guests ‘follow’ your footprints through your garden. This project is perfect for both seasoned gardeners and beginners. It’s a satisfying way to add personality to your outdoor haven.
Planning Your Path: Design and Layout
Before you start digging, planning is key. First, consider the location and function of your path. Where do you want it to go? Does it connect different garden areas, lead to a seating area, or simply provide a scenic route? Sketch out a plan, taking into account existing plants, structures, and the overall garden design.
- Path Width: A standard path width is around 18-24 inches, but you can adjust it to fit your space and preferences. For footprint stepping stones, ensure there’s enough space between stones for comfortable stepping.
- Path Length: Measure the total distance your path will cover.
- Stone Placement: Experiment with the layout. Lay the stones out on the ground before you begin the installation. Think about the spacing – typically, a comfortable stride length between stones is about 12-18 inches.
- Curve Appeal: Paths don’t have to be straight. Curves can add visual interest and soften the landscape. Use a garden hose or rope to mark out curved sections, and adjust your stone placement accordingly. Consider the sight lines; will the path be seen from a specific vantage point? Try to make the path flow so that the visitor feels welcome to continue exploring.
Gathering Your Materials and Tools
Once you’ve planned your path, gather your supplies. You’ll need:
- Cast Iron Footprint Stepping Stones: Determine the number you need based on your path length and spacing.
- Base Material: Crushed gravel or compacted sand will provide a stable base.
- Edging (Optional): Consider using edging materials, such as bricks, landscape timbers, or metal edging, to define the path’s boundaries and prevent erosion.
- Landscape Fabric (Optional): This helps to prevent weeds from growing through your path.
- Tools: A shovel, a level, a measuring tape, a tamper (or a piece of wood to compact the base), a wheelbarrow (if needed), and gloves are essential.
Installing Your Footprint Path: Step-by-Step Guide
Now for the fun part: the installation. Here’s a step-by-step guide:
- Preparation: Clear the path area of any grass, weeds, and debris.
- Excavation: Dig out the path to a depth of about 4-6 inches, depending on the base material you are using.
- Base Layer: Add a layer of crushed gravel or compacted sand, about 3-4 inches deep. Use a tamper or piece of wood to compact the base thoroughly. This is the most important step, so don’t skimp on it.
- Landscape Fabric (Optional): If you’re using landscape fabric, lay it over the compacted base, overlapping the edges.
- Stone Placement: Place the footprint stepping stones onto the prepared base, ensuring the spacing is consistent. Use a level to check that each stone is level with the others. Adjust the base material under each stone as needed.
- Edging (Optional): Install your edging materials, if using, around the perimeter of the path.
- Backfill (Optional): You can fill the spaces between the stones with gravel, mulch, or even ground cover plants. This helps to stabilize the stones and adds to the aesthetic appeal.
Tip: Take your time and work methodically. It’s always better to get the placement right the first time.
Choosing the Right Base and Infill Material
The base material is the foundation of your path’s stability. Crushed gravel, also known as road base, is a great choice because it drains well and compacts firmly. Compacted sand is another option, but it may shift over time, so make sure it is well compacted.
For infill (the material between the stones), consider these options:
- Gravel: Provides good drainage and a neat appearance.
- Mulch: Adds a natural look and helps retain moisture. It will need to be replenished periodically.
- Ground Cover Plants: Adds a touch of green and is a low-maintenance option. Be sure to select plants that can withstand foot traffic.
Maintaining Your Footprint Path: Keeping it Beautiful
Maintaining your cast iron footprint path is relatively easy. Here are some tips:
- Weed Control: Regularly remove weeds and debris from the path. Landscape fabric will help, but some weeds may still pop up.
- Cleaning: Sweep or hose down the stones to remove dirt and debris.
- Repairs: If a stone shifts or becomes uneven, simply adjust the base material underneath it.
- Edging Maintenance: Check your edging materials periodically and make any necessary repairs or replacements. This is especially important for wood edging, which can rot over time.
- Winter Care: In areas with harsh winters, consider removing snow and ice from the path with a plastic shovel to avoid damaging the stones. Cast iron is robust, but excessive weight or force can cause issues. And it is important to be carefull during the winter months.
Adding Personal Touches and Enhancements
Once your path is in place, consider adding personal touches to make it truly unique:
- Lighting: Install solar-powered path lights or string lights along the path to illuminate it at night.
- Planting: Plant flowers, shrubs, or ground cover plants along the path to enhance its beauty.
- Decorations: Add decorative elements, such as garden statues, wind chimes, or small water features, along the path.
- Seating: Incorporate a bench or seating area at the end of the path to create a relaxing retreat.
Get creative and let your personality shine through. Your garden path should be a reflection of you and your space, so don’t be afraid to experiment and try different ideas.
Creating a garden path with cast iron footprint stepping stones is a rewarding project. It’s a chance to add a touch of whimsy, create a functional pathway, and express your personal style. By following these steps and adding your own personal touches, you can design a beautiful and enduring path that you and your guests will enjoy for years to come. So, get out there, get your hands dirty, and start stepping your way to a more beautiful garden, and a more relaxed you. Remember, the journey is just as important as the destination – especially when it involves a charming garden path.