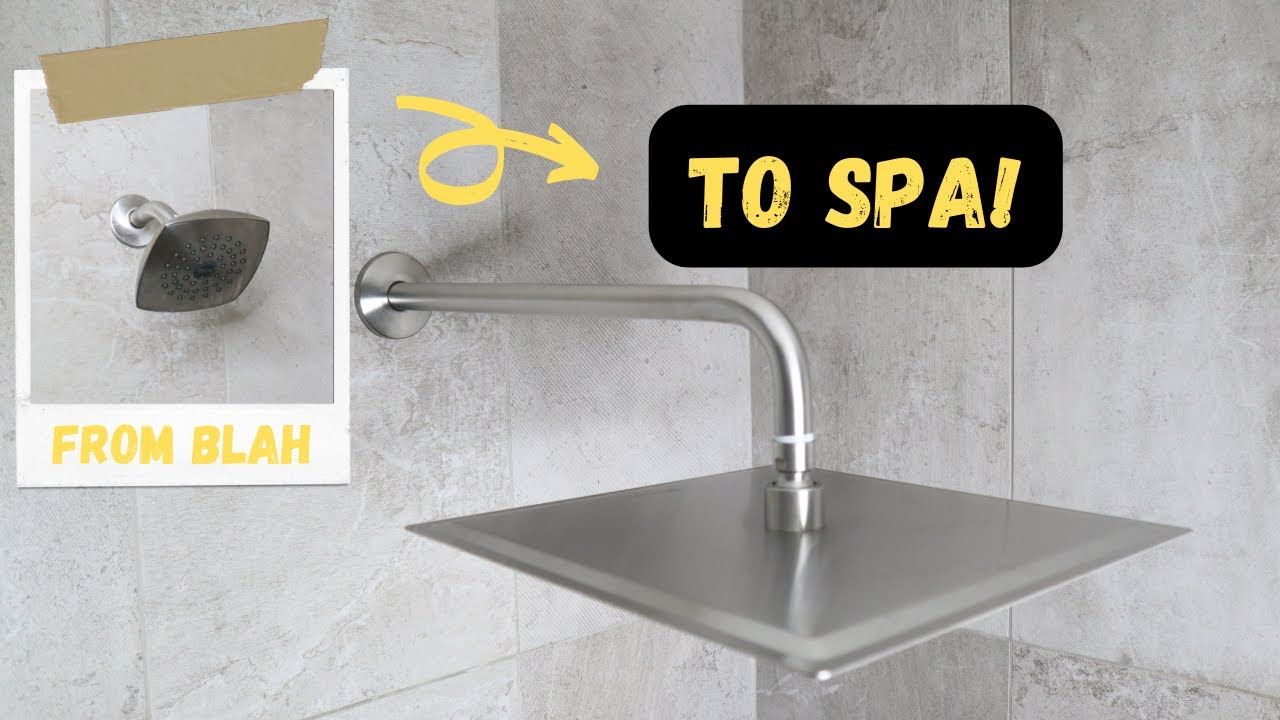
Picture this: you’re standing in your bathroom, staring at a regular shower head, and suddenly you dream of that luxurious rain shower experience. Maybe you’ve seen those beautiful installations in magazines or on social media, and you think, ‘I want that!’ But then you pause. What if you’re worried about damaging your walls? What if you’re renting and can’t make permanent changes? You’re not alone. Many people face this exact challenge. The good news? You don’t have to give up on that dream. With the right approach, you can enjoy a rain shower head without any wall damage.
Setting up a rain shower head doesn’t have to be a complicated or risky process. Whether you’re renovating your bathroom, upgrading your current setup, or simply looking for a new way to enjoy your daily shower routine, installing a rain shower head can transform your space. However, many people hesitate because they’re concerned about wall damage or lack of experience. This guide aims to remove those barriers. We’ll walk you through everything you need to know to safely and effectively install a rain shower head without leaving any marks or causing damage to your walls. From understanding the different types of shower heads to choosing the right mounting hardware, we cover it all.
Understanding Your Options
Before diving into installation, it’s important to understand the different types of rain shower heads available. There are several styles, each offering unique benefits. Some come with built-in hoses, while others require separate connections. Some are designed for fixed mounting, and others offer flexibility with adjustable arms. Consider your bathroom layout, water pressure, and personal preferences when selecting one. For example, a handheld shower head might be perfect for small bathrooms, while a ceiling-mounted option works better in larger spaces. Additionally, some shower heads feature multiple spray settings, allowing you to customize your shower experience. Think about whether you prefer a steady stream or a more relaxing rainfall feel. Understanding these options helps you choose the best fit for your needs and space.
Essential Tools and Materials
Getting the right tools makes all the difference in a successful installation. You’ll need basic tools like a screwdriver set, wrenches, and possibly a drill if your walls require new holes. Measuring tape helps ensure proper placement, while plumber’s tape prevents leaks. Other helpful items include a level to keep things straight, and possibly a stud finder if you’re mounting to drywall. Before starting, check that you have all necessary materials. Sometimes, the most common mistake is forgetting essential items like washers or O-rings. These small components can make or break your installation. Having everything ready ensures smoother progress and fewer frustrations along the way. Don’t overlook the importance of having a clean workspace too – it makes everything easier and safer.
Checking Your Existing Setup
Before installing anything new, take a close look at your current shower setup. Check the water pressure and flow rate, as these affect how well your new shower head performs. If you have low water pressure, a rain shower head might not work as effectively. Also, verify that your existing plumbing can accommodate the new fixture. Some older homes may require additional modifications. Look for any signs of wear or damage in your current system. A quick test of the water temperature and pressure can prevent future issues. If you notice problems with your existing setup, it might be wise to address those before installing the new shower head. Remember, a solid foundation is key to a successful upgrade.
Choosing the Right Mounting Method
The mounting method depends largely on your wall type and shower configuration. For example, if you have a standard bathtub with a fixed shower arm, you’ll likely want to mount directly to that arm. If you’re installing in a shower enclosure, consider using a ceiling mount or wall bracket. Some shower heads are designed specifically for certain mounting styles. For instance, a ceiling-mounted rain shower requires a different approach than a wall-mounted version. Always check the manufacturer’s specifications to ensure compatibility. If you’re unsure, consult with a professional or do extra research. The wrong mounting method can lead to leaks or even damage to your walls. Taking time to choose correctly pays off in the long run.
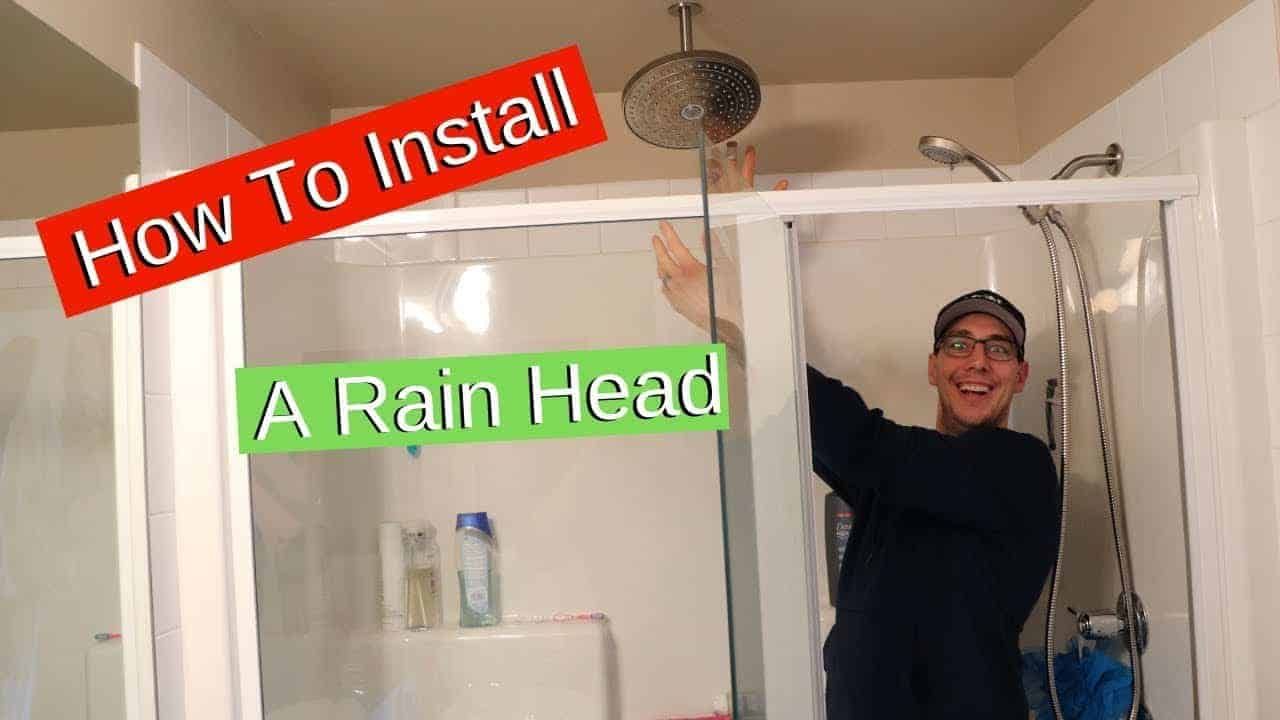
Step-by-Step Installation Process
Now comes the fun part – actually putting it together! Start by turning off the water supply to prevent any accidents. Next, remove your old shower head carefully. You might need a wrench for stubborn connections. Once removed, clean the area thoroughly and inspect for any damage. Apply plumber’s tape to the threads of the new shower head, making sure to wrap it correctly. Screw the new head onto the shower arm until snug, but don’t over-tighten. Test the connection by turning the water back on slowly. Watch for any signs of leakage. If everything looks good, adjust the angle and position to your liking. Finally, turn on the water fully to test the full performance of your new shower head. This process might take a few minutes, but it’s worth every second.
Avoiding Common Mistakes
Even experienced DIYers can stumble over simple errors. One common mistake is over-tightening the shower head, which can strip the threads or crack the fixture. Another frequent issue is neglecting to use plumber’s tape, leading to leaks. Some people forget to check if their shower arm can support the weight of a heavy rain shower head. Additionally, improper alignment can result in an unattractive installation. Always double-check measurements before drilling or mounting anything. Take your time and don’t rush through steps. If something feels wrong, stop and reassess. Remember, it’s better to be careful than to deal with repairs later. Learning from past mistakes helps improve future projects.
Maintenance Tips for Longevity
Once installed, proper maintenance keeps your rain shower head performing well for years. Regular cleaning prevents mineral buildup and keeps water flowing smoothly. Depending on your water quality, you might need to clean monthly or quarterly. Simply remove the shower head and soak it in vinegar to dissolve any deposits. Check the connections periodically for signs of wear or corrosion. Replace washers or O-rings if needed to maintain a tight seal. Keep an eye on the spray pattern – if it becomes uneven, it might be time for a deeper clean or replacement. Following these simple steps ensures your investment continues to deliver that spa-like experience you desire.
When to Call a Professional
While many installations are straightforward, there are situations where hiring a professional makes sense. If you’re dealing with older plumbing systems, complex layouts, or have concerns about structural integrity, it’s better to seek expert help. A professional can assess potential risks and provide solutions that ensure safety and longevity. Sometimes, the cost of fixing a damaged wall or dealing with leaks far exceeds the price of professional installation. If you’re unsure about any aspect of the process, don’t hesitate to ask for help. Remember, your peace of mind is worth more than a few dollars saved on labor costs. Professionals bring experience and knowledge that can save you from costly mistakes.
Installing a rain shower head doesn’t have to be intimidating or risky. With proper preparation, the right tools, and attention to detail, anyone can accomplish this project successfully. The key is understanding your options, choosing the correct mounting method, and following through carefully. Don’t let fear of wall damage stop you from enjoying a luxurious shower experience. Many people find that the process is simpler than they expected, and the results are incredibly satisfying. Whether you’re doing this for yourself or planning a bathroom renovation, remember that small changes can make big differences in daily comfort. Take your time, stay patient, and enjoy the journey toward your ideal shower setup. Your future self will thank you for making this upgrade.


![How To Add A Rain Shower Head To Existing Shower? [Upgrade Your Shower] within Install Rain Shower Head Without Drilling](https://dahomengarden.com/wp-content/uploads/2025/10/how-to-add-a-rain-shower-head-to-existing-shower-upgrade-your-shower-within-install-rain-shower-head-without-drilling.jpg)