Imagine walking into your bathroom and seeing a perfectly installed shower caddy that looks like it’s been there forever. No holes, no damage, just a secure hold that keeps everything in place. That’s totally possible, and it’s something you can do yourself with the right approach.
We’ve all been there. You’re standing in your bathroom, looking at that empty space above the tub or shower, thinking ‘I really need a caddy.’ But then you pause. What if you’re worried about drilling holes? What if you’re renting and can’t make permanent changes? What if you’re afraid of damaging that beautiful tile or drywall? Those concerns are completely valid, and they’re shared by thousands of people every year. The good news? You don’t have to choose between functionality and preserving your walls. There are several ways to mount a shower caddy that won’t leave any marks behind. Let’s explore those options together.
Understanding Different Wall Types
Before we get into mounting methods, it’s important to know what you’re working with. Your wall type will determine which technique works best.
Drywall is probably the most common wall type you’ll encounter. It’s made of gypsum board and paper covering, and while it’s easy to work with, it’s also fragile. If you’re using drywall anchors or screws, you need to be careful.
Tile walls present a whole new set of challenges. They’re hard, brittle, and if you drill into them incorrectly, you’ll end up with cracks or chips. Many people avoid drilling into tile altogether.
Concrete and brick walls are sturdy but require special tools and techniques. These aren’t common in residential bathrooms, but it’s worth knowing about them.
Glass walls are tricky because they’re smooth and slippery. They also don’t hold screws well without proper adhesion.
Understanding these differences helps you pick the right method for your situation.
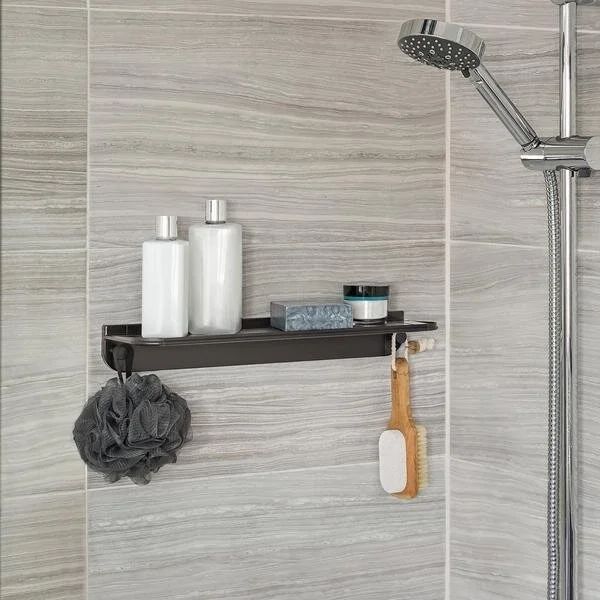
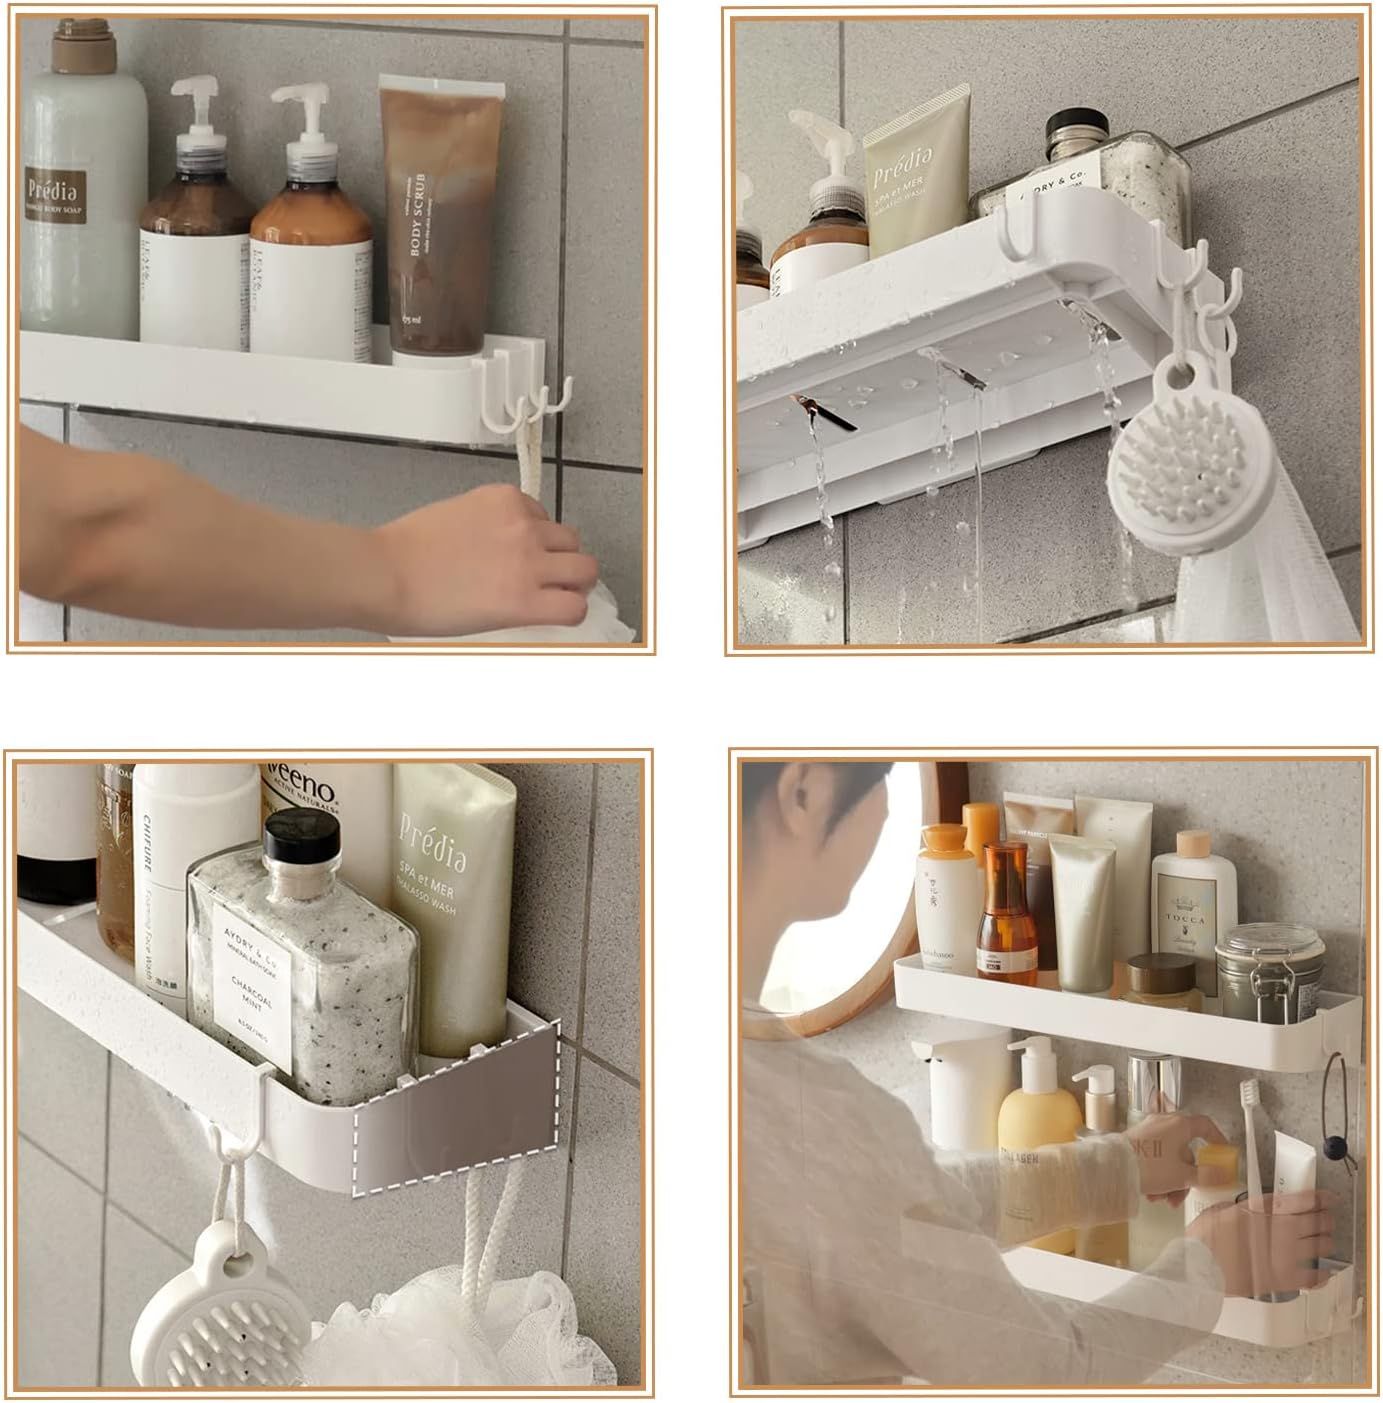
Adhesive Mounting Solutions
Adhesive mounting is often the safest option when you want to avoid holes. These systems use strong adhesives to stick directly to your wall surface.
The key is choosing the right adhesive for your wall material. For drywall, you might use double-sided tape or specialized mounting squares. For tile, you’ll want to look for adhesives specifically designed for ceramics or glass surfaces.
These options work best with lightweight caddies. Think small baskets or small shelves rather than heavy-duty organizers that hold lots of items.
Pro tip: Always test the adhesive first. Apply it to a small area and let it sit overnight before hanging anything heavy. This prevents accidents and gives you peace of mind.
Some people swear by 3M products, while others prefer specialized bathroom mounting adhesives. Both can work well, depending on your wall type and load requirements.
Screw-Free Hooks and Clips
This method uses hooks or clips that don’t require screws or nails. Instead, they rely on friction or pressure to stay in place.
Wall suction cups are a classic example. They work by creating a vacuum seal against smooth surfaces. These are great for glass or tile but may not last long on textured walls.
Spring-loaded clips are another option. They snap onto the edge of a shelf or tub, using spring tension to hold the caddy in place. These are particularly useful for temporary installations.
Magnetic strips work on metal surfaces but won’t work on typical bathroom walls. Still, if you have a metal tub or a metal shelf nearby, this could be an option.
The main benefit of these methods is their reversibility. You can remove them without leaving marks or needing to patch anything.
Pressure Mounting Systems
Pressure mounting uses the force of the wall itself to hold the caddy in place. These systems typically involve clamps or brackets that grip the edges of your tub or shower.
They’re incredibly versatile and work well on most surfaces. The pressure holds the system securely, even with moderate weight.
One popular option is the adjustable shower caddy that mounts to the sides of your tub using pressure points. These usually come with rubber gaskets that protect your tub’s finish.
Another method involves mounting a bracket to the wall using a pressure fit. This requires some precision, but the results are solid.
Pressure mounting systems are especially helpful if you’re renting or if you want to avoid making any modifications to your bathroom.
Keep in mind that these systems may need to be adjusted occasionally as the pressure can sometimes decrease over time.
Using Existing Mounting Points
Many bathrooms already have mounting points that you might not realize exist. Look for:
- Existing brackets or rails from previous installations
- Studs in the wall (though these may be hidden)
- Tub or shower edge features designed for accessories
- Any existing hardware that might support additional weight
Sometimes, a simple modification to existing hardware can save you from having to install anything new. For instance, if you have a rail that’s too short, you might be able to extend it or add a second rail.
If you’re unsure about what’s available, take a close look at your bathroom’s layout. Sometimes, a few inches of extra space can make all the difference.
This approach is particularly useful if you’re trying to avoid damage to the wall. You’re essentially working with what’s already there, rather than adding new elements.
It’s also a cost-effective solution since you’re not buying new mounting hardware.
Best Practices for Safe Installation
Whether you choose adhesive, pressure, or other methods, there are some universal best practices to keep in mind:
• Always check the weight capacity of your chosen method. A caddy that’s too heavy for your mounting system can cause problems.
• Read all instructions carefully before beginning. Some systems require specific steps or tools.
• Test the installation before fully loading the caddy. Give it a gentle shake to make sure it’s secure.
• Consider the location of your caddy. Avoid areas where water might pool or where it could be hit by direct spray.
• Plan for maintenance. Some adhesives lose strength over time, so you may need to reapply them periodically.
Also, remember that different methods work better for different situations. A lightweight caddy on a smooth wall might do fine with adhesive, but a heavy one would need something stronger. Think about what you’ll actually put in your caddy and plan accordingly.
Installing a shower caddy without damaging your walls is absolutely possible, and it’s become easier than ever thanks to modern mounting solutions. Whether you’re renting, protecting expensive tile, or simply prefer to avoid permanent changes, there are options that work for almost any situation.
The key is understanding your wall type and choosing the right mounting method. Adhesive solutions work well for light loads, while pressure mounting offers more security for heavier items. Using existing mounting points can save you money and effort.
Don’t forget to consider factors like weight limits, water exposure, and long-term durability. With the right approach, you can have a functional, attractive shower caddy that doesn’t compromise your walls. You might even find that some of these methods are so convenient that you’ll want to use them elsewhere in your home.
The next time you’re looking to organize your shower space, remember that you don’t have to sacrifice your walls for style and function. There’s a solution out there that fits your needs, your budget, and your lifestyle.