Welcome, fellow pet lovers. I’m thrilled to share a project that’s close to my heart, and I’m sure it will be to yours, too: making pawprint stepping stones. It’s a wonderful way to commemorate your beloved furry (or scaled, or feathered) friends. These stepping stones become a tangible reminder of the joy, companionship, and unconditionial love our pets bring into our lives. It’s a fun activity, a beautiful addition to your garden, and a heartfelt tribute all in one. And the best part? It’s easier than you might think. Let’s get started.
Our pets – they’re family, aren’t they? They fill our homes with laughter, cuddles, and an endless supply of unconditional love. When they cross the rainbow bridge, the sorrow is immense. Creating pawprint stepping stones is a simple but deeply meaningful way to keep their memory alive and well, right in your garden or yard. This project isn’t just about making something pretty; it’s about creating a lasting tribute to the pets who have touched our lives. Through this guide, I’ll walk you through every step, from gathering supplies to the final touches, making sure you’re equipped to create a beautiful memorial for your furry friend. So, get ready to get your hands dirty and your heart full.
Gathering Your Supplies: What You’ll Need
Before you start, let’s make sure you have everything you need. This part is important, because you don’t want to get halfway through the project and realize you’re missing something. Here’s a comprehensive list:
- Concrete Mix: You can purchase pre-mixed concrete from any hardware store. Look for concrete intended for outdoor use. A small bag will usually suffice for a few stepping stones.
- Water: Essential for mixing the concrete. Have a bucket or container of clean water ready.
- Mixing Container: A sturdy bucket or plastic tub for mixing the concrete. Make sure it’s big enough to hold the amount you plan to mix.
- Mixing Utensil: A trowel, a sturdy stick, or even a small garden hoe works well for mixing the concrete.
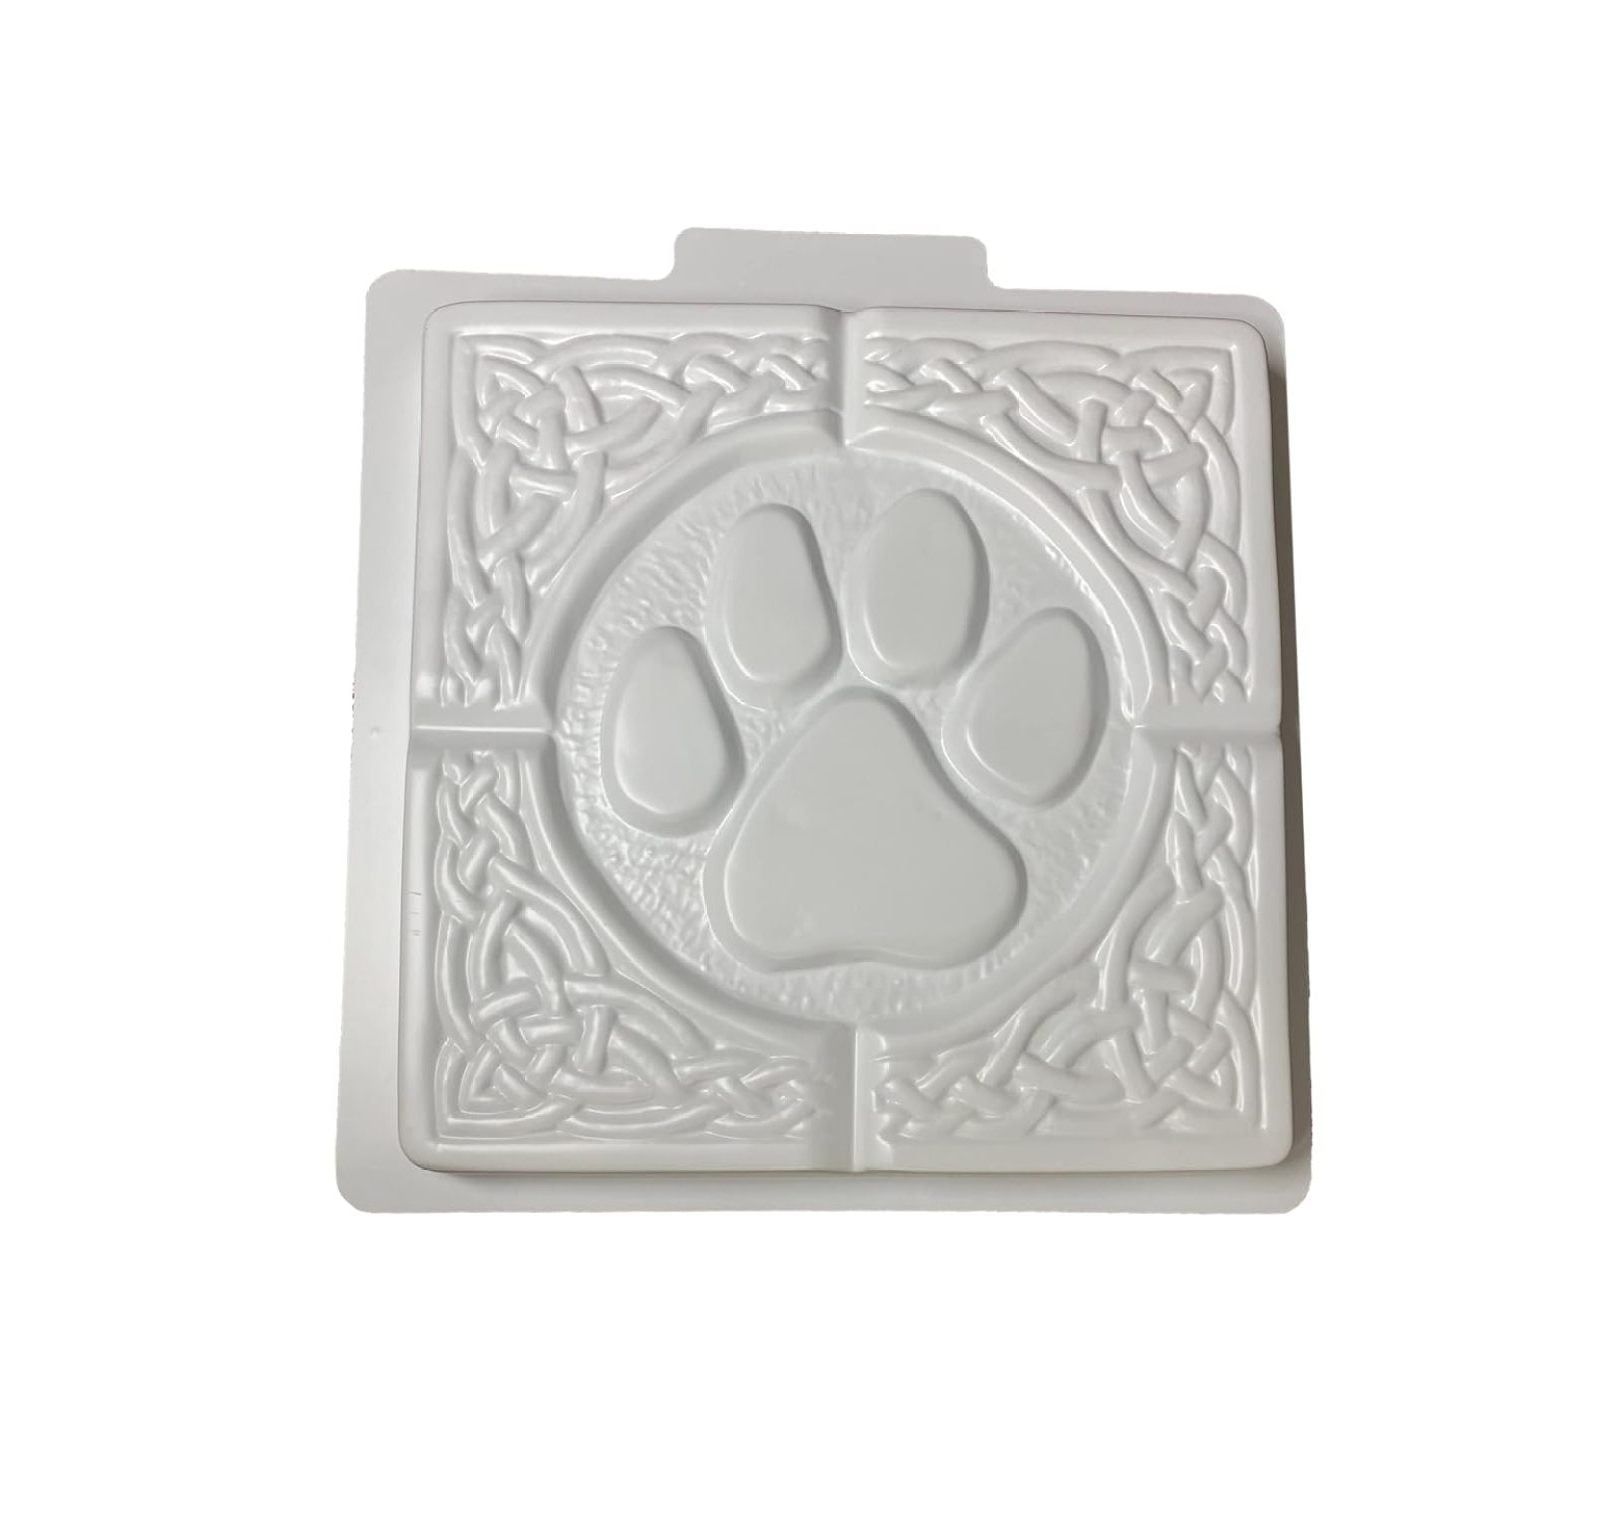
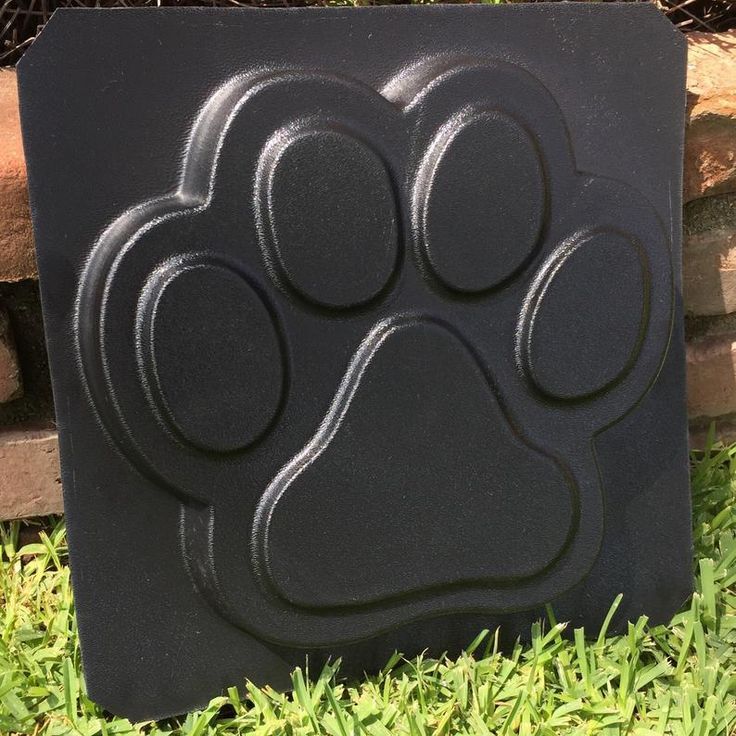
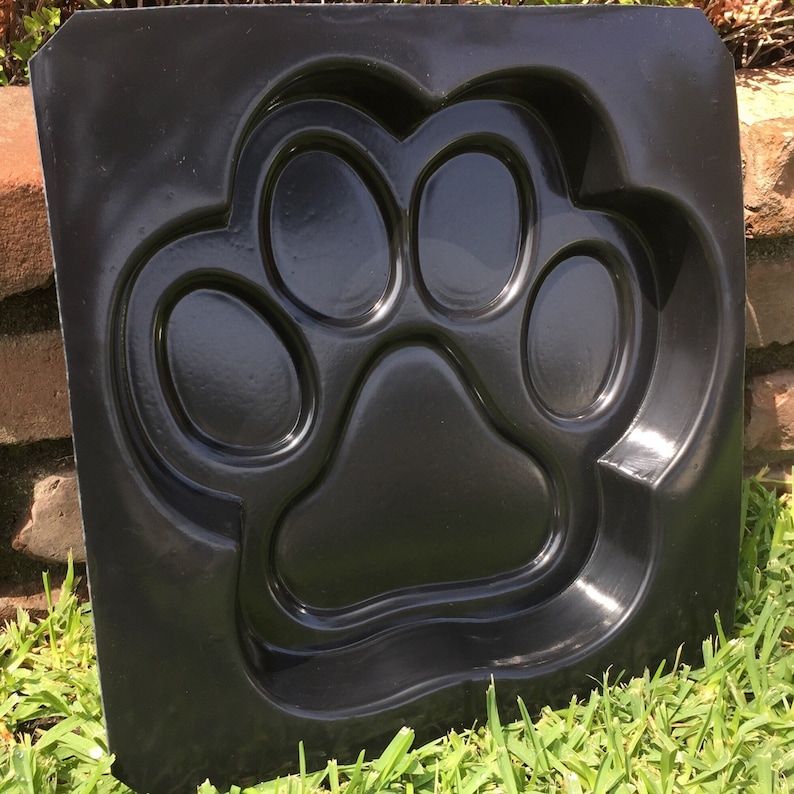
- Mold: You’ll need a mold to shape your stepping stones. You can use store-bought molds (round, square, heart-shaped), or get creative and use things like pie tins, plastic containers, or even cardboard boxes. Just make sure the material is sturdy enough to contain the wet concrete.
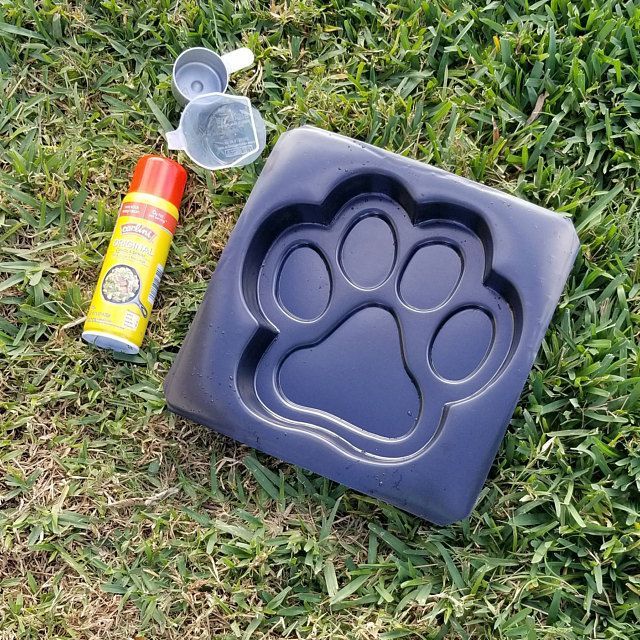
- Pet-Friendly Lubricant (Optional): To help remove the stepping stone from the mold, you can use cooking spray, petroleum jelly, or a dedicated mold release agent. This is especially helpful if you use molds with intricate designs.
- Gloves: Protect your hands from the concrete mix. Rubber or latex gloves are ideal.
- Eye Protection: Safety glasses or goggles are a good idea to protect your eyes from splashes.
- Pet’s Paw: This is the star of the show. Have your pet ready and willing (and with clean paws, ideally).
- Embellishments (Optional): Consider adding decorative elements like pebbles, glass beads, or mosaic tiles to personalize your stepping stone. You can also use paint and sealant once the stone is dry.
- Trowel or Spatula: For smoothing the concrete surface.
- Bucket of Water: For cleaning up any spills and tools.
- Patience: This is key. You’ll need to give the concrete time to set and cure properly.
Mixing the Concrete: A Step-by-Step Guide
Now, let’s get down to business and mix that concrete. This is where the magic starts to happen, so follow these steps carefully:
- Prepare Your Workspace: Set up your mixing area. Make sure you have everything within reach: the concrete mix, the water, your mixing container, and your mixing tool.
- Pour the Concrete: Carefully pour the concrete mix into your mixing container. The amount you use depends on the size and number of stepping stones you’re making. Start with a small amount, you can always mix more.
- Add Water: Slowly add water to the concrete mix. Follow the instructions on the concrete bag for the correct water-to-concrete ratio. Typically, you’re aiming for a thick, pancake-batter-like consistency.
- Mix, Mix, Mix: Use your mixing tool to thoroughly combine the concrete and water. Mix until all the dry concrete is incorporated and you have a smooth, lump-free mixture. It should be thick enough to hold its shape but still pourable. This might require a bit of elbow grease.
- Check the Consistency: The consistency is crucial. If the mix is too dry, it won’t set properly. If it’s too wet, the stepping stone might crack. If it seems too dry, add a little more water, a bit at a time, until you reach the desired consistency. If it’s too wet, add a bit more concrete mix. It’s a balancing act.
- Rest and Adjust (Optional): Let the mixture sit for a few minutes. This allows the cement to fully absorb the water. You might need to give it another quick mix after this resting period. This will ensure a more uniform and durable stepping stone.
Molding and Paw Printing: Capturing the Moment
Time to get hands-on. This is where you’ll make the impression of your pet’s paw. Here’s how:
- Prepare the Mold: If you’re using a mold, lightly grease it with your pet-friendly lubricant. This will make it easier to remove the stepping stone later. Position your mold on a level surface.
- Pour the Concrete: Carefully pour the mixed concrete into the mold. Fill it to the desired thickness, leaving enough room for the paw print and any embellishments you might want to add. Tap the mold gently to release any air bubbles.
- The Paw Print: This is the moment you’ve been waiting for. Have your pet ready. Gently press your pet’s paw into the wet concrete. Apply even pressure to ensure a clear and deep impression. If you have a larger dog, you might need to support their weight slightly.
- Clean Up the Paw (and the Concrete): Once you have a good impression, carefully lift your pet’s paw away. Immediately clean their paw with a damp cloth to remove any concrete residue. Use a trowel or spatula to smooth out the concrete around the paw print, if needed. Remove any concrete that might have spilled over the edges of the mold.
- Add Embellishments (Optional): If you’re adding embellishments, now is the time. Gently press pebbles, glass beads, or other decorative elements into the wet concrete around the paw print. Be creative. Have fun.
- Let it Set: Allow the concrete to set for at least 24-48 hours. The setting time will vary depending on the type of concrete, the temperature, and humidity.
Curing and Finishing: Bringing it All Together
The last steps are crucial for a strong and long-lasting stepping stone. Here’s what to do:
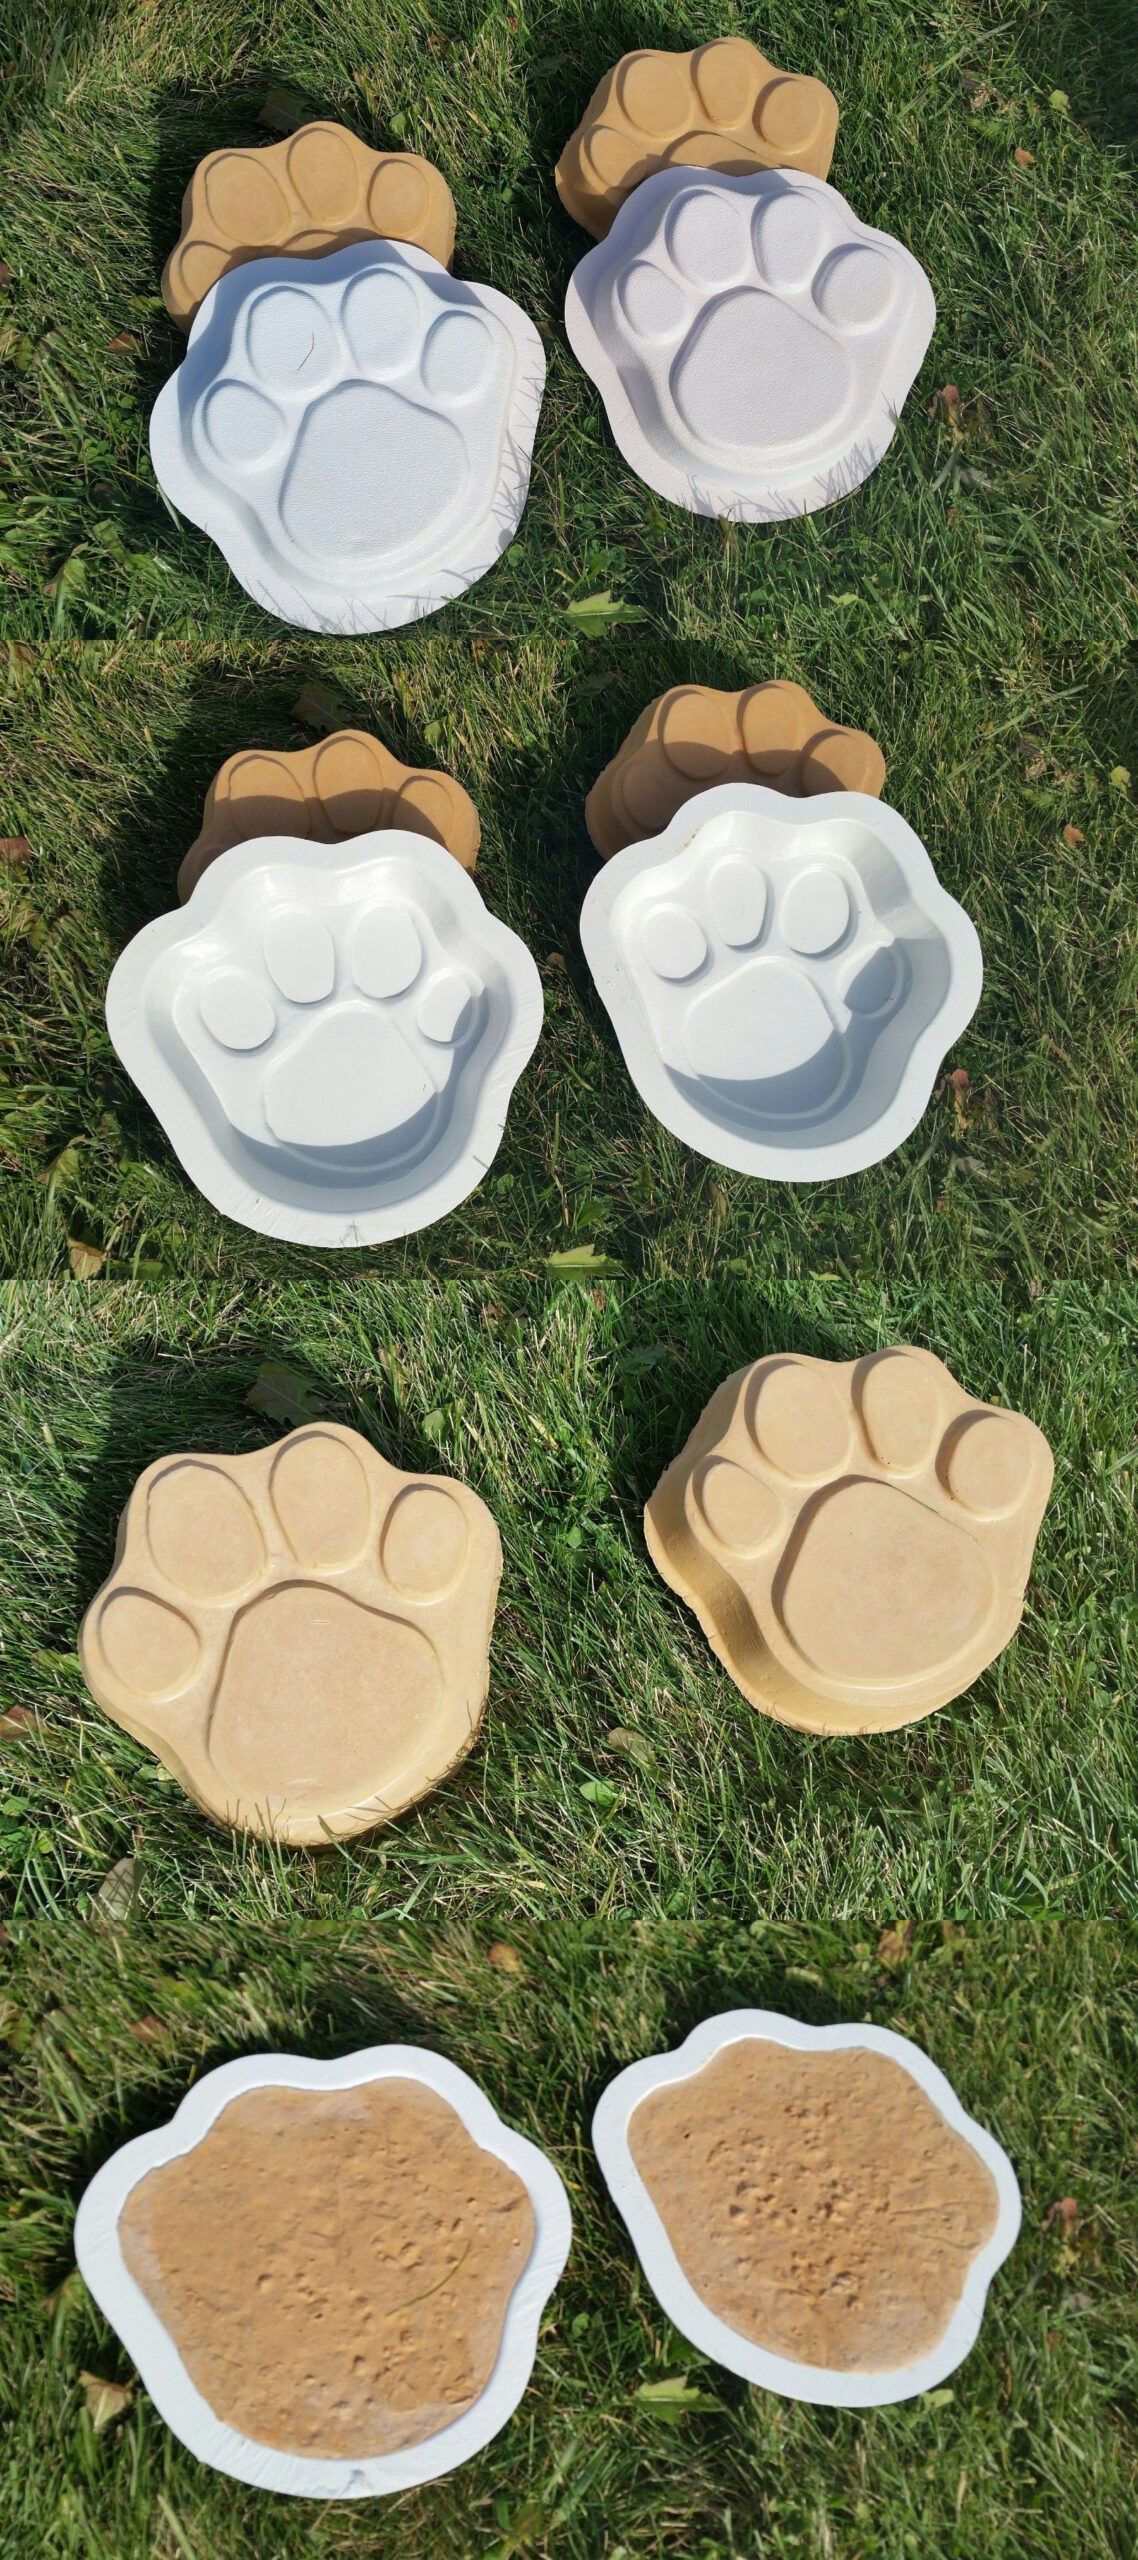
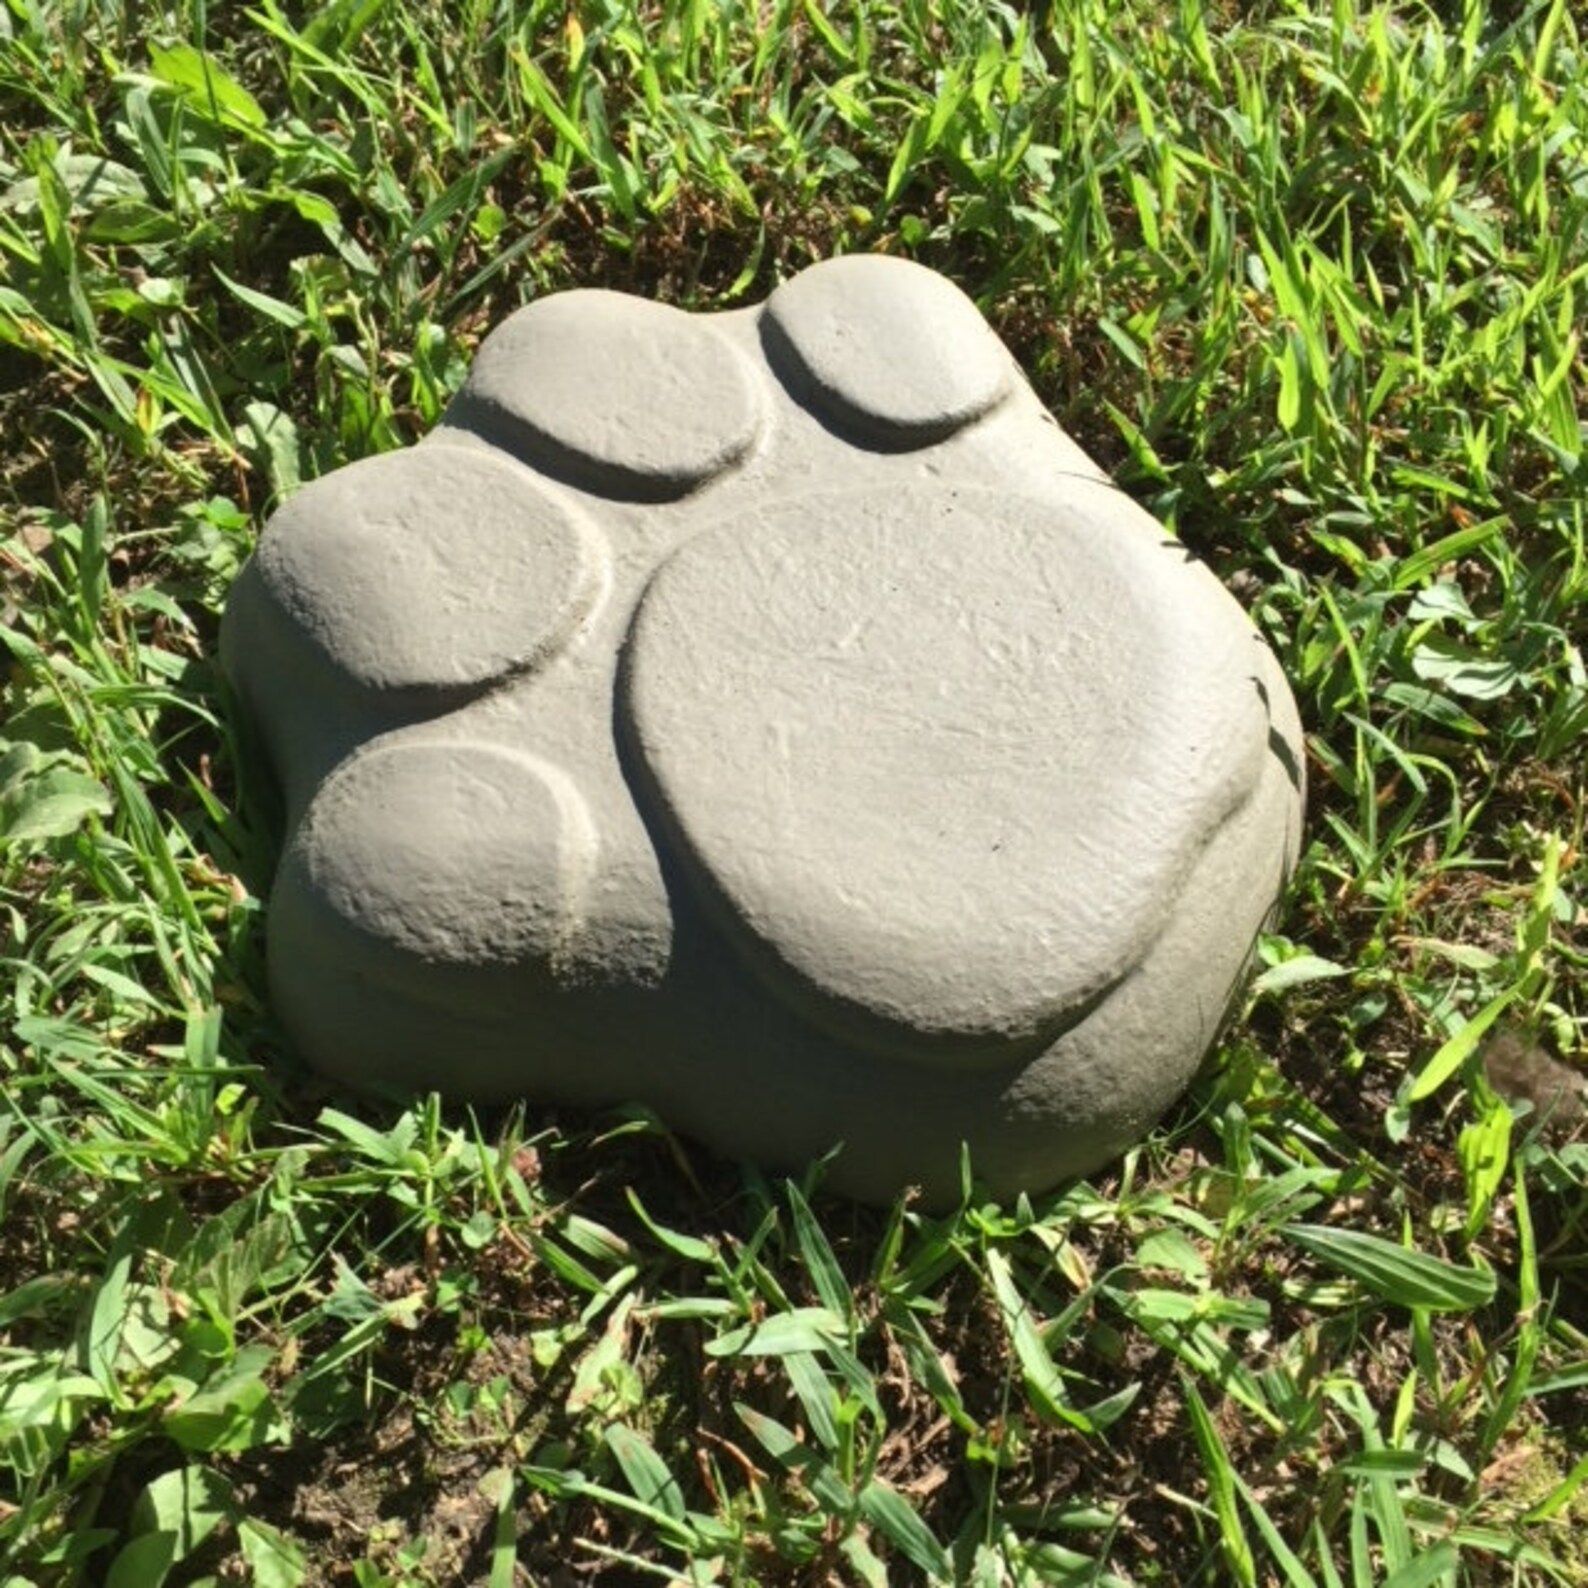
- Removing the Stepping Stone: After the concrete has set, carefully remove the stepping stone from the mold. This can be a bit tricky, so be patient. If you used a lubricant, it should come out relatively easily. If it’s stuck, gently tap the mold or try wiggling the stone loose. Be careful not to damage the edges.
- Curing the Concrete: Curing is the process of keeping the concrete moist for several days to allow it to gain strength and durability. Place the stepping stone in a shady location and cover it with plastic sheeting or a damp cloth. Keep the cloth moist by spraying it with water regularly. Cure for at least 7 days, or longer for maximum strength.
- Cleaning and Smoothing: Once the stone is cured, inspect it for any rough edges or imperfections. Use sandpaper to smooth any sharp edges or uneven surfaces.
- Adding Details (Optional): You can add details to your stepping stone. Use paint to highlight the paw print or add your pet’s name and the date. You can also apply a sealant to protect the surface from the elements and prevent fading.
- Sealing (Recommended): Applying a concrete sealant is a good idea, especially if the stepping stone will be exposed to the weather. Sealant will protect the stone from moisture, stains, and cracks. Follow the manufacturer’s instructions for application.
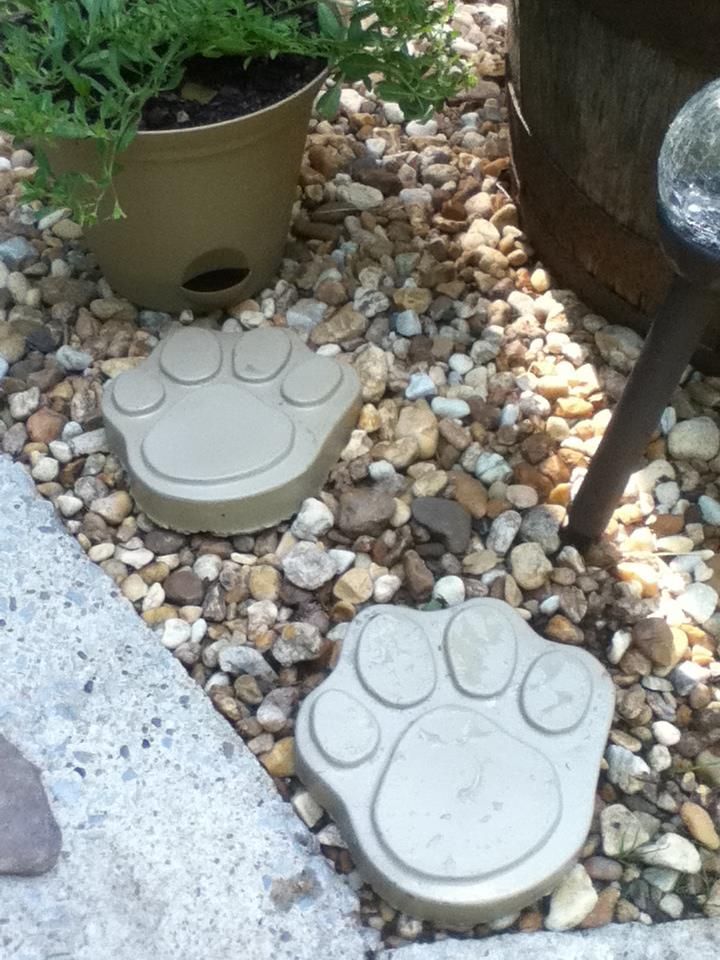
- Displaying Your Creation: Once the sealant is dry, your pawprint stepping stone is ready to be displayed. Place it in your garden, along a pathway, or wherever you want to honor your beloved pet. You did it. You made something beautiful.
Tips and Tricks for Success
Here are some extra tips and tricks to make sure your pawprint stepping stone project is a success:
- Practice Makes Perfect: Consider making a test stepping stone before you start on the final product. This will give you a chance to practice mixing the concrete and perfecting the paw print technique.
- Choose the Right Time: Avoid making stepping stones on extremely hot or cold days. Moderate temperatures are ideal for the concrete to set and cure properly.
- Protect Your Pet: Make sure your pet’s paws are clean and dry before you make the impression. Consider using a pet-safe barrier cream to protect their paws from the concrete.
- Get Creative with Molds: Don’t be afraid to experiment with different mold shapes and sizes. You can find molds online or at your local craft store. You can even make your own molds using cardboard or plastic containers.
- Personalize It: Add your pet’s name, the date, or a special message to the stepping stone. This will make it even more meaningful. You could even add a small photo, if you know how to embed it in the concrete.
- Use Quality Materials: Invest in quality concrete mix and sealant. This will ensure that your stepping stone lasts for years to come.
- Patience is key: Concrete takes time to set and cure. Be patient and allow the concrete to fully cure before moving the stepping stone or placing it in your garden.
- Have Fun: This should be an enjoyable experience. Relax, be creative, and celebrate the memory of your beloved pet.
Troubleshooting Common Problems
Even with the best intentions, things can go wrong. Here are some common problems and how to solve them:
- Cracking: Cracks can occur if the concrete mix is too dry or if the stepping stone isn’t properly cured. Make sure you mix the concrete to the correct consistency and keep it moist during the curing process.
- Air Bubbles: Air bubbles can appear on the surface of the stepping stone. To minimize air bubbles, gently tap the mold after pouring the concrete. You can also use a toothpick or skewer to pop any bubbles that appear.
- Rough Surface: A rough surface can be caused by using a concrete mix that’s too coarse. Use a finer concrete mix or smooth the surface with sandpaper after the stone has cured.
- Difficulty Removing the Stone from the Mold: If the stepping stone is stuck in the mold, try using a lubricant like cooking spray or petroleum jelly. You can also gently tap the mold or try wiggling the stone loose.
- Fading: The color of your stepping stone may fade over time, especially if it’s exposed to direct sunlight. Use a sealant with UV protection to protect the color.
- Pet Doesn’t Cooperate: If your pet is not cooperating, don’t force it. Try again later, or use a different technique, like gently pressing their paw onto some modeling clay and then using that as a template. Sometimes, taking a break and trying again later works wonders.
Creating pawprint stepping stones is more than just a craft project; it’s a way to honor the memory of your cherished pets. It’s a way to create a tangible reminder of the joy, love, and companionship they brought into your life. By following these steps, you can create a beautiful, lasting tribute to your furry friends. Take your time, enjoy the process, and let your heart guide you. Each stepping stone will be a unique and precious memorial, a symbol of the unwavering love that connects us to our animal companions. So, gather your supplies, call your pets, and get ready to create a lasting legacy. The memories you make, and the stones you create, will be a testament to the special bond you shared. And remember, it doesn’t have to be perfect; it just has to come from the heart. Happy crafting. You’ve got this and and more.