Have you noticed your toilet constantly running or making strange noises? It might be time to adjust that little fill valve inside your tank. This simple fix can save you money and prevent water waste. We’ll walk you through exactly how to adjust your toilet fill valve like a pro.
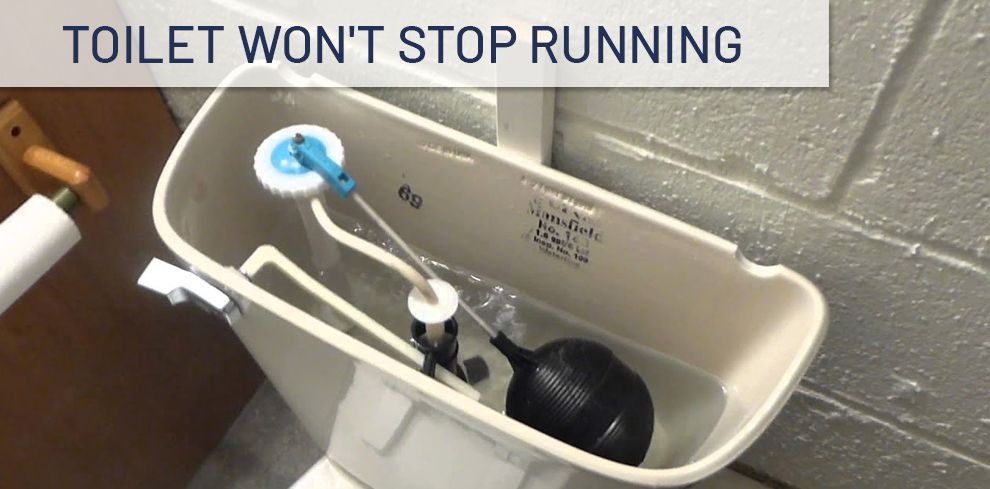
Let’s face it – toilet problems are pretty common around the house. One of the most frequent issues homeowners encounter is a toilet that won’t stop running. While there are many reasons why this happens, the fill valve is often the culprit. You might be wondering, ‘Why does my toilet keep running?’ The answer usually lies in adjusting the fill valve. This handy guide will show you how to make the adjustment yourself, saving you from calling a plumber and getting a hefty bill.
Understanding Your Toilet Fill Valve
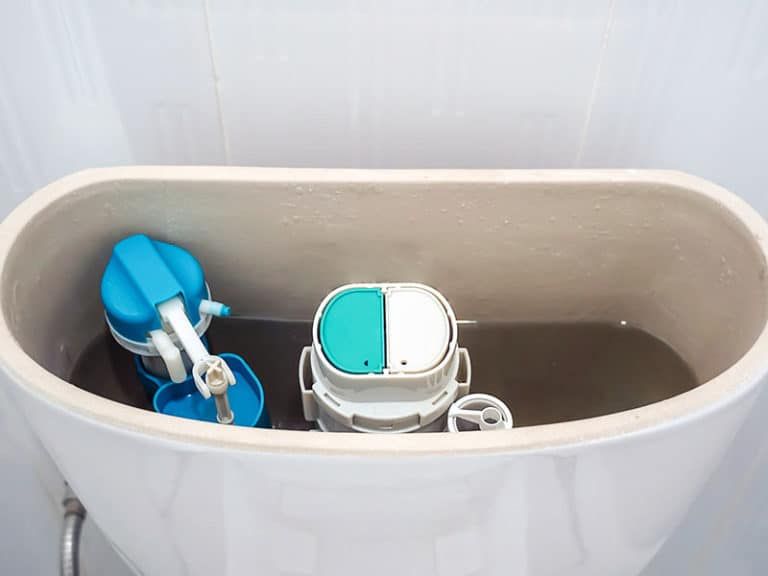
Before diving into the adjustment process, it’s helpful to know what you’re working with. The fill valve sits at the bottom of your toilet tank and controls how much water flows in when the toilet flushes. It’s connected to your home’s water supply line and typically has a float mechanism that tells it when to stop filling. When things go wrong, it’s usually because the float isn’t positioned correctly or the valve itself needs adjusting. You might notice water continuously flowing into the bowl or hear constant hissing sounds. These signs mean your fill valve needs attention.
Gathering Your Tools and Materials
You don’t need fancy equipment for this job. Here’s what you’ll want to have on hand:
• Clean rag or towel
• Adjustable wrench or pliers
• Screwdriver (flathead and Phillips head)
• Optional: small bucket
Having these items ready makes the process smoother. Some people prefer to have a bucket nearby just in case water spills during the adjustment. It’s always good to have a clean cloth handy too – you never know when you might get a little water on your hands or the floor.
Safety First: Preparing Your Workspace
Before you start fiddling with any plumbing, safety should come first. Turn off the water supply to your toilet by locating the shut-off valve, usually found behind or near the base of the toilet. Give it a quarter turn clockwise to shut off the water. Then, flush the toilet to drain most of the water from the tank. Hold the handle down to ensure the tank empties completely. This way, you’ll work with minimal water pressure and reduce the chance of unexpected flooding. It’s also wise to put on a pair of gloves if you’re worried about getting wet or dirty.
Locating the Fill Valve Components
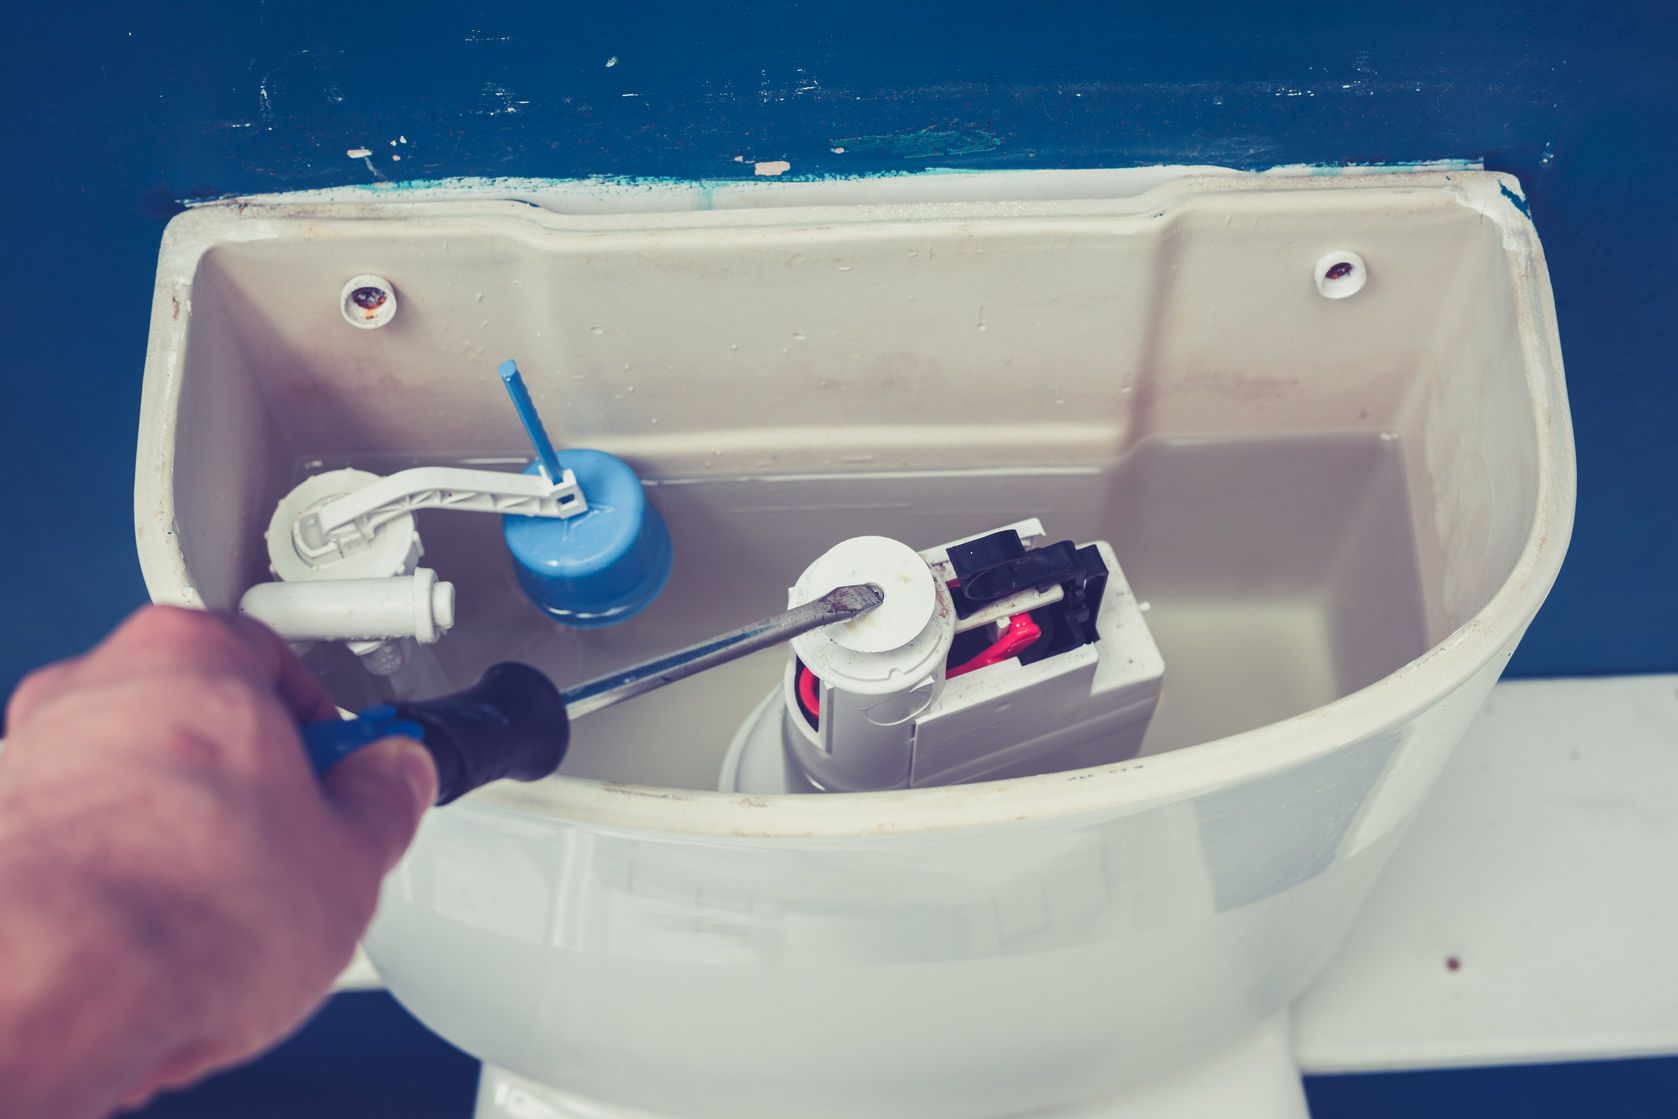
Once you’ve turned off the water and drained the tank, take a close look at what you’re dealing with. Most modern toilets have a fill valve that’s either a ball float or a cup float type. The ball float is a round plastic device that floats up and down, while the cup float is a cylindrical shape that moves vertically. Look for the adjustment screw or nut on top of the fill valve assembly. You’ll see a small threaded component that you can turn to change the water level. The float arm connects to the valve mechanism and moves up and down with the float. If you’re unsure which type you have, look for the manufacturer’s nameplate or check your toilet manual.
Adjusting the Water Level Properly
The main goal here is to set the water level correctly. The water should reach about 1 inch below the overflow tube. This prevents water from continuously flowing into the bowl. To adjust:
• Locate the adjustment screw or nut on top of the fill valve
• Turn it clockwise to raise the water level
• Turn it counterclockwise to lower the water level
• Test the adjustment by flushing the toilet
It’s important to make small adjustments and test frequently. You don’t want to overcompensate and end up with water overflowing or not enough water for proper flushing. The adjustment might require a few tries to get right, but patience pays off.
Troubleshooting Common Issues
Even after proper adjustment, some problems might persist. If your toilet still runs constantly, check if:
• The float is hitting the tank wall
• The float arm isn’t moving freely
• The valve seat is worn out
• The water pressure is too high
Sometimes the issue isn’t with the adjustment itself but with the physical components. A damaged valve seat or misaligned float can cause ongoing problems. If you’ve tried adjusting everything and still have issues, it might be time to replace the entire fill valve assembly rather than keep tweaking.
Testing Your Adjustment
After making your adjustments, it’s time to test the results. Flush the toilet several times to see if it stops filling properly. Listen carefully for any unusual sounds during the filling process. The water should fill up to the correct level and then stop automatically. If you notice water continuing to flow or hear hissing sounds, you may need to tweak the adjustment again. Remember, a properly adjusted fill valve should allow water to fill quickly but stop before it reaches the overflow tube. This simple test confirms whether your efforts paid off.
When to Call a Professional
While most fill valve adjustments are straightforward, some situations call for professional help. Consider calling a plumber if:
• You’re uncomfortable with DIY projects
• The problem keeps recurring despite multiple adjustments
• You notice significant water waste or damage
• The fill valve is old and shows signs of rust or corrosion
A licensed professional can diagnose deeper issues and ensure your plumbing system works correctly. Sometimes, what seems like a simple adjustment becomes a more complex repair requiring specialized knowledge. Don’t hesitate to seek help if you feel overwhelmed or uncertain about proceeding further.
Preventing Future Problems
Now that you’ve made the adjustment, it’s smart to know how to prevent similar issues in the future. Regular maintenance helps avoid major problems:
• Check the fill valve every few months
• Clean any mineral buildup that accumulates
• Replace worn-out parts promptly
• Monitor water levels periodically
Simple habits can extend the life of your toilet components and keep your bathroom functioning smoothly. Setting reminders to check your toilet regularly helps catch potential issues early, saving you from bigger headaches later.
Final Tips for Success
Here are some additional pointers to keep in mind:
• Always work slowly and methodically
• Take photos before disassembling anything
• Keep your workspace clean and organized
• Don’t overtighten any screws or nuts
• Remember that small changes can make big differences
This project doesn’t require advanced skills, but taking care with each step ensures better results. The key is being patient and thorough rather than rushing through the process. Every toilet is slightly different, so flexibility and adaptability are important qualities for success.
Adjusting your toilet fill valve is one of those handy DIY skills that can save you both time and money. You’ve learned the basic steps, from identifying the right components to making precise adjustments. Remember, practice makes progress, and with a little patience, you’ll master this skill in no time. Don’t forget to test your work and monitor your toilet regularly to keep everything running smoothly. A properly adjusted fill valve means fewer surprises and less stress when it comes to your bathroom’s performance. If you’ve been avoiding this task, now’s the perfect time to give it a try. Your wallet and your peace of mind will thank you for it.