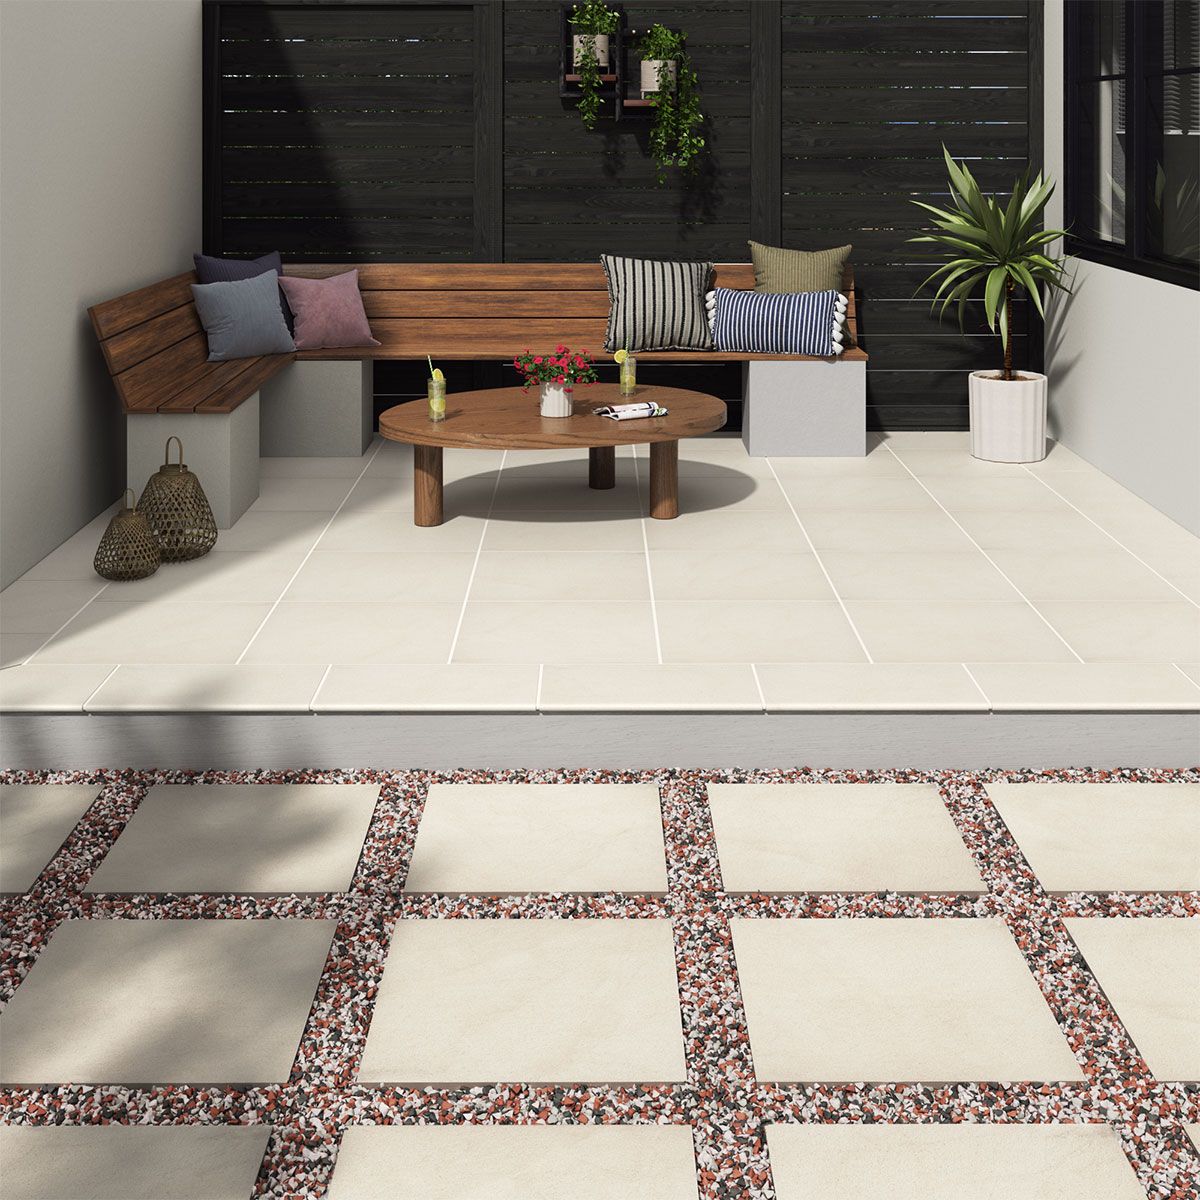
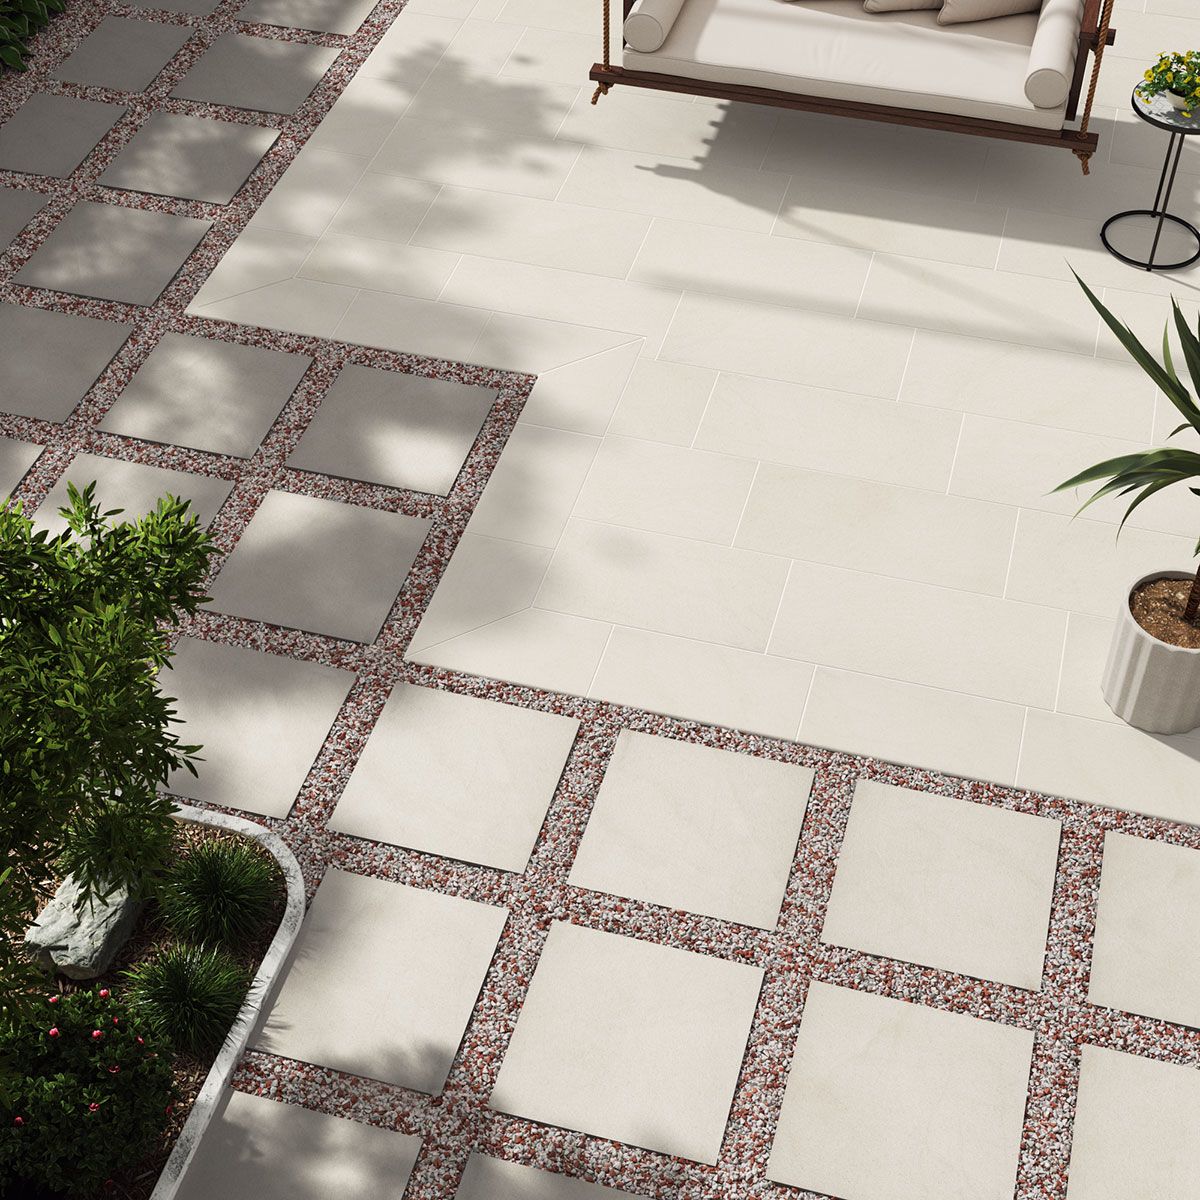
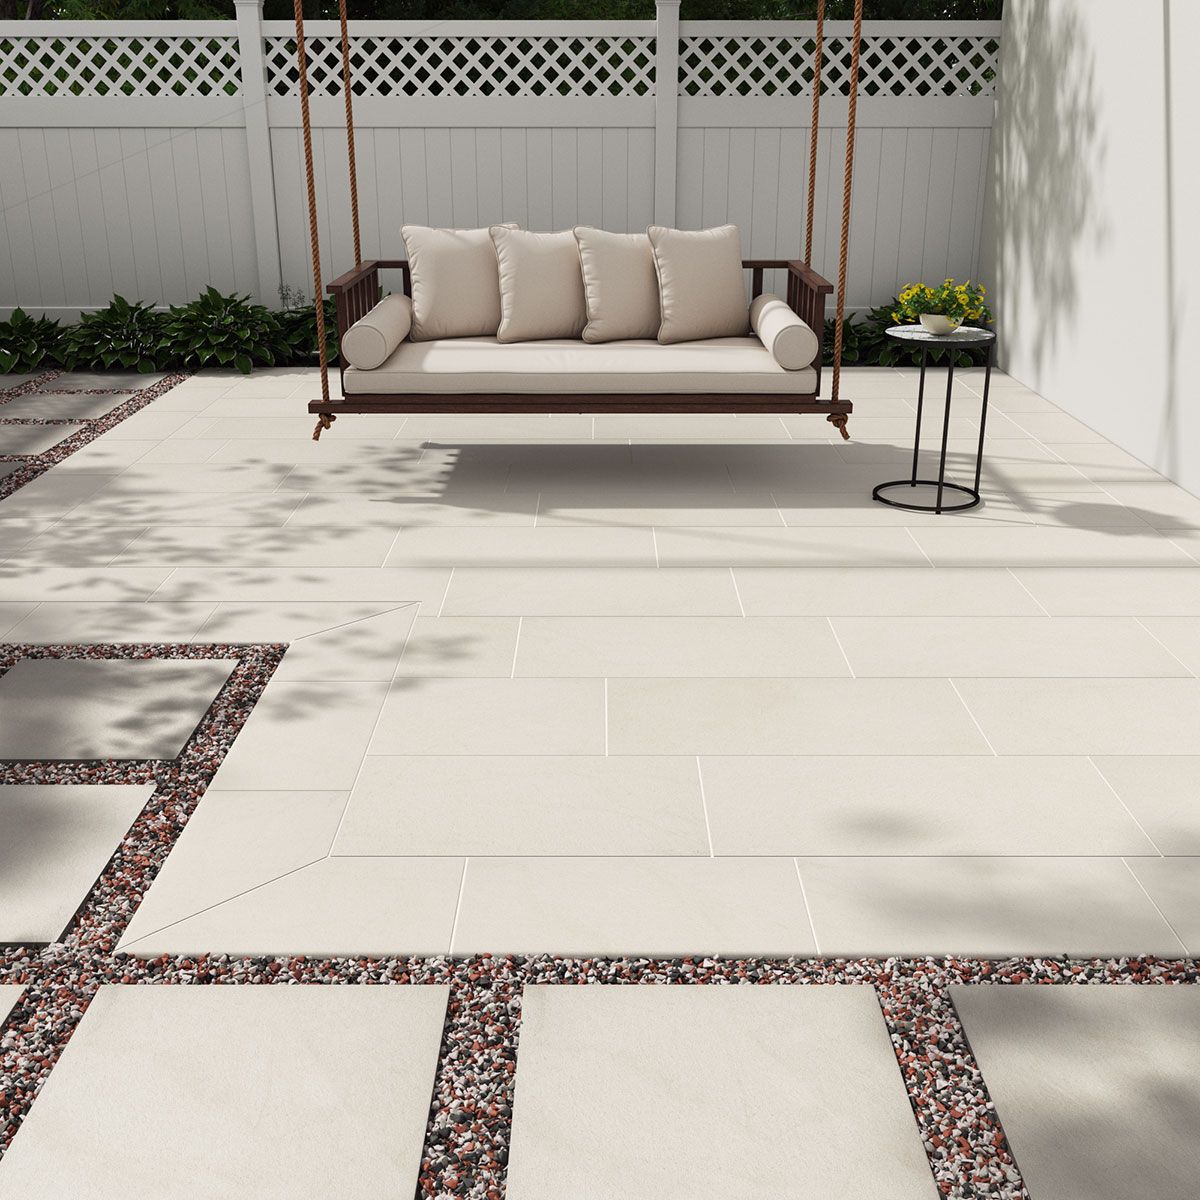
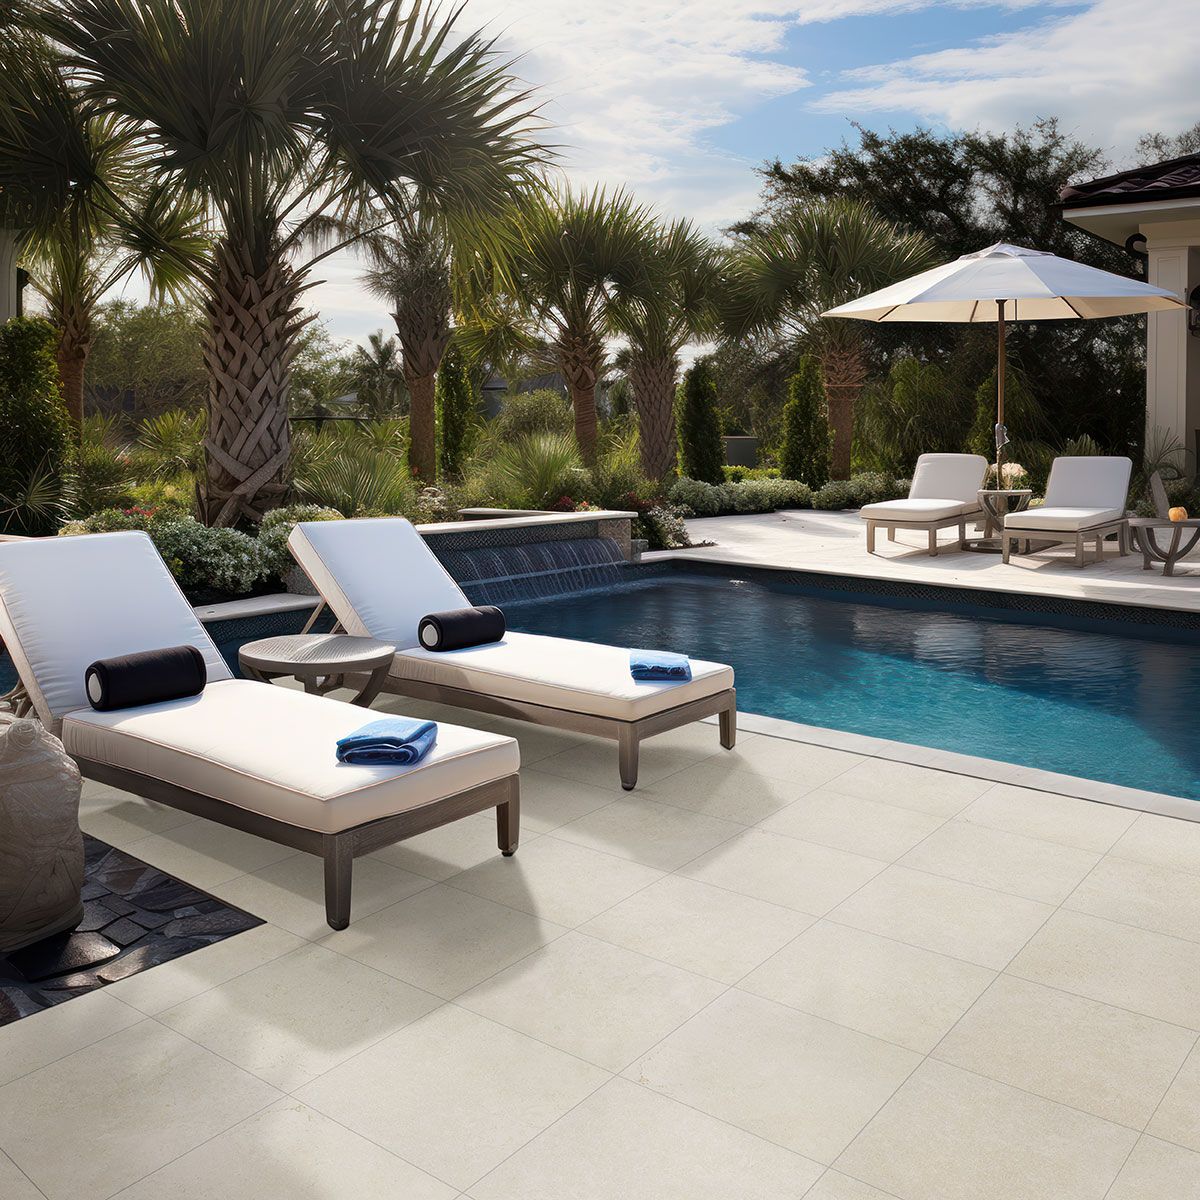
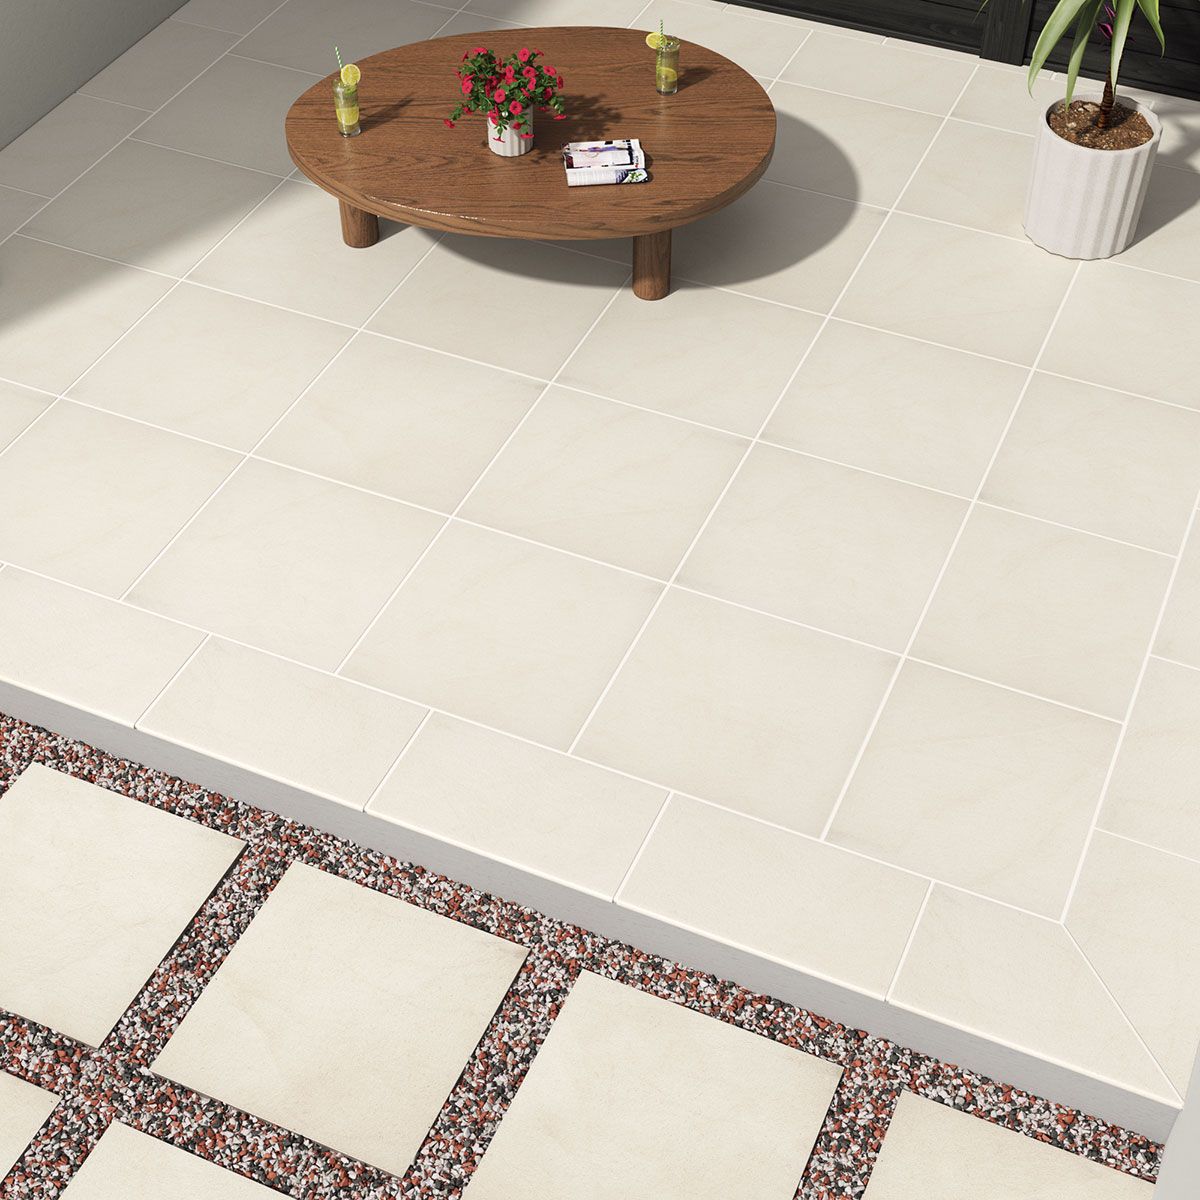
Dreaming of a stunning patio, walkway, or even a small driveway? Installing pavers can seem intimidating, but with the right information and a little elbow grease, it’s a totally doable project. We’re going to break down how to expertly install 52 square feet of gorgeous Livingstyle Cream porcelain pavers. This article is all about empowering you with the knowledge you need to create a beautiful, durable outdoor space you’ll love for years to come. I’ve been doing this for years, and believe me, the feeling of accomplishment after finishing a paver project is unmatched.
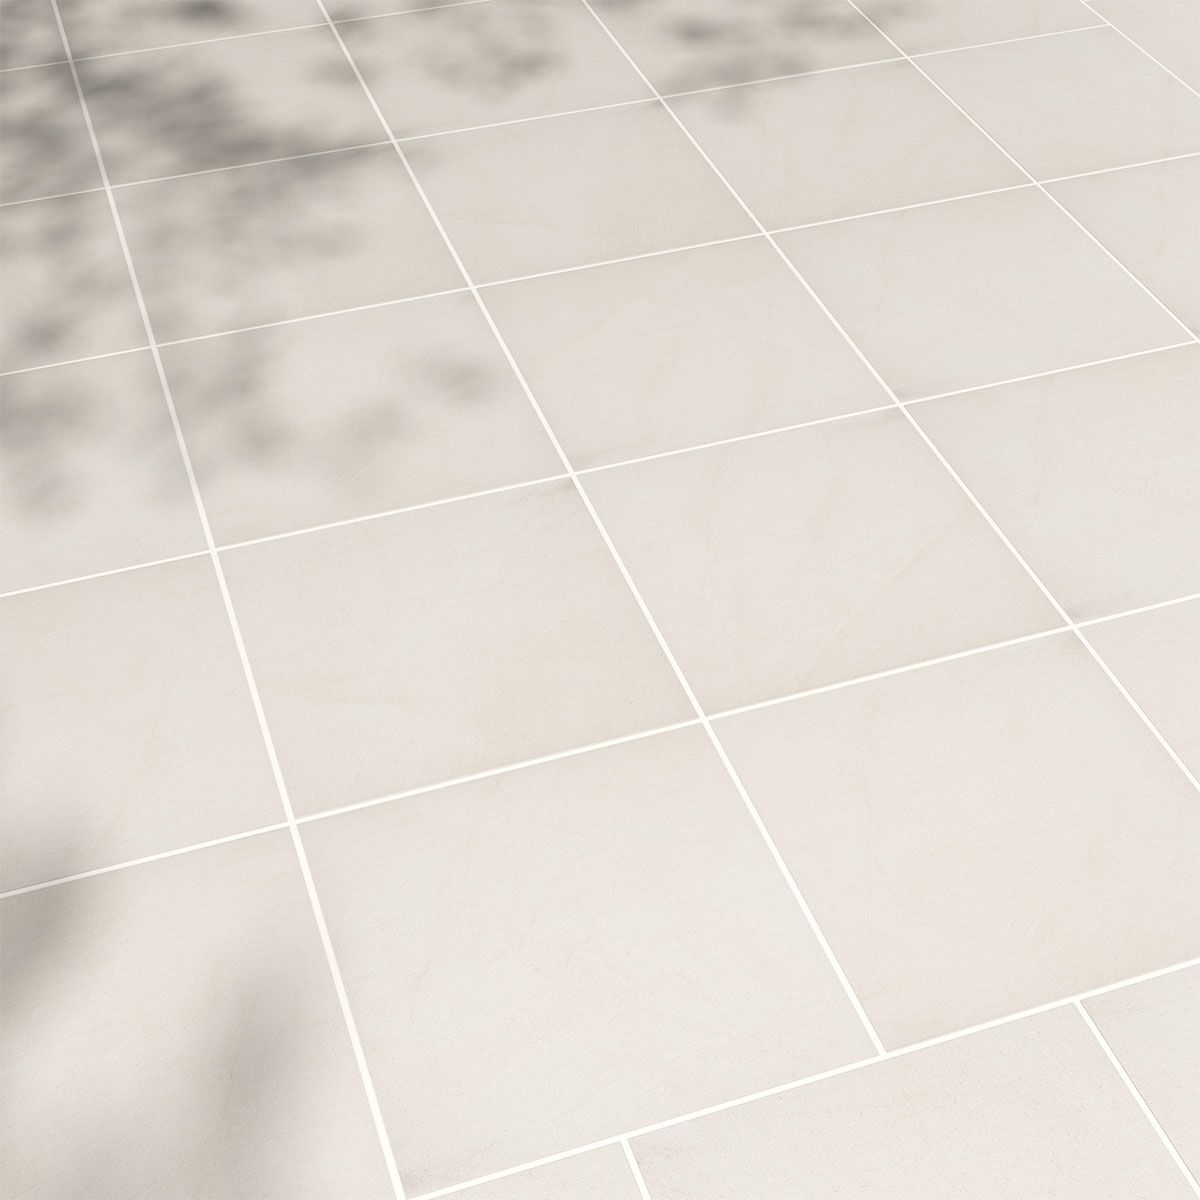
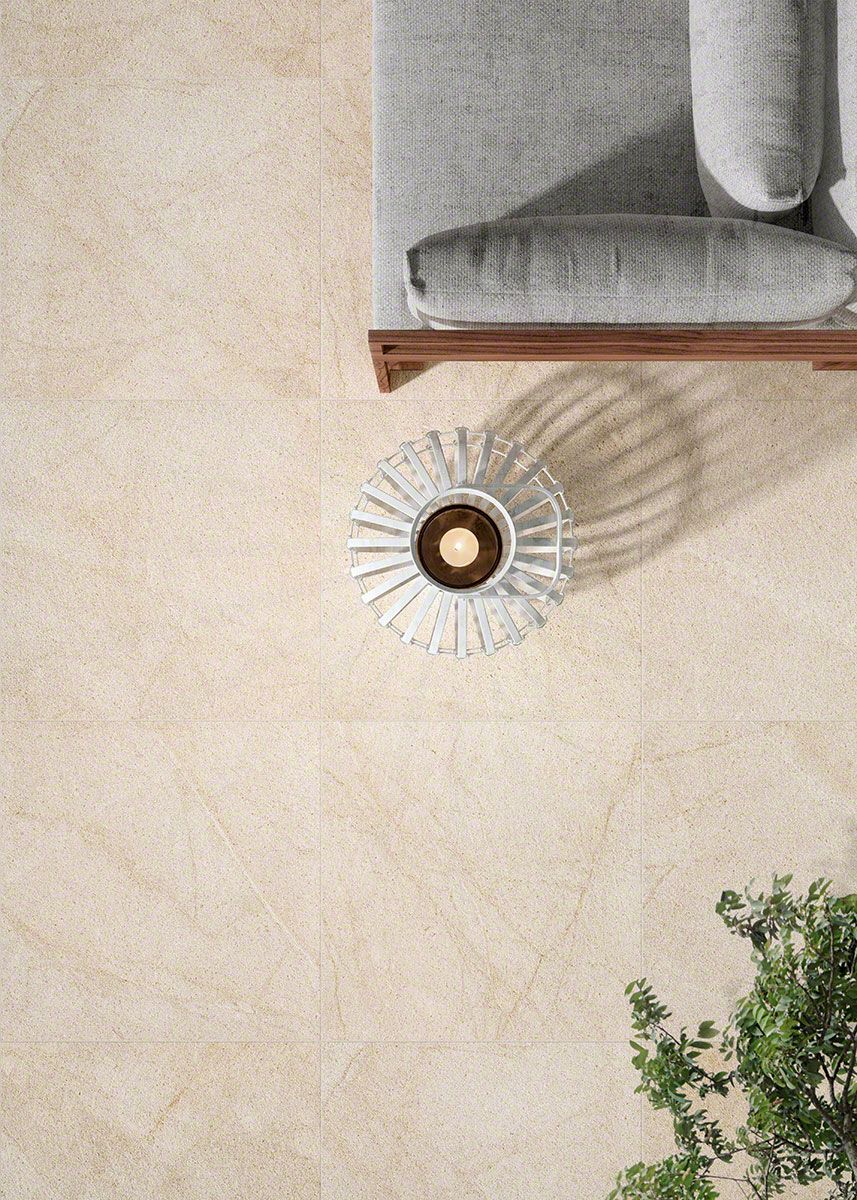
Porcelain pavers are a fantastic choice for outdoor spaces. They’re incredibly durable, resistant to stains and fading, and require very little maintenance. The Livingstyle Cream color offers a warm, inviting aesthetic that complements a wide range of design styles. This guide is tailored for a 52 sq ft area, which is perfect for a small patio, a walkway, or even a small section of a larger project. We’ll cover everything from site preparation to the final touches, ensuring a professional-looking result. This is not a race; take your time, follow the steps, and enjoy the process. Trust me, the end result will be worth it. And and remember, safety first.
Phase One: Planning & Preparation
Before you even think about laying a single paver, proper planning is crucial. First, determine the exact dimensions of your project area and measure it carefully to make sure you have enough pavers. For 52 sq ft, you’ll need to calculate how many individual pavers you’ll need. Next, gather your materials: pavers, base material (crushed stone or gravel), bedding sand, edge restraints, landscape fabric (optional, but recommended), a level, a rubber mallet, a tamper, a tape measure, a string line, a shovel, and a wheelbarrow. You’ll also need some safety gear, like work gloves, eye protection, and knee pads. Clear the area of any existing vegetation, rocks, and debris. Excavate the area to a depth that will accommodate your base material, bedding sand, and paver thickness. Aim for a depth of about 6-8 inches below your desired finished surface level. Don’t rush this step; a well-prepared base is the key to a stable and long-lasting paver installation. Finally, double-check everything to make sure you’re ready to begin.
Phase Two: Laying the Foundation – Base & Bedding
Now it’s time to build the foundation. Start by spreading your base material evenly across the excavated area. Compact it thoroughly using a plate compactor or a hand tamper. This is important for preventing settling. The compacted base should be about 4-6 inches deep. Next, lay down landscape fabric, overlapping the edges to prevent weed growth (optional but recommended). Then, add a 1-inch layer of bedding sand. This sand should be specifically designed for paver installation; it’s usually a fine, sharp sand. Use a screed (a long, straight piece of wood) and screed handles to level the sand, creating a smooth, even surface. This is where the pavers will sit, and a level surface here is CRUCIAL for a professional look. Remember, a level base ensures your pavers will sit evenly and won’t shift over time. This is probably the most important step, so take your time and get it right.
Phase Three: Paver Placement & Cutting
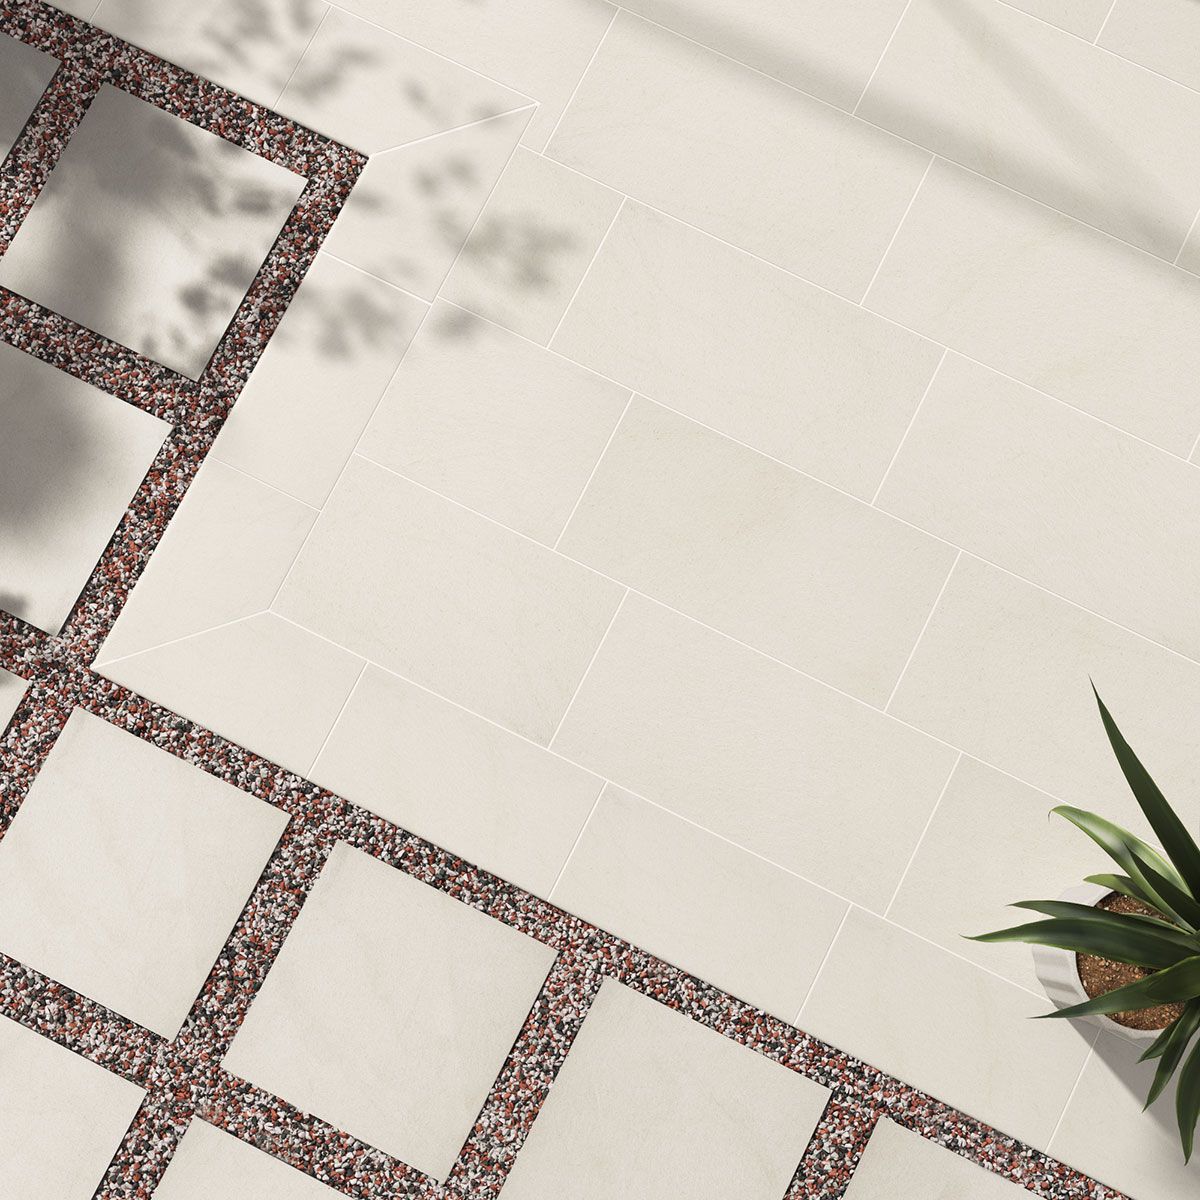
Time to lay those beautiful Livingstyle Cream pavers. Start by laying the pavers in your chosen pattern, leaving a small gap (usually 1/8 to 1/4 inch) between each one for the grout. Use the string line as a guide to ensure straight lines. As you lay the pavers, check frequently with a level to ensure they are even. If a paver is too high, gently tap it down with a rubber mallet. If a paver is too low, add a bit more sand underneath it. You’ll likely need to cut some pavers to fit around edges, corners, or any obstacles. You can use a wet saw with a diamond blade for clean cuts. Measure carefully, mark your cut lines, and wear safety glasses during the cutting process. A little patience here will prevent frustrations later. It’s a good idea to do a dry run, laying out all the pavers before you commit to the final installation, just to make sure everything fits and looks the way you envisioned. This is also your opportunity to make any adjustments to your design and ensure you have enough pavers.
Phase Four: Edge Restraints & Jointing
Once your pavers are laid, it’s time to secure them with edge restraints. These are usually plastic or metal strips that run along the perimeter of your paver area, preventing the pavers from shifting and moving. Install the edge restraints according to the manufacturer’s instructions. Next, it’s time to fill the joints between the pavers. You can use polymeric sand or regular sand. Polymeric sand, when wetted, hardens and helps to lock the pavers in place, and prevent weed growth. Spread the sand evenly over the pavers and sweep it into the joints. Then, use a rubber mallet to gently tamp the pavers, ensuring the sand settles properly. Finally, remove any excess sand and mist the pavers with water to activate the polymeric sand. Regular sand requires more maintenance but can also be a good choice. It’s all about your personal preference and the specific conditions of your area. Remember, even spacing between pavers enhances the overall aesthetic and durability.
Phase Five: Finishing Touches and Maintenance
Once the sand has dried and hardened, your paver project is complete. Stand back and admire your work. Give yourself a pat on the back, you’ve earned it. To keep your pavers looking their best, regular maintenance is essential. Sweep the pavers regularly to remove dirt, debris, and keep them looking clean. Avoid using harsh chemicals or abrasive cleaners. If you notice any weeds growing in the joints, pull them by hand or use a weed killer specifically designed for pavers. You can also reseal your pavers periodically to protect them from stains and fading. This is especially important for porcelain pavers, as they are very resistant to the elements, but a little extra protection can extend their lifespan. And there you have it: a beautiful, durable outdoor space that you can enjoy for years to come. Consider adding some outdoor furniture, lighting, or plants to really enhance your new space. The possibilities are endless and, remember, you’ve got this.
Troubleshooting Common Issues
Every DIY project has its potential pitfalls, so here are some common issues and how to address them. Uneven pavers? This usually indicates an uneven bedding sand layer. Gently lift the paver, adjust the sand underneath, and re-level. Pavers shifting? This can be due to insufficient edge restraints or an improperly compacted base. Make sure your edge restraints are secure and your base is well-compacted. Weed growth in the joints? This is common, but using polymeric sand will significantly reduce this problem. Regular sweeping and weed control can also help. Staining? Clean up spills immediately. Porcelain pavers are generally stain-resistant, but prompt action is always the best approach. Remember, patience and attention to detail are key. Don’t be afraid to ask for help if you get stuck, and celebrate your successes. Mistakes are okay; they’re part of the learning process and can be fixed. And and, most importantly, have fun with it.
Installing pavers is a rewarding project that can dramatically improve the look and value of your home. With this guide, you have the knowledge and confidence to successfully install 52 sq ft of Livingstyle Cream porcelain pavers. Remember to take your time, follow the steps carefully, and enjoy the process. From the initial planning stages to the final finishing touches, each step is a chance to get creative and enhance your outdoor living space. And when you’re finished, you’ll have a beautiful, durable, and low-maintenance area to enjoy for years to come. So, gather your materials, put on some music, and get ready to transform your outdoor space. You got this. Happy paving.