Ever dreamed of a garden path guarded by majestic dragons? Well, you’re in luck. Creating dragon stepping stones is a really fun, accessible, and rewarding hobby. This guide is designed for absolute beginners, breaking down the process into easy-to-follow steps. We’ll cover everything from selecting your molds to the final finishing touches, making sure you have all the knowledge you need to bring your garden vision to life. Get ready to unleash your inner artist and build a path that’s truly enchanting. It’s going to be a blast, I promise.
Welcome to the exciting world of dragon stepping stone crafting. It’s a fantastic way to add a personal touch to your garden, providing a unique and artistic pathway. And the best part? It’s way easier than you might think. This guide will lead you through every stage, ensuring you feel confident and ready to start your own dragon-themed garden project. We will make things simple and easy to understand, so even if you’ve never worked with concrete before, you can still create stunning stepping stones. Let’s dive in and get started, shall we?
Choosing Your Dragon Stepping Stone Mold: The Foundation of Your Project
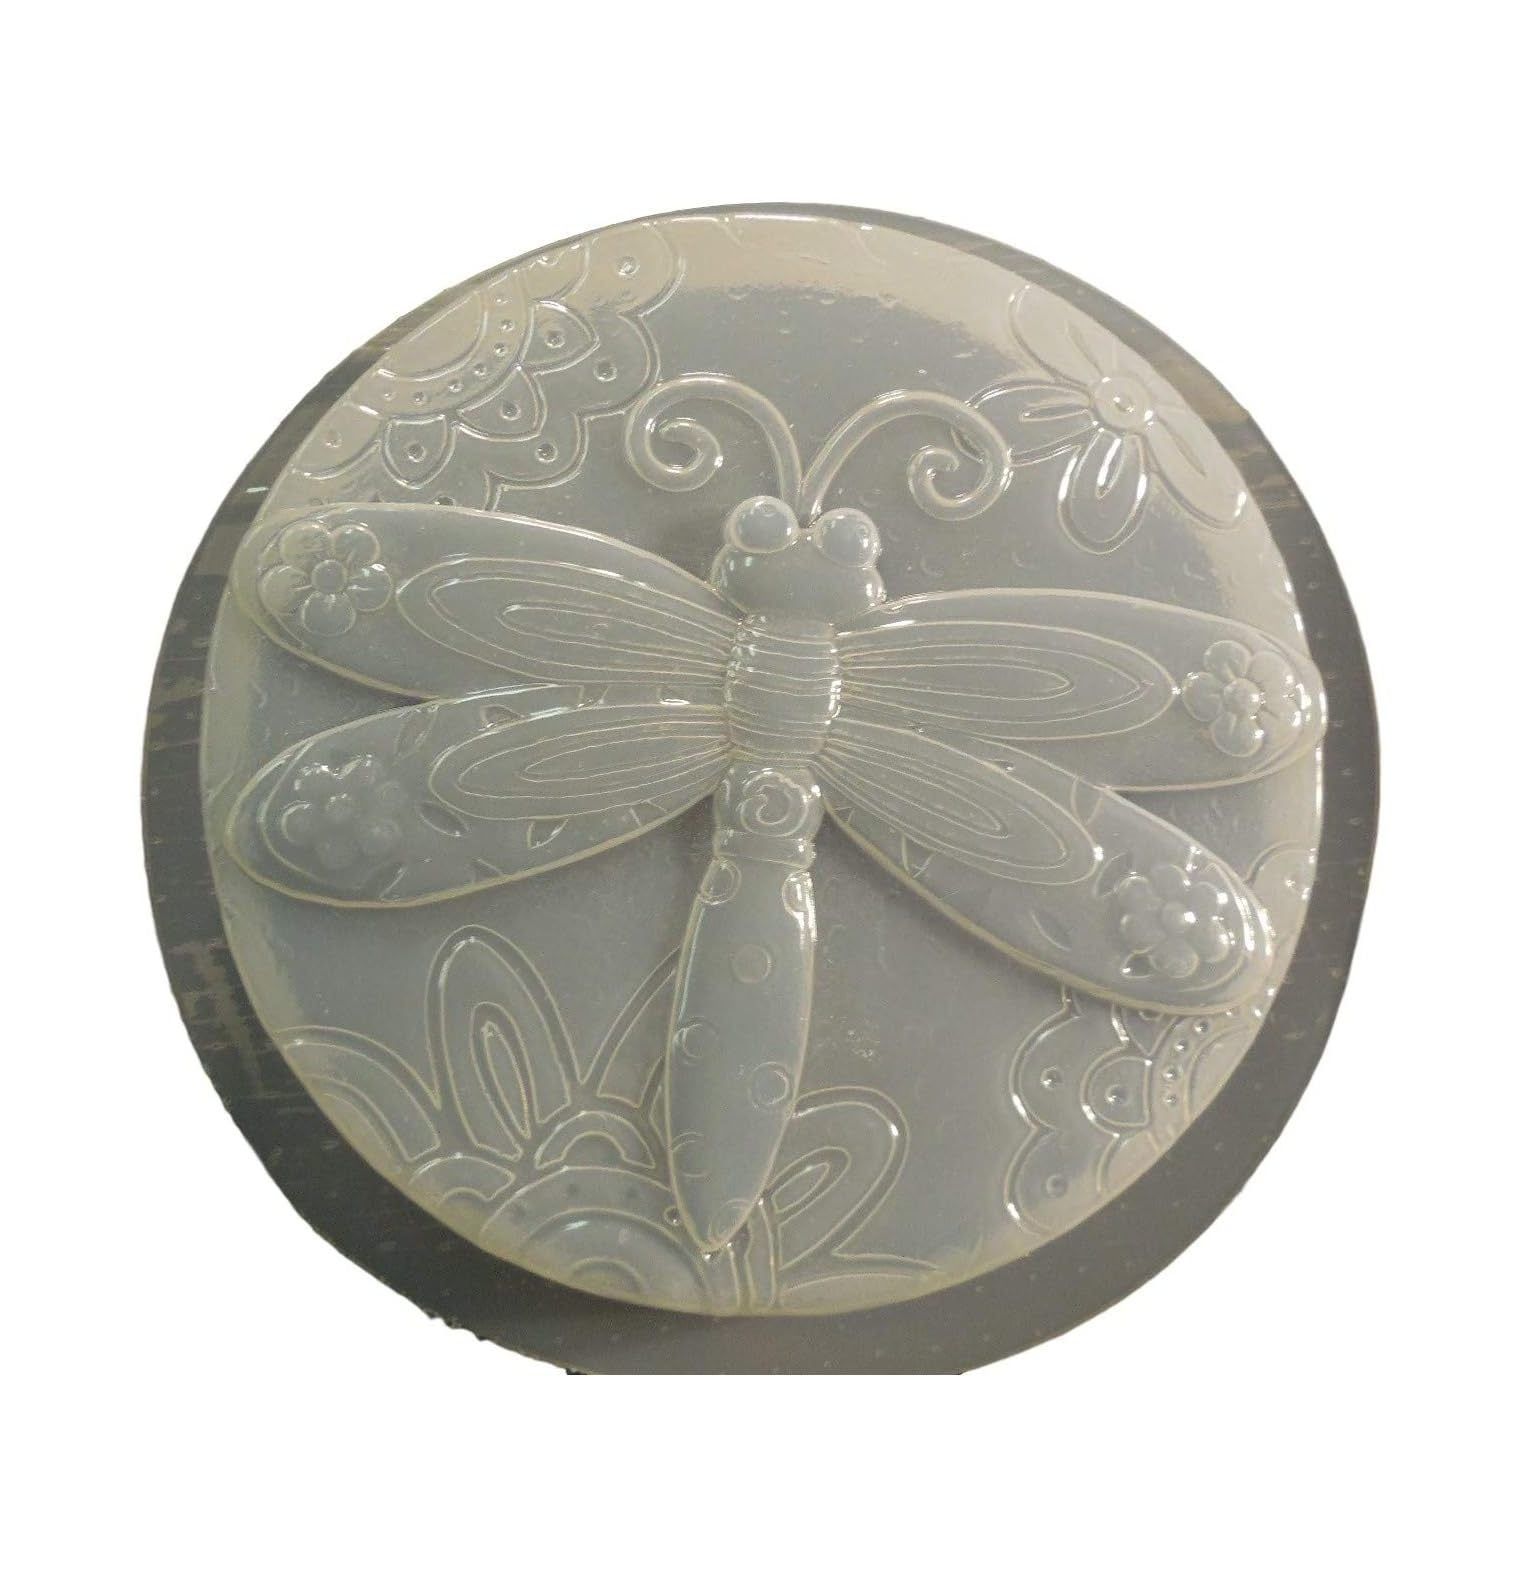
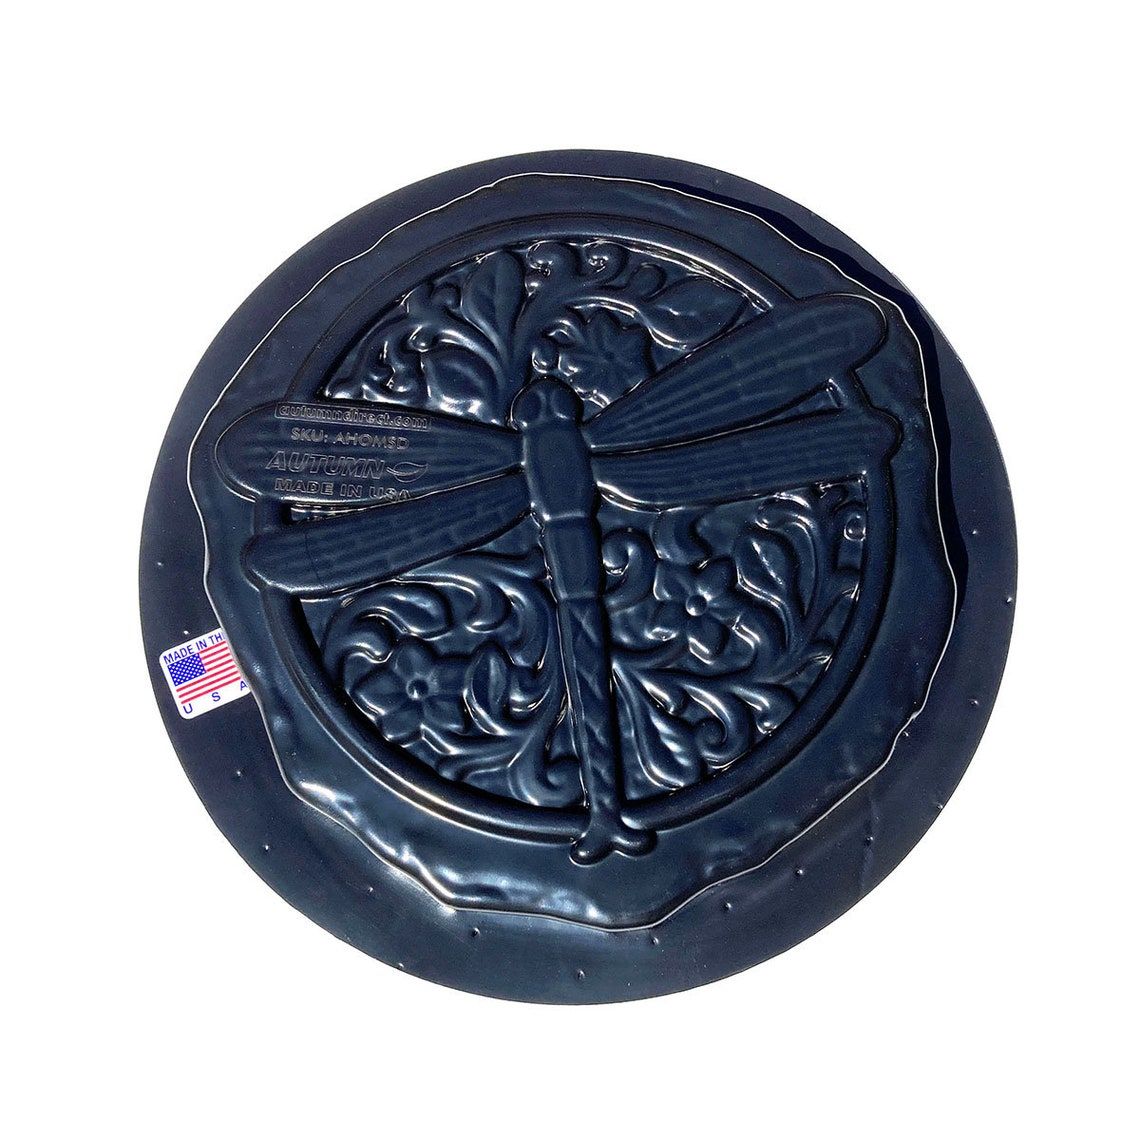
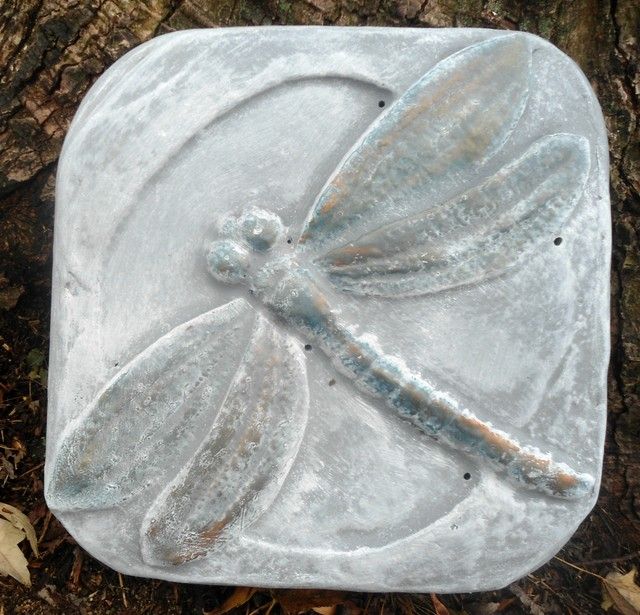
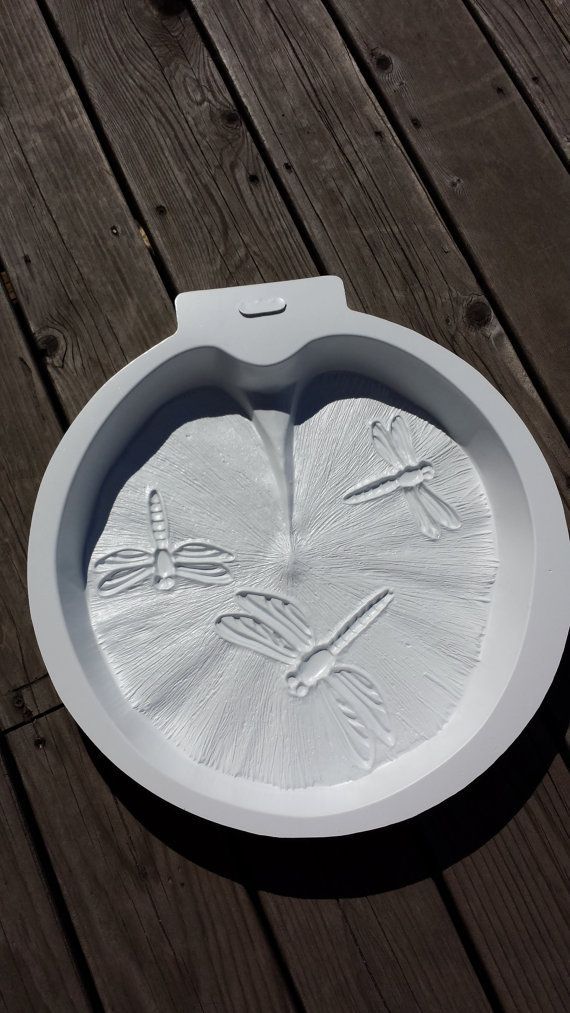
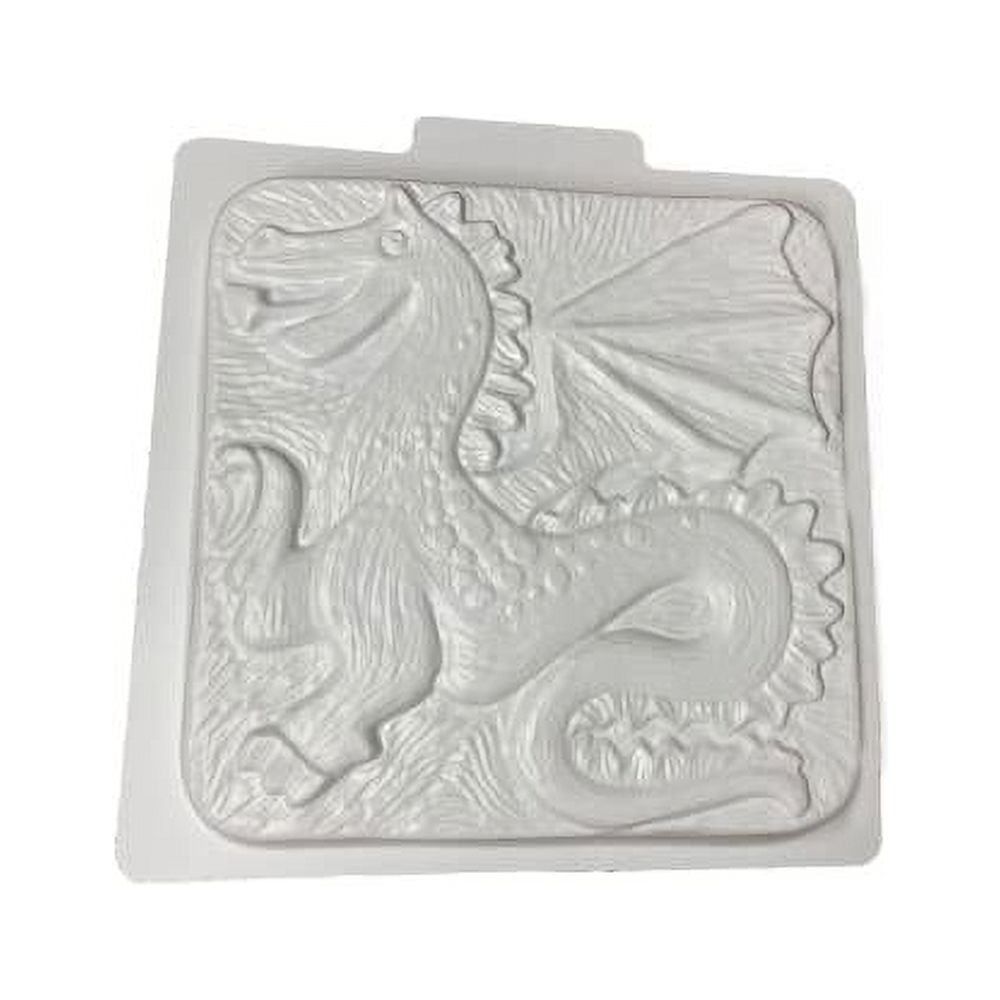
The first step is, of course, selecting your mold. This is where your dragon visions begin to take shape. You’ll find a huge variety of molds available online and at craft stores. Consider the size, shape, and detail level. Are you after a fierce, fire-breathing dragon, or something more whimsical? Look for molds made from sturdy materials like rubber or plastic, which will allow for easy removal of the finished stepping stones. Also, think about the size of your garden and how many stones you’ll need. A good starting point is to choose a mold that appeals to you and is a manageable size for you to work with. It’s all about having fun, after all. And this is the most important stage, so take your time.
Pro Tip: Read reviews before you buy a mold. This is a great way to learn about the quality and ease of use of the mold from other crafters. Also, check the dimensions carefully to be sure it will fit your planned path. I’ve made this mistake once, and trust me, it wasn’t fun.
Gathering Your Materials: What You Will Need
Once you have your mold, it’s time to gather your materials. Here’s a basic list:
- Concrete Mix: Choose a concrete mix suitable for outdoor use. Pre-mixed concrete bags are the easiest for beginners.
- Water: This is, of course, essential for mixing the concrete.
- Mixing Container: A large bucket or tub works well.
- Mixing Tool: A trowel, large spoon, or a drill with a mixing attachment.
- Protective Gear: Gloves, safety glasses, and a dust mask are highly recommended.
- Mold Release Agent (Optional): This makes it easier to remove the stepping stone from the mold. You can find these agents at most craft stores.
- Colorants (Optional): Concrete dyes or pigments to add color to your stones.
- Decorative Items (Optional): Glass beads, small pebbles, or mosaic tiles to embed in the concrete.
- Trowel or Spatula: For smoothing the concrete surface.
Make sure you have all of these items before you start. It’ll make the process much smoother, and more enjoyable. This is where preperation is key.
Mixing the Concrete: Getting the Consistency Right
This is a critical step. Follow the instructions on your concrete mix package. Usually, you’ll add water gradually to the concrete mix, stirring constantly until you achieve a thick, pancake batter-like consistency. It should be pourable but not too runny. Over-mixing can weaken the concrete, so avoid that. If you are using colorants, add them to the water before mixing. Mix them well. If you’re adding decorative elements, have them ready to go because you’ll be adding them quickly, after the concrete is in the mold. Remember, the right consistency is key to a durable and beautiful stepping stone. It’s kind of like baking; you want the perfect texture.
Pouring and Decorating Your Dragon Stepping Stone: Bringing Your Vision to Life
Now comes the fun part: pouring the concrete into your mold. Place the mold on a level surface. Slowly pour the concrete mixture into the mold, filling it to the top. Tap the mold gently to release any air bubbles. If you’re using decorative items, you can now press them into the surface of the wet concrete. Be creative and have fun with it. It’s your chance to personalize your stepping stone. Use your trowel or spatula to smooth the surface. If you’re adding color, you can gently blend it with a brush or your fingers, creating unique patterns. Don’t worry about perfection; the slight imperfections often add character to the final product. It’s like making your own little piece of art, and it’s all about the creativity.
Curing the Concrete: Patience is Key
Curing is the process of allowing the concrete to set and harden properly. This is a very important step. Cover the mold with plastic sheeting or a damp cloth to keep it moist. Concrete needs moisture to cure correctly. Keep the mold in a cool, shaded area. The curing time depends on the type of concrete you’re using, but generally, it’s about 24-48 hours before you can remove the stepping stone from the mold. After you remove it, continue curing for several days, keeping it moist. This will significantly affect the strength and durability of your stepping stones. Patience at this stage pays off in the long run. You’ll be glad you waited. It’s like the last step in making a really good meal. It all comes together.
Finishing Touches and Placement: Showcasing Your Creations
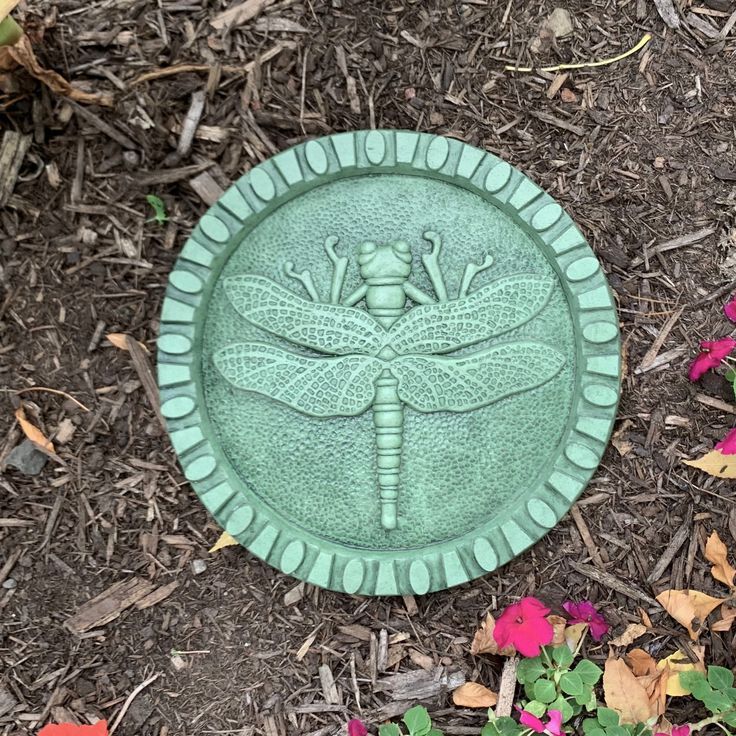
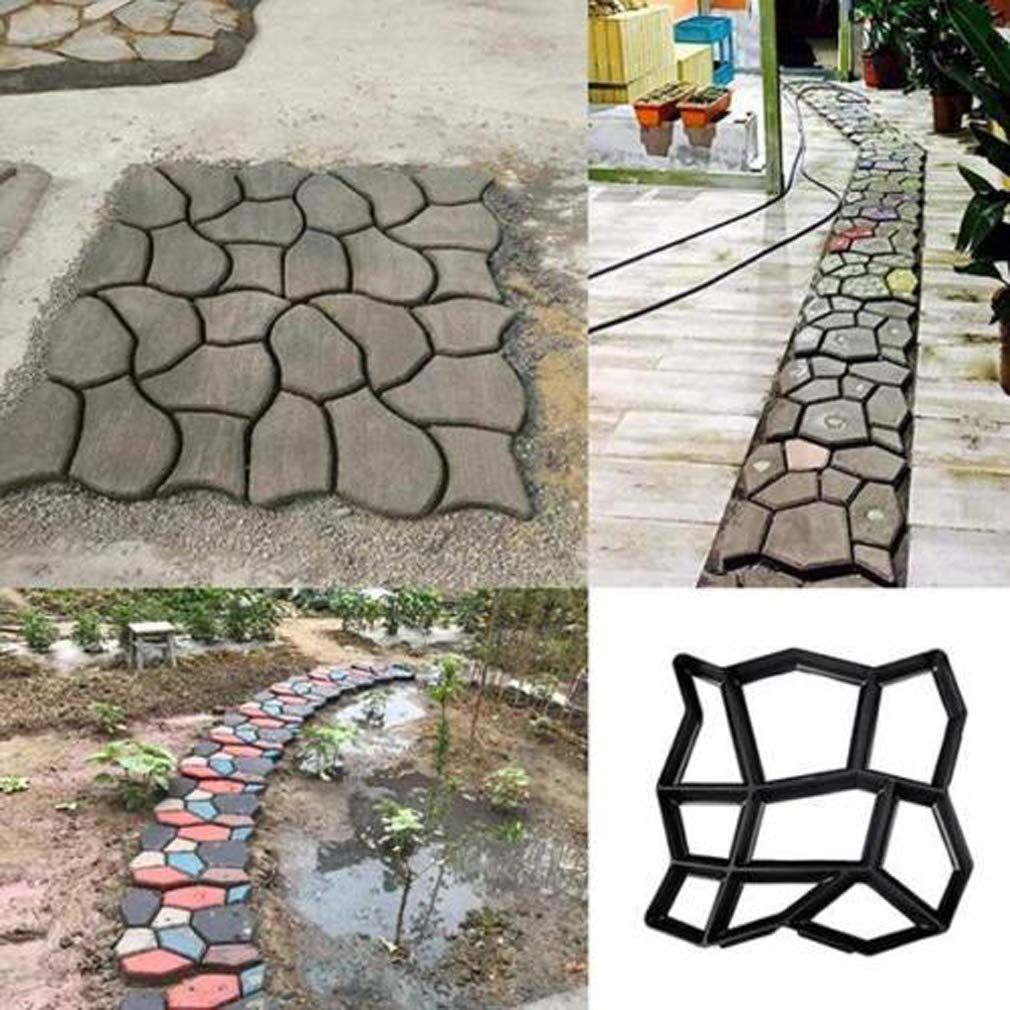
Once your stepping stones are fully cured, remove them from the mold. You may need to flex the mold or gently tap it to release them. If you used a mold release agent, this process will be much easier. Inspect your stones for any imperfections and use sandpaper to smooth any rough edges. You can also seal your stepping stones to protect them from the elements and make them last longer. Finally, it’s time to place your dragon stepping stones in your garden. Plan your path, dig shallow holes, and level the ground. Set the stones in place, and enjoy your magical dragon-guarded pathway. Stand back, admire your work, and take pride in creating something beautiful, personal, and a little bit magical. You did it. And you can always make more to expand your path or try out new designs; the possibilities are truly endless.
Troubleshooting and Tips for Success
Even the best of us sometimes face challenges. Here are some common issues and how to address them:
- Cracking: This can happen if the concrete dries too quickly or if the mix wasn’t right. Make sure you follow the curing instructions carefully. If you live in a hot, dry climate, you might need to water your stones more frequently during the curing process.
- Air Bubbles: Tap the mold gently after pouring the concrete to release air bubbles. Also, avoid over-mixing.
- Difficulty Removing the Stone: Use a mold release agent, and ensure the concrete is fully cured before attempting to remove it from the mold.
- Uneven Surface: Use a trowel or spatula to smooth the surface of the concrete before it sets. You can also use sandpaper after it’s cured.
Extra Tips:
- Experiment with different colors and textures.
- Consider adding a sealant for extra protection.
- Involve the kids. It’s a great family project.
- Don’t be afraid to try different designs. Your garden is your canvas. And most important of all, have fun and enjoy the process. Each stepping stone is a testament to your creativity, and it’s something to be proud of.
Creating dragon stepping stones is a rewarding craft that combines creativity, practicality, and a bit of magic. From choosing your mold to the final placement in your garden, each step is a chance to express your artistic vision and create something truly unique. I hope this beginner’s guide has provided you with the knowledge and confidence to start your own journey into the world of dragon stepping stone crafting. Remember to have fun, embrace the process, and enjoy the satisfaction of transforming your garden into a whimsical haven. So, go forth, create, and let your inner dragon artist soar. Your garden, and your imagination, are the only limits. And don’t be afraid to experiment, and most of all, have fun. You’ve got this, and I can’t wait to see what you create. It’s an adventure waiting to happen.