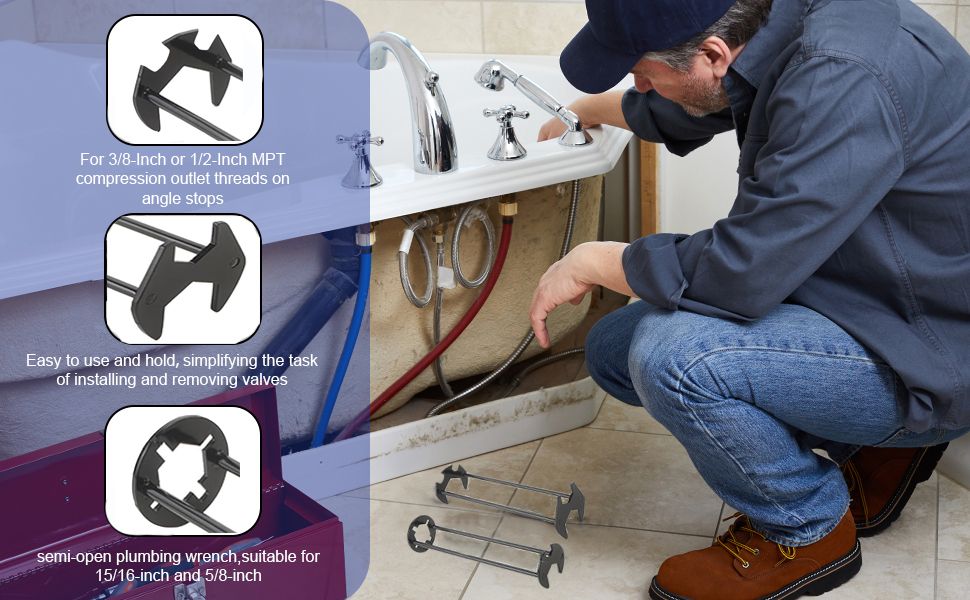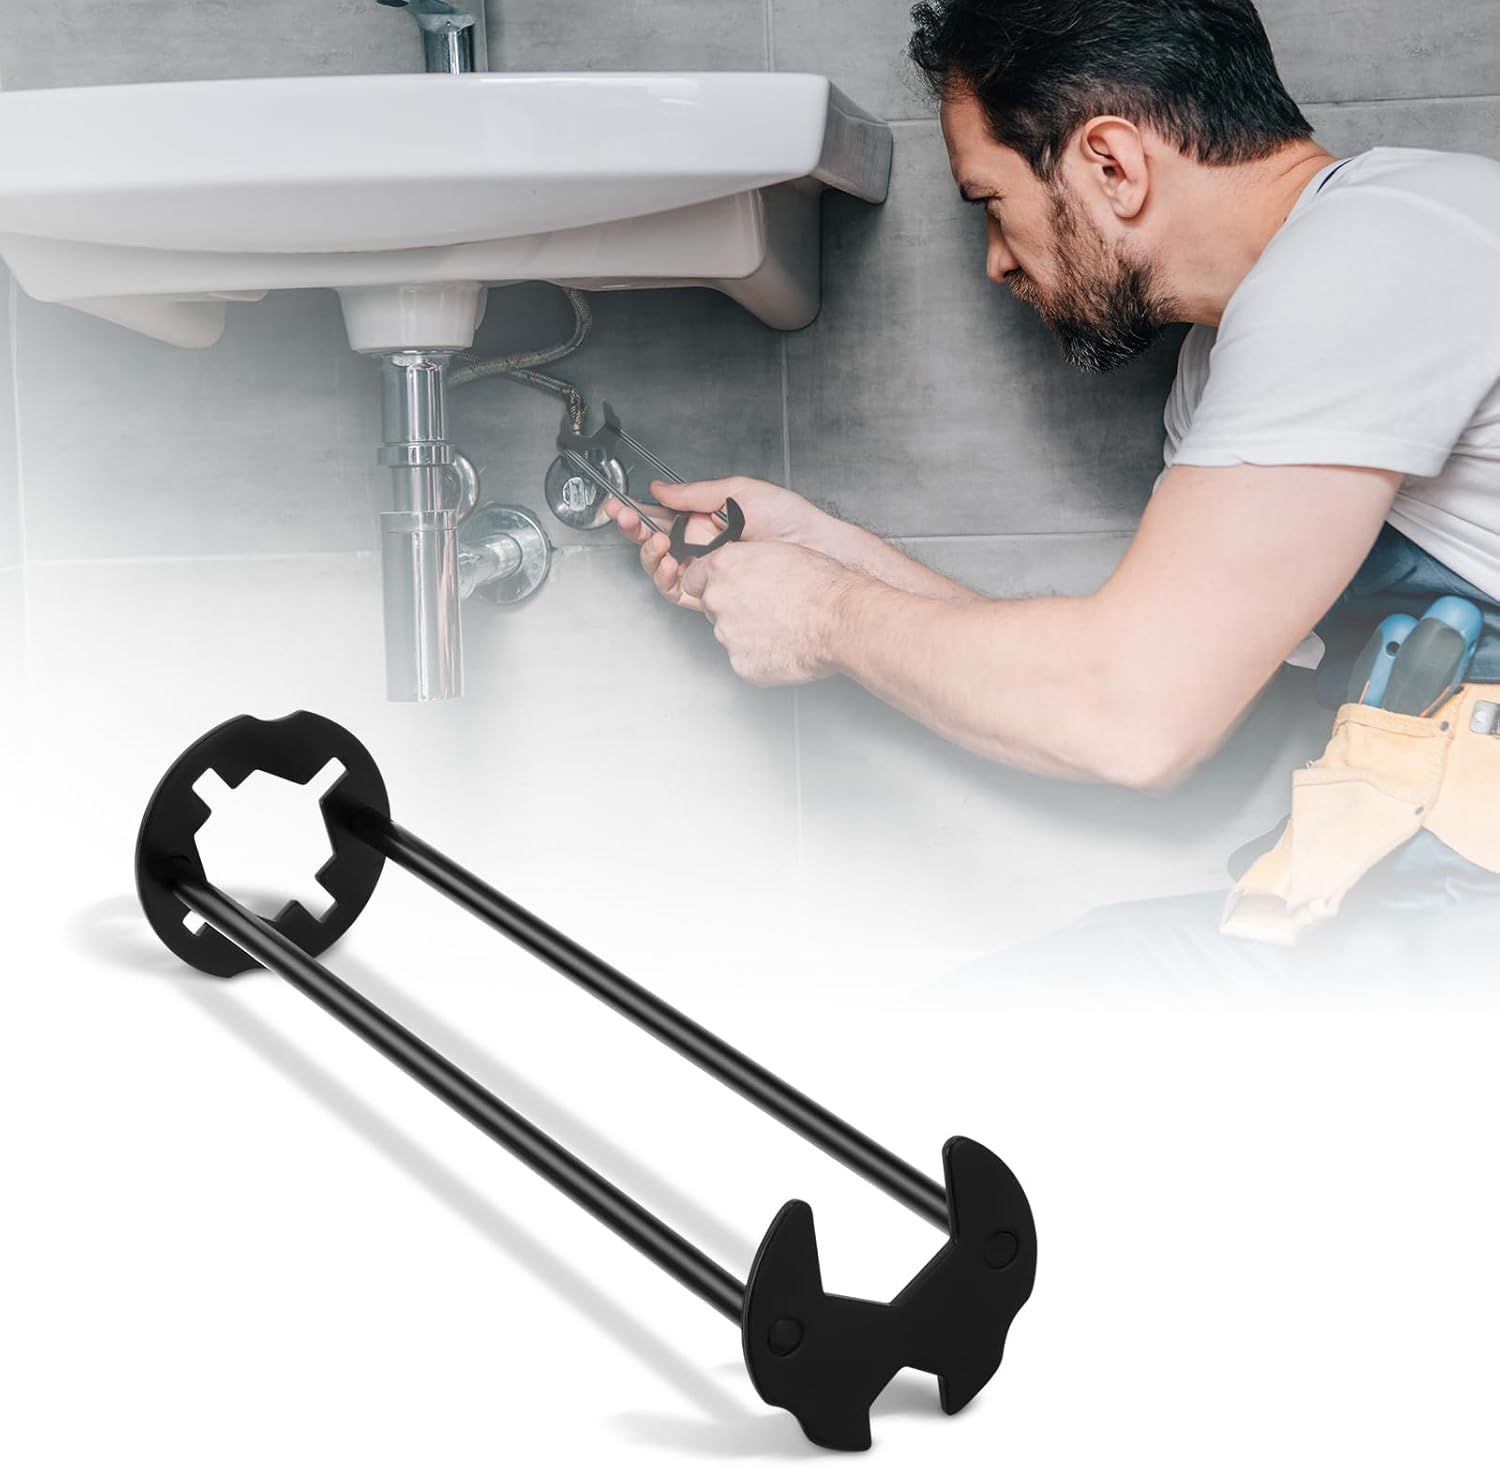
Picture this: you’re trying to fix a leaky faucet in your bathroom, but there’s barely enough room to swing a wrench. The pipes are tucked away behind cabinets, under sinks, or in corners where your hands can barely fit. That’s when a basin wrench becomes your best friend. These specialized tools aren’t just about tightening nuts – they’re about getting access where regular tools simply won’t go.
Basin wrenches might seem like simple tools at first glance, but they’re actually engineering marvels designed for one purpose: reaching those impossible spots in plumbing systems. Whether you’re dealing with a stubborn sink fixture, a hard-to-access water valve, or a pipe that’s been buried in decades of grime, this tool can make all the difference. The key isn’t just knowing how to hold it – it’s understanding how to use it creatively in situations where space is at a premium.
Understanding Basin Wrench Design
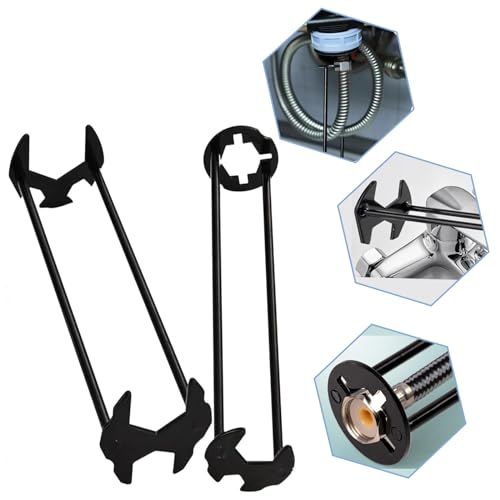
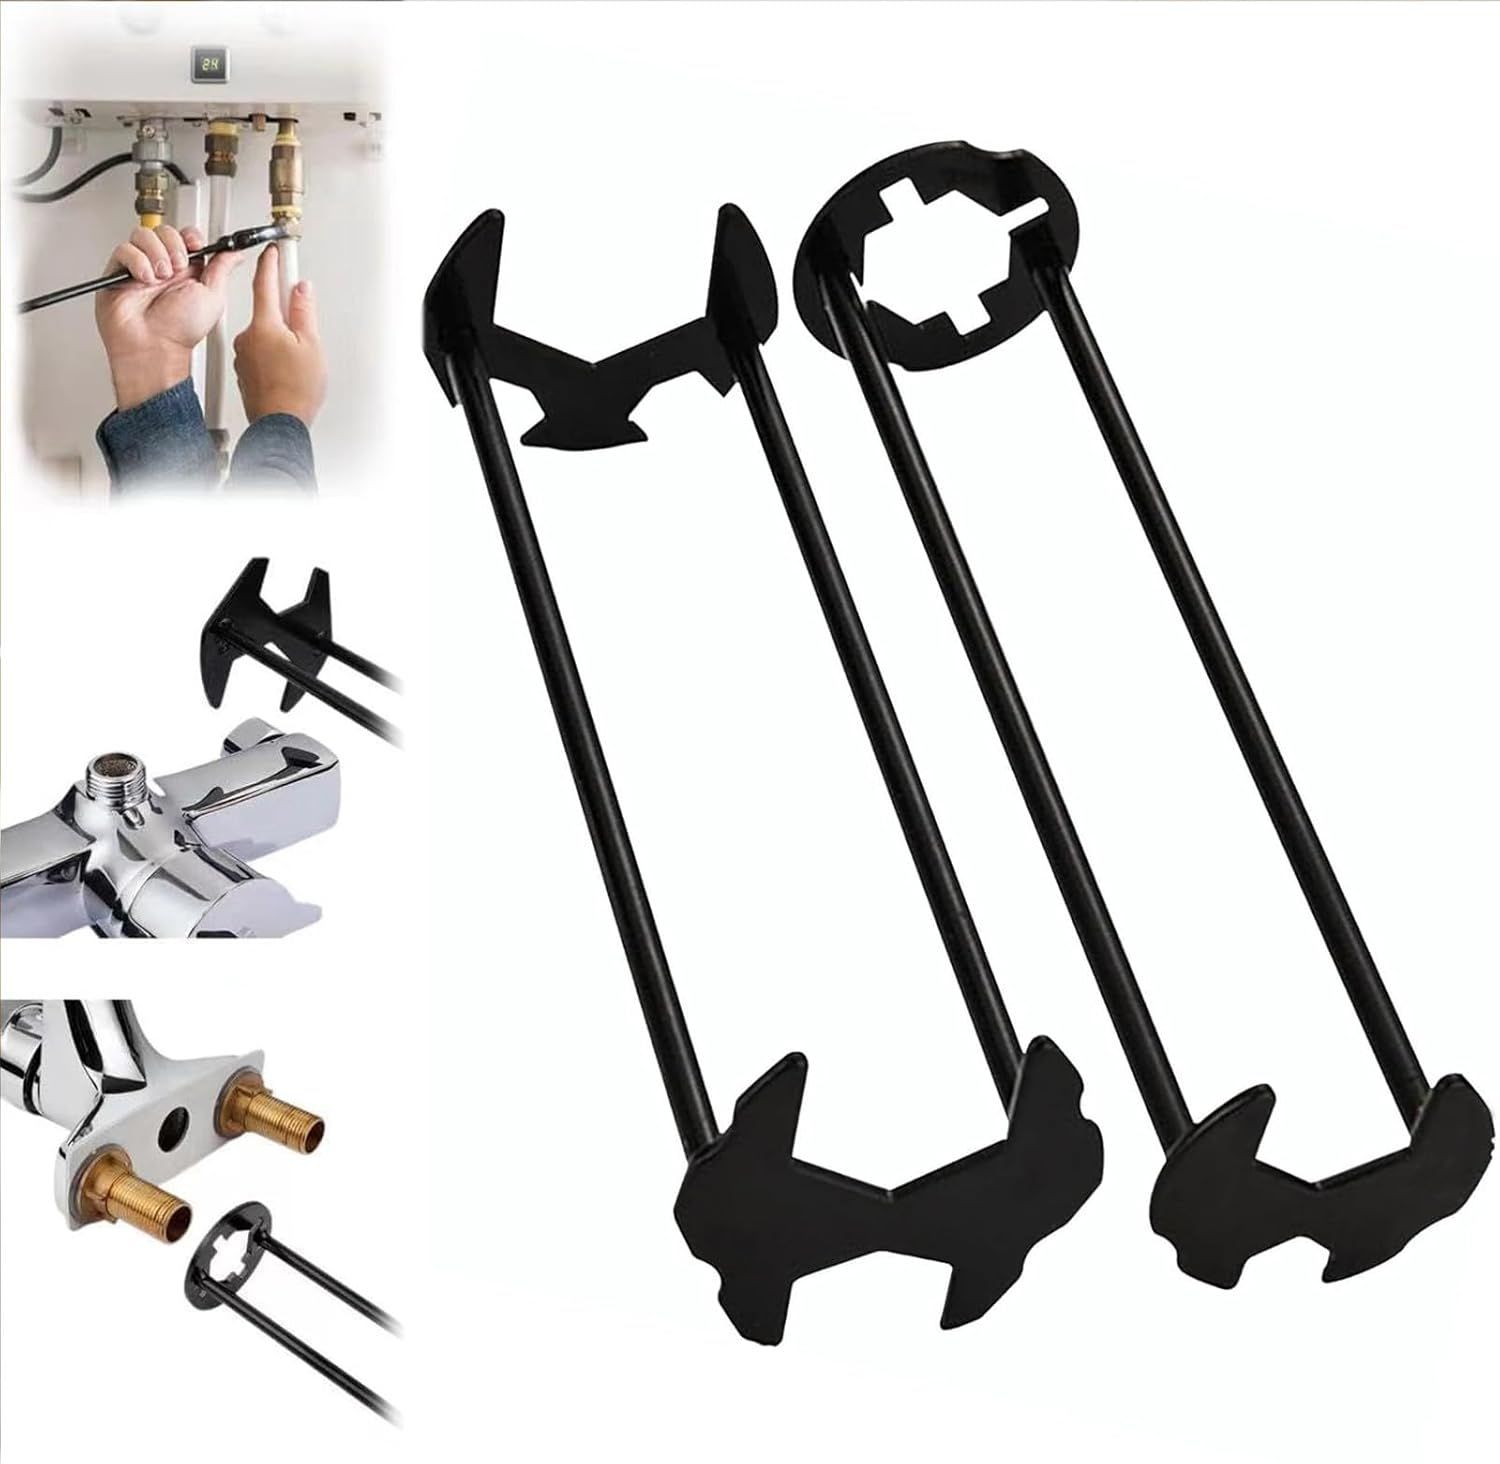
A basin wrench looks like a regular adjustable wrench but with some crucial differences. The head is typically smaller and more compact than standard wrenches, and the handle often features a curved design that allows better leverage in tight spaces. Unlike regular wrenches, basin wrenches have a unique jaw configuration that can grip nuts from various angles. This design makes them perfect for situations where you can’t get a straight angle on a nut.
The typical basin wrench has a long, thin head that extends far from the handle. This feature is essential because it allows you to reach nuts that are positioned far back or low. Some models even feature a swivel mechanism that lets you adjust the angle of the head after you’ve positioned it. Think of it as having a flexible arm that can bend around obstacles to get to the target nut.
Choosing the Right Basin Wrench for Your Job
Not all basin wrenches are created equal. When you’re working in tight spots, selecting the correct tool can mean the difference between a successful repair and hours of frustration. Consider the following factors:
• Size matters: For very tight spaces, choose a smaller head size. A 6-inch wrench works well for most kitchen sinks, while larger models might be needed for tub fixtures.
• Handle length: Longer handles give you more leverage, but you’ll need to balance this against the space constraints. Sometimes a shorter handle gives you better maneuverability.
• Material quality: Look for high-grade steel construction that won’t bend or break during use. Stainless steel versions offer better corrosion resistance.
• Adjustable vs fixed: Adjustable jaws allow you to work with different nut sizes, but fixed jaws can provide a more secure grip in some applications.
Consider a few basic models for different scenarios. For kitchen sinks, a standard 8-inch basin wrench usually does the job. For bathroom vanities, you might want something more compact. When working with older plumbing, a longer model with a swivel head often proves most effective.
Techniques for Reaching Tight Spaces
The real magic happens when you learn how to position yourself and your tool correctly. Here are some key approaches:
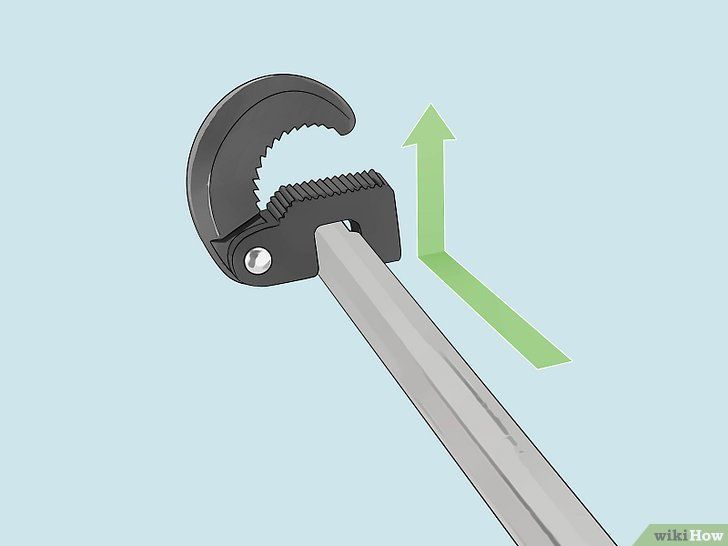
Angle adjustment: Most basin wrenches allow you to change the angle of the head. Before you start turning, position the tool so that the jaws are perpendicular to the nut you’re targeting. Sometimes you’ll need to angle it slightly to avoid hitting surrounding pipes or fixtures.
Strategic positioning: Work with gravity and physics. If you’re reaching under a sink, try to position yourself so that the weight of the wrench helps pull the nut rather than pushing against it. Sometimes moving your body position slightly can make a huge difference.
Use the right technique: Instead of brute force, use controlled pressure. Apply steady, consistent force rather than jerking or sudden movements. This approach prevents damage to both the wrench and the plumbing components.
Check clearance: Before you start, take a moment to assess what’s around your target area. Identify any obstacles that might interfere with your movement and plan your approach accordingly. Sometimes you’ll need to remove nearby items to gain access.
Overcoming Common Obstacles
Even with the right tool, you’ll face challenges. Here are some typical issues and solutions:
• Limited visibility: In tight spaces, you might not see exactly what you’re working on. Use a flashlight or phone light to illuminate the area. Consider investing in a flexible LED light that can be positioned where you need it most.
• Debris interference: Old gaskets, rust, or mineral deposits can block access. Sometimes you need to clean around the area before attempting to use the wrench. A small brush or compressed air can help remove debris.
• Wrong-sized nuts: If you’re dealing with unusual plumbing fittings, you might encounter nuts that don’t match standard sizes. Check if you have an adapter or consider using a different tool entirely.
• Rust and corrosion: Older plumbing can be stubborn. Apply penetrating oil and let it sit for a few minutes before attempting to loosen nuts. Sometimes a gentle tap with a hammer can help break loose stuck components.
• Multiple obstacles: When several pipes or fixtures are in the way, sometimes you need to work in stages. Loosen one component at a time rather than trying to tackle everything simultaneously.
Safety Considerations and Best Practices
Working in tight spaces requires extra attention to safety:
• Proper lighting: Always ensure good visibility before starting work. Poor lighting leads to mistakes and potential injuries.
• Tool maintenance: Regularly check your basin wrench for wear or damage. A worn jaw can slip and cause injury.
• Body positioning: Don’t force yourself into uncomfortable positions. If you’re having trouble, take a break and reassess your approach.
• Protective gear: Wear gloves to protect your hands from sharp edges and chemicals. Safety glasses are helpful when dealing with debris or cleaning agents.
• Work environment: Keep the area clean and organized. Have a bucket nearby for water if you’re working near drains.
• Emergency preparedness: Know where shut-off valves are located before beginning work. This knowledge can prevent serious water damage.
Advanced Tips for Professional Results
For those looking to master the art of basin wrench usage, here are some advanced techniques:
• Combine tools strategically: Sometimes you’ll need multiple tools working together. A basin wrench paired with a pipe wrench or adjustable pliers can solve complex problems.
• Practice with spare parts: Before tackling your actual project, practice on old parts. This builds muscle memory and confidence.
• Know your limits: If something seems too difficult or dangerous, don’t push it. Call in a professional plumber rather than risk injury or property damage.
• Document your process: Take photos or notes of your setup. This can help you replicate success or troubleshoot problems later.
• Invest in quality: While cheaper options exist, a good basin wrench will last longer and perform better in challenging situations. Quality tools pay for themselves through reduced frustration and better results.
• Stay organized: Keep your workspace clean and well-lit. This reduces stress and improves accuracy.
Maintenance and Care for Longevity
A well-maintained basin wrench will serve you for years. Proper care includes:
• Clean after each use: Remove any dirt, rust, or debris that might accumulate. A quick wipe-down prevents buildup.
• Lubricate moving parts: Apply a light coating of oil to the adjustment mechanisms to keep them functioning smoothly.
• Store properly: Keep your wrench in a dry place away from moisture and extreme temperatures.
• Regular inspection: Check for signs of wear, especially on the jaws where they contact the nuts.
• Sharpen if needed: Some models have sharpened jaws that may need occasional attention to maintain grip.
• Replace worn parts: If jaws become too worn to grip effectively, replacement parts are often available and relatively inexpensive.
Mastering the basin wrench in tight spaces isn’t just about having the right tool – it’s about developing the skills and mindset to work effectively within constraints. These tools are specifically designed to solve the problem of inaccessible plumbing components, but their effectiveness depends heavily on proper technique and understanding. Whether you’re a DIY enthusiast or a professional plumber, learning to navigate challenging plumbing situations with a basin wrench will save you time, money, and frustration. Remember, the goal isn’t to fight against the space limitations – it’s to work smart with the environment you’re given. With practice and patience, even the most confining plumbing situations become manageable. The key is to approach each challenge methodically, stay safe, and never hesitate to seek additional help when necessary. After all, a little preparation and the right mindset can transform what seemed like an impossible task into a straightforward repair.