Tired of fighting stubborn bathroom grime with harsh chemicals? What if you could tackle those tough spots with something you probably already have in your kitchen cabinet? Vinegar isn’t just for salad dressings anymore – it’s a powerhouse cleaner that can transform your bathroom routine.
We’ve all been there. You’re standing in front of your bathroom mirror, staring at those pesky stains that just won’t budge. Mold spots, soap scum, mineral deposits – they seem to multiply overnight. Traditional cleaners might work, but they often come with strong smells, toxic fumes, and expensive price tags. Enter the humble vinegar. This ancient liquid, made from fermented alcohol, has been used for cleaning purposes for centuries. It’s natural, effective, and surprisingly powerful against the most stubborn bathroom grime. What makes it so special? The acetic acid in vinegar breaks down dirt, grime, and even some bacteria. Plus, it’s gentle enough for regular use without damaging surfaces. In this guide, we’ll explore exactly how to harness this amazing ingredient to create a reliable cleaning spray that will make your bathroom shine.
Why Vinegar Works Magic on Bathroom Grime
Vinegar’s effectiveness comes down to its natural acidity. The acetic acid in vinegar acts like a tiny detective, seeking out and breaking down the molecules that cause bathroom grime. Think of it as a molecular archaeologist, slowly dissolving the buildup that accumulates over time. For example, soap scum forms when soap residues combine with minerals in hard water. Vinegar’s mild acidity helps dissolve these deposits without scratching surfaces. Mold and mildew, which thrive in damp environments, also fall victim to vinegar’s acidic properties. The acid disrupts their cellular structure, effectively killing them. This is why many professional cleaners still use vinegar-based solutions – it works consistently across different types of grime. The beauty of vinegar is that it’s not just about cleaning; it’s about creating a healthier environment. Unlike bleach or ammonia, vinegar doesn’t release harmful vapors that can irritate your lungs or eyes. It simply evaporates safely after use, leaving behind only fresh air and clean surfaces.
The Science Behind Effective Vinegar Cleaning Solutions
Creating the right vinegar solution requires understanding a few basic principles. First, the concentration matters. A typical 5% acetic acid solution found in grocery stores works well for most household cleaning tasks. However, for particularly tough grime, you might want to increase the ratio slightly. The key is balance. Too much vinegar can leave a strong smell or potentially damage certain materials, while too little may not be effective. Let’s look at how different concentrations affect performance. A 1:1 ratio of vinegar to water is excellent for general cleaning and light grime removal. For tougher spots, a 2:1 ratio works better. Some people prefer adding a small amount of dish soap to help lift oils and grease. This creates a more versatile cleaner that tackles multiple types of grime. The temperature of your vinegar also plays a role. Warm vinegar works faster than cold because heat increases molecular activity, helping the acid break down grime more quickly. You can actually heat the vinegar gently in a microwave for about 30 seconds before mixing it with water. This simple trick can make a noticeable difference in cleaning power, especially for stubborn lime scale or mineral deposits.
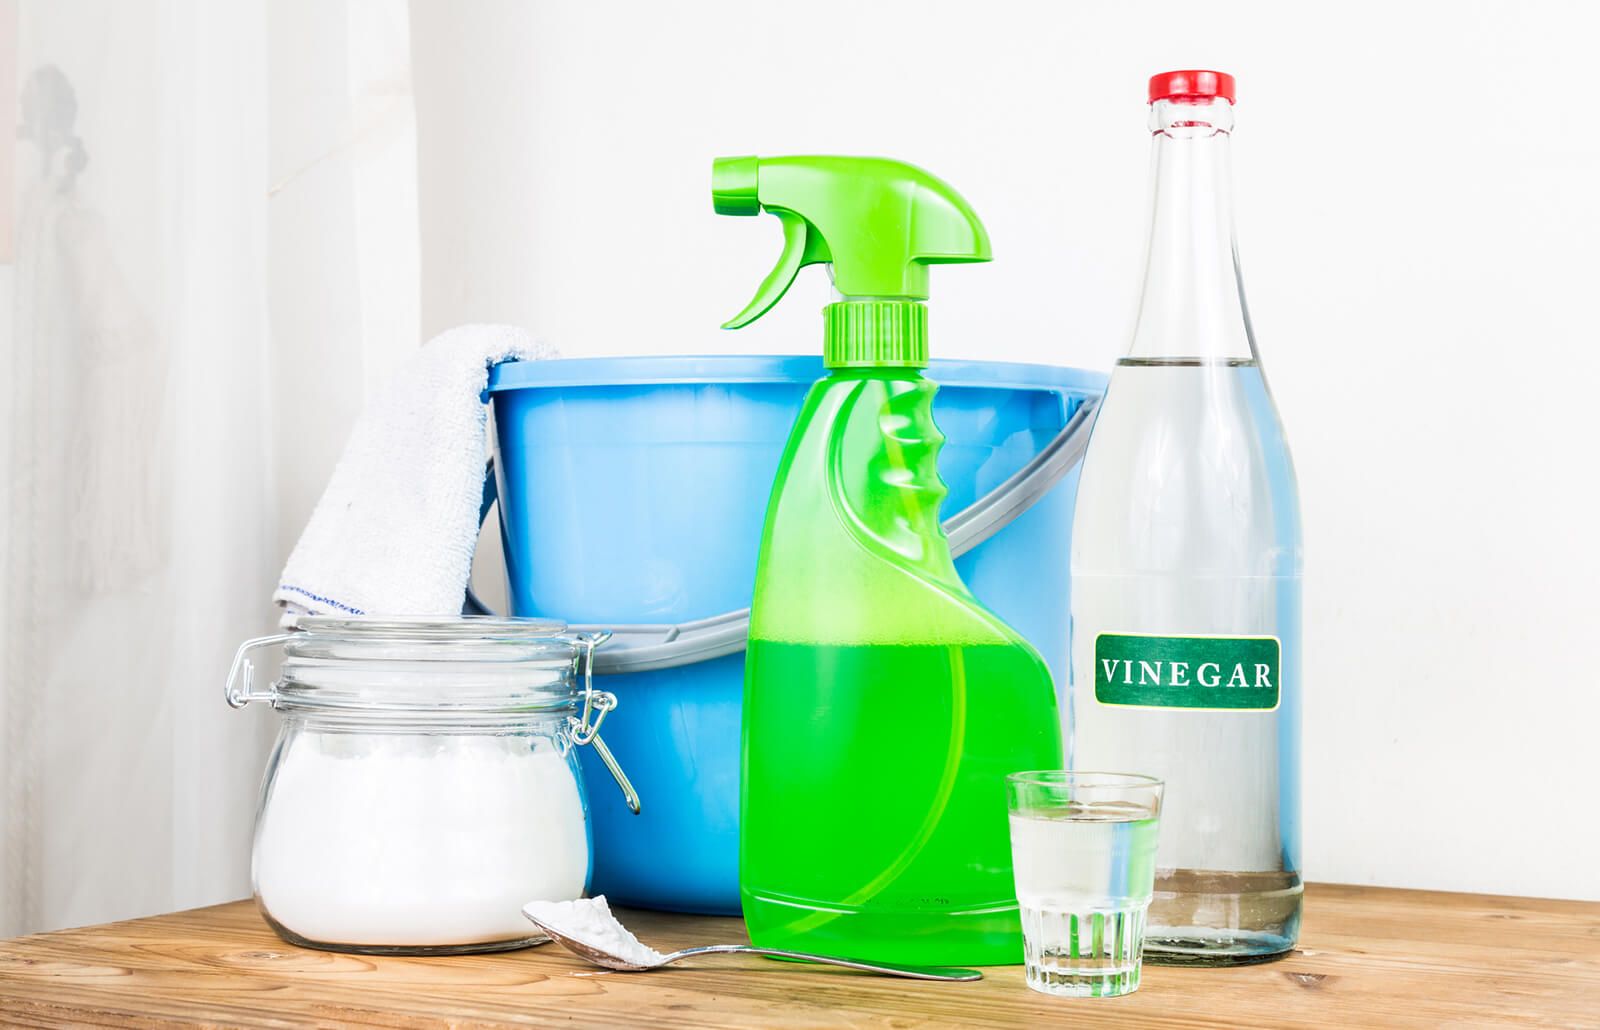
Essential Ingredients for Your Homemade Cleaner
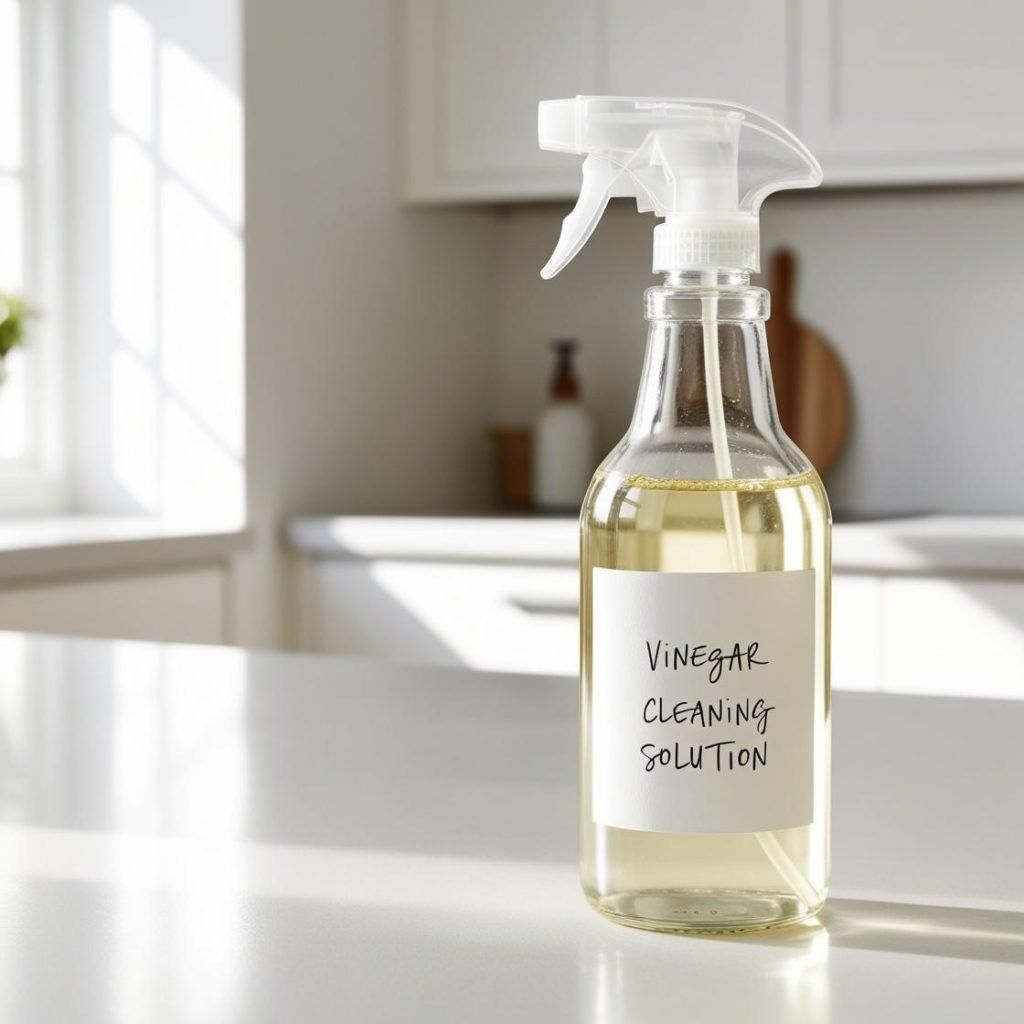
Making your own vinegar cleaner is simpler than you might think. You’ll need just a few basic ingredients, all of which you can find in your pantry or local store. The main components are white vinegar and water. White vinegar is preferred because it’s colorless and doesn’t stain surfaces. While apple cider vinegar has its benefits, it may leave a slight tint on some surfaces. Water serves as the carrier and dilutes the vinegar to a safe, usable concentration. Optional additions can enhance effectiveness. Essential oils like tea tree, lemon, or eucalyptus add both fragrance and additional antimicrobial properties. These oils work synergistically with vinegar, providing extra cleaning power and leaving pleasant scents. A small amount of salt can help scrub away stubborn deposits. Baking soda is another useful addition for tackling heavy-duty grime. You can mix it with vinegar to create a paste for targeted cleaning. For those who prefer natural alternatives, hydrogen peroxide can boost the cleaning power of vinegar. Just remember to mix these ingredients properly to avoid reactions. The order matters – always add vinegar first, then any other liquids, and finally the solids. Mixing everything in a clean spray bottle ensures proper distribution and prevents contamination.
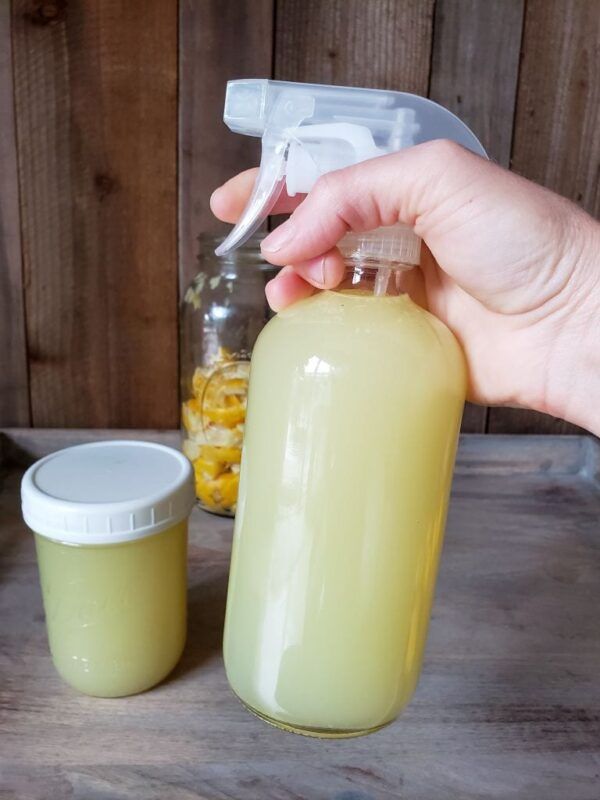
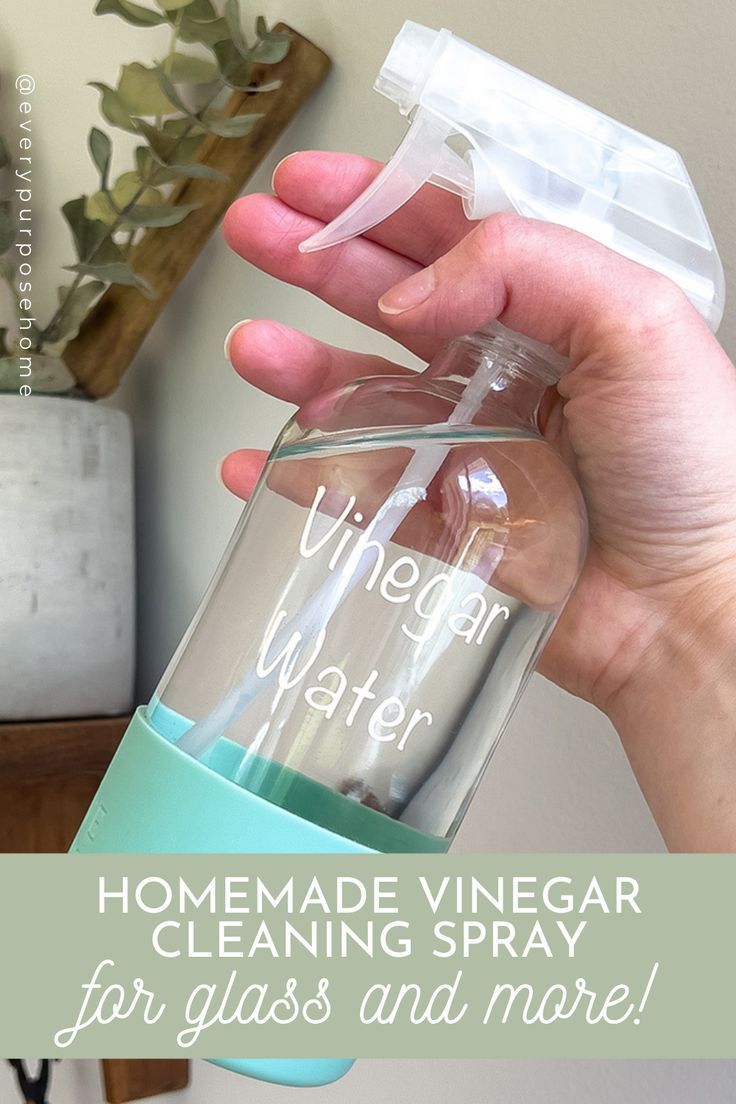
Step-by-Step Recipe for Maximum Cleaning Power
Here’s how to create your own effective vinegar spray. Start with a clean spray bottle, preferably glass or high-quality plastic. Pour one part white vinegar into the container, followed by two parts water. Shake well to mix. If desired, add 10-15 drops of essential oil for fragrance and extra cleaning power. For really tough spots, you can add a pinch of salt or a small amount of baking soda. The exact measurements depend on your specific needs. For general bathroom cleaning, the 1:2 ratio works perfectly. When dealing with heavy mineral deposits, try a 1:1 ratio instead. Always test your mixture on a small area first to ensure it doesn’t damage your surfaces. Apply the spray liberally to affected areas. Let it sit for 5-10 minutes to allow the vinegar to break down the grime. Then wipe or scrub gently with a cloth or brush. For stubborn spots, repeat the process. Remember to rinse with clean water afterward if needed, especially on porous surfaces like tile grout. The best part? You can store your homemade cleaner for weeks in the refrigerator, though it’s best used within a month. This makes it economical and environmentally friendly compared to buying commercial products regularly.
Safe Application Techniques for Different Surfaces
Not all surfaces respond the same way to vinegar. Understanding how to apply your cleaner properly ensures the best results and protects your belongings. Porcelain and ceramic surfaces handle vinegar well, making them ideal candidates for your homemade spray. These surfaces are non-porous and won’t absorb the acid, so they remain safe during cleaning. Tile grout can benefit from vinegar treatment, but be cautious. Grout is porous and might absorb some of the vinegar, so always test first. If you notice discoloration, reduce the vinegar concentration or avoid using it altogether. Metal fixtures require special attention. While vinegar works well on most metals, prolonged exposure can cause tarnishing or corrosion. Always rinse metal surfaces thoroughly after cleaning. Natural stone, such as marble or granite, should never be cleaned with vinegar. The acid can etch and damage these surfaces permanently. Always check your manufacturer’s instructions before applying any cleaner to delicate materials. For best results, apply the spray evenly and let it dwell for several minutes before wiping. This allows the vinegar to penetrate and loosen grime effectively. Avoid spraying directly on electrical outlets or switches, and always ensure the area is well-ventilated.
Troubleshooting Common Issues and Tips for Best Results
Even with the best recipe, you might encounter challenges. One common issue is leftover residue. This happens when you don’t let the vinegar dry completely or when using too much. To prevent this, always blot rather than rub when cleaning. Another problem is the strong smell lingering after cleaning. While vinegar’s scent fades quickly, some people find it overpowering. Adding a few drops of essential oil can mask the smell effectively. If you’re dealing with mold specifically, consider adding a small amount of hydrogen peroxide to your spray. This combination kills mold spores more effectively than either ingredient alone. For extremely stubborn deposits, pre-treat with undiluted vinegar first. Let it sit for 15-20 minutes before rinsing. Some people struggle with consistency in their spray bottles. To solve this, shake the bottle thoroughly before each use. This ensures the ingredients mix properly and maintain their cleaning effectiveness. Remember to clean your spray bottle regularly to prevent bacterial growth. Rinse it well after each use and let it air dry completely. Finally, keep your homemade cleaner away from children and pets, even though it’s natural. While it’s safer than commercial cleaners, it’s still acidic and shouldn’t be ingested.
Making your own vinegar cleaning spray isn’t just about saving money – it’s about taking control of your home’s cleanliness. You now know how to create an effective, natural solution that tackles the toughest bathroom grime. The beauty of this approach lies in its simplicity and reliability. No more worrying about harsh chemicals or expensive products. With just a few pantry staples, you can maintain a spotless bathroom. Whether you’re dealing with daily maintenance or tackling stubborn stains, this homemade formula provides consistent results. The key is understanding how to apply it correctly and knowing when to adjust your approach. From porcelain tiles to grout lines, this cleaner works wonders when used appropriately. Plus, you’re contributing to a healthier environment by avoiding synthetic chemicals. So next time you face that dreaded bathroom mess, reach for your homemade vinegar spray. It might just surprise you with how easily it clears away even the most persistent grime. Your bathroom – and your health – will thank you for choosing this natural alternative.