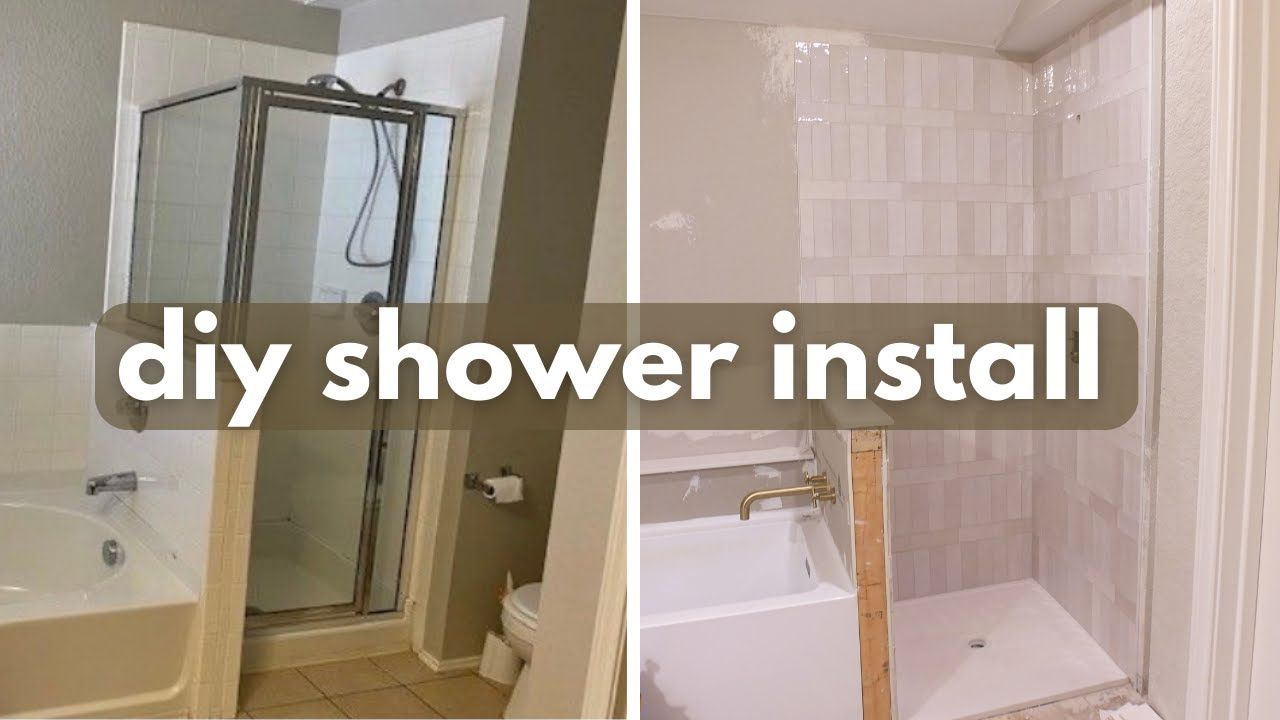
Have you ever looked at a fancy bathroom renovation and thought, ‘I wish I could have that look without breaking the bank?’ Well, budget shower kits might just be your answer. These handy packages offer everything you need to transform your space into a spa-like retreat without spending a fortune.
We all know how overwhelming it can be when you’re planning a bathroom upgrade. The price tags on fixtures, the endless shopping trips, and the sheer amount of options out there can leave anyone feeling lost. But what if you could get that same luxurious feel for a fraction of the cost? That’s exactly what budget shower kits promise to deliver. They’re designed to give you the essentials without the premium price tag. Whether you’re doing a full bathroom overhaul or just want to refresh a single stall, these kits can be a game-changer. Plus, they often come with all the pieces you need to make things work right out of the box. So let’s dive into how you can tackle this project yourself and save some serious cash along the way.
Understanding Budget Shower Kit Components
Before we jump into the actual assembly process, it’s important to understand what’s included in most budget shower kits. These packages usually contain a few core items that form the foundation of your new shower setup. You’ll typically find a shower base or tray, which is the part you stand on. This might be a simple plastic tray or something slightly more robust depending on the brand.
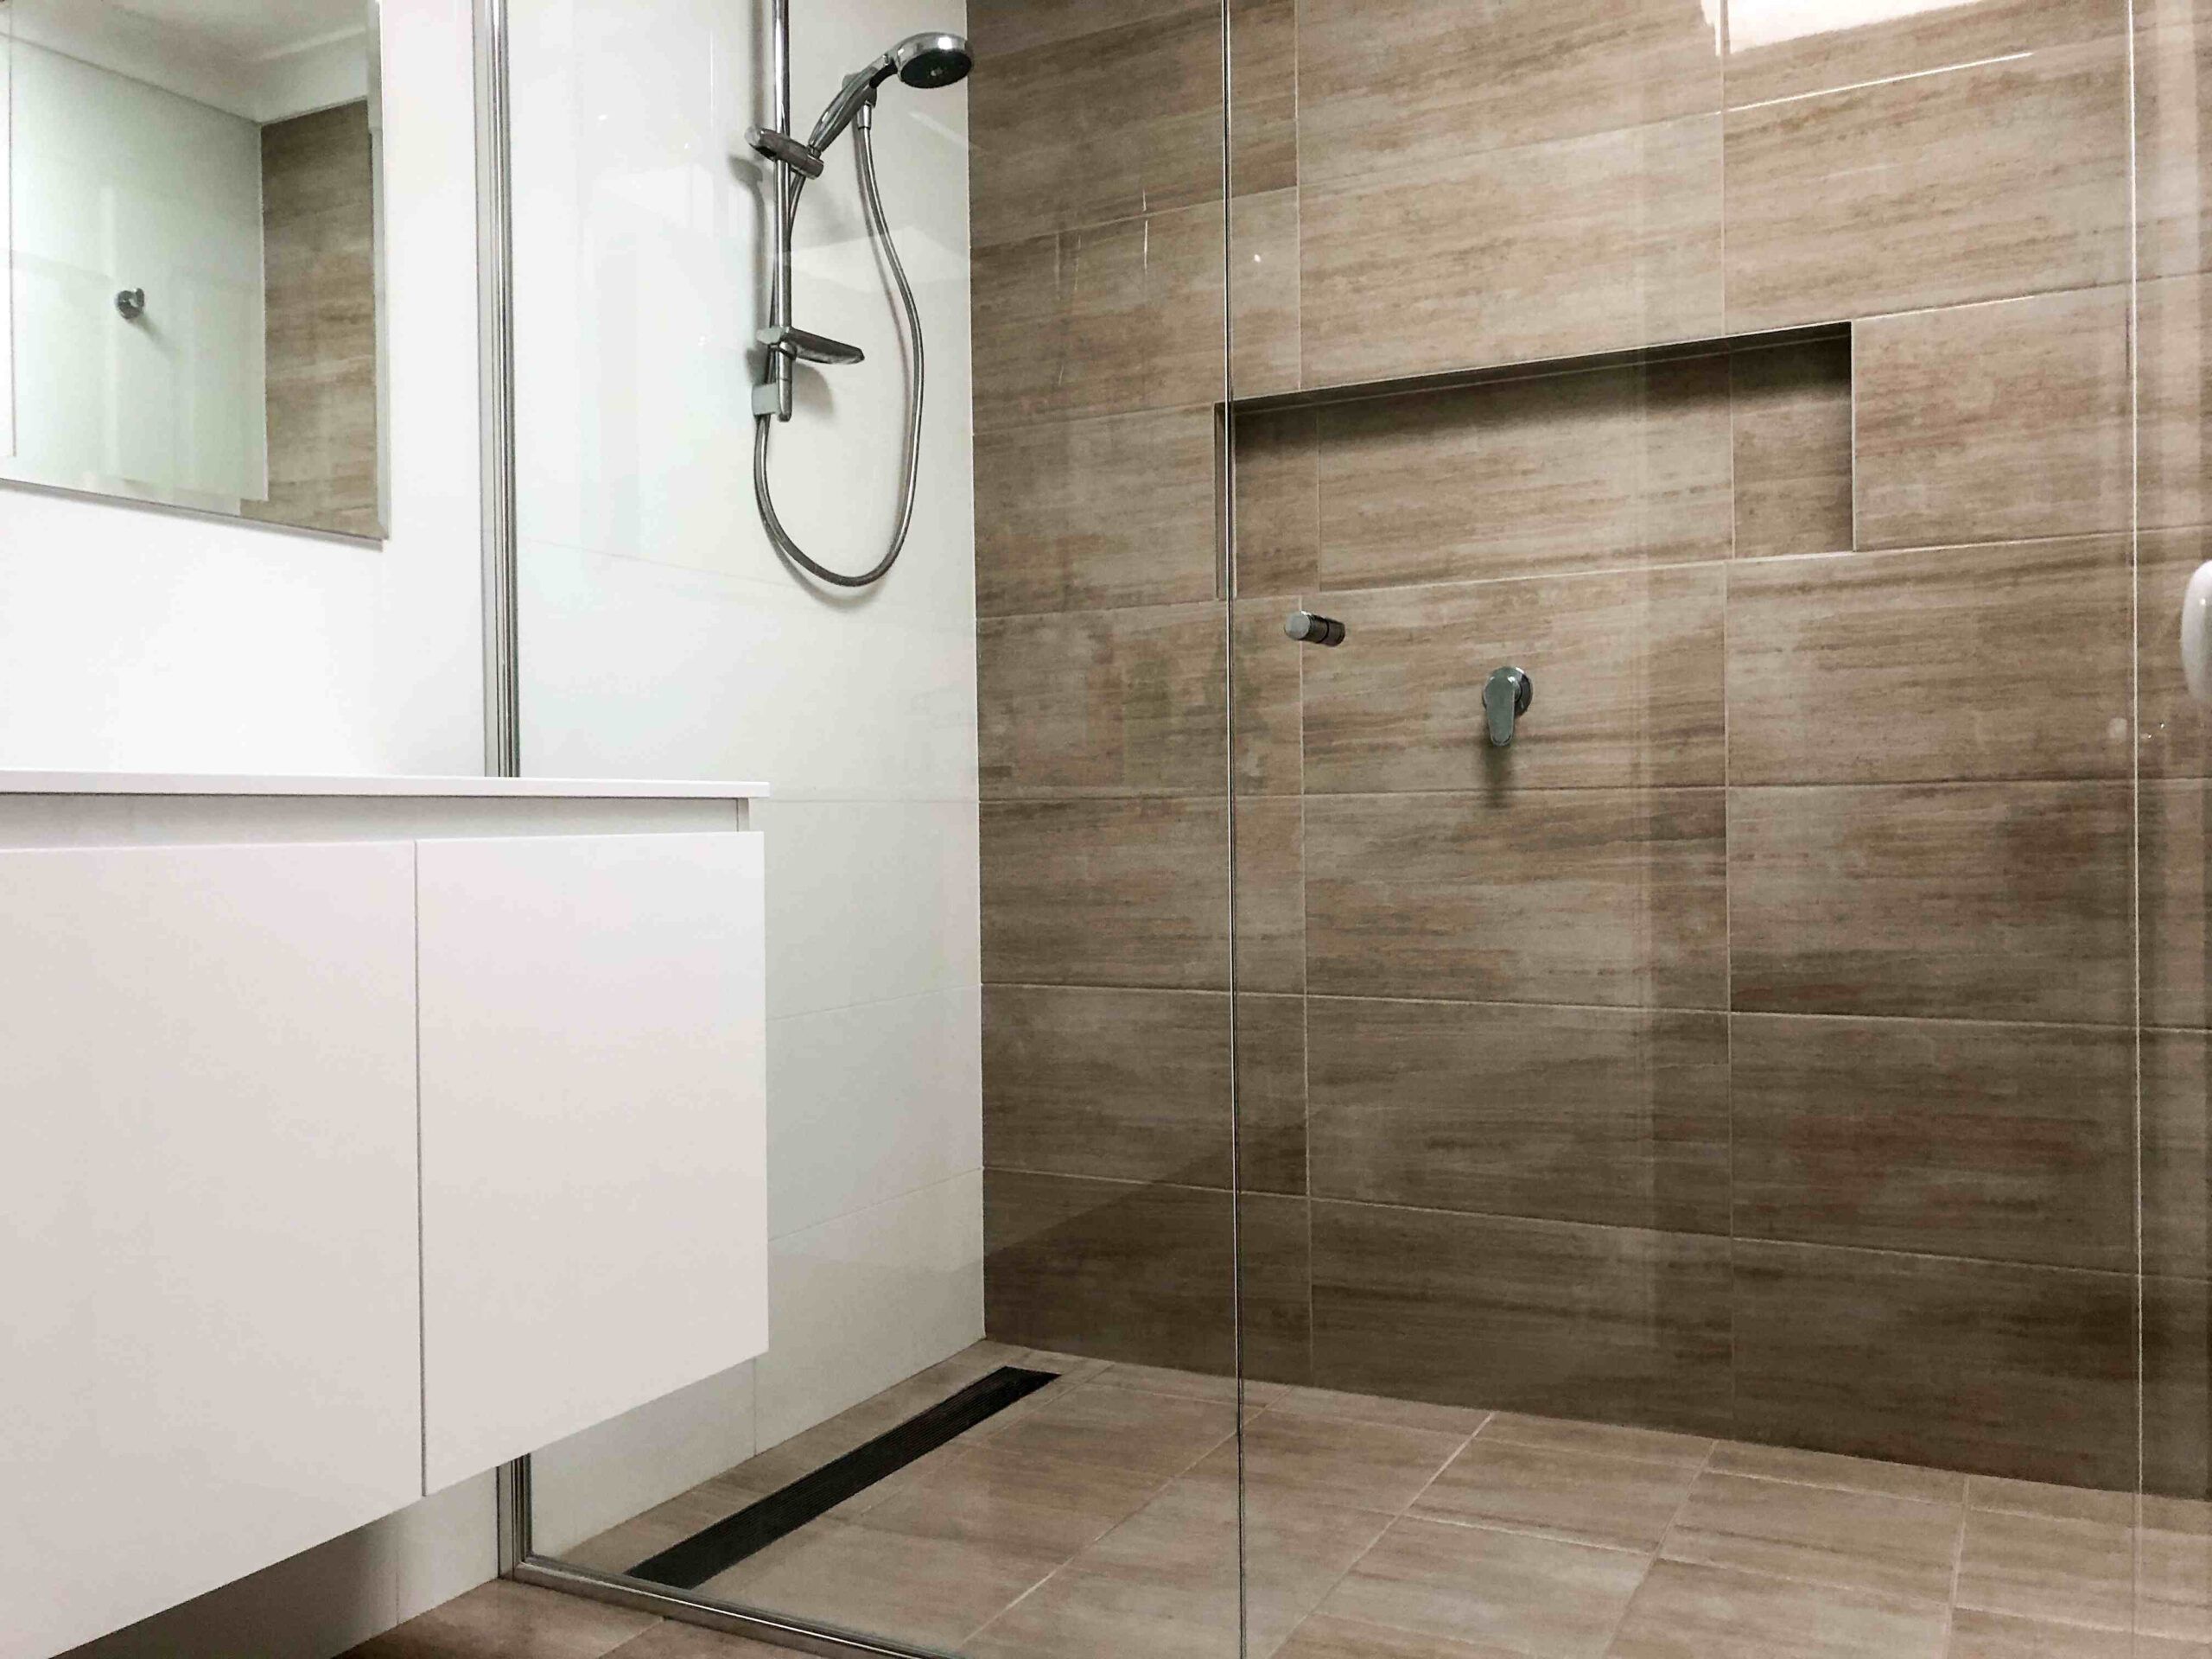
Next up, you’ll find the shower walls. These can be made from various materials like acrylic, fiberglass, or even tile backer panels. Some kits include pre-cut panels that slot together easily. Others might require a bit more work to install properly.
The hardware section usually includes mounting brackets, screws, and sometimes even the shower door itself. It’s worth noting that not all kits include every single piece. Always check the inventory list before you start to make sure you have everything you need.
Finally, many kits come with a small selection of accessories like a handheld showerhead, a soap dispenser, and even a towel rack. These extras can really make the difference between a functional shower and a truly comfortable one.
Preparation and Planning Phase
Okay, so you’ve got your kit and you’re ready to go. Before you start unscrewing anything, take a few moments to plan your approach. First, measure the area where you want to install the shower. This isn’t just about making sure everything fits – it’s about ensuring proper drainage and access to water supply lines.
Take photos of the space from different angles. This will help you remember how things fit together later on. Also, check if your bathroom already has the necessary plumbing. Most budget shower kits require a standard shower connection, but it’s always better to be safe than sorry.
Clear the area around your installation site. Remove any existing tiles, old fixtures, or anything else that might get in the way. A clean workspace makes everything much easier to handle.
It’s also helpful to gather your tools ahead of time. You’ll probably need a drill, screwdriver set, level, measuring tape, and maybe a utility knife. Having everything within reach will keep you from getting frustrated during the build process.
One thing to consider: do you want to keep the existing floor or replace it? If you’re installing a new shower base, you may need to remove the old flooring first. This is especially true if it’s a heavy material like ceramic tile.
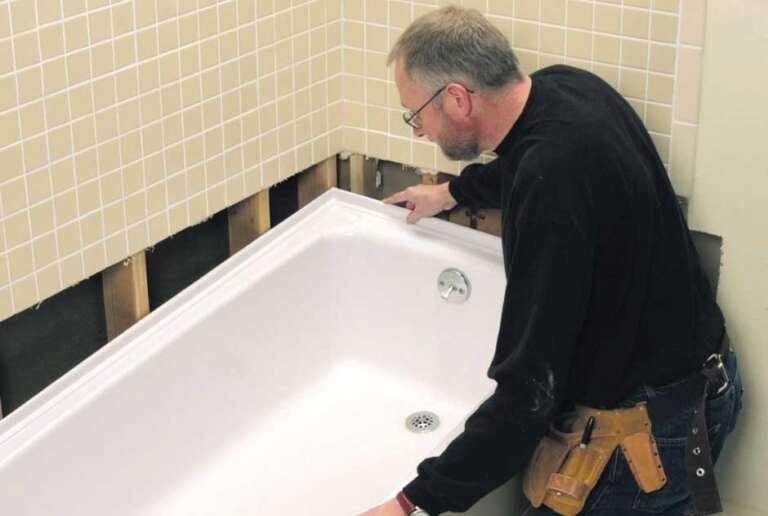
Installing the Shower Base
The shower base is usually the first component you’ll tackle. This is the foundation of your entire setup, so it needs to be installed correctly. Start by placing the base in position and checking that it sits evenly on the floor.
Most bases come with pre-drilled holes or attachment points. Align these with your mounting hardware. If the base seems wobbly or uneven, you might need to adjust the surrounding area to ensure it’s perfectly level.
Use a level tool to check from multiple angles. This step is crucial because any unevenness can cause water pooling or make the whole structure unstable.
Once you’re satisfied with the placement, secure the base according to the manufacturer’s instructions. Many use a combination of screws and adhesive. Some kits even include special clips or brackets that make installation easier.
After securing the base, double-check that it’s flush with the surrounding floor. Any gaps or misalignments can lead to water seepage issues down the road. If you notice any problems, address them immediately rather than waiting until later.
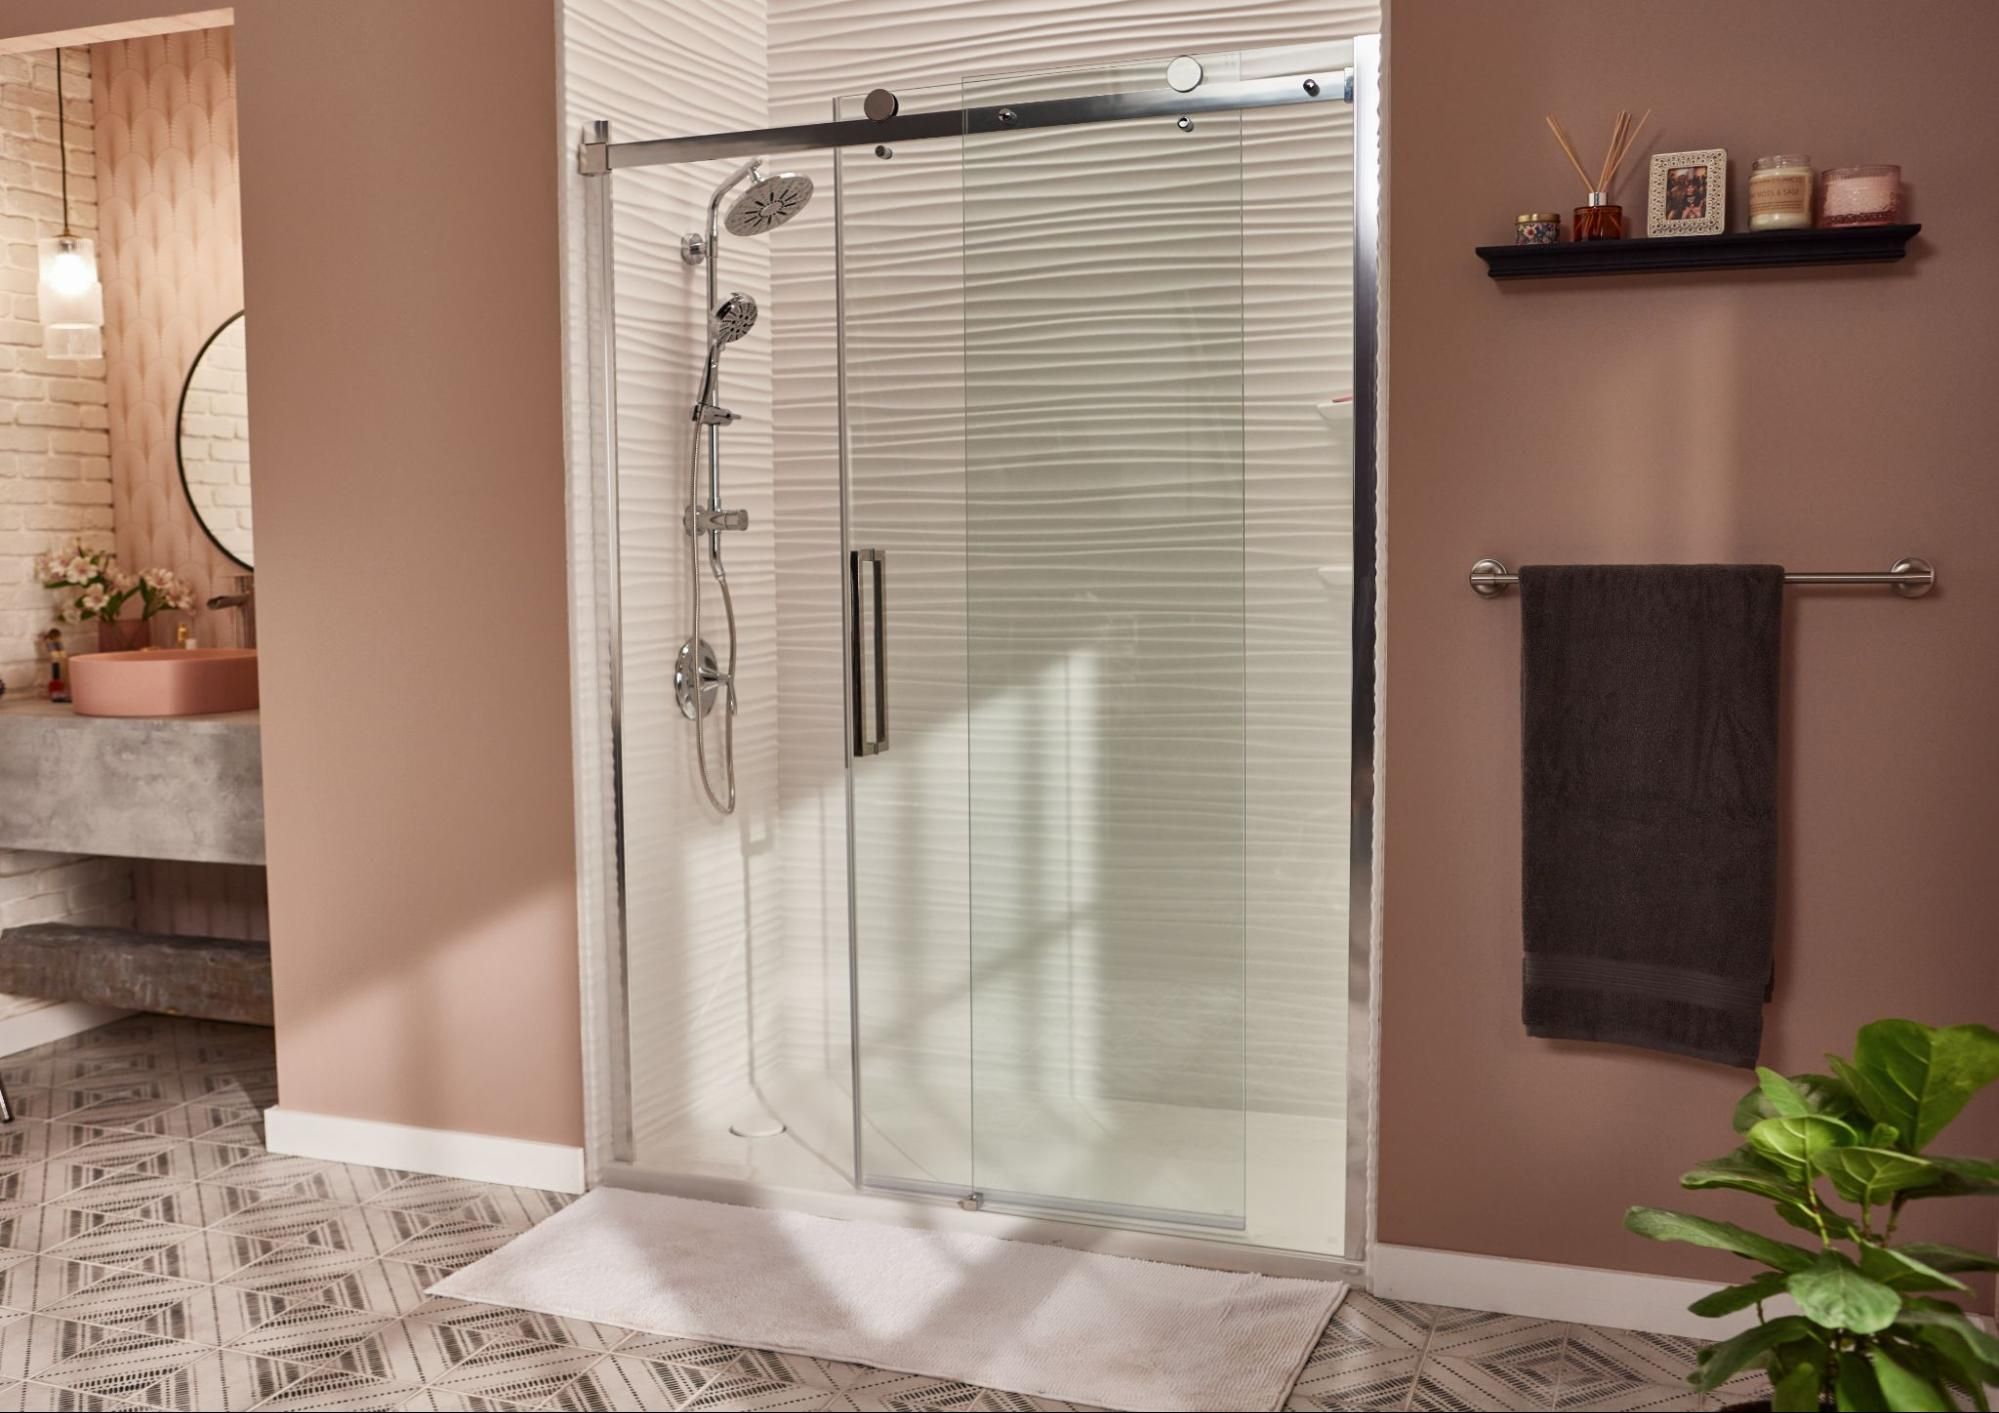
Setting Up the Walls
Now comes the fun part – putting up those walls! Depending on your kit, you might be working with pre-cut panels or building from scratch. Panels are generally easier to work with, especially for beginners.
Start by laying out all your wall pieces. Look for any damage or warping that might affect the final result. If you spot issues, you might need to replace certain panels.
Attach the panels to each other using the provided connectors or fasteners. These usually snap together or require simple screwing. Take your time with this step – rushing can lead to misalignment or gaps.
For added stability, use a level frequently. Walls that aren’t straight can make the entire shower look unprofessional and may even affect water flow.
If you’re dealing with a curved or custom shape, you might need to cut some pieces to fit. Use a utility knife or saw carefully. Always measure twice and cut once to avoid mistakes.
Some kits include corner pieces or trim to finish off the edges. These are important not just for looks but also for preventing water from seeping behind the walls.
Connecting Plumbing and Water Supply
This is where things get a bit trickier, but don’t panic! Most budget shower kits are designed to be user-friendly even for those without plumbing experience. The key is to follow the manufacturer’s instructions carefully.
First, locate your water supply lines. These are typically found under the sink or near the wall where you’re installing the shower. Make sure they’re turned off before beginning any work.
Connect the shower valve to the hot and cold water lines. Many kits include adapters or connectors that simplify this process. If you’re unsure about how to connect the lines, it’s worth consulting with a professional or watching a tutorial video online.
Test the connections carefully. Turn the water back on slowly and check for leaks. If you see any dripping, shut off the water immediately and recheck your connections.
Don’t forget about drainage. Make sure the drain pipe is properly connected and positioned correctly. You might need to adjust the height or angle depending on your setup.
A good tip is to have a bucket nearby while testing. If something does leak, you won’t end up with a flooded bathroom.
Final Assembly and Touch-Up Details
With the basic structure in place, it’s time to add the finishing touches. This is where your shower starts to look like the spa you’ve been dreaming of.
Install any remaining hardware such as shower doors, handles, and fixtures. These often come with detailed instructions, but they’re usually straightforward.
Hang the shower curtain or install the door if it’s a sliding type. Make sure everything moves smoothly and operates as expected. Test the door hinges or track system.
Add any extra accessories like towel bars, soap dishes, or a small shelf. These small details can really enhance the overall look and function of your new space.
Clean up the area thoroughly. Remove any construction debris, dust, or residue from the installation process. A clean finish makes all the difference in how your new shower looks.
Finally, run a test shower. Check that everything works properly – water pressure, temperature control, drainage. If you notice any issues, now is the time to fix them before they become bigger problems.
Building your own budget shower kit might seem daunting at first, but breaking it down into manageable steps makes it achievable for almost anyone. The satisfaction of creating your own spa-like space without spending a fortune is incredibly rewarding. Plus, you gain valuable skills that might come in handy for future home projects.
Remember, patience and careful preparation are your best allies. Rushing through any part of the process can lead to costly mistakes or safety issues. Take your time, follow the instructions, and don’t hesitate to ask for help if something isn’t clear.
Whether you’re upgrading a single stall or completely overhauling your bathroom, budget shower kits offer an affordable pathway to luxury. They prove that you don’t need to spend thousands to enjoy a high-quality shower experience. With a little effort and the right approach, you can transform your bathroom into a peaceful retreat that suits both your style and budget. The best part? You’ll know exactly how everything works and can make adjustments if needed down the line.