Imagine having a magical machine that transforms your food waste into nutrient-rich soil amendment. That’s exactly what a compost tumbler does. Whether you’re a seasoned gardener or just starting out, building your own tumbler can be surprisingly simple and rewarding.
Composting at home isn’t just good for the environment – it’s incredibly satisfying too. When you see your kitchen scraps disappear into a tumbling barrel and emerge as rich, dark compost, there’s something deeply fulfilling about it. This guide will walk you through creating your very own compost tumbler using basic materials and straightforward instructions. You’ll learn why these systems work so well, how they’re different from traditional compost piles, and most importantly, how to build one yourself without breaking the bank.
Why Choose a Compost Tumbler?
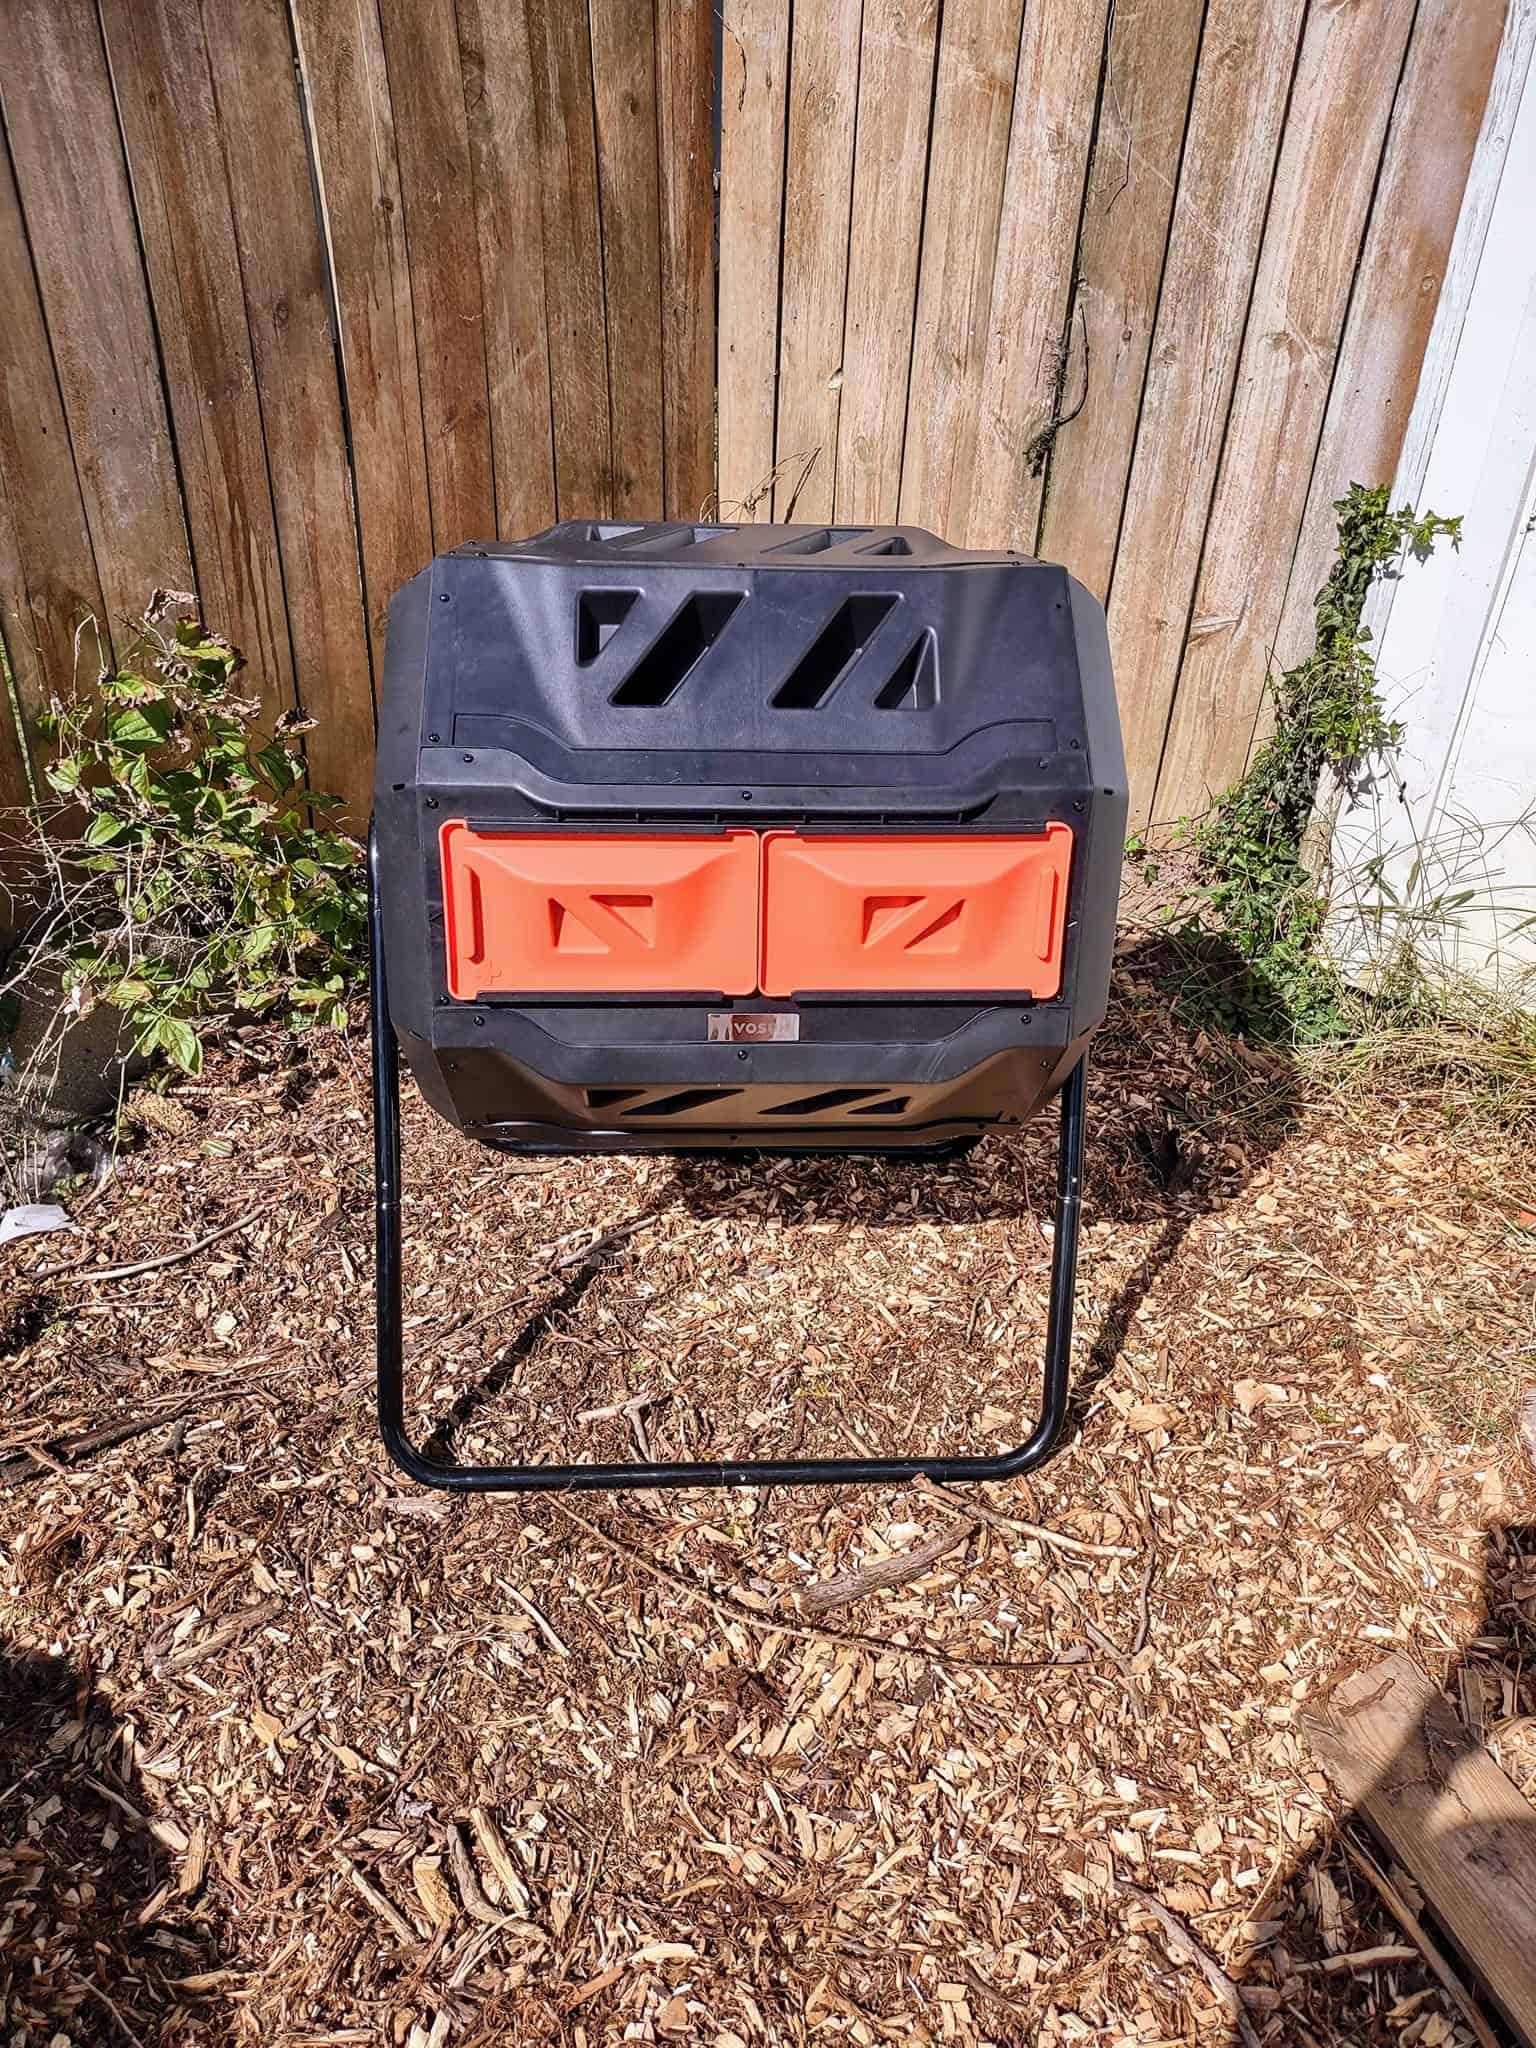
Compost tumblers offer several advantages over traditional composting methods. They’re much easier to manage, keep pests out, and produce finished compost faster. These rotating units help aerate the pile automatically, which speeds up decomposition significantly. Plus, they look nice in your backyard and take up less space than big compost bins.
The main benefits include:
• Faster composting – typically 2-4 weeks versus months for traditional piles
• Better pest control – sealed design keeps rats, raccoons, and other critters away
• Easier turning – no need to manually turn heavy compost with a pitchfork
• More consistent temperature – better heat retention for decomposition
• Compact size – perfect for small yards or apartment balconies
Think about it – instead of spending hours every week turning a compost pile, you can simply spin the tumbler once or twice a day and let nature do the rest.
What You’ll Need for Your DIY Tumbler
Building your own compost tumbler doesn’t require expensive materials or special skills. Here’s what you’ll want to gather:
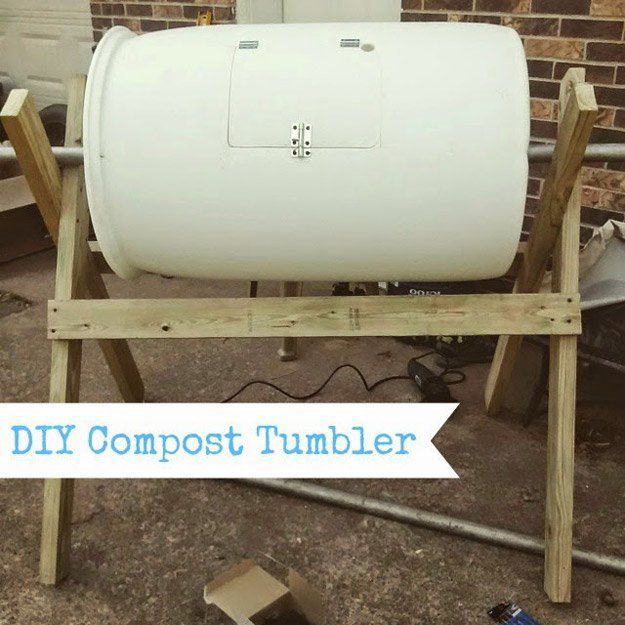
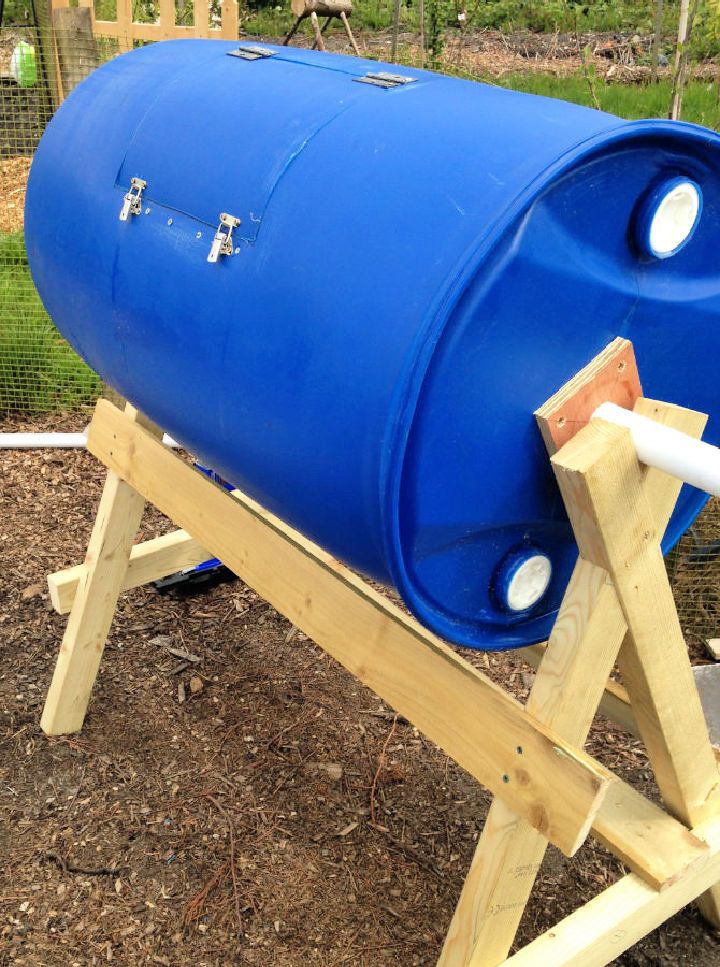
• Two 55-gallon plastic drums (clean and food-safe)
• A length of 4-inch PVC pipe (about 3 feet long)
• Screws and bolts for assembly
• A drill with bits
• Sandpaper or a file
• Optional: handles, wheels, or decorative elements
The key is using clean, food-safe containers. If you’re using old barrels, make sure they’ve never held chemicals or toxic substances. Some gardeners prefer to buy new drums specifically for composting.
If you’re working with two drums, you’ll need to cut one in half to create the tumbler mechanism. The second drum becomes the outer shell that holds everything together. This setup allows the inner drum to rotate freely while keeping everything contained.
Don’t forget to plan ahead for the location. You’ll want somewhere that’s easily accessible but not too close to your house. Also consider drainage – a slight slope can help water flow away from the base.
Step-by-Step Construction Process
Ready to get started? Here’s how to build your tumbler:
Prepare the drums – Clean both drums thoroughly and remove labels. Cut one drum in half horizontally to create two semi-circles.
Create the axle – Drill holes through the center of each half-drum. The holes should align perfectly when placed side by side.
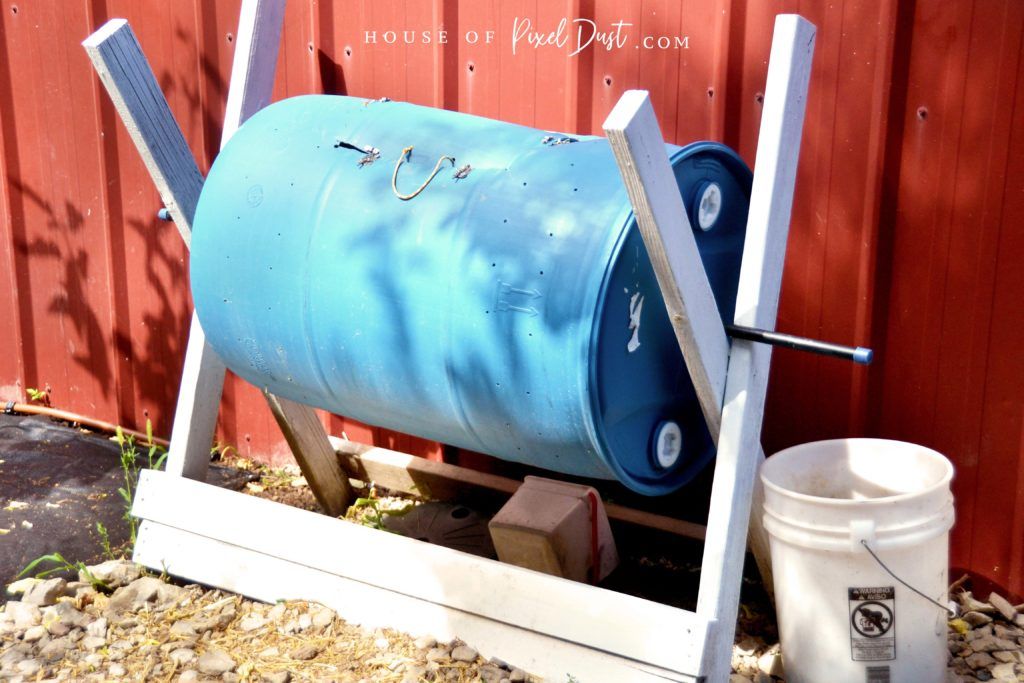
Add the axle – Slide the PVC pipe through the aligned holes. This creates your rotating axis.
Secure the assembly – Use screws or bolts to attach the drums securely. Make sure they can rotate smoothly.
Install handles – Attach handles to the side of the inner drum for easy spinning.
Test the rotation – Spin the drum a few times to ensure it moves freely.
Add final touches – Consider adding wheels or a base to make moving the tumbler easier.
Some people add a small hole in the bottom for drainage. Others install a lid or cover to protect against excessive rain. It’s all about personal preference and what works best for your situation.
Optimizing Your Compost Tumbler
Once you’ve built your tumbler, you’ll want to know how to use it properly. The key to success lies in balancing your materials and maintaining good airflow.
Start with a good mix of brown and green materials. Browns include dried leaves, paper, cardboard, and straw. Greens consist of vegetable scraps, coffee grounds, and grass clippings. Aim for roughly 3:1 ratio of browns to greens.
Keep your tumbler moist but not soggy. You should be able to squeeze a handful of compost and see just a few drops of water. Too much moisture leads to anaerobic conditions and bad smells.
Turning the tumbler regularly helps aerate the pile. Aim for once every 2-3 days. This helps distribute moisture and nutrients evenly.
Temperature matters too. A healthy compost pile will heat up to 130-160°F. If yours stays cool, it might need more greens or better aeration.
Also, avoid putting meat, dairy, or oily foods in your tumbler. These can attract pests and create odors.
Common Problems and Solutions
Even with the best intentions, compost tumblers can run into issues. Here are some common problems and how to fix them:
• Smelly compost – Usually means too much green material or lack of aeration. Add more browns and turn more frequently.
• Too dry – Add water or wetter materials like fruit peels. The pile should feel like a damp sponge.
• Slow decomposition – Could mean insufficient moisture, wrong ratio, or not turning enough. Check all factors and adjust accordingly.
• Pests getting in – Make sure the tumbler is sealed properly. Cover with a tight-fitting lid if necessary.
• Drainage issues – Add a small hole in the bottom or place on elevated ground. Too much water can slow down the process.
Remember, composting is a learning process. Don’t get discouraged if your first batch isn’t perfect. Most gardeners find their rhythm after a few tries.
One common mistake is overloading the tumbler. Start small and gradually increase the amount of material. It’s better to have a smaller pile that works well than a huge pile that fails.
Maintenance Tips for Longevity
Your compost tumbler deserves some care to last for years. Here are some maintenance tips:
• Regularly check for wear on the axle and connections. Tighten any loose bolts.
• Clean the tumbler occasionally with mild soap and water. Remove any debris that might clog the rotation.
• Protect it from extreme weather. Cover during harsh winters or storms.
• Rotate the drum periodically even when not composting to prevent rust or damage.
• Keep the area around the tumbler clear of weeds and debris.
• Consider painting or staining the outside for protection and appearance. This is especially helpful if you’re using outdoor drums.
The more you use it, the more you’ll appreciate its durability. Many gardeners report their tumblers lasting 10+ years with proper care.
Also, remember to rotate the drum slowly and carefully. You don’t want to break anything or cause injury. Take your time and enjoy the process.
Building your own compost tumbler is one of the most rewarding projects you can undertake in your garden. It’s not just about making compost – it’s about taking control of your waste and creating something valuable for your plants. With a little time and effort, you’ll have a system that produces rich, dark compost in a fraction of the time it takes traditional methods.
The beauty of this project is that it’s completely customizable. You can adjust the size, add features, or modify the design based on your needs. Whether you’re composting kitchen scraps for your vegetable garden or managing yard waste, a tumbler can handle it all.
Don’t let the idea of composting intimidate you. Start small, learn as you go, and remember that every gardener was once a beginner. The satisfaction of seeing your compost ready in just a few weeks makes all the effort worthwhile. Your plants will thank you, and so will the planet.