We’ve all been there – standing in the shower, feeling the frustration of a stubborn old valve that won’t cooperate. The water pressure is weak, the temperature fluctuates like a fever patient, and you know it’s time for a replacement. But what if you’re worried about damaging those pristine tiles behind the shower? This isn’t just about fixing a leaky faucet – it’s about doing it right while preserving your investment.
Replacing an old shower valve can feel like a major undertaking, especially when you’re concerned about keeping your bathroom’s aesthetic intact. Many homeowners avoid tackling this project themselves, fearing damage to their tiles or walls. But with the right approach, careful preparation, and a few smart techniques, you can successfully swap out that outdated valve without leaving a scratch on your bathroom’s surface. Think of it as a delicate dance between plumbing expertise and preservation skills. The key lies in understanding the process, gathering proper tools, and taking precautions that protect everything around your shower installation.
Understanding Your Shower Valve System
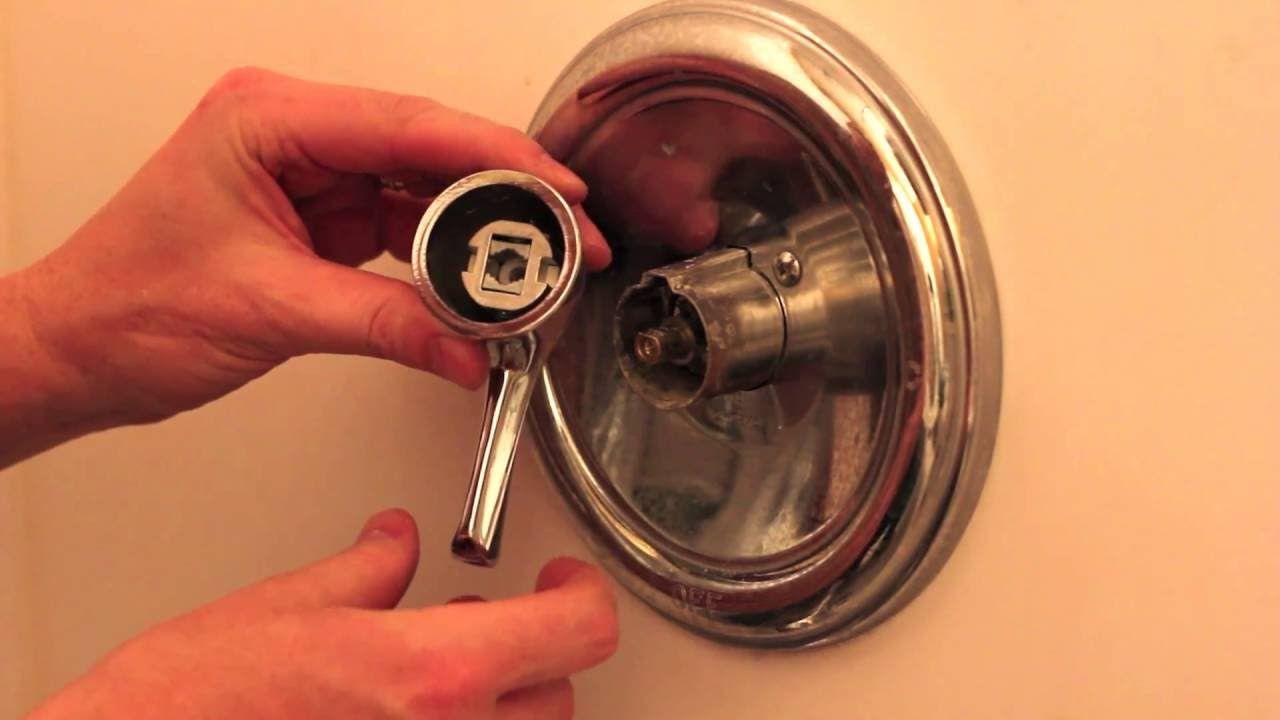
Before diving into the replacement process, it’s essential to recognize what type of valve system you’re dealing with. Modern shower valves come in several varieties, each with unique characteristics that affect how they’re removed and replaced. The most common types include compression valves, ball valves, cartridge valves, and thermostatic valves. Compression valves work by tightening a nut against a seat, while ball valves operate with a rotating ball mechanism. Cartridge valves use a removable cartridge that slides in and out, and thermostatic valves provide precise temperature control.
The way these systems are installed varies significantly. Some are designed to be completely accessible from the front, while others require removal of the tile faceplate or even partial wall access. Understanding your specific valve type helps determine whether you’ll need to remove tiles or if there are alternative approaches. For instance, some newer installations feature removable trim pieces that give you direct access to the valve body itself. When you’re unsure about your exact setup, take photos before starting, and consider consulting with a professional plumber if you’re uncertain about the complexity involved.
Essential Tools and Materials You’ll Need
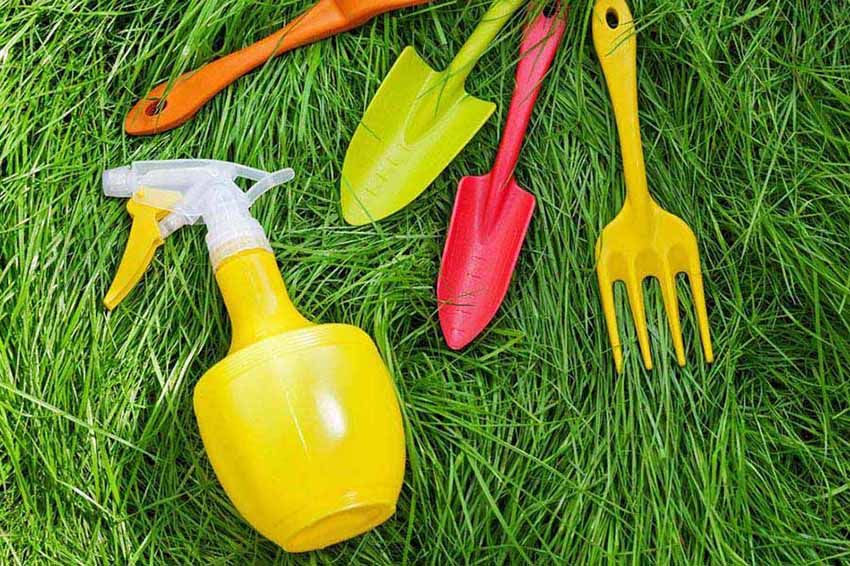
Having the right tools makes all the difference in protecting your tiles during a shower valve replacement. Start with basic plumbing wrenches – a pair of adjustable wrenches and a basin wrench will handle most situations. You’ll also want a set of channel locks for extra grip, and possibly a pipe wrench if you’re dealing with particularly stubborn connections. A utility knife is crucial for cutting through old caulk or sealant that might be holding things together. For tile protection, consider using a plastic sheet or drop cloth to cover surrounding areas.
Other important items include:
• Safety glasses and gloves
• Penetrating oil (like WD-40) for stuck connections
• New valve components matching your existing system
• Tile cutter or scoring tool if you need to make small cuts
• Clean rags and towels for cleanup
It’s worth noting that some specialized tools, like valve removal keys or specific cartridge extractors, might be necessary depending on your valve type. These aren’t always required, but they can save you from unnecessary frustration and potential damage. Before purchasing anything, research your specific valve model online or consult with a local hardware store for recommendations.
Preparation and Safety Measures
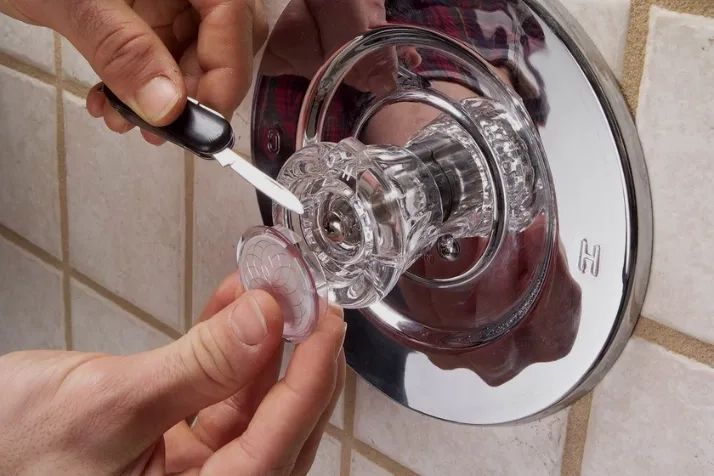
Proper preparation sets the foundation for a successful replacement. Begin by turning off the water supply to your shower, typically located near the bathtub or in the main water line. Test that the water is completely shut off by turning on the shower – no water should come out. Next, remove any decorative elements or trim pieces that might be in the way. Sometimes these can be simply unscrewed, while others might require gentle prying with a flathead screwdriver.
Safety comes first, especially when working near water. Wear protective eyewear and gloves to shield yourself from any debris or unexpected water release. If you’re working in a bathroom with limited ventilation, open windows or turn on exhaust fans. It’s also wise to have a bucket and towels ready to catch any water that might spill during the process. Some professionals recommend placing a waterproof barrier between your work area and the floor to prevent any accidental water damage.
Take a moment to photograph your current setup before removing anything. This visual reference will prove invaluable when reassembling the new valve. Note the positions of all connections and any specific orientation requirements. This step alone can prevent costly mistakes and ensure a smooth installation process.
Step-by-Step Replacement Process
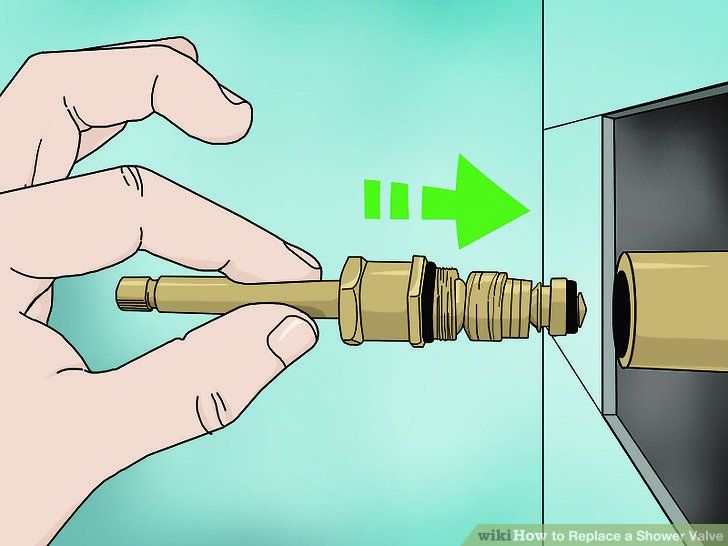
Once you’ve prepared everything, it’s time to begin the actual replacement. Start by carefully removing the handle and any visible trim pieces. Use appropriate tools to avoid stripping screws or damaging the surrounding finish. Next, locate the valve body itself – this might be accessible through a panel or require some tile work. If the valve is mounted behind a tile faceplate, you may need to cut a small opening or remove the entire plate.
For older systems, you might find yourself dealing with threaded connections that can be turned counterclockwise to remove the old valve. Be patient and apply steady, even pressure rather than forcing the connection. If it’s stuck, use penetrating oil and let it sit for a few minutes before trying again. Once removed, clean the area thoroughly, removing any old gaskets, washers, or sealant residue.
When installing the new valve, ensure all components align properly before tightening. Follow manufacturer instructions carefully, paying attention to the direction of rotation and any specific torque requirements. The goal is to create a watertight seal while avoiding over-tightening that could cause damage to surrounding materials. Test the operation multiple times before considering the job complete.
Protecting Tiles During Installation
This is where many DIYers run into trouble – they focus too much on the plumbing aspects and forget about protecting their precious tiles. The key is prevention through proper planning and technique. Start by covering the surrounding tiles with a plastic sheet or old towels. This simple step prevents scratches from tools or accidental drops. If you must work directly on the tile faceplate, use a soft cloth or sponge to minimize friction.
When removing the old valve, work slowly and methodically. If you notice any resistance, stop and assess whether you’re applying too much force or using the wrong approach. Sometimes, a gentle rocking motion works better than brute force. If you do encounter a crack or chip, it’s often better to address it after completing the installation rather than risking further damage during the process.
Another helpful strategy involves using a heat gun or hair dryer on low settings to soften any old adhesive or sealant before attempting removal. This makes the job much easier and reduces the chance of tile damage. Always remember that it’s better to take extra time now than to spend weeks or months replacing damaged tiles later.
Common Mistakes to Avoid and Troubleshooting Tips
Even experienced DIYers can make errors during valve replacement, and recognizing common pitfalls early helps prevent bigger problems. One frequent mistake is not properly shutting off the water supply, leading to unexpected water flow during the process. Another is rushing through the installation, which often results in loose connections or improper sealing.
If you’re having trouble removing the old valve, don’t panic. Try using penetrating oil and letting it soak for several hours. Sometimes, the valve has simply been sitting too long and needs some coaxing. If you’re dealing with a particularly stubborn connection, consider hiring a professional plumber rather than risking damage to your tiles or walls.
Troubleshooting often involves checking for proper alignment of all components. A misaligned valve can cause leaks or improper operation. Also, make sure you’re using compatible parts – mixing different valve types or brands can lead to performance issues. If the new valve doesn’t seem to fit correctly, it might be a size or specification mismatch. Take your time and double-check measurements before proceeding with the installation.
Replacing an old shower valve doesn’t have to mean sacrificing your bathroom’s appearance or spending thousands on repairs. With proper preparation, the right tools, and a careful approach, you can accomplish this task while keeping your tiles intact. Remember, the key to success lies in patience and methodical execution. Don’t rush through any step, and always prioritize safety over speed. If something feels wrong or too difficult, it’s perfectly acceptable to call in a professional. Your peace of mind and the integrity of your bathroom investment are worth more than a DIY challenge. The satisfaction of completing this project yourself, knowing you’ve protected your tiles along the way, makes all the effort worthwhile. Whether you’re a seasoned DIYer or tackling this for the first time, approach it with confidence, care, and respect for the work you’re doing.