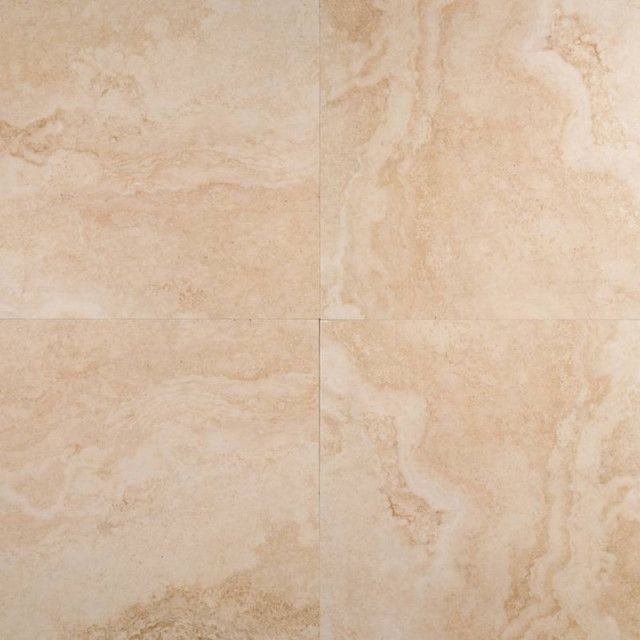
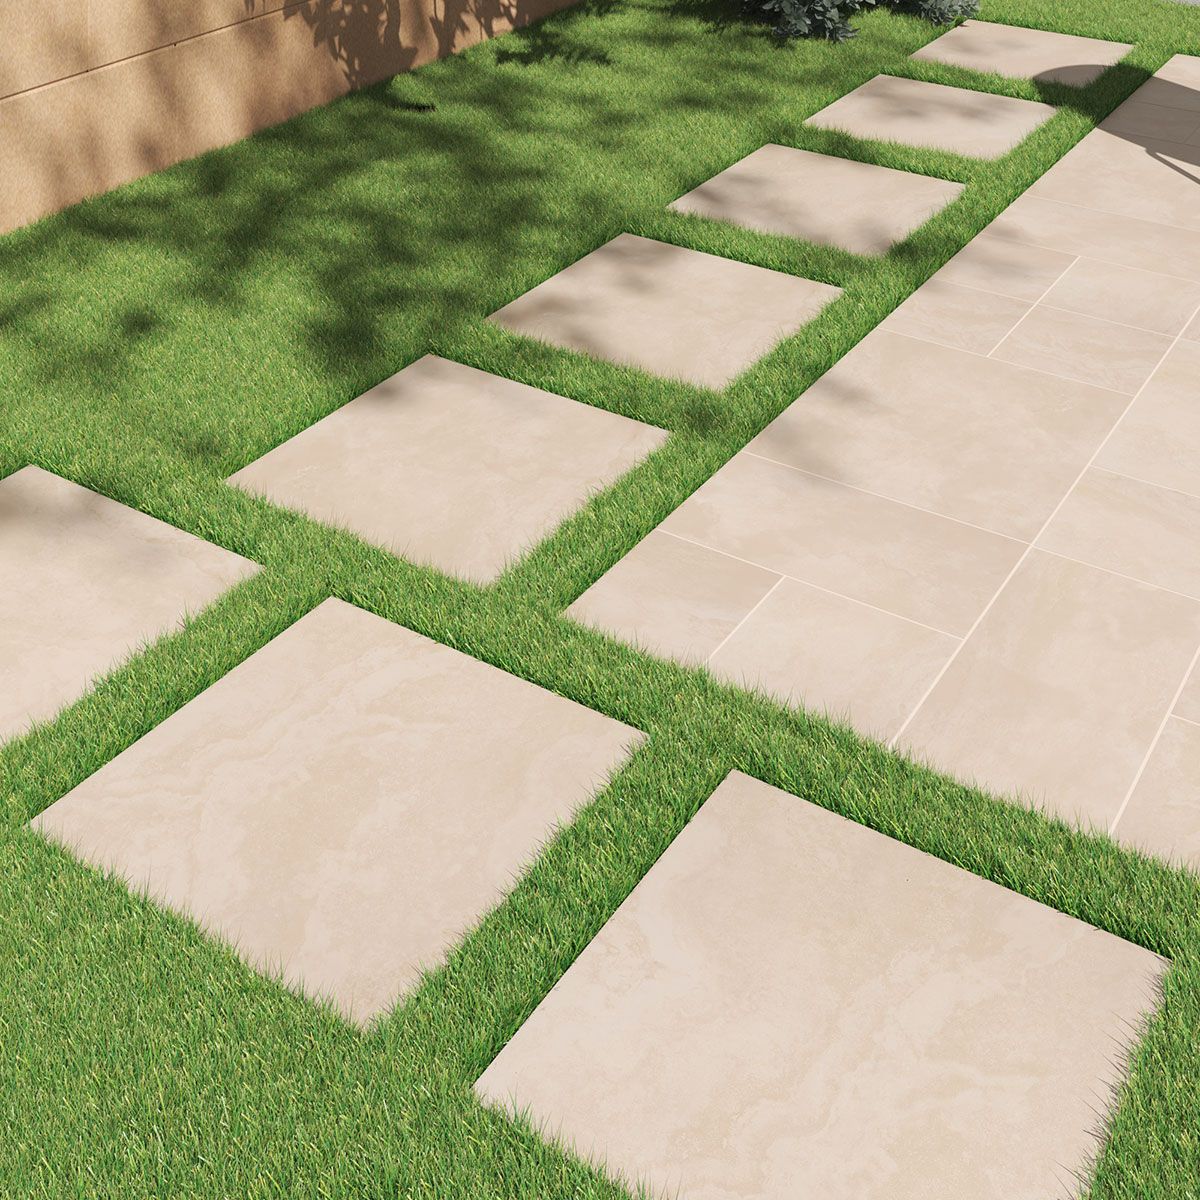
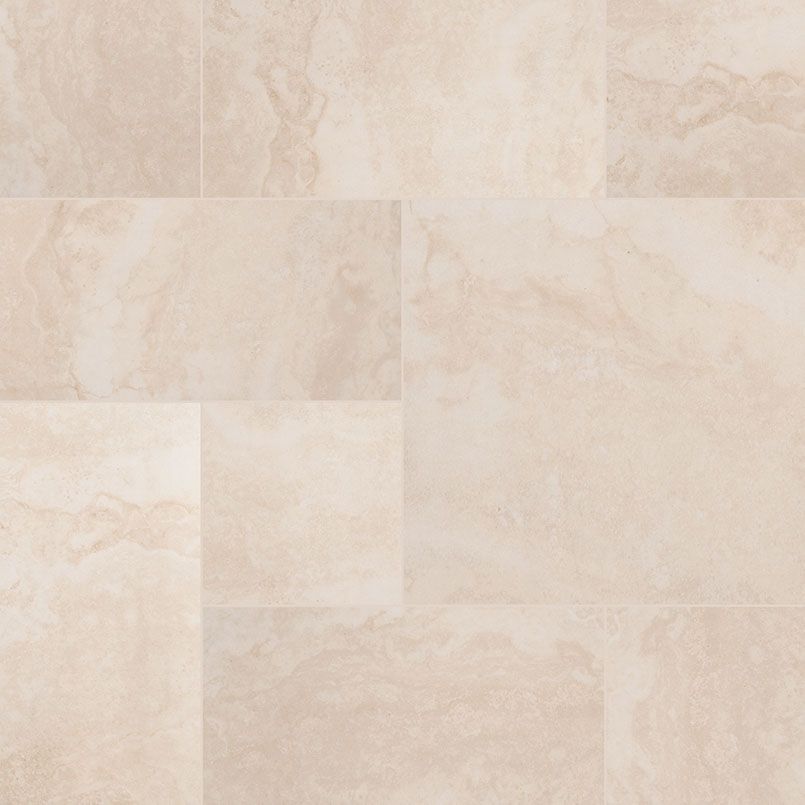
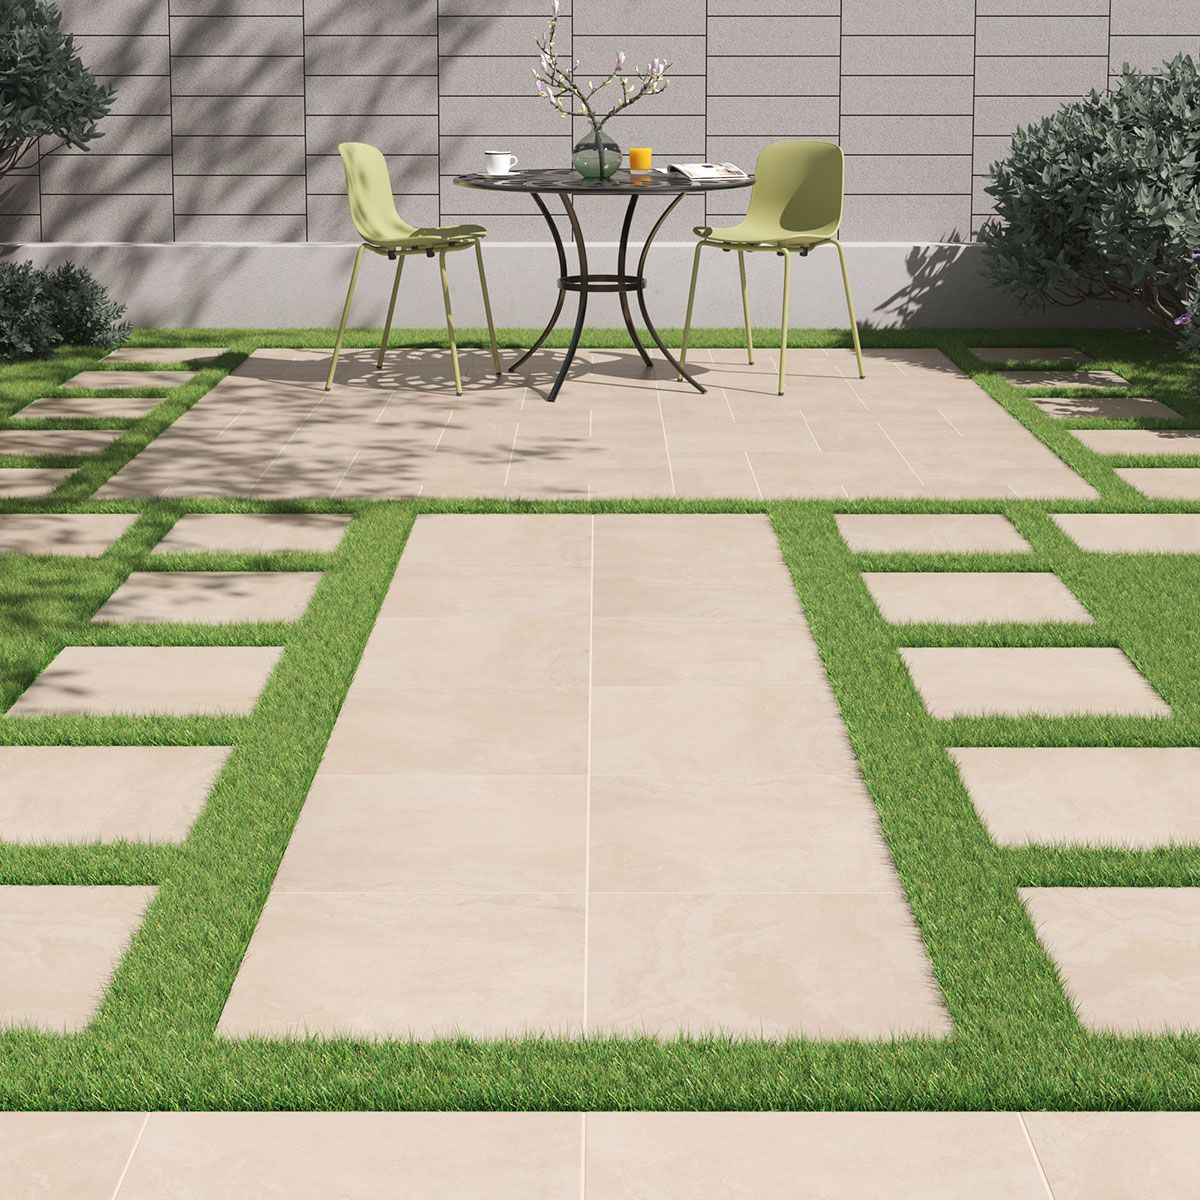
Tierra Ivory 24X24 porcelain pavers are a fantastic choice for sprucing up your outdoor spaces. They’re gorgeous, tough, and relatively simple to install. This guide is designed to walk you through the whole process, from the initial planning stages to the final touches, ensuring a successful and rewarding project. Get ready to transform your patio, walkway, or any other area with these lovely pavers and make your place look even more fantastic.
So, you’re thinking about installing Tierra Ivory 24X24 porcelain pavers? Great decision. These pavers offer a blend of elegance and practicality that’s hard to beat. They mimic the look of natural stone, with the added benefits of porcelain, like extreme resilience to weather, easy maintenance, and resistance to stains. This guide will provide you with everything you need to know to get the job done right, saving you time, money, and stress. Let’s jump right in and make your installation a breeze. And, the best part? You can probably do it yourself, giving you a great sense of accomplishment and saving you some cash and time.
Planning and Preparation: The Foundation of Success
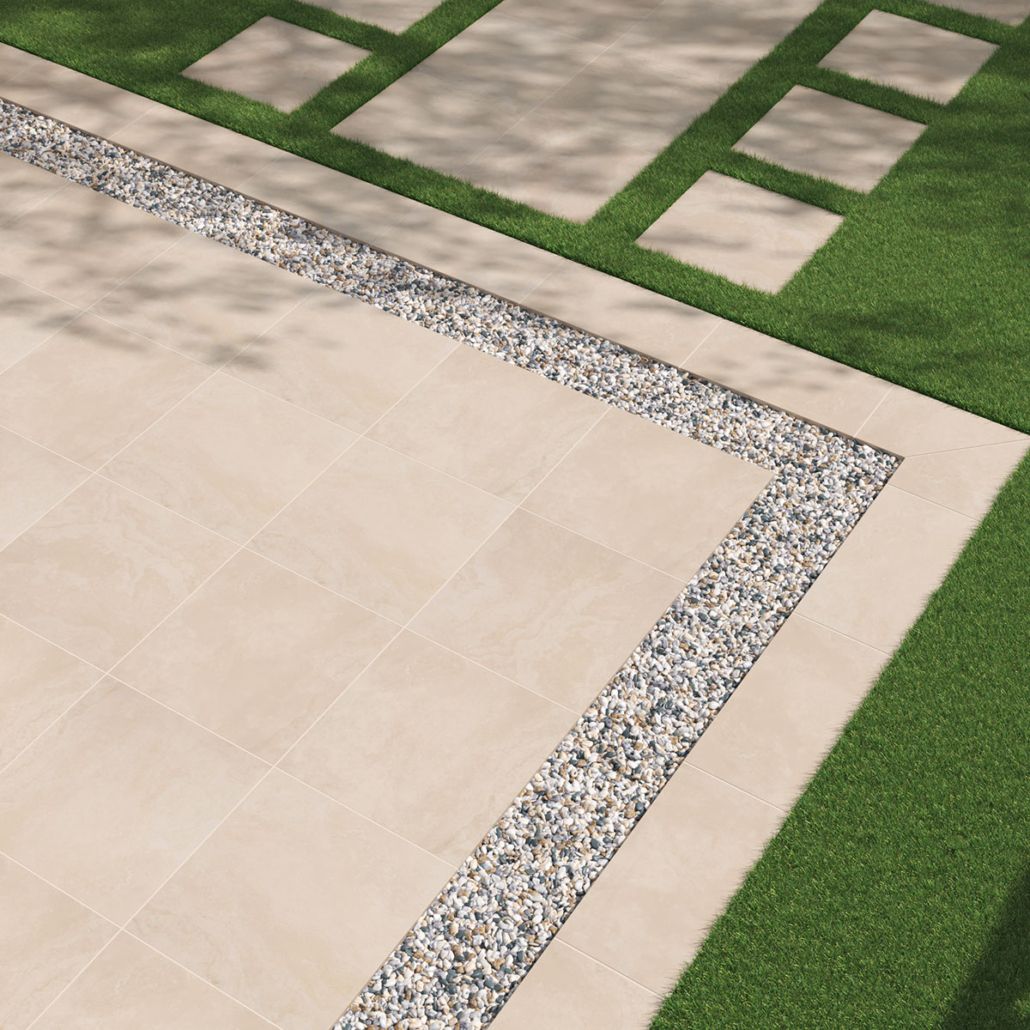
Before you even think about laying a single paver, careful planning is a must. First, measure the area where you’ll be installing the pavers. This will tell you how many pavers you need. Don’t forget to add about 10% extra for cuts and possible mistakes. Next, think about your base. A well-prepped base is key to a long-lasting installation. You’ll need to excavate the area, usually about 6-8 inches deep, and then add a base of compacted gravel. Make sure this base is level and slopes slightly away from any buildings for proper drainage. Consider a landscape fabric to prevent weeds from growing up through your pavers. This step is super important and can save you a lot of headaches down the road and also prevent future work.
Gathering Your Materials and Tools: What You’ll Need
Having the right tools and materials is crucial. Here’s a checklist:
- Tierra Ivory 24X24 Porcelain Pavers: Obviously.
- Base Material: Crushed gravel, compacted.
- Setting Bed: Sand or a specific paver base mix.
- Edging: To keep the pavers in place (e.g., plastic or concrete edging).
- Landscape Fabric: To prevent weeds.
- Leveling Tools: Level, string, stakes.
- Cutting Tools: Wet saw or tile cutter (for making cuts).
- Rubber Mallet: For setting the pavers.
- Spacers: To maintain consistent gaps between pavers.
- Protective Gear: Gloves, safety glasses, and a dust mask.
- Grout or Jointing Sand: For filling the joints after installation.
Setting the Pavers: Step-by-Step Installation
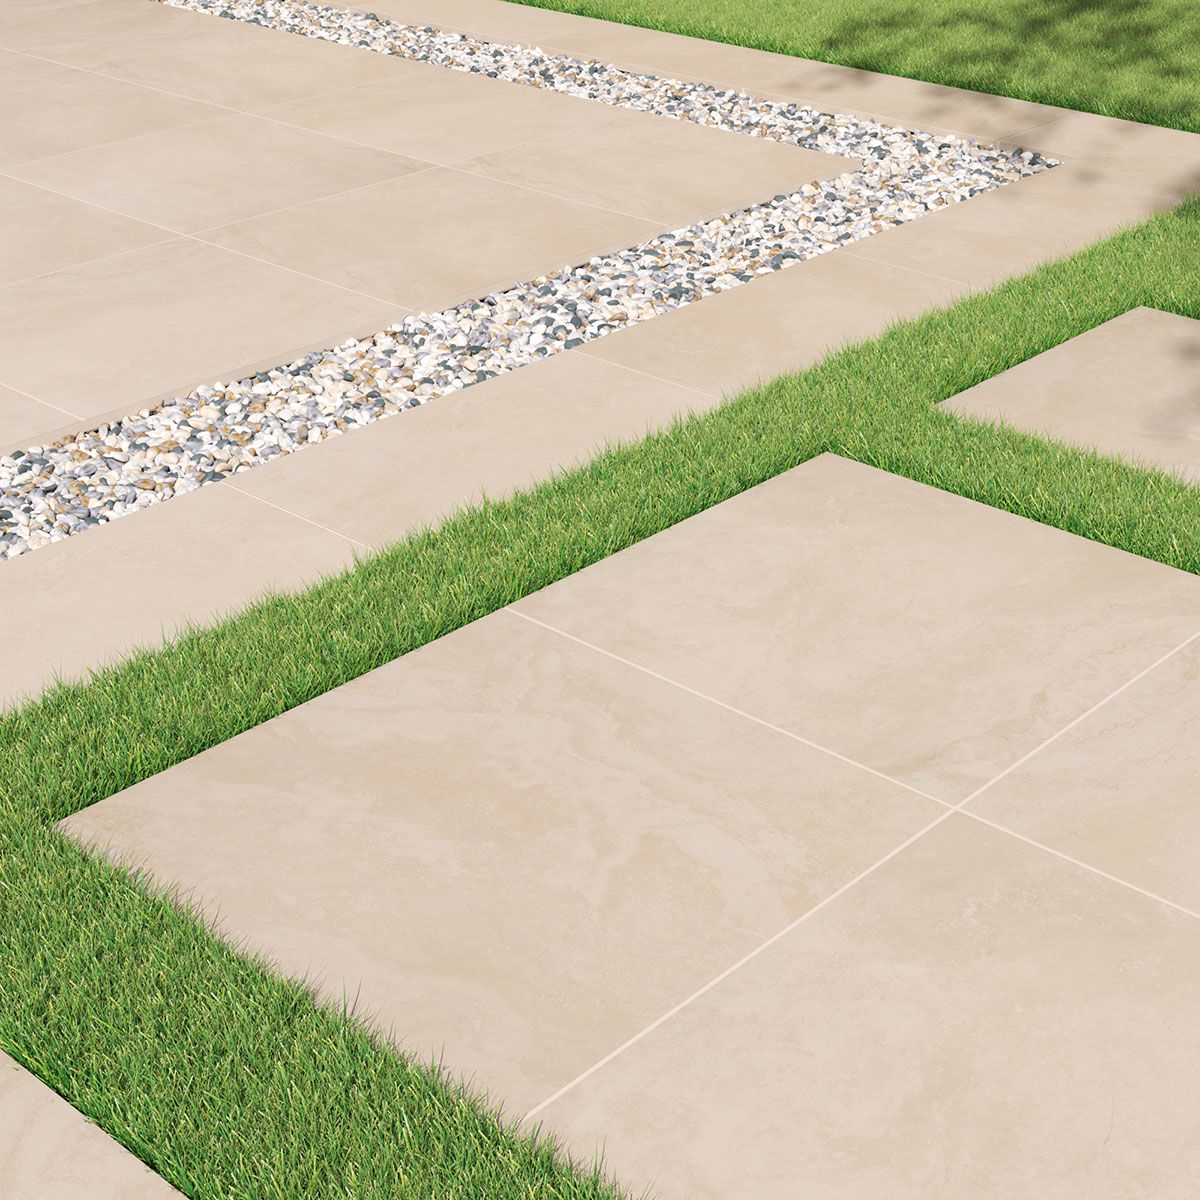
Now for the exciting part: laying the pavers. Start by spreading your setting bed (sand or paver base mix) over the compacted gravel base. Use a screed or straight edge to get a perfectly level surface. Begin laying the pavers, starting from a straight edge (like a wall or established line) and working your way outward. Use spacers to maintain consistent gaps between the pavers. Gently tap each paver into place with a rubber mallet, making sure it’s level with the surrounding pavers. As you go, regularly check your work with a level to ensure everything is even. If you need to make cuts, use a wet saw or tile cutter, being careful to follow safety precautions.
Dealing with Cuts and Curves: The Art of Precise Fitting
Not every space is a perfect rectangle, and you’ll almost certainly need to cut pavers to fit around edges, corners, or other obstacles. This is where a wet saw or tile cutter comes in handy. Measure carefully, mark your cut lines, and make slow, steady cuts. Always wear safety glasses and a dust mask. For curved edges or more complicated shapes, you might need to use a grinder with a diamond blade. Take your time and don’t rush the cutting process; accuracy is key to a professional-looking finish. Remember, measure twice, cut once. It can save you a lot of time, and also money, if you get it right the first time.
Jointing and Finishing: The Final Touches
Once all the pavers are laid, it’s time to fill the joints. There are two main options: grout or jointing sand. Grout provides a more permanent and rigid joint, while jointing sand is more flexible and allows for some movement. Sweep your chosen material into the joints, making sure to fill them completely. Compact the material by gently sweeping it diagonally across the pavers. Finally, clean any excess material off the surface of the pavers. This step is important for both the aesthetics and the performance of your paver installation. Give it a final check-over to make sure everything is perfect.
Maintenance and Care: Keeping Your Pavers Looking Great
Congratulations, you’ve installed your Tierra Ivory pavers! Now, let’s talk about keeping them looking their best. Porcelain pavers are relatively low-maintenance, but a little care goes a long way. Regularly sweep the pavers to remove dirt and debris. For tougher stains, use a mild soap and water solution. Avoid harsh chemicals or abrasive cleaners, as they can damage the surface. Seal the pavers every few years to protect them from stains and the elements. With proper care, your Tierra Ivory pavers will provide years of beauty and enjoyment. Take care of your hard work, and it’ll last even longer.
Installing Tierra Ivory 24X24 porcelain pavers is a rewarding project that can significantly enhance the beauty and functionality of your outdoor space. By following these steps and paying attention to detail, you can achieve a professional-looking result. Remember to plan carefully, gather the right materials, and take your time during the installation process. With a bit of effort, you’ll have a stunning patio, walkway, or other area to enjoy for years to come. So, get out there, get your hands dirty, and create a space that you can be proud of. Happy paving, and enjoy your new outdoor living area. And don’t forget to relax and enjoy the fruits of your labor; you’ve earned it.