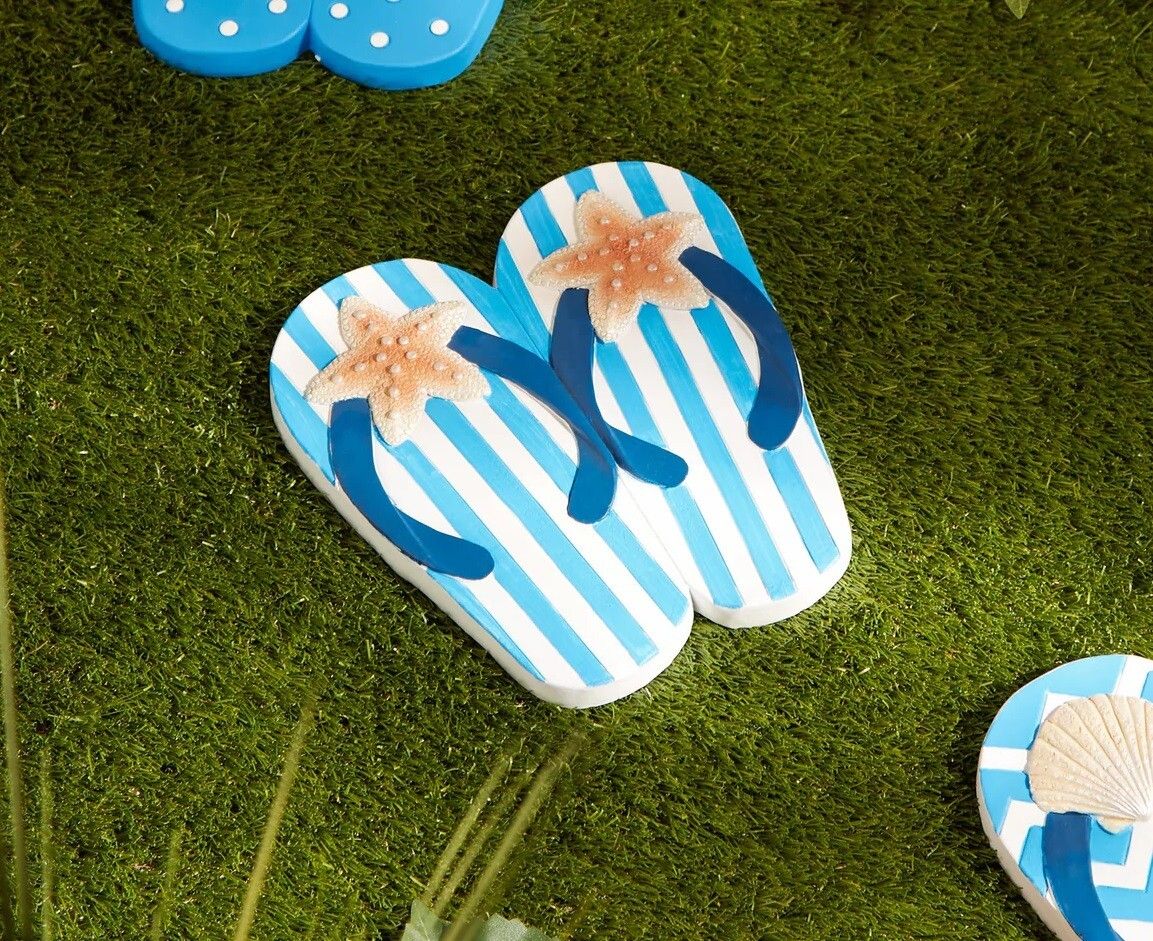
Hey everyone. It’s your girl, back with a project that brings the beach right to your doorstep. Today, we’re talking about a fun, easy, and super charming way to spruce up your yard: starfish flip flop stepping stones. These aren’t just any old stepping stones; they’re a chance to infuse your outdoor space with a bit of whimsy, a dash of the sea, and a whole lot of personality. I’m so excited to share my insider tips, design ideas, and everything you need to know to create your own little coastal paradise. Let’s get started, shall we?
Imagine strolling through your backyard, feeling the soft grass beneath your feet, and then…bam. You spot a series of adorable starfish flip flop stepping stones leading you on a joyful journey. That’s the kind of magic we’re aiming for. Stepping stones, in general, are fantastic, they define pathways, add visual interest, and make your garden a delight to explore. But starfish flip flops? They take it up a notch. They’re a conversation starter, a mood booster, and a testament to your unique style. This article is your all-access pass to making this dream a reality. We’ll delve into design concepts, installation methods, and even how to keep those little beachy gems looking their best, and I’ll share some personal anecdotes along the way.
Design Inspiration: Coastal Themes and Beyond
The beauty of starfish flip flop stepping stones lies in their versatility. You’re not locked into a strict coastal theme, though, of course, that’s a popular and delightful option. Here are a few ideas to get your creative juices flowing:
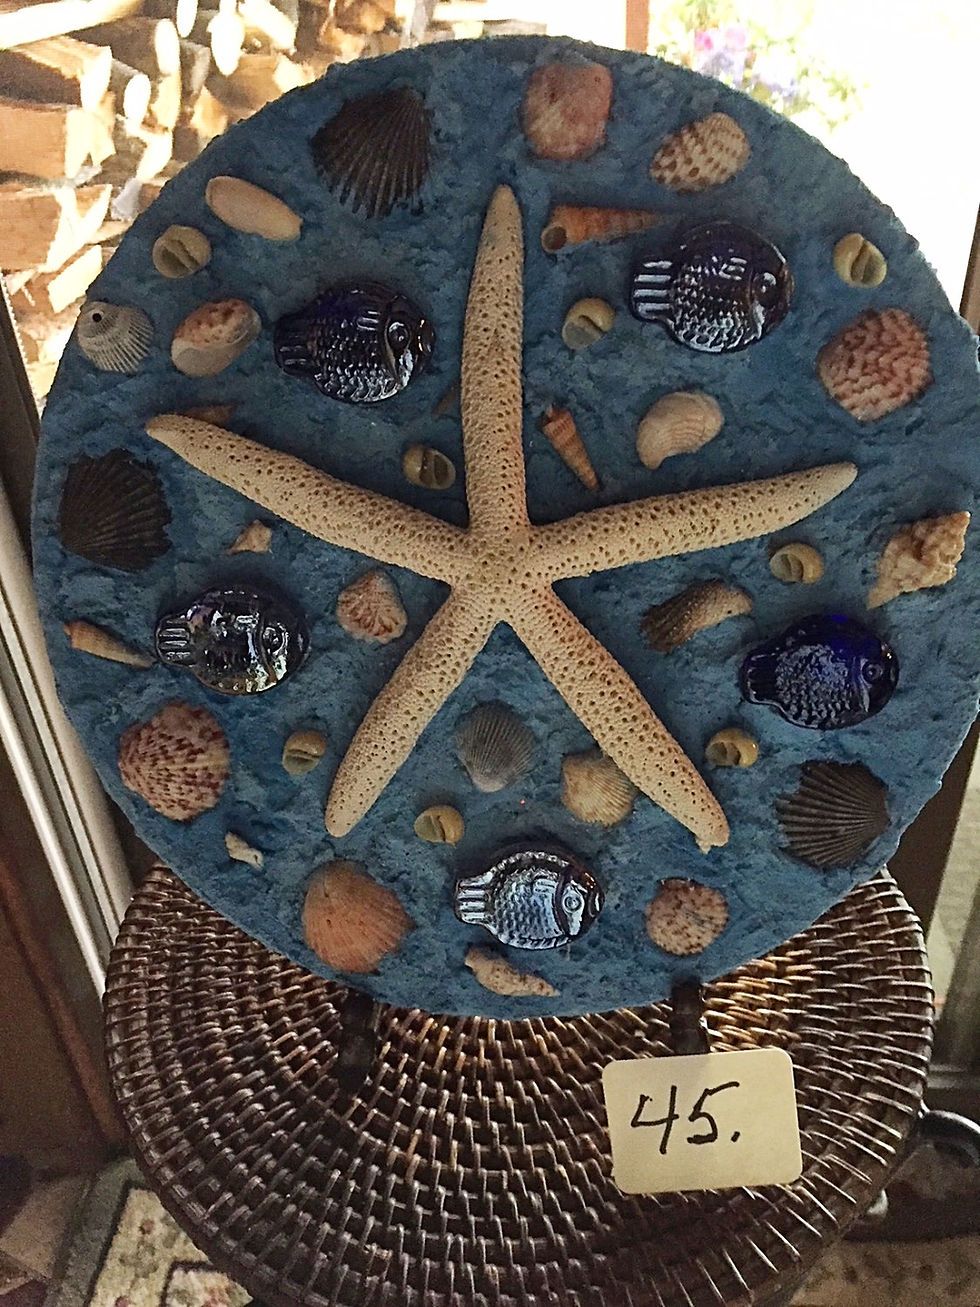
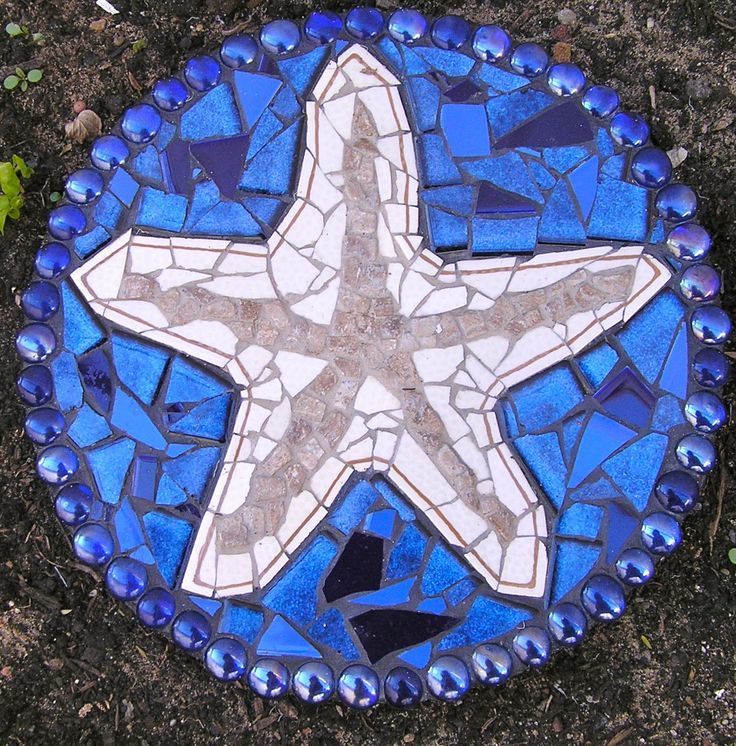
- Coastal Classic: Think crisp whites, sandy beige, and pops of ocean blue. Place your starfish flip flops along a winding path, interspersing them with smooth, river rocks and maybe even some seashells. This look captures the breezy feel of a beach cottage.
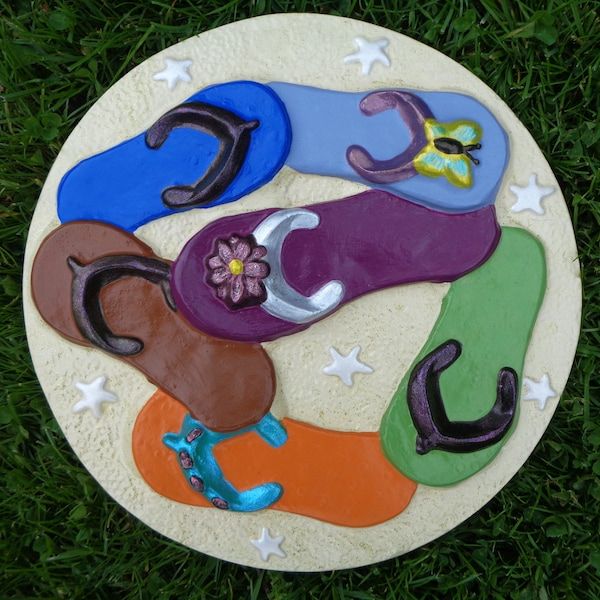
- Tropical Paradise: Brighten things up with vibrant colors. Think turquoise, coral, and sunny yellows. Surround your stepping stones with lush greenery, exotic flowers, and maybe even a small, bubbling water feature. It’s like a vacation, every day.
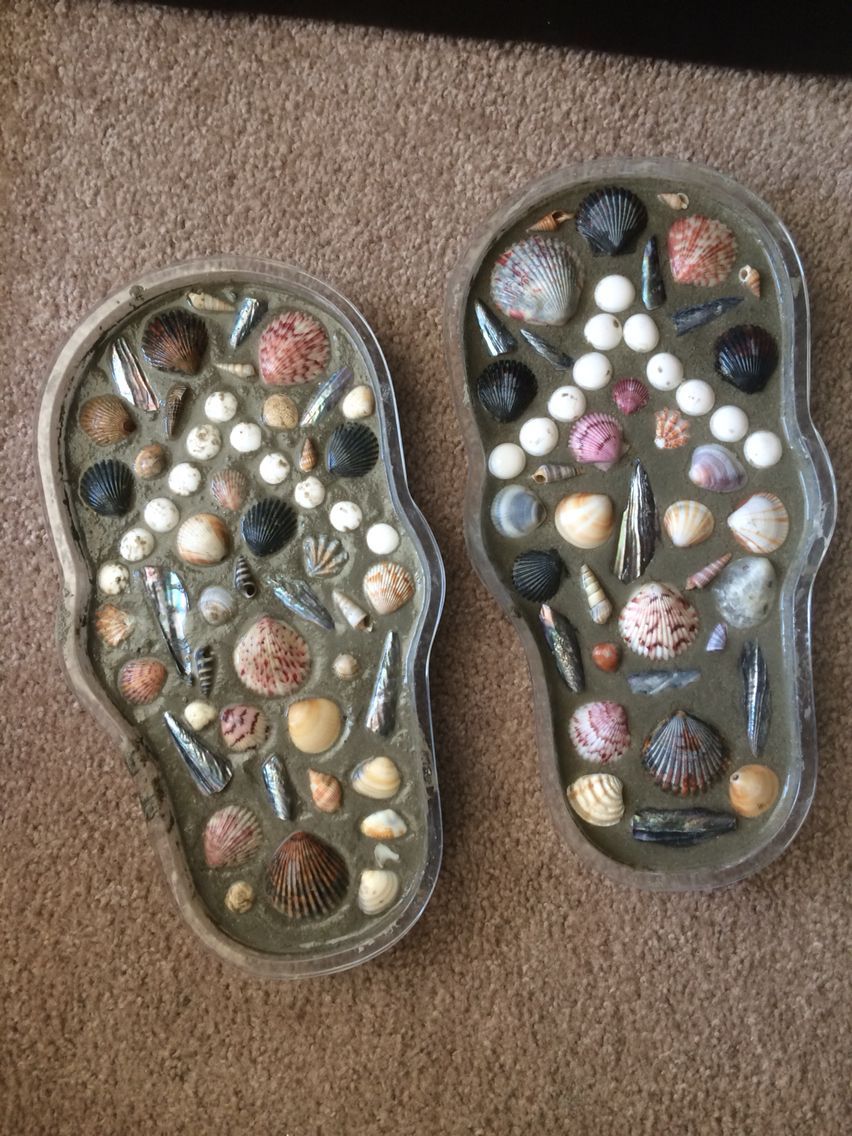
- Bohemian Rhapsody: Embrace a more eclectic style. Mix and match different colors and sizes of flip flops. Add gravel, pebbles, and even mosaics to create a truly unique and personalized pathway. The more playful, the better.
- Minimalist Coastal: Keep it simple and elegant. Use neutral-colored flip flops and space them out generously. The focus is on clean lines and natural textures. Think driftwood, succulents, and a sense of calm.
Remember, it’s all about what resonates with you. I once saw a garden where the owner used a mix of starfish and regular flip flop stepping stones, creating a playful and unexpected contrast. It was pure genius.
Materials and Preparation: What You’ll Need
Before you start placing those adorable flip flops, you’ll need to gather your materials. Luckily, it’s a pretty straightforward process:
- Starfish Flip Flop Stepping Stones: These are available at most home improvement stores, and garden centers, or online. Consider the size, color, and material (concrete, resin, etc.) that best suits your design.
- Measuring Tape: To plan your pathway and space out your stones evenly.
- Shovel or Trowel: For digging the holes for your stones.
- Level: To ensure your stones are set at the correct height.
- Sand or Gravel: This will be the base for your stepping stones, providing drainage and stability.
- Gloves: Protect those hands.
- Optional: Landscape fabric (to prevent weeds), edging material (bricks, stones, etc.) to define the pathway.
Prep Work is Key:
- Plan your path: Sketch out the pathway’s layout, considering the distance between each stepping stone. A comfortable distance is usually about 18-24 inches apart, but adjust based on your preference and the size of your stones.
- Mark the path: Use stakes and string to outline your path. This will help you stay on track while digging.
- Dig the holes: Dig holes slightly larger than your stepping stones and about 4-6 inches deep. This will allow space for the base material.
- Add the base: Pour a layer of sand or gravel into each hole. This will help with drainage and prevent your stones from shifting.
I remember my first time, I skipped the planning stage, and it was a disaster. My path looked like a drunken sailor had laid it. Learn from my mistakes. Plan, people, plan!
Installation: Setting Your Stones in Place
Okay, let’s get those stones in the ground. Here’s a step-by-step guide:
- Place the stones: Carefully place each starfish flip flop stepping stone into its designated hole. Make sure they are level.
- Adjust the height: Use a level to check that the stones are even with each other and with the surrounding ground. Add or remove sand/gravel as needed to adjust the height.
- Tamp down the base: Gently tamp down the sand or gravel around the stones to ensure they are stable. You can use a hand tamper or the back of a shovel.
- Fill the gaps: Fill the gaps between the stones with gravel, pebbles, mulch, or any other material that complements your design. This adds to the visual appeal and helps to prevent weed growth.
- Step back and admire: Take a moment to appreciate your hard work. You’ve just created a charming pathway that’s sure to bring joy to your outdoor space.
Pro Tip: If you’re using landscape fabric, lay it down before adding the sand or gravel. This will help prevent weeds from popping up between your stones.
Maintenance and Care: Keeping Your Stones Lovely
To keep your starfish flip flop stepping stones looking their best, a little maintenance goes a long way:
- Regular Cleaning: Rinse your stones with water and mild soap to remove dirt, dust, and debris. Avoid harsh chemicals or abrasive cleaners, as they can damage the surface.
- Weed Control: Regularly remove any weeds that pop up between the stones. This is where the landscape fabric comes in handy. You can also use a weed killer, but be careful not to damage any surrounding plants.
- Sealing (Optional): If your stones are made of concrete, you can apply a sealant to protect them from the elements and prevent staining. Follow the manufacturer’s instructions.
- Winter Care: In colder climates, you may need to take extra precautions during the winter months. Consider covering your stones with a tarp or removing them and storing them indoors to prevent damage from freezing and thawing.
I like to give my stones a good scrub every spring. It’s like a fresh start for the garden, and it’s a great way to get reconnected with the space after the long winter.
Adding the Finishing Touches: Accessories and Accents
Once your stepping stones are in place, it’s time to add the finishing touches. These details will bring your coastal theme to life:
- Plantings: Choose plants that complement your theme. Think beach grasses, succulents, lavender, and other low-maintenance, drought-tolerant options. Group plants in clusters to create visual interest.
- Lighting: Add solar-powered path lights or string lights to illuminate your pathway at night. This creates a magical ambiance and makes your garden safer to navigate.
- Decorative Elements: Place seashells, driftwood, or nautical-themed ornaments along the path. A small birdbath filled with water and pebbles can also add a touch of whimsy.
- Outdoor Furniture: If space allows, add a bench or a couple of Adirondack chairs near your pathway. This creates a cozy spot to relax and enjoy your coastal oasis.
Remember, the goal is to create a space that reflects your personality and makes you happy. Don’t be afraid to experiment and have fun. I’ve found that the best gardens are those that evolve over time, with new additions and changes as the seasons pass.
Common Mistakes to Avoid, and How to Fix Them
Even the most experienced gardeners make mistakes. Here are some common pitfalls to avoid when installing starfish flip flop stepping stones:
- Poor Planning: As mentioned earlier, failing to plan your pathway layout can lead to a wonky and uneven result. Take the time to measure, mark your path, and visualize the final look before you start digging.
- Incorrect Base Material: Using the wrong base material (like dirt or clay) can lead to poor drainage and instability. Always use sand or gravel to provide a solid foundation.
- Uneven Stone Placement: If your stones are not level, they will be unstable and potentially hazardous. Use a level to ensure that each stone is properly aligned.
- Ignoring Weed Control: Weeds can quickly ruin the look of your pathway. Use landscape fabric, regular weeding, and appropriate gap fillers to keep those pesky plants at bay.
- Neglecting Maintenance: Over time, your stones may shift or become dirty. Regular cleaning and maintenance will keep your pathway looking its best.
Don’t let these potential problems deter you. Even if you make a few mistakes along the way, it’s all part of the learning process. The most important thing is to enjoy the process and create a space that you love.
There you have it, folks. A complete guide to transforming your landscape with the charm of starfish flip flop stepping stones. From design inspiration to installation tips and maintenance advice, you now have everything you need to create your own coastal paradise. Remember to be creative, have fun, and let your personality shine through. And most importantly, enjoy the process. Your garden should be a place of relaxation, joy, and connection with nature. So go ahead, get those flip flops in the ground, and let the coastal vibes wash over your yard. I can’t wait to see what you create. Be sure to tag me in your photos! Happy gardening, everyone, and until next time, keep it coastal.