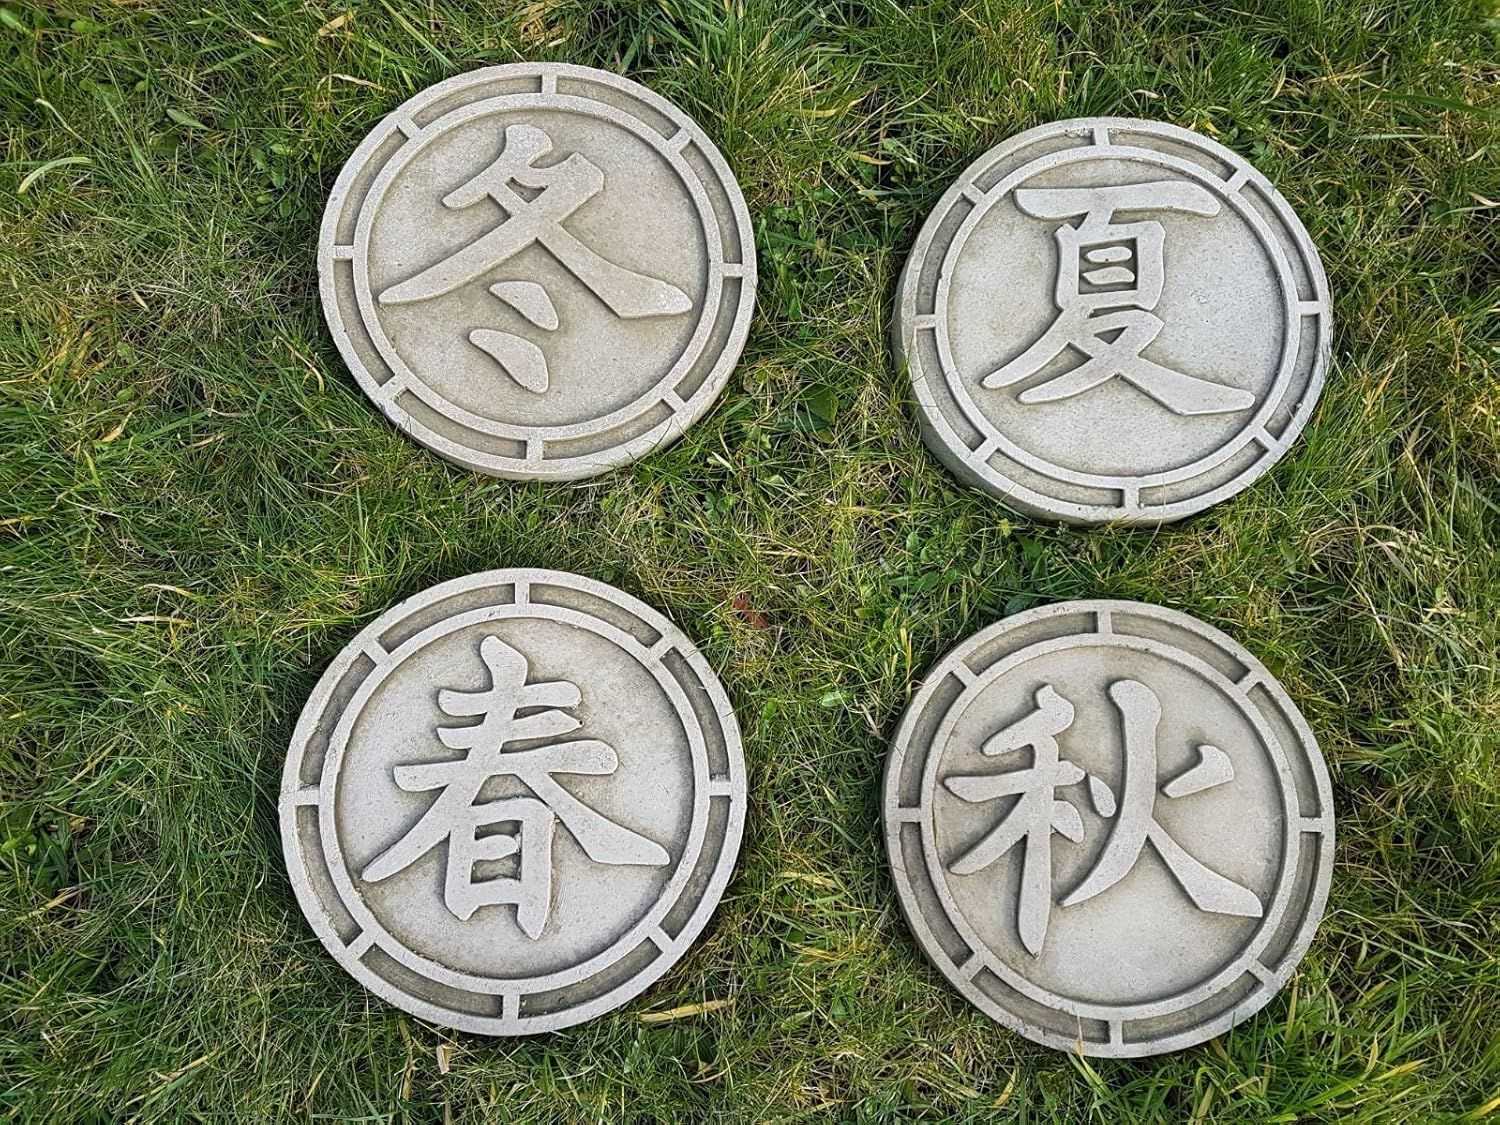
Hey everyone, it’s me, your friendly garden guru! I’m super excited to dive into a project that has the power to dramatically change how you experience your outdoor areas: crafting stepping stones using four seasons stepping stone molds. These aren’t just any stepping stones; they’re a way to paint your garden with personality, history, and the ever-changing beauty of nature. And the best part? It’s totally doable, even if you think you’re all thumbs. Let’s get started, shall we? And get ready to unlock some serious garden magic. I’ve got a ton of tips, tricks, and real-world examples to get you started.
Stepping stones do more than just keep your shoes clean. They carve out pathways, guide the eye, and add layers of interest to your garden design. They can be rustic, modern, whimsical, or formal – it’s all up to you. Four seasons stepping stone molds give you the freedom to choose different textures, shapes, and patterns. Think of it as a blank canvas where you can express your love for gardening and creativity. This guide will break down everything you need to know. From picking the right materials to the actual pouring process, I’ll make sure you have the confidence to create your own stepping stone masterpieces. It’s a pretty rewarding project, believe me, and the results are truly beautiful.
Getting Started: Gathering Your Supplies
Before you begin, you’ll need a few things. The good news is, it’s not a complex list.
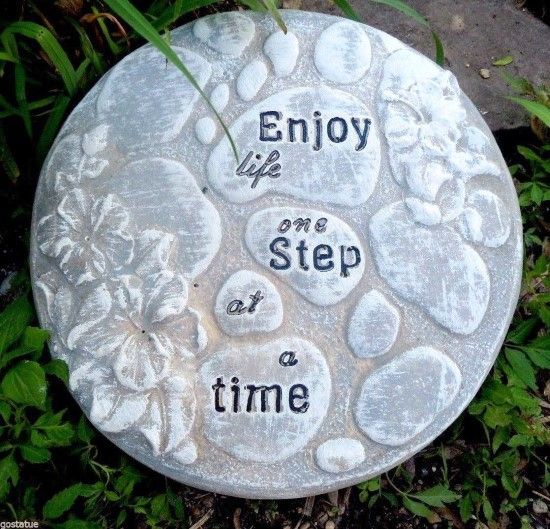
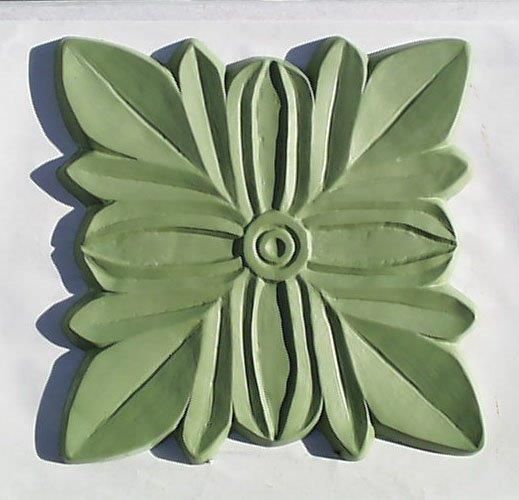
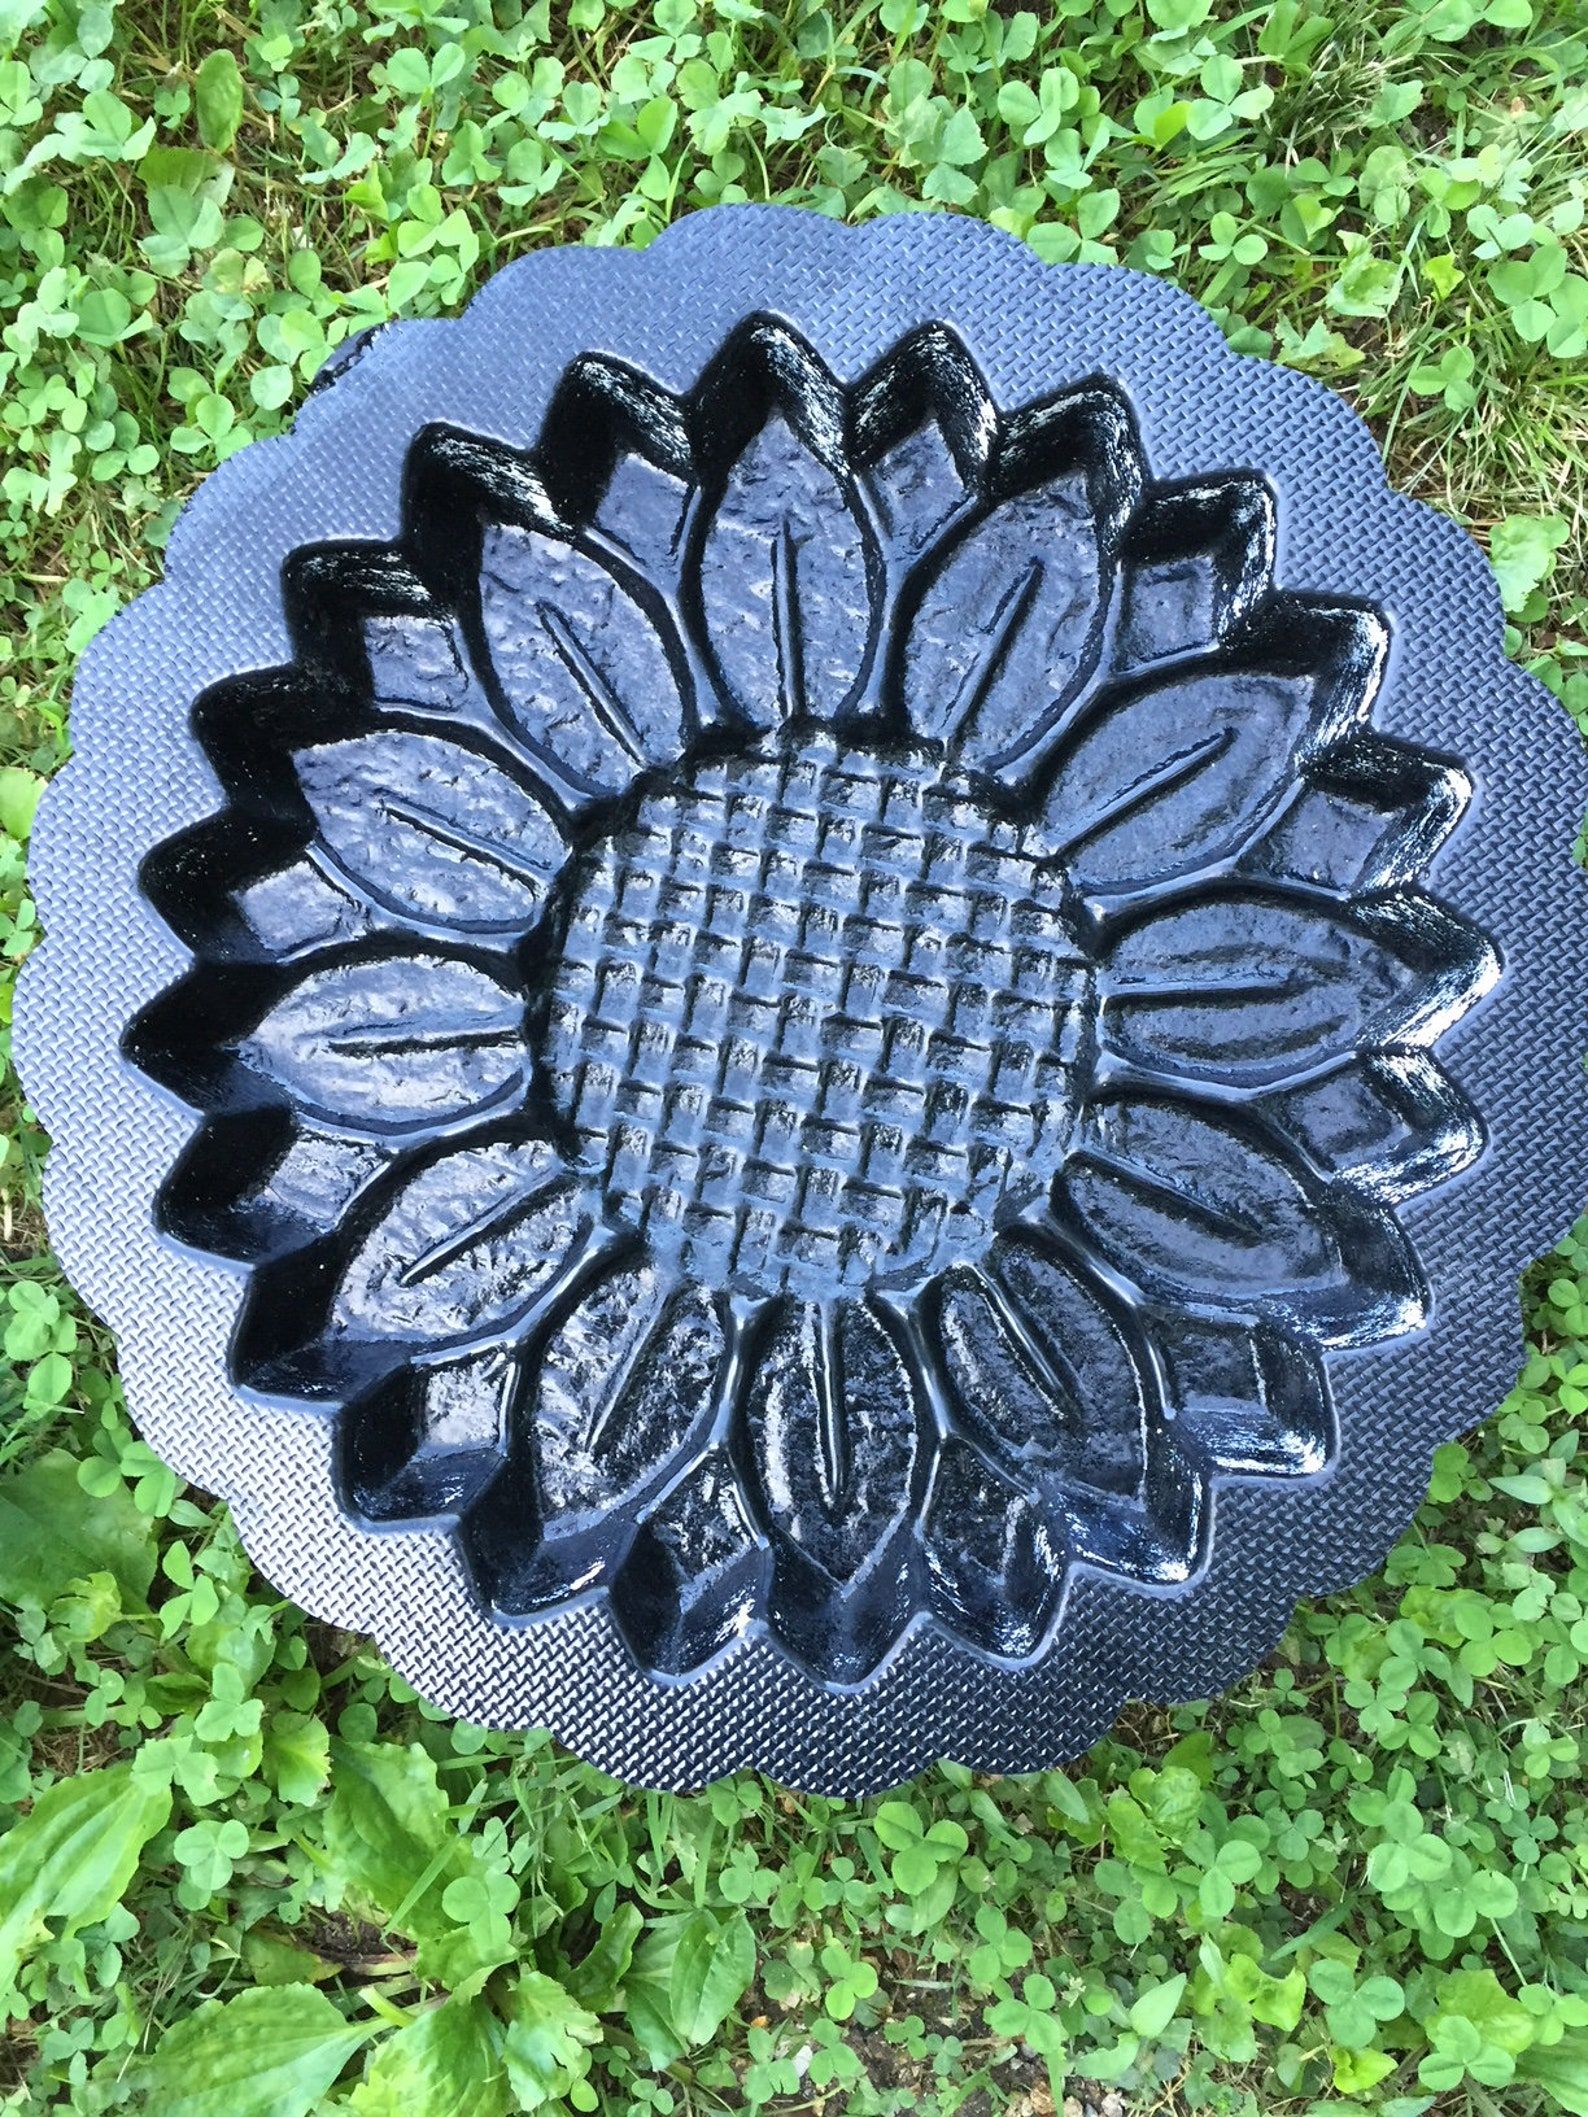
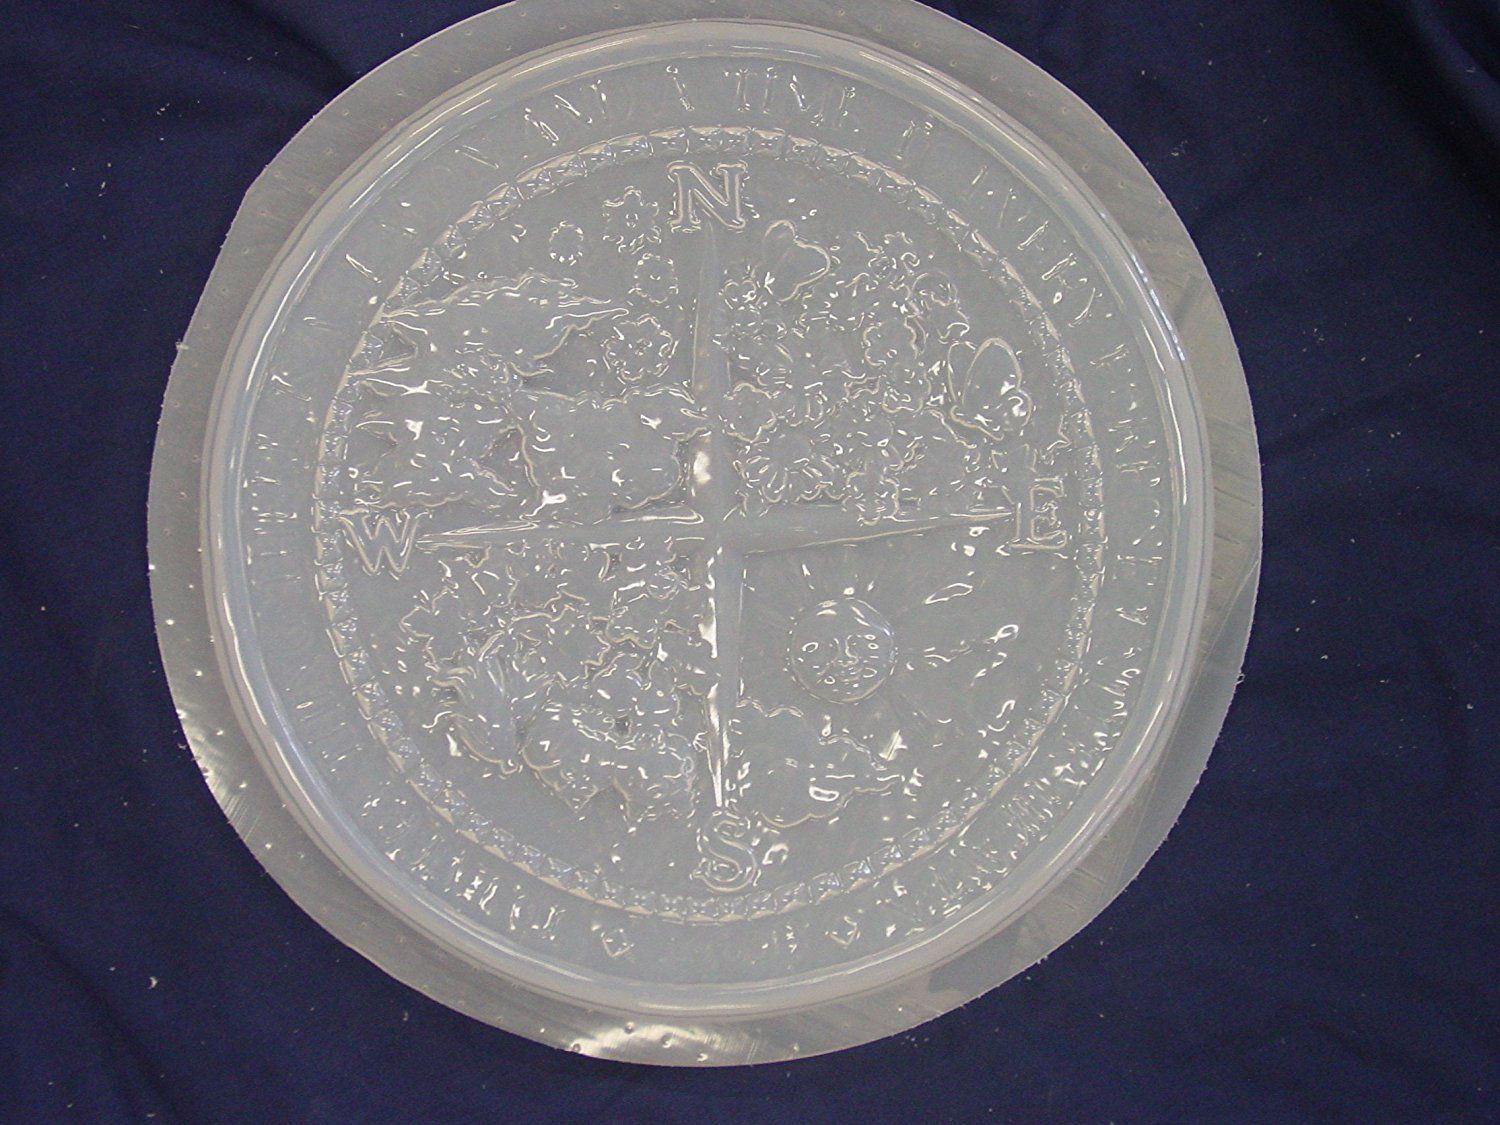
- Four Seasons Stepping Stone Molds: Choose the designs you love – leaves, flowers, snowflakes, or whatever speaks to you.
- Concrete Mix: Quick-setting concrete works well for a faster project. You can find this at nearly any hardware store.
- Water: For mixing the concrete – follow the instructions on the concrete mix packaging.
- Mixing Container: A sturdy bucket or tub.
- Trowel or Mixing Stick: For mixing the concrete.
- Gloves, Safety Glasses, and a Dust Mask: Safety first, people. Concrete dust is not your friend.
- Optional: Colorants: Concrete dyes or pigments to add flair.
- Optional: Sealant: To protect your finished stones from the elements and give them a longer life.
It’s always smart to lay out all your supplies before you get started. This way, you can be sure you have everything you need. And trust me, you do NOT want to realize you’re missing something halfway through the process. Been there, done that.
Mixing the Concrete: The Heart of the Process
This is where the magic (and a bit of elbow grease) happens.
- Read the Instructions: Seriously. Each concrete mix is a little different.
- Measure Your Water: Usually, you’ll add water to the mixing container first.
- Add the Concrete Mix: Slowly add the dry mix to the water while mixing with your trowel or stick.
- Mix Thoroughly: Aim for a thick, pancake batter-like consistency. You want it to be pourable but not too runny. You may have to experiment a bit to get the right texture.
- Add Colorants (If Using): Mix the colorant into the concrete according to the manufacturer’s instructions.
Pro Tip: Don’t mix more concrete than you can pour in about 20-30 minutes. Concrete sets up quickly! And for those of you who think you can skip the safety gear, don’t. Concrete can cause skin irritation, so protect yourself.
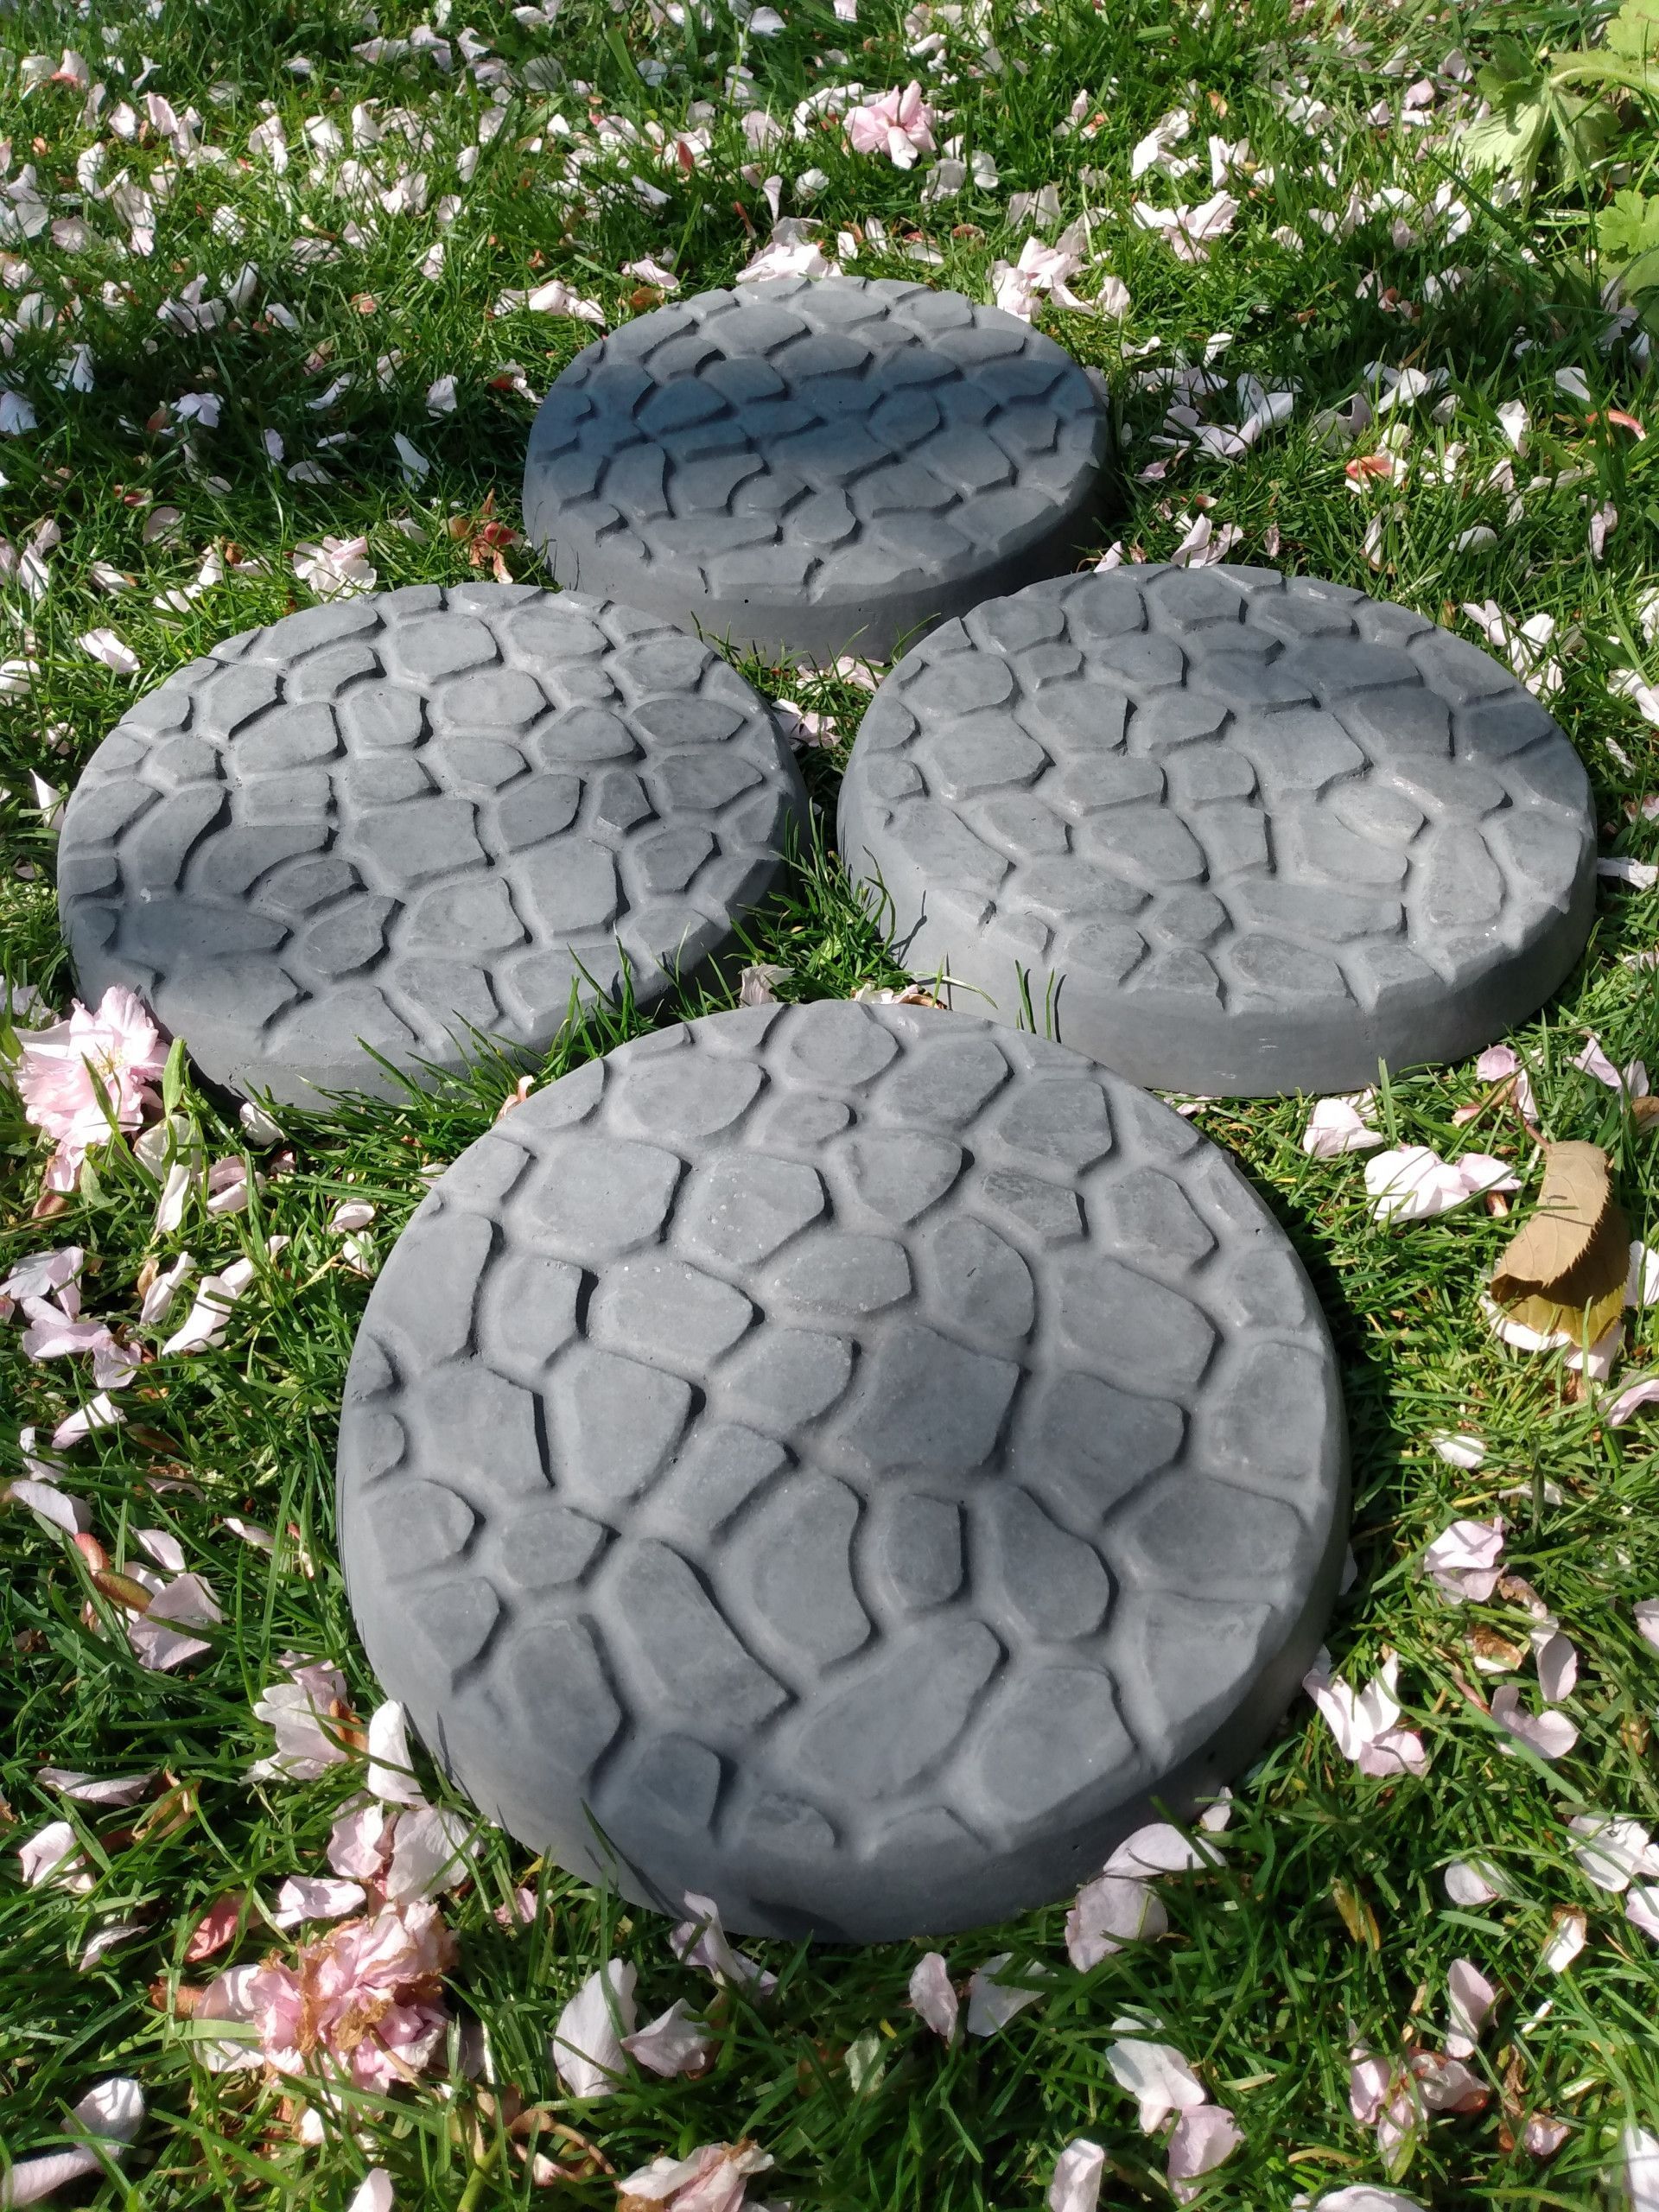
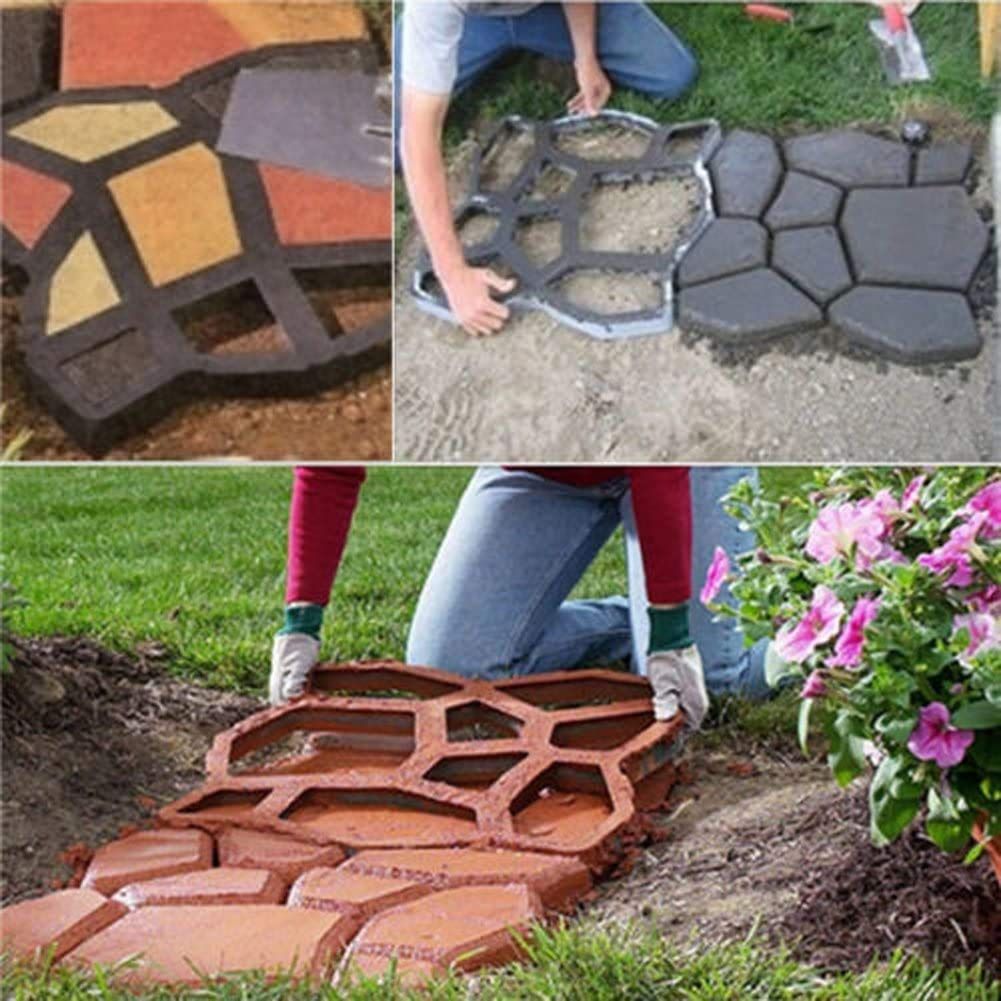
Pouring and Shaping Your Stepping Stones
Okay, time to get those molds filled.
- Prepare the Molds: Make sure they are clean and level. A slightly oily coating (like cooking spray) can help with removal, but it’s not always necessary.
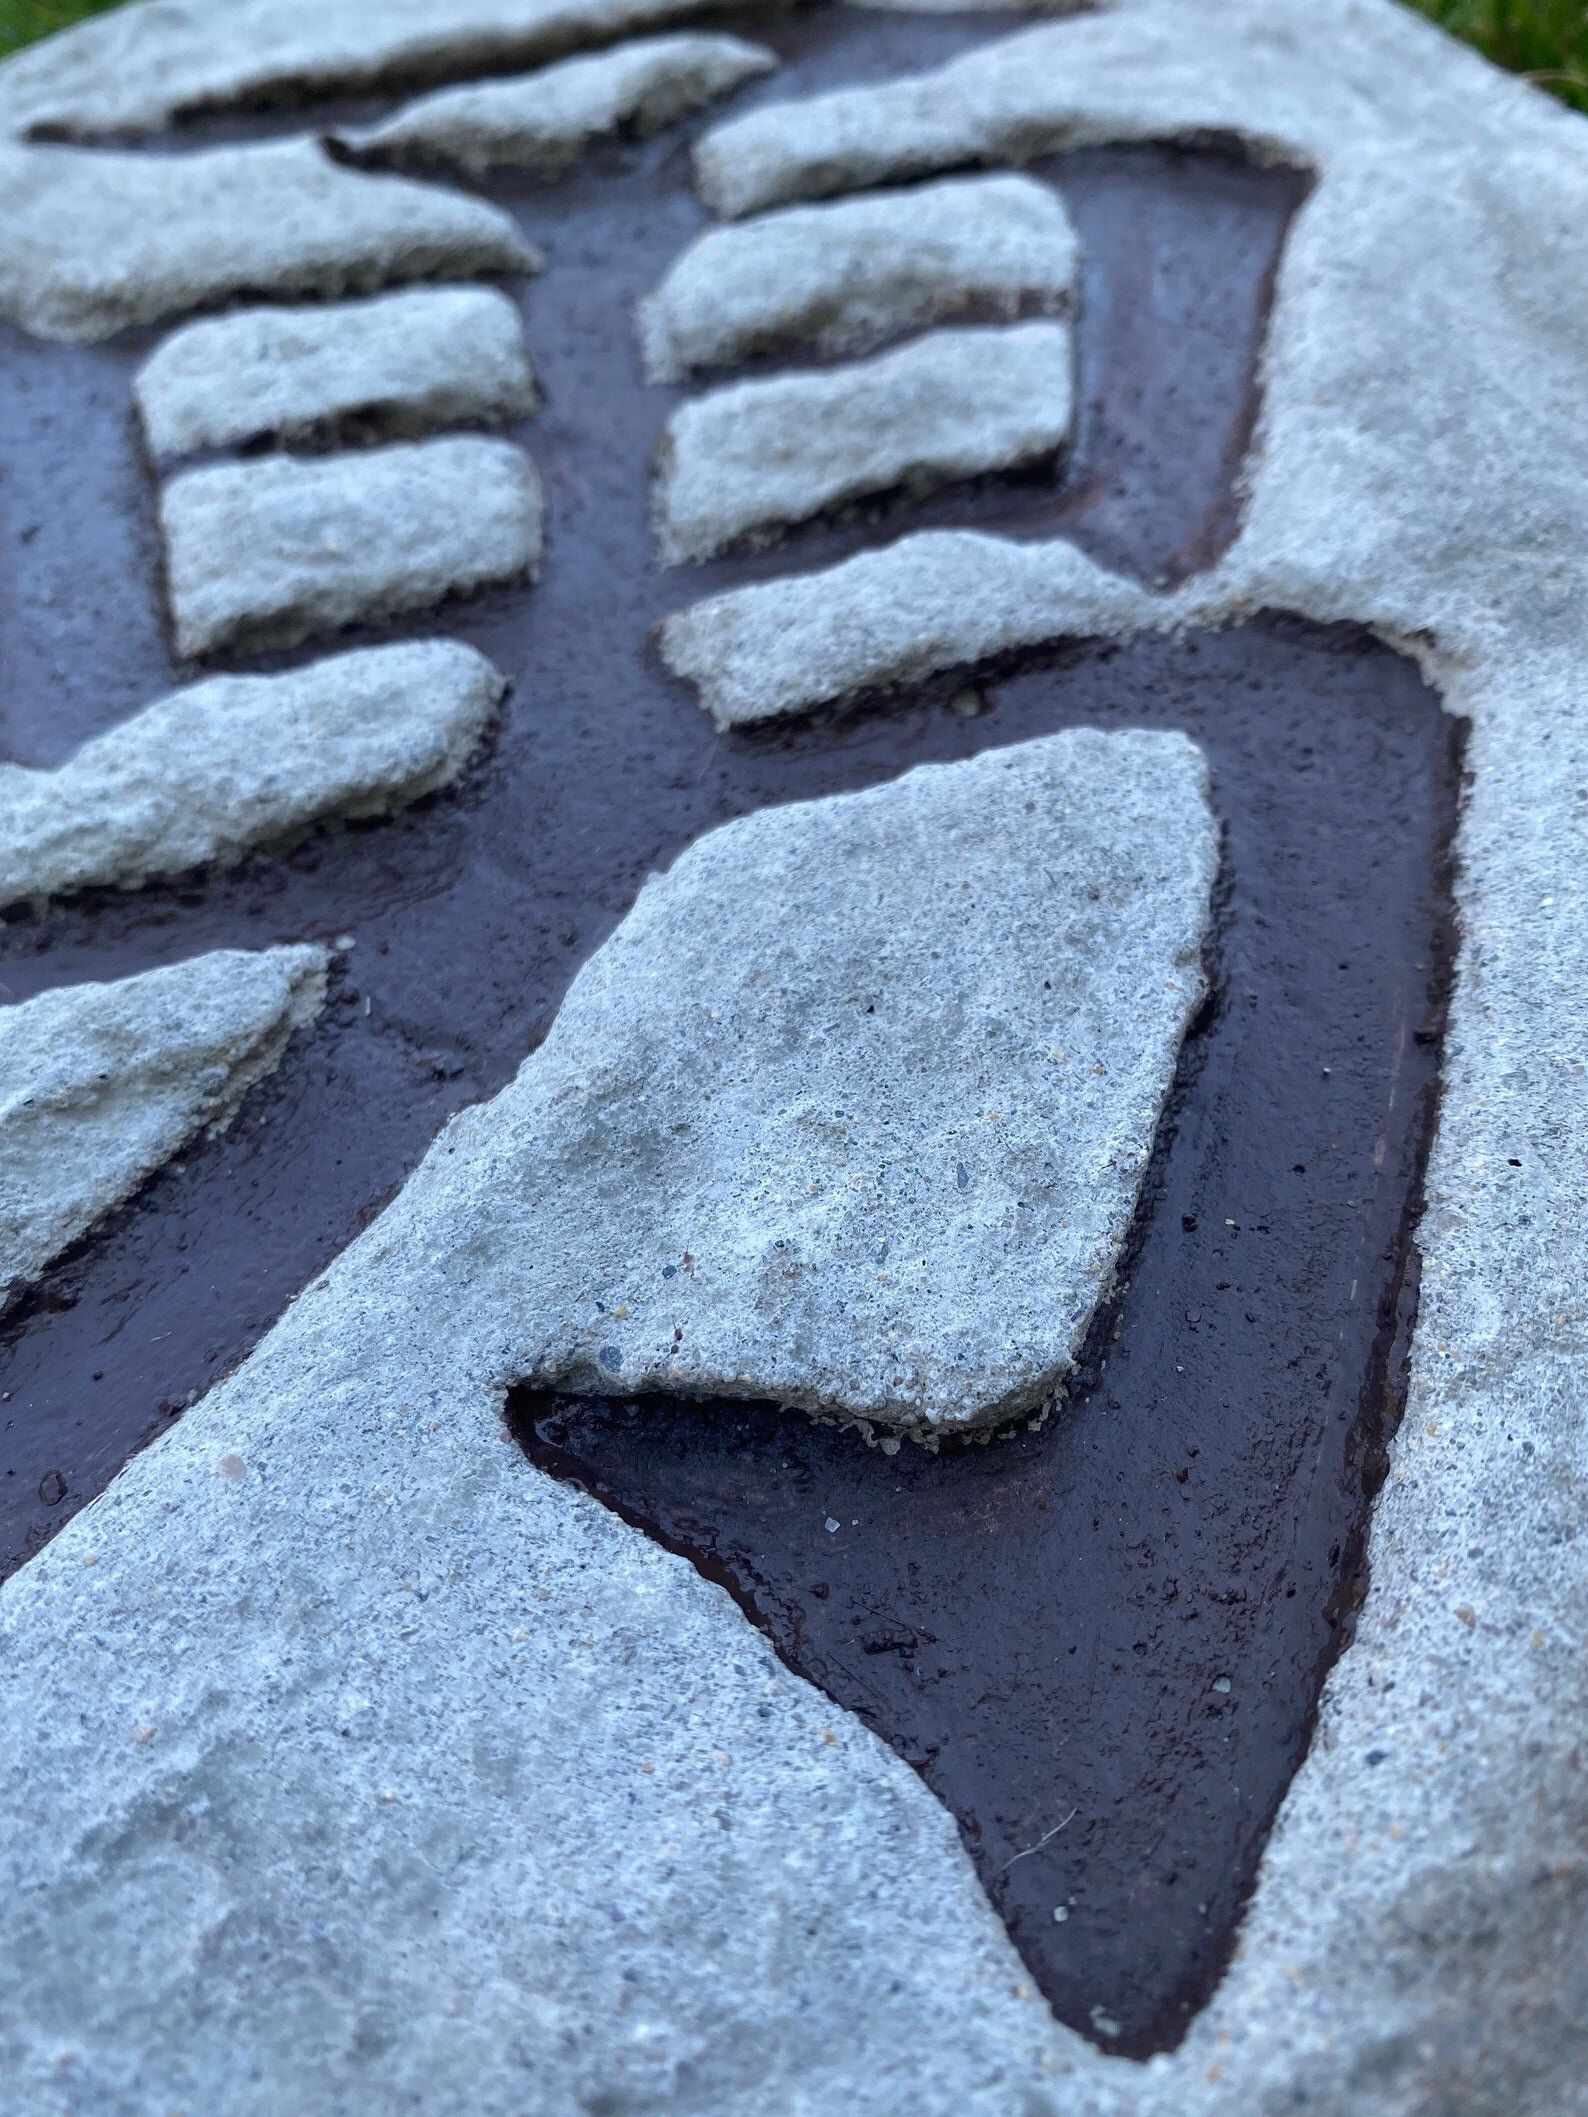
- Pour the Concrete: Slowly and carefully fill each mold, making sure to get into all the details.
- Vibrate or Tap the Molds: This helps release air bubbles, which can weaken the stones. You can gently tap the sides of the mold or use a vibrator tool (if you have one).
- Smooth the Surface: Use your trowel to even out the top surface of the concrete.
- Add Embellishments (Optional): While the concrete is still wet, you can embed pebbles, glass beads, or other decorative elements. Let your imagination run wild!
Real-World Example: I once used a leaf mold and pressed real leaves into the concrete before it set. They left a beautiful, natural imprint. It was amazing!
Curing and Removing Your Masterpieces
Curing is essential for strong, durable stepping stones.
- Cover the Molds: Place a plastic sheet or tarp over the molds to retain moisture.
- Let it Cure: Follow the instructions on your concrete mix. Typically, you’ll want to let them cure for at least 24-48 hours, or even longer in warmer weather.
- Remove the Stones: Carefully flip the molds over and gently tap to release the stones. If they are resistant, give them a little more curing time.
- Let Them Air Dry: Allow the stones to fully dry and harden for a few days before using them.
Important Note: Avoid using the stones too soon, as they will be more prone to cracking. Patience is key here.
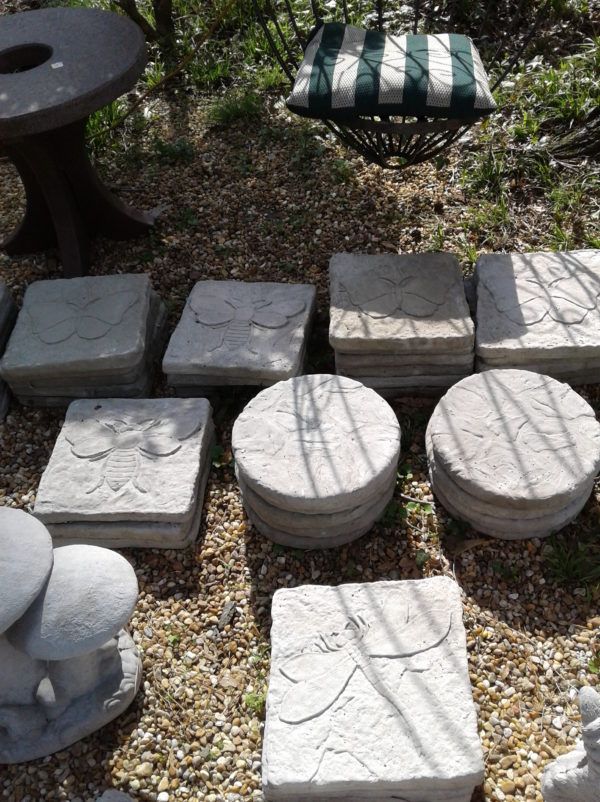
Placement and Design Ideas
Now for the fun part: designing your pathway.
- Consider Your Garden’s Style: Choose stepping stones that complement your existing landscape. Rustic designs work well in cottage gardens. Modern shapes suit contemporary spaces.
- Plan Your Path: Sketch out your desired path on paper or use string to mark it in your garden.
- Space Them Appropriately: Aim for a comfortable stride – usually around 18-24 inches between stones.
- Think About the Surroundings: You can plant ground cover between the stones, add gravel, or simply leave the soil exposed.
Design Inspiration: Consider a winding path through a flower bed, a stepping stone circle around a tree, or a series of stones leading to a hidden seating area. The possibilities are endless. And rememmber, don’t be afraid to experiment. That’s how the best ideas are born. I also suggest you consider the flow of your garden. Where are you trying to lead the eye? Where do you want people to sit and relax?
Maintaining Your Stepping Stones: Keeping Them Beautiful
Caring for your stepping stones is pretty simple.
- Seal Them (Optional): Applying a concrete sealant will protect them from weathering, staining, and freeze-thaw damage. Reapply every couple of years.
- Clean Regularly: Sweep or hose off your stones to remove dirt and debris.
- Address Stains Promptly: Clean up any stains as soon as possible. Concrete can be porous, so spills can sometimes sink in.
- Winter Care: In areas with harsh winters, consider lifting the stones and storing them indoors to prevent cracking from freezing and thawing.
Troubleshooting: If your stones develop cracks, you can often repair them with concrete patching compound. Just follow the manufacturer’s instructions. And remeber, the more you take care of your stepping stones, the longer they’ll last.
Creating stepping stones with four seasons stepping stone molds is a truly rewarding project. It’s a chance to get your hands dirty, express your creativity, and add a touch of personality to your outdoor space. From the first step of gathering your supplies to the final step of placing your finished stones, the entire process is both enjoyable and fulfilling. I hope this guide has inspired you to take the plunge and start your own stepping stone adventure. Remember to have fun, don’t be afraid to experiment, and most importantly, enjoy the process. Happy gardening, everyone. And, I can’t wait to see your creations. Feel free to share photos with me and the community. Let’s make some beautiful gardens together, and have a wonderful time doing it. And one last thing: don’t forget to get those gloves on. Safety first!