Composting with worms might seem like a fancy gardening technique, but it’s actually one of the most accessible ways to turn your kitchen scraps into nutrient-rich soil amendment. The beauty of worm composting lies in its simplicity – you don’t need a PhD in biology or expensive machinery to get started. All you really need is a few basic tools and some patience.
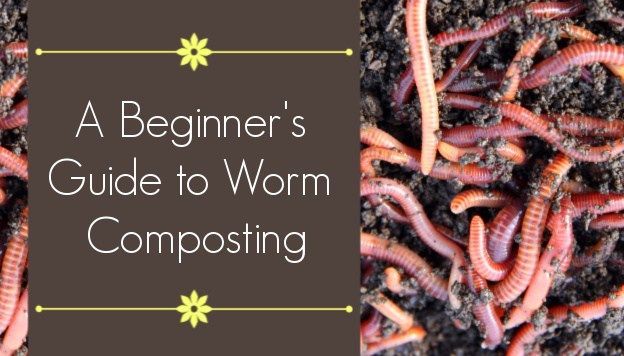
Worm composting, also known as vermicomposting, is a gentle and efficient way to recycle organic waste into rich, dark compost. This process uses earthworms to break down food scraps and other organic materials into what gardeners call ‘black gold’ – a nutrient-dense soil amendment that plants love. The beauty of this method is how straightforward it can be, especially when you have the right tools to support the process. Whether you’re living in a small apartment or have a large backyard, these simple tools can make all the difference in creating successful worm composting systems.
Understanding the Basic Worm Composting Setup
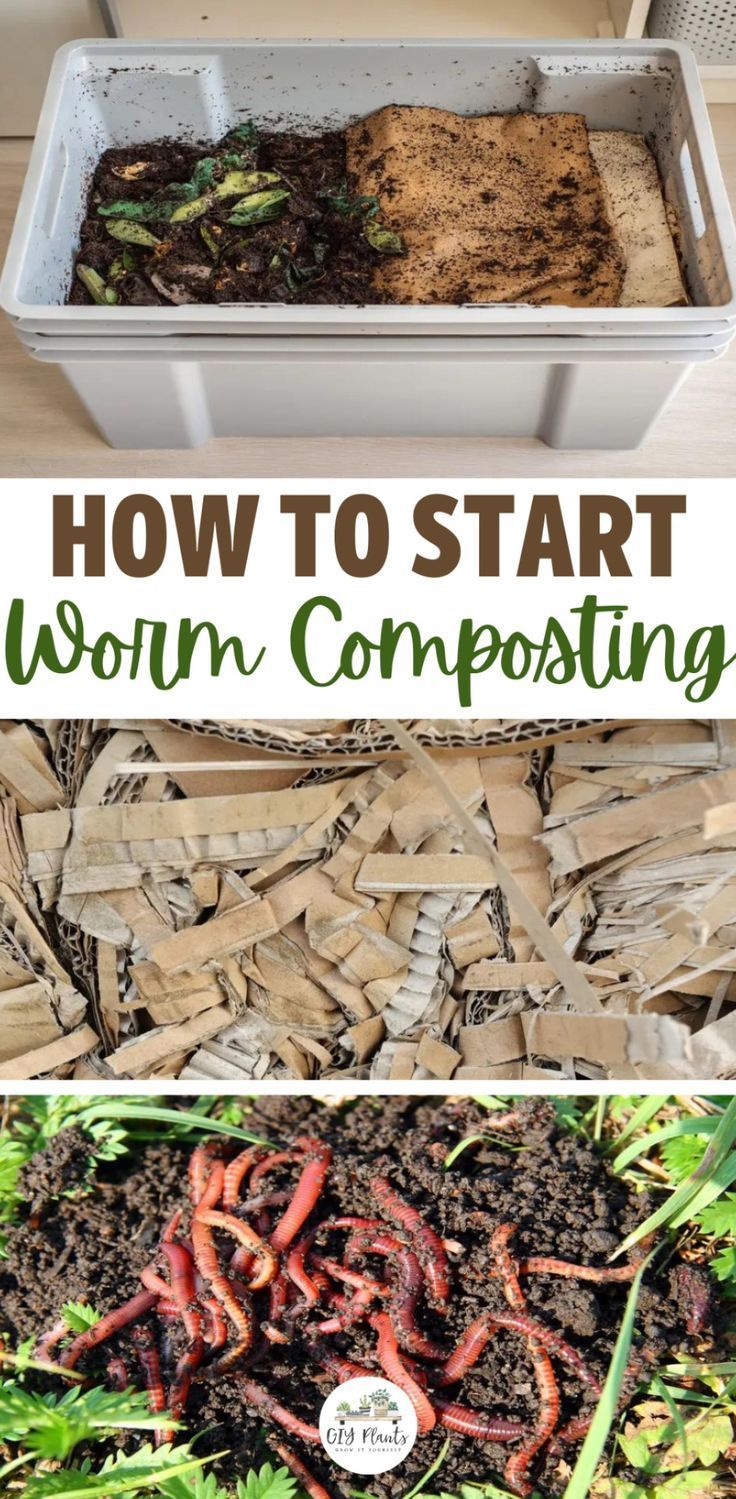
The foundation of successful worm composting starts with choosing the right container. You don’t need anything fancy – a plastic storage bin with a lid works wonderfully for beginners. The key is having proper drainage and ventilation. Most people find that a 15-gallon container holds enough space for their household’s kitchen scraps while remaining manageable.
Consider the size carefully. Too small and you’ll be constantly adding new materials before old ones decompose. Too big and you might struggle with maintaining proper conditions. A good rule of thumb is to match your container size to your family’s waste production. If you’re just starting out, consider a smaller setup first. It’s easier to expand later if needed.
The container should have holes drilled in the sides and bottom for air circulation and drainage. This prevents waterlogging while allowing beneficial airflow. Many people use a second container underneath to catch excess liquid, which can be used as plant fertilizer.
Essential Worm Composting Tools for Beginners
When you’re just getting started, here are the must-have items that will make your worm composting journey much smoother:
• Worm bin or container – This is your main workspace. Look for something that’s easy to clean and has good drainage
• Bedding material – Shredded newspaper, cardboard, or coconut coir provides the perfect environment for worms
• Worms – Red wiggler worms are the best choice for composting
• Thermometer – To monitor temperature, which should stay between 55-77°F
• pH testing kit – Helps maintain proper acidity levels in your compost
• Kitchen scraps container – A small bin to collect scraps before adding them to the worm bin
These tools work together to create an environment where worms thrive. The bedding material gives them somewhere to live and move around, while the thermometer helps ensure they’re comfortable. Having everything ready before you start makes the whole process much less overwhelming.
Choosing the Right Bedding Material
The bedding is essentially your worm’s home, so it deserves careful attention. Good bedding should be absorbent, provide air pockets, and be carbon-rich. Common choices include:
• Shredded newspaper – Inexpensive and readily available. Remove any colored ink pages
• Cardboard – Another budget-friendly option. Cut into strips about 2 inches wide
• Coconut coir – More expensive but very effective and reusable
• Leaves – Dried leaves work well but may take longer to break down
Mix different materials to create a good balance. The ideal bedding should feel like a damp sponge when properly prepared. Too wet and it smells bad; too dry and the worms can’t survive. Aim for moisture levels similar to a wrung-out towel.
Pro tip: Layer your bedding with a 2-inch thickness, then moisten it before adding worms. This ensures even moisture distribution throughout the bin.
Selecting the Perfect Worm Species
Not all worms are created equal when it comes to composting. While you might have garden worms in your backyard, they’re not suited for indoor composting systems. The best worms for vermicomposting are red wigglers (Eisenia fetida).
Red wigglers are specially adapted for composting environments. They eat quickly, reproduce rapidly, and handle the conditions inside bins better than other species. You can buy them online or from local suppliers. Some people prefer to purchase them in small quantities and gradually increase their population as their system matures.
A typical starter setup needs about 1 pound of worms for every 1 square foot of surface area in your bin. That translates to roughly 1,000-1,500 worms for a standard 15-gallon container. These worms can consume about half their body weight in food each day, so they’re quite efficient at processing organic matter.
Don’t worry if you’re unsure about the quality of worms you receive. Healthy worms are typically brown or reddish-brown with a shiny appearance and active movement. They should respond quickly when touched.
Maintaining Proper Temperature and Moisture Levels
Temperature and moisture control are crucial for healthy worm composting. Worms are sensitive creatures that thrive in specific conditions. The ideal temperature range is between 55°F and 77°F. Below 40°F, worms become sluggish and stop eating. Above 85°F, they can die from overheating.
To monitor temperature, invest in a simple digital thermometer designed for composting. Place it in the center of your bin where worms spend most of their time. If it gets too hot during summer months, consider moving your bin to a cooler location or adding more bedding to insulate it.
Moisture management requires a delicate balance. The bedding should be damp but not soaking wet. A simple test is to squeeze a handful of bedding – if a few drops of water come out, it’s at the right moisture level. Too much water leads to anaerobic conditions and bad odors. Too little makes it difficult for worms to breathe and move around.
Regular monitoring prevents many common problems. Check your bin weekly for signs of moisture issues or temperature extremes. Small adjustments can prevent major complications down the road.
Adding Food Scraps and Managing the Composting Process
Once your worms are established, feeding them becomes a regular part of your routine. Start with small amounts and gradually increase as your worm population grows. Here’s what to feed your worms:
• Vegetable peels and scraps – These are the most popular and easiest to digest
• Coffee grounds and filters – Good nitrogen source for the compost
• Tea bags – Remove metal staples before adding
• Eggshells – Crushed eggshells provide calcium for the worms
Avoid feeding them meat, dairy, oily foods, or citrus fruits. These can attract pests or create unhealthy conditions for worms. Also skip anything that’s moldy or rotting badly.
Feed your worms in small batches, burying food scraps in fresh bedding. This prevents odors and keeps the worms from being overwhelmed. They’ll eat almost anything organic, but consistency in feeding helps maintain stable conditions.
A common mistake is overfeeding. Watch for signs like slow decomposition, strong odors, or fruit flies. When this happens, reduce the amount of food and let the existing scraps decompose fully before adding more.
Troubleshooting Common Issues and Solutions
Even experienced worm composters face challenges. Here are some common problems and how to address them:
• Bad odors – Usually caused by overfeeding or poor drainage. Reduce food portions and check that your bin drains properly
• Fruit flies – Often indicate too much food on the surface. Cover new additions with bedding immediately
• Too wet or too dry – Adjust moisture levels by adding dry bedding or watering gently
• Worms escaping – This usually means the environment is too acidic or too dry. Test pH levels and adjust accordingly
• Slow decomposition – Could be due to lack of food, wrong temperature, or insufficient aeration
Most problems stem from imbalances in the composting environment. Regular monitoring and small adjustments solve most issues. Don’t panic if things aren’t perfect right away. It takes time to develop the rhythm of successful composting.
Keep notes about what works and what doesn’t. Over time, you’ll learn how your specific setup responds to different conditions and inputs. This knowledge will make future improvements much easier.
Harvesting and Using Your Finished Compost
After several months of proper maintenance, your worm bin will produce finished compost that’s ready to use. The process typically takes 3-6 months depending on conditions and feeding frequency. When the compost looks dark and crumbly with a sweet earthy smell, it’s ready to harvest.
The harvesting process involves separating mature compost from worms and unfinished materials. One common method is to move the contents to one side of the bin and add fresh bedding and food to the other side. The worms naturally migrate toward the new food source, leaving behind mostly finished compost.
Finished compost should be dark brown or black, crumbly in texture, and smell like fresh earth. It’s excellent for potting mixes, garden beds, or houseplants. Start by mixing small amounts into soil to see how your plants respond.
Don’t forget to keep your worm bin going! Continue feeding your worms and maintaining proper conditions. The cycle of composting never truly ends – it’s an ongoing process that keeps improving your garden soil year after year.
Starting with simple worm composting tools doesn’t require expensive equipment or complex setups. With the right basics – a suitable container, appropriate bedding, healthy worms, and a commitment to regular care – anyone can successfully compost kitchen scraps into valuable soil amendment. The key is understanding that this isn’t a one-time effort but rather an ongoing partnership between you and your worms.
Remember that success comes with practice and patience. Your first few batches might not be perfect, but each experience teaches you something valuable. The tools mentioned here form the foundation for sustainable composting practices that benefit both your garden and the environment.
Whether you’re looking to reduce household waste or improve your garden soil, worm composting offers an accessible path to achieving those goals. Start small, stay consistent, and watch as your kitchen scraps transform into something truly valuable. The results speak for themselves – plants grow better, waste decreases, and you gain a rewarding hobby that connects you directly to nature’s recycling process.