For years, folks have asked me, ‘How do you make those gorgeous mosaic tables that don’t just fall apart after a season or two outside?’ It’s a fantastic question, and one I’ve spent a good chunk of my life figuring out. It’s not just about glueing pretty tiles down, you know. It’s about understanding the battlefield – the sun, the rain, the freezing cold – and arming your creation to win. This article, well, it’s my unfiltered guide to making outdoor mosaic tables that truly endure. No fancy jargon, just real-world advice from someone who’s learned by doing (and sometimes, by failing spectacularly).
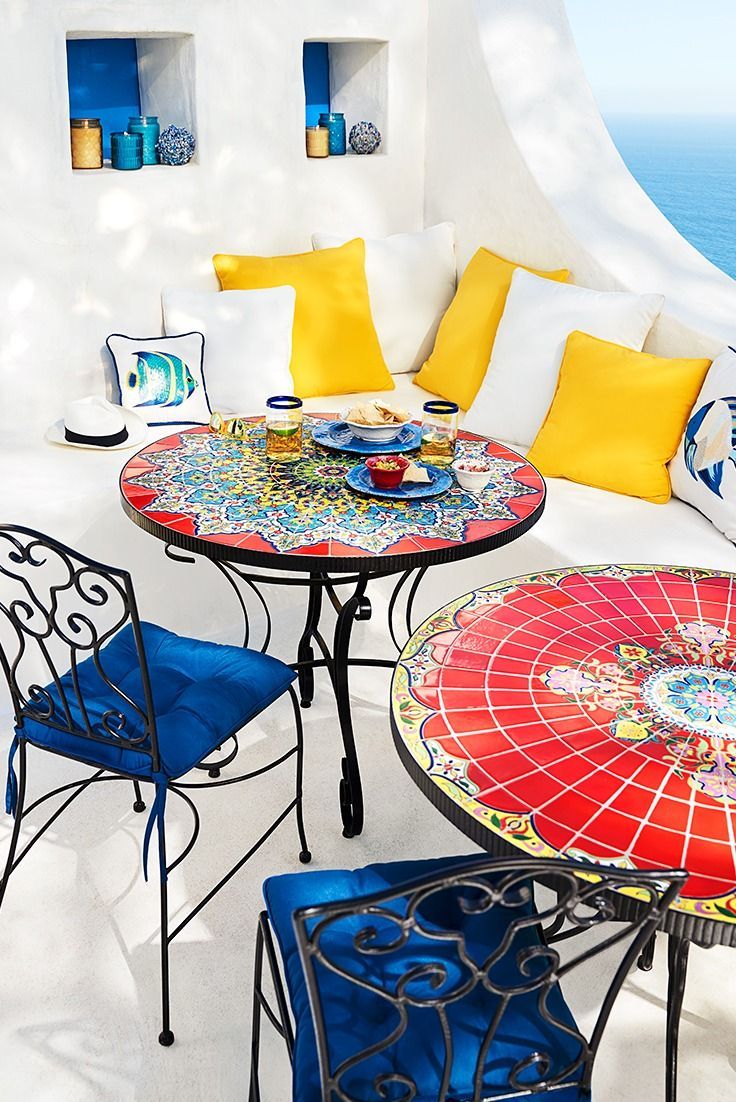
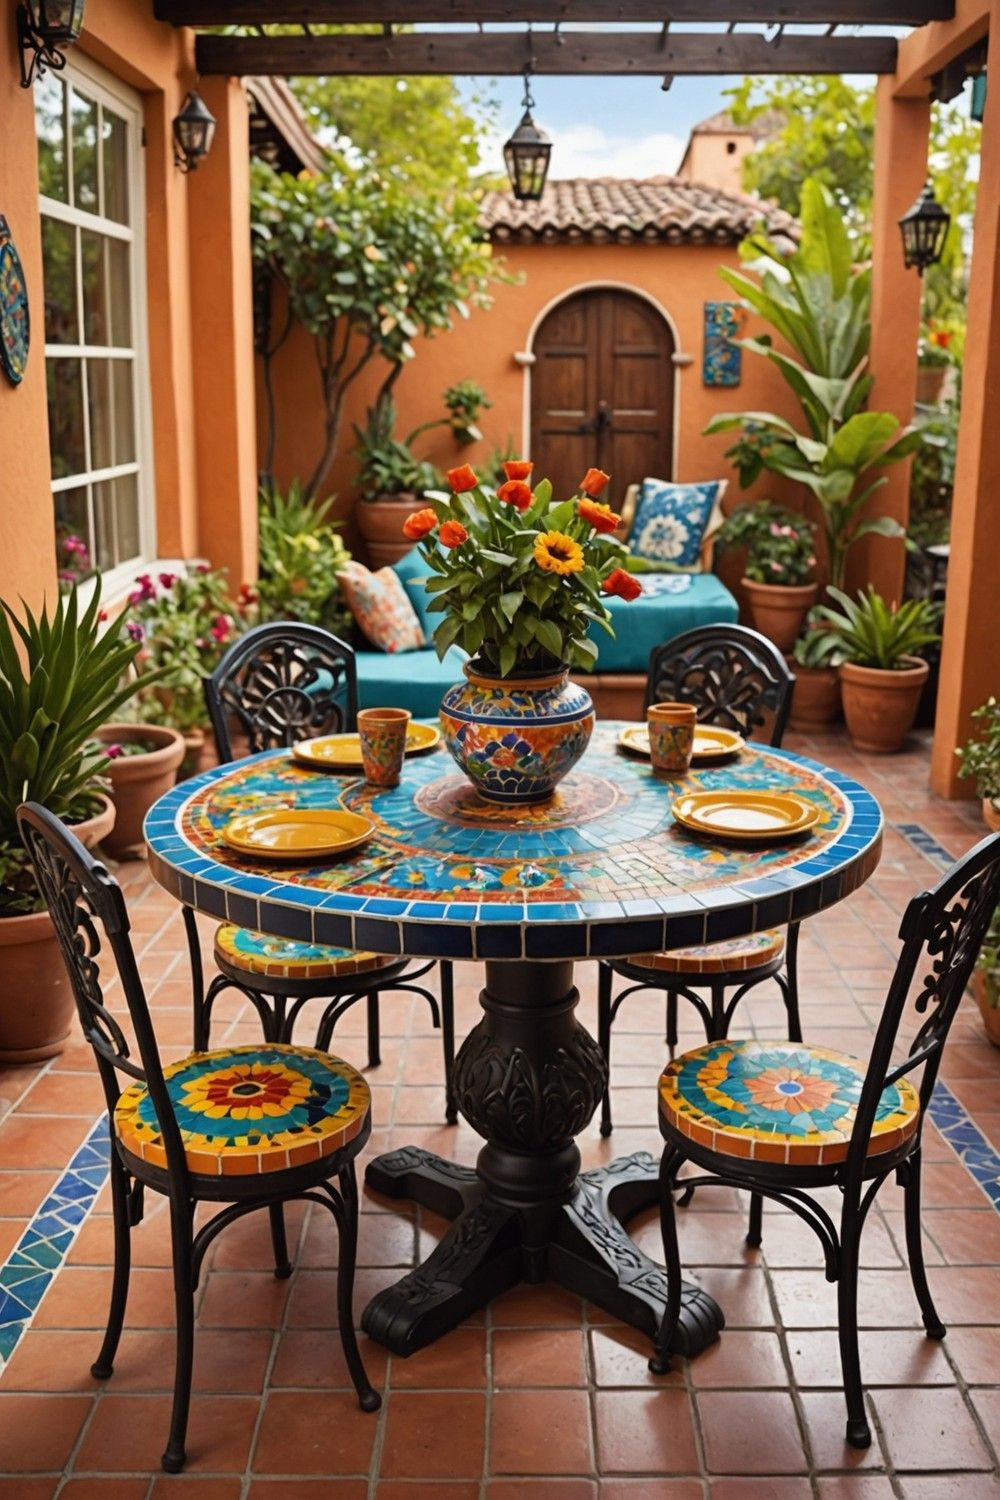
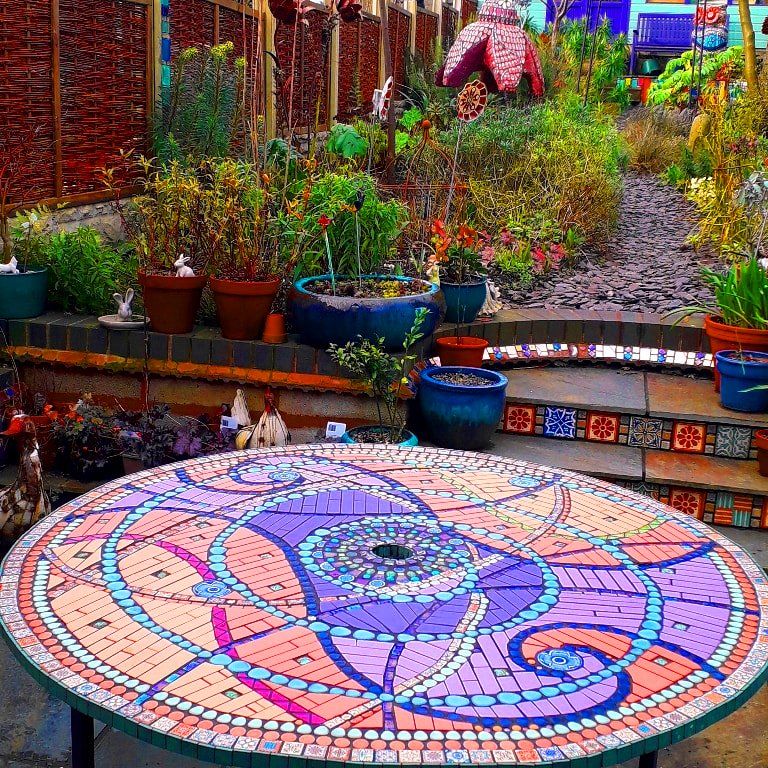
There’s something truly magical about a mosaic table glinting in the sunshine, its colors vibrant against the green of a garden or the blue of a patio sky. It’s art you can use, a functional masterpiece. But here’s the rub: outdoor environments are brutal. They are a relentless assault on materials. Temperature shifts, constant moisture, UV radiation – these aren’t just minor inconveniences; they’re structural threats. My journey into durable outdoor mosaics began with a lot of trial and error, and yes, a few heartbreaking failures. Learning what doesn’t work is often just as valuable as knowing what does. The key, I’ve found, lies in a holistic approach, considering every single component and step with durability in mind.
Choosing the Right Foundation: More Than Just a Flat Surface
The base of your table isn’t just something to stick tiles on; it’s the backbone. It needs to be incredibly stable and resistant to moisture. Forget about particle board or plain plywood; they’ll swell and disintegrate faster than you can say ‘grout.’
- Cement Board (Cem-Board): This is my go-to. It’s basically concrete and fiberglass, incredibly stable, and doesn’t rot. It’s a bit heavy, but that’s a good thing for an outdoor table. Make sure to get the kind rated for exterior use. You can find it at any home improvement store.
- Marine Plywood (if absolutely necessary): If you must use wood, marine-grade plywood is your only option. It’s designed to resist moisture and delamination. Even then, I’d encapsulate it completely with a waterproofing membrane before even thinking about mosaics. It’s a more advanced technique, mind you.
- Metal Bases: A sturdy metal frame, like wrought iron or aluminum, provides excellent support. Ensure it’s treated for outdoor use – powder-coated steel or aluminum is ideal to prevent rust. The mosaic top will then be attached securely to this frame. Don’t skimp here; a wobbly table is a recipe for disaster, no matter how pretty the mosaic.
Selecting Your Tiling Treasures: Weather-Worthy Materials are Key
Not all tesserae (that’s what we call the individual mosaic pieces, by the way) are created equal when it comes to outdoor life. Some materials will fade, crack, or absorb water like a sponge.
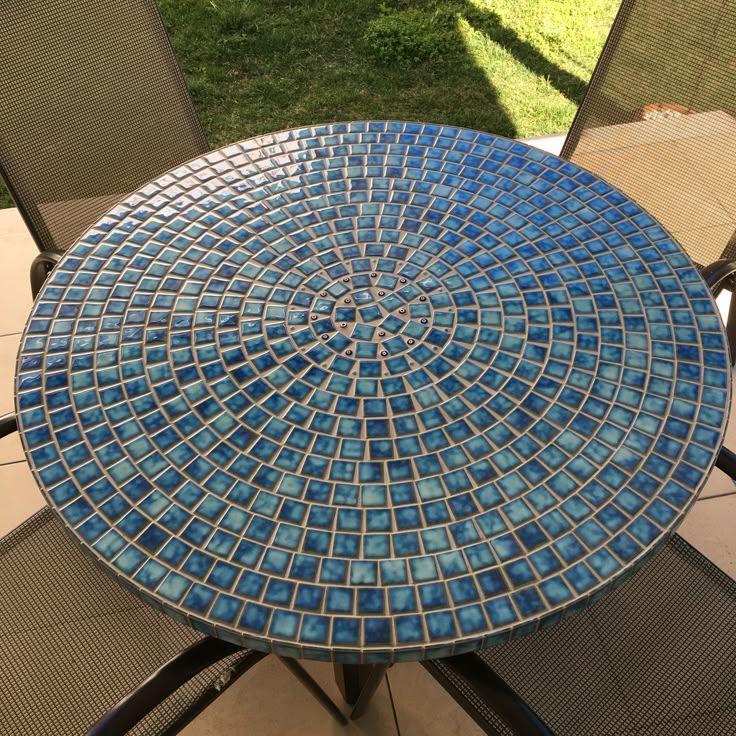
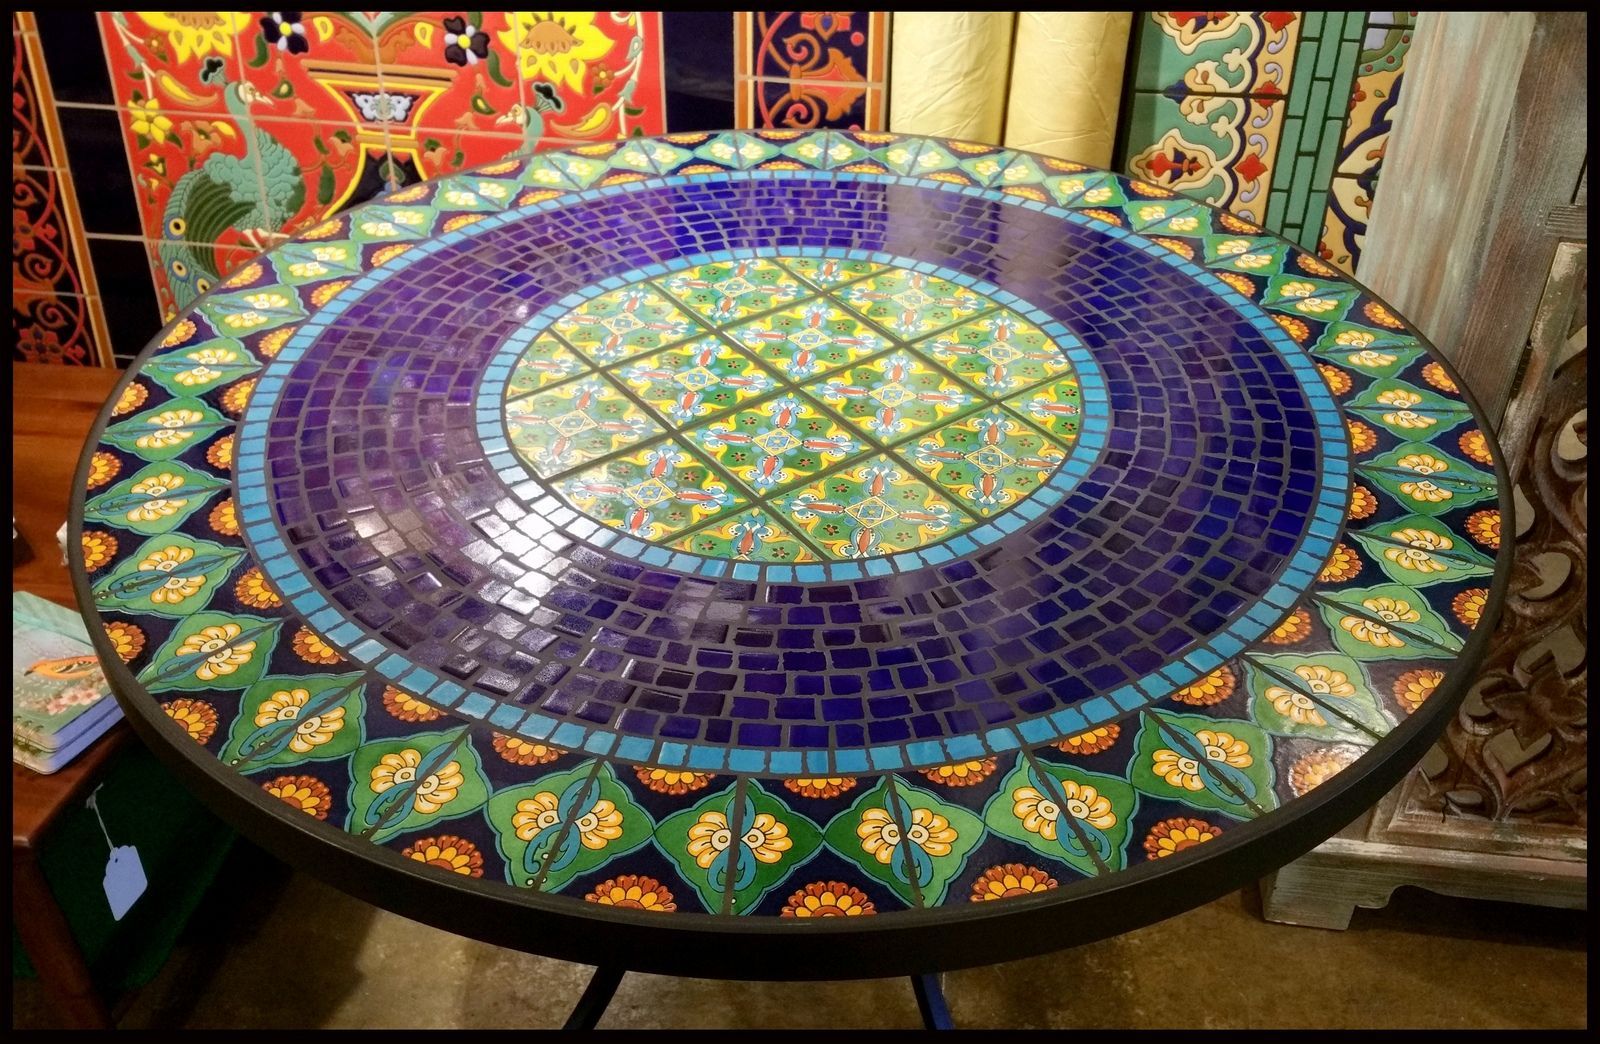
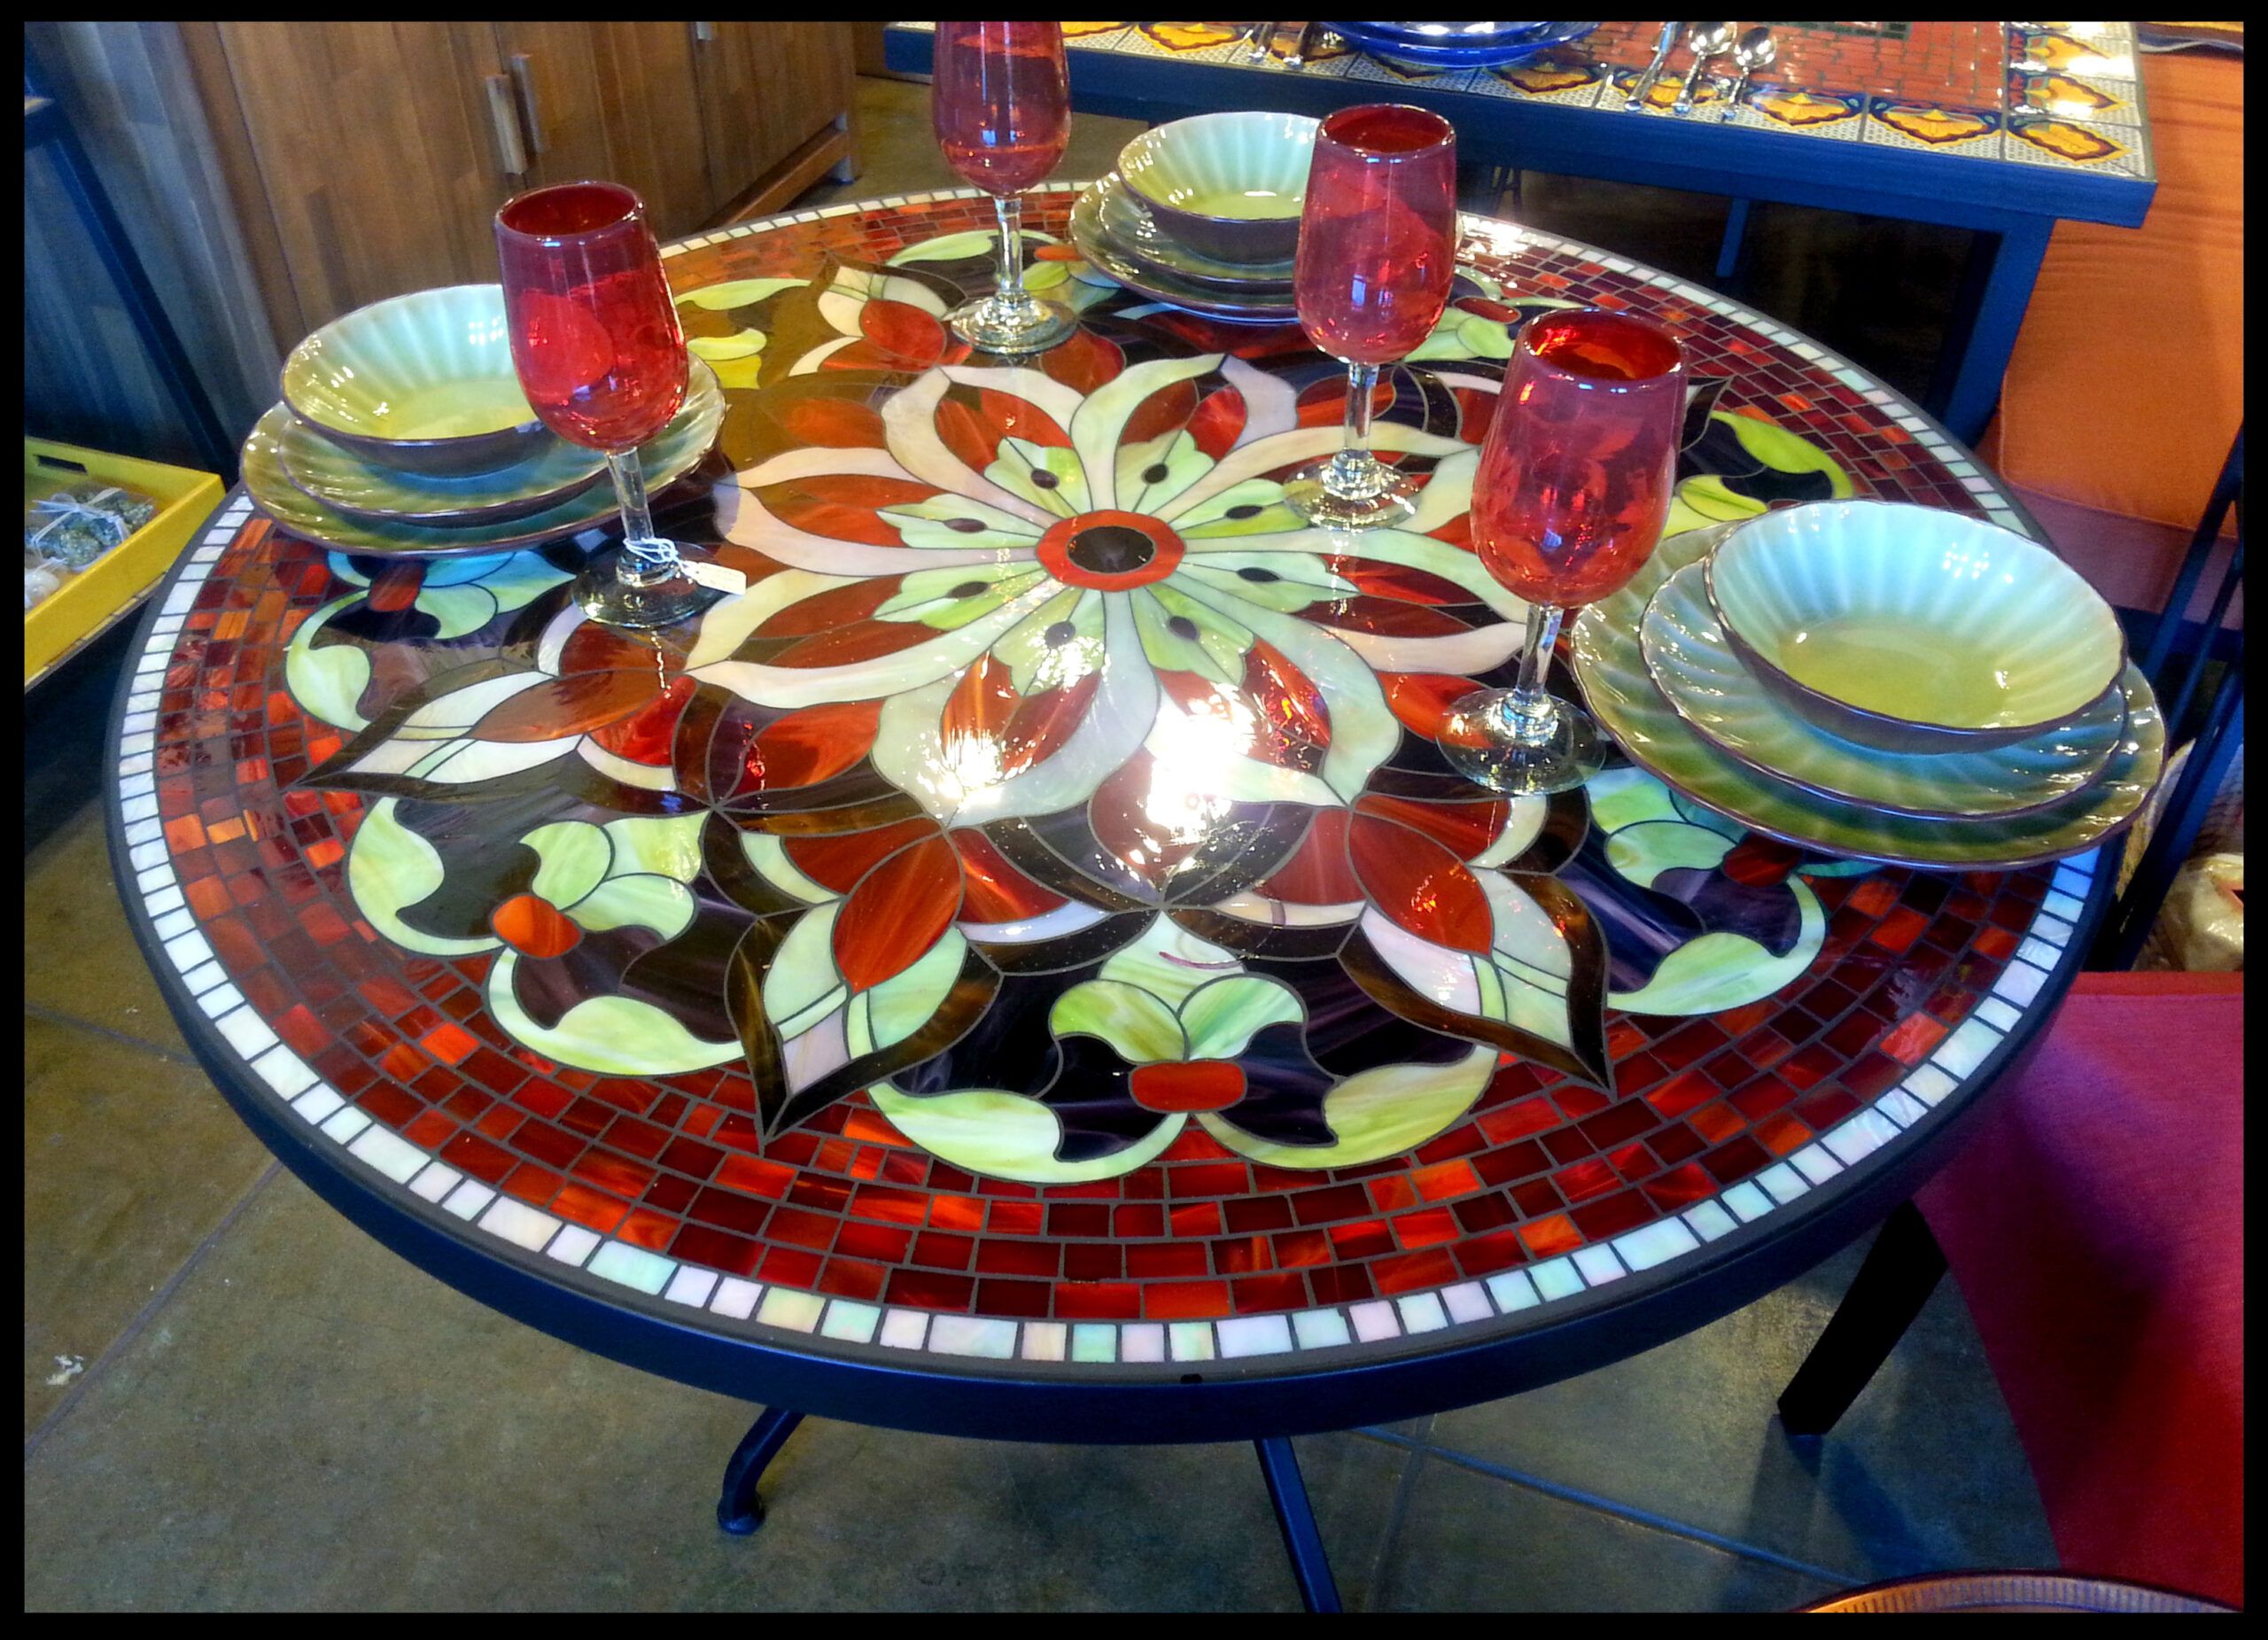
- Vitreous Glass Tiles: These are champions of durability. They’re non-porous, meaning they won’t absorb water and freeze-thaw cycles won’t bother them. The color is usually throughout the glass, so fading isn’t an issue. They come in an amazing array of hues, too!
- Unglazed Porcelain Tiles: Another excellent choice. Porcelain is incredibly dense and has a very low water absorption rate. Unglazed means no glaze to chip or fade. They’re tough, practical, and often more affordable than glass.
- Natural Stone (Certain Types): Some natural stones, like granite or dense slate, can work, but you need to be careful. Many stones are porous and will stain, crack, or degrade over time if not properly sealed and maintained. I’d generally steer clear of softer stones like marble or travertine for outdoor use unless you’re prepared for significant upkeep.
- Avoid: Anything that’s highly porous or easily damaged by frost. Think terracotta, most ceramic tiles (unless specifically rated for outdoor use), or anything with a fragile glazed surface. Also, avoid anything that can rust, like certain metals, unless they’re properly treated and encapsulated.
Adhesives and Grouts: The Unsung Heroes of Longevity
This is where many DIYers go wrong, and it’s perhaps the most critical component for outdoor durability. Using the wrong adhesive or grout is like building a house on sand.
- Thin-Set Mortar: This is my absolute, unshakeable recommendation for outdoor mosaics. It’s a cement-based adhesive that’s incredibly strong and flexible. Look for thin-set specifically labeled for ‘exterior use’ or ‘porcelain tile.’ It usually comes in a powdered form that you mix with water or a special latex additive. The latex polymer-modified thin-set offers even better adhesion and flexibility, which is crucial for temperature fluctuations.
- Epoxy-Based Adhesives: While very strong and waterproof, epoxy can be tricky to work with, has a short working time, and is more expensive. It’s overkill for most projects, but an option for extreme conditions.
- Grout Matters: For outdoor applications, you must use unsanded grout for narrow gaps (1/8 inch or less) and sanded grout for wider gaps (over 1/8 inch). Why? The sand provides strength and prevents cracking in wider joints. More importantly, choose a grout that’s polymer-modified or specifically designed for outdoor use. These grouts have additives that make them stronger, more flexible, and more resistant to water penetration and efflorescence (that powdery white stuff that can appear).
- Sealing the Deal: After grouting, and once the grout has fully cured (give it at least 72 hours, or even a week in humid conditions), apply a high-quality penetrating grout sealer. This doesn’t just sit on top; it soaks into the grout, making it water and stain resistant. Reapply every year or two, dependin’ on your climate. This is a step many skip, to their detriment.
The Process: A Step-by-Step Guide to Lasting Beauty
Alright, let’s talk about the actual doing. It’s not just about slapping things together; it’s a careful dance of preparation and precision.
- Preparation is Paramount: Clean your base thoroughly. If it’s cement board, wipe off any dust. If it’s a metal frame, ensure it’s free of rust and properly primed. A clean surface means better adhesion.
- Layout and Design: Plan your design first. You can draw it directly on the base or on paper and transfer it. This helps avoid mistakes and ensures a harmonious result. Don’t rush this part.
- Adhesive Application: Mix your thin-set according to the manufacturer’s instructions. Consistency is key – like thick peanut butter. Use a notched trowel to spread a thin, even layer of adhesive onto a small section of your base. Don’t spread too much at once, as it will start to set before you can place your tiles.
- Tesserae Placement: Press each mosaic piece firmly into the wet adhesive, wiggling it slightly to ensure good contact. Maintain consistent spacing between your tiles for easy grouting later. This is where patience comes in. A bit of unevenness is part of the charm, but too much will make grouting a nightmare.
- Curing Time (Adhesive): This is crucial. Let the adhesive cure completely before grouting. This usually takes 24-48 hours, but check your product’s instructions. Rushing this will lead to weak bonds.
- Grouting: The Final Touch: Mix your grout. It should be like a thick milkshake. Use a rubber float to push the grout into all the spaces between the tiles, working in small sections. Angle the float to force the grout down into the joints.
- Cleaning Up: Once the grout starts to set (it’ll look dull, not wet), use a damp sponge to wipe away excess grout from the tile surfaces. Rinse your sponge frequently. Don’t use too much water, or you’ll wash away the pigment and weaken the grout. Do a final polish with a clean, dry cloth after the grout has dried to remove any haze.
- Curing Time (Grout): Again, patience! Let the grout cure for several days, ideally a week, before applying sealer or exposing the table to harsh weather. This allows it to reach maximum strength.
- Sealing: Once the grout is fully cured, apply your penetrating grout sealer. Follow the product’s instructions for application and reapplication. This step is non-negotiable for outdoor durability.
Understanding and Mitigating Environmental Factors
It’s not just about what you use; it’s about how you anticipate the environment will interact with your creation. This is where the ‘expert’ part really comes in.
- Freeze-Thaw Cycles: This is the ultimate enemy. Water seeps into tiny cracks, freezes, expands, and then thaws, slowly but surely prying your mosaic apart. Using non-porous materials, flexible adhesives, and a well-sealed grout line is your best defense.
- UV Radiation: The sun’s rays can fade colors and degrade adhesives over time. Using UV-resistant tiles (like vitreous glass or unglazed porcelain) and UV-stable adhesives and grouts helps. Some sealers also offer UV protection.
- Moisture Management: Ensure your table has good drainage if it’s a flat surface. Avoid designs that create ‘pockets’ where water can pool. If your table top is on a solid base, ensure there’s a slight slope for water run-off. Proper sealing is, again, key to preventing water ingress.
- Weight Considerations: Outdoor mosaic tables can be heavy. Ensure your base and any supporting structure can handle the significant weight of the tiles, adhesive, and grout. This also makes them more stable in windy conditions.
Maintenance and Care: Keeping Your Masterpiece Pristine
Even the most durable mosaic needs a little love to stay beautiful for decades. It’s not ‘set it and forget it.’
- Regular Cleaning: A simple wipe-down with a damp cloth is usually all that’s needed. For tougher grime, a mild, pH-neutral cleaner can be used. Avoid harsh abrasives or acidic cleaners, as they can damage grout and sealers.
- Inspect Annually: Take a moment once a year to really look at your table. Check for any hairline cracks in the grout, loose tiles, or signs of wear. Catching small issues early can prevent major problems down the line.
- Re-sealing: As mentioned, reapply your grout sealer every 1-3 years, depending on the product and how much exposure your table gets. This is a quick and easy way to significantly extend the life of your mosaic.
- Winter Protection (Optional, but Recommended): In areas with harsh winters and heavy snow, consider covering your table with a breathable, waterproof cover. This isn’t strictly necessary if you’ve followed all the steps above, but it provides an extra layer of protection and peace of mind.
Creating a truly durable outdoor mosaic table is indeed an art and a science. It requires careful material selection, meticulous application, and an understanding of the forces of nature it will face. It’s not about finding shortcuts; it’s about respecting the process and the materials. My hope is that this deep dive empowers you, whether you’re a seasoned mosaic artist or a curious beginner, to craft pieces that don’t just look stunning but stand the test of time, becoming cherished focal points in outdoor spaces for many, many years. The satisfaction of seeing a vibrant, resilient mosaic endure through seasons, bringing joy and color, is truly one of the most rewarding aspects of this craft. So go forth, create, and let your mosaic art shine, come rain or shine!