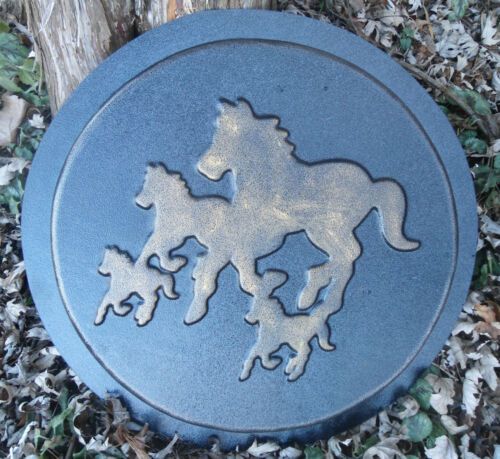
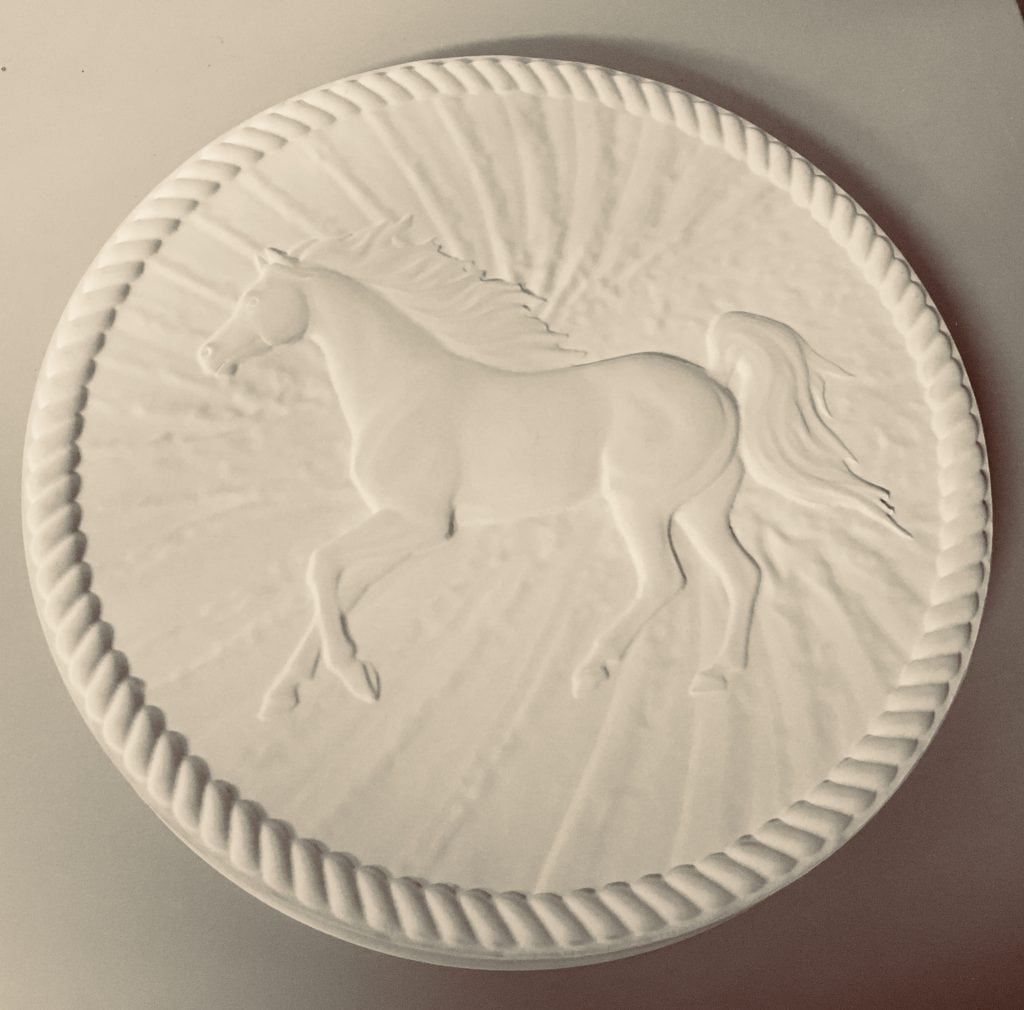
Hey everyone, it’s your pal, [Your Name Here], back with more garden adventures! I’ve always loved the mystique of Celtic art, and the grace of horses. Combine those, and you get stepping stones – a perfect craft project. But, let’s be honest, sometimes working with molds can be a bit tricky. That’s why I’m here today to share my hard-earned wisdom on troubleshooting common issues you might face when using Celtic horse stepping stone molds. We’ll dig into things like air bubbles, cracking, and getting that perfect detail. Get ready to level up your stepping stone game!
Celtic horse stepping stones are a fantastic way to add personality and charm to your yard. They’re a great DIY project, too. You can create a unique pathway, a fun focal point, or even give them as special gifts. But, even the most seasoned crafters run into problems from time to time. That’s where this article comes in. We’re going to uncover the most common pitfalls and offer simple, effective solutions, so you can create stunning, durable stepping stones every single time. Let’s dive in, shall we?
The Pesky Problem of Air Bubbles
Air bubbles are the bane of every stepping stone maker’s existence! They make your stones weak and can ruin the intricate details of your Celtic horse design. Here’s how to banish them:
- Vibration is Key: Vibrate the mold gently after pouring the concrete mix. You can tap the sides of the mold, use a vibrating tool (like a sander without the sandpaper, but don’t turn it on), or even just lift the mold a tiny bit and drop it back down a few times. This helps to release trapped air.
- The Right Mix Matters: Make sure your concrete mix is the correct consistency. Too thick, and air gets trapped. Too thin, and the stone might not be strong enough. Follow the instructions on your concrete bag, and consider using a concrete mix specifically designed for molds, which often have additives to reduce air bubbles.
- Gentle Pouring: Pour the concrete slowly and steadily. Avoid pouring from too high up, and try to pour from different points in the mold to help the concrete flow evenly and push the air out.
- Surface Tension Tamers: A tiny bit of dish soap (a drop or two) mixed into your concrete can actually help reduce surface tension and allow air bubbles to escape more easily. It’s a little trick I learned the hard way, and it works wonders.
Cracking Under Pressure: Preventing Cracks in Your Creations
Cracking is another common issue, and it’s usually related to how the concrete dries. Nobody wants a cracked stepping stone after all the effort. Here’s how to avoid it:
- Proper Curing is Essential: Curing is the process of keeping the concrete moist while it hardens. Cover your stepping stones with plastic sheeting or damp burlap after you’ve poured them and let them set for at least a few days. This will slow down the drying process and reduce the chance of cracking.
- Control the Temperature: Extreme temperatures can cause cracking. Avoid pouring concrete in direct sunlight or freezing conditions. Aim for moderate temperatures during the curing process.
- Reinforcement: A Helpful Hand: Consider adding wire mesh or fiberglass reinforcing fibers to your concrete mix. These add extra strength and help prevent cracking, especially in larger stepping stones.
- Mix it Right, Again: Using the correct water-to-concrete ratio is critical. Too much water can lead to cracking as the water evaporates and the concrete shrinks. Always follow the instructions on your concrete bag.
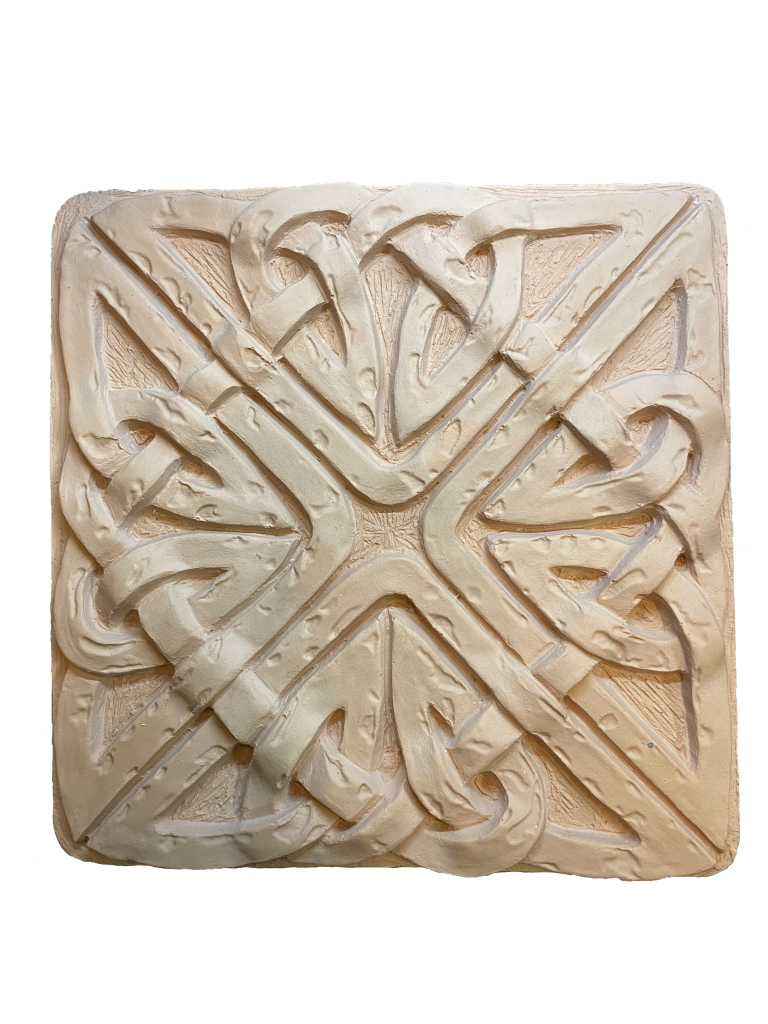
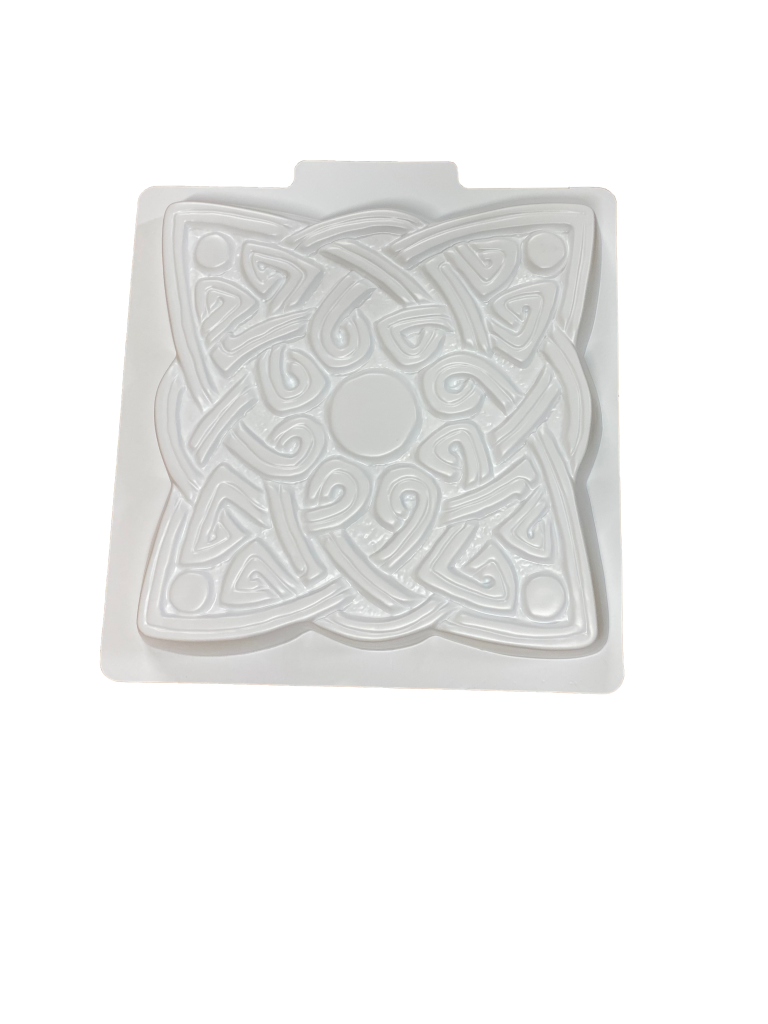
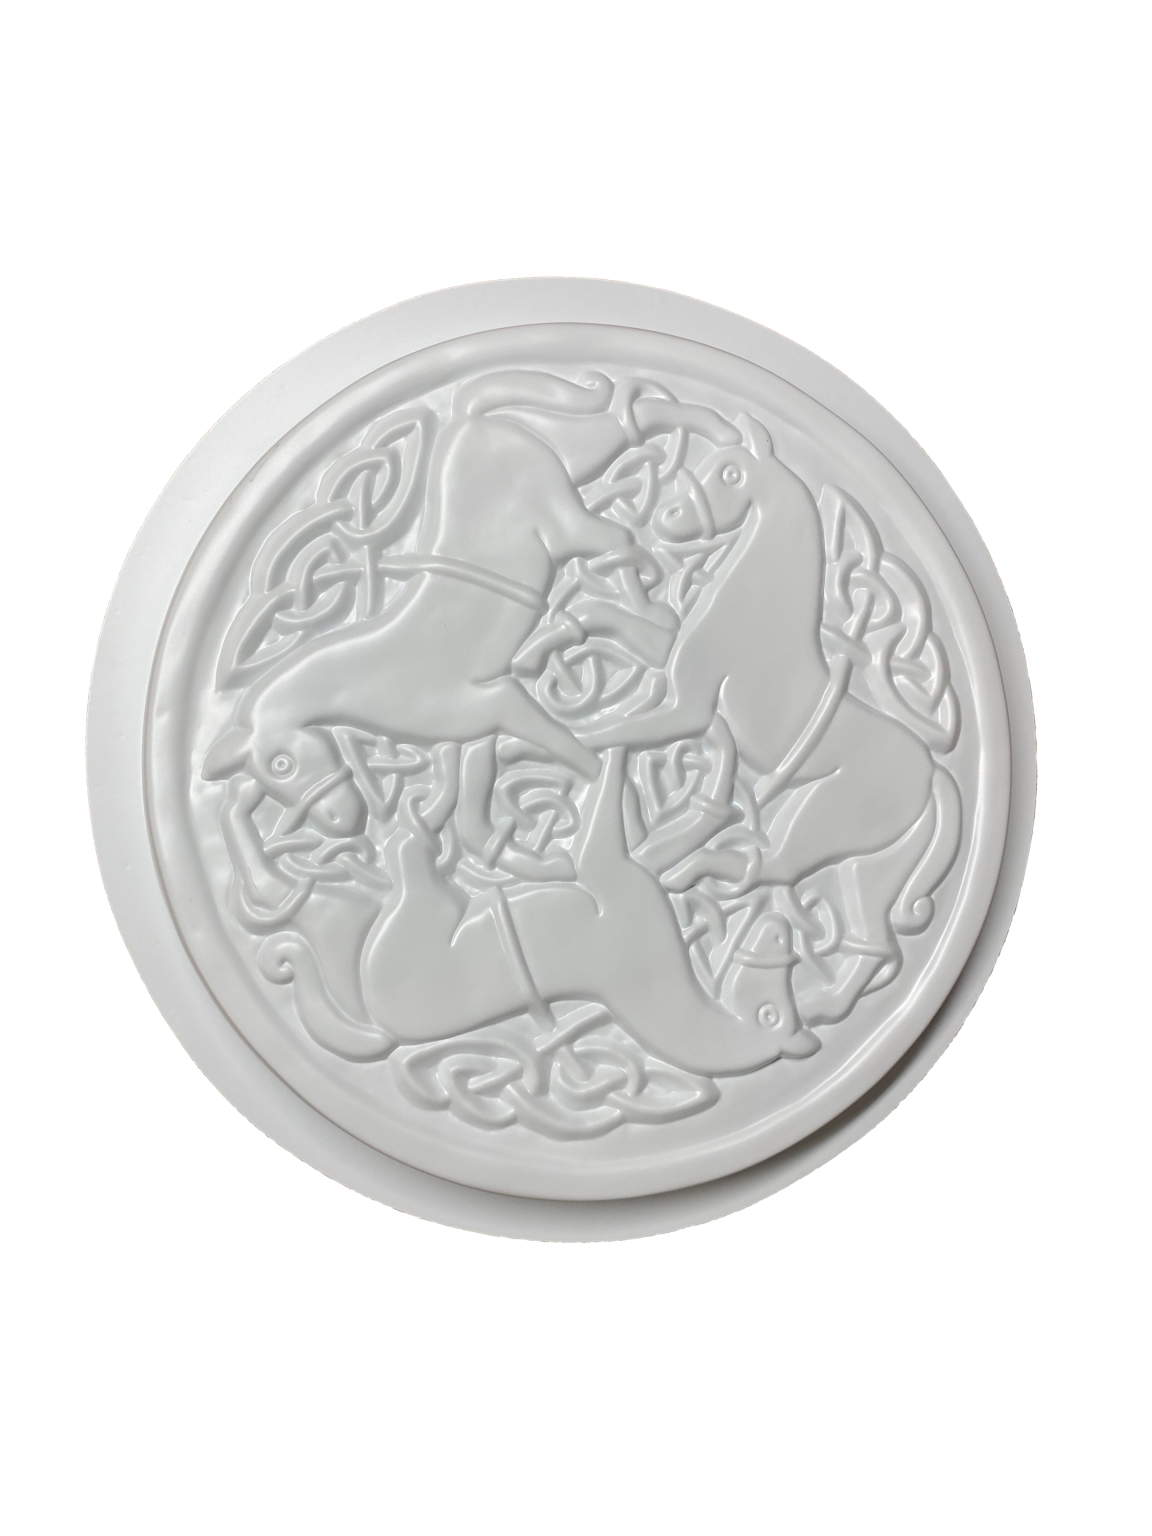
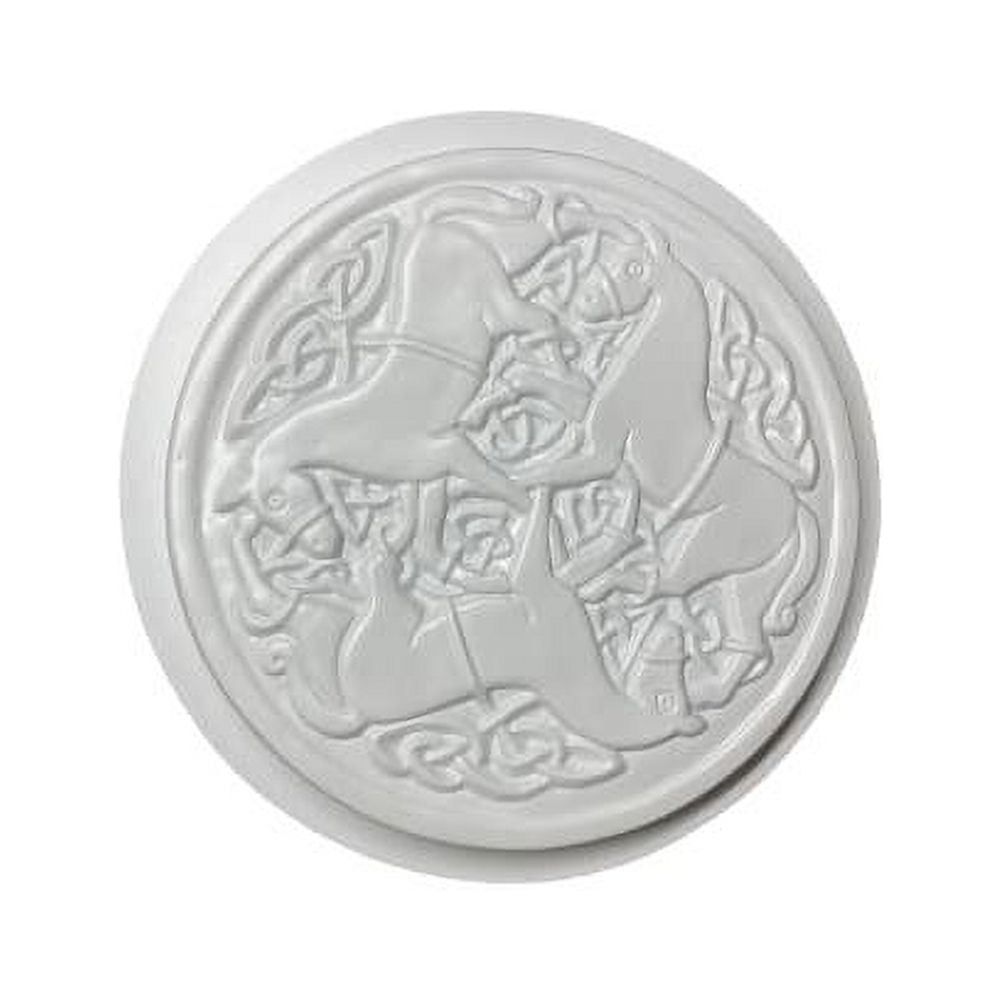
Detail Dilemmas: Achieving Crisp Celtic Horse Designs
Those beautiful, intricate Celtic horse designs are what make these stepping stones so special. But, getting the details just right can be a challenge. Here’s how to bring out the best in your mold:
- Cleanliness is Next to Godliness: Make sure your mold is perfectly clean and free of any debris or dried concrete before each pour. Even tiny bits can interfere with the details.
- Mold Release: Your Secret Weapon: Use a mold release agent! This is a special spray or liquid that helps the concrete separate from the mold easily. This will also protect the delicate details of the Celtic horse. You can find mold release at any hardware store.
- The Right Concrete Consistency: A slightly thicker mix can sometimes work better for detailed molds. It will help the concrete hold its shape and fill the fine lines and crevices. But, remember to still address the air bubbles!
- Tapping and Teasing: Once you’ve poured the concrete, gently tap the sides of the mold to help the concrete settle into all the details. You can also use a small tool (like a toothpick or a thin wire) to gently prod the concrete into the details to ensure complete fill.
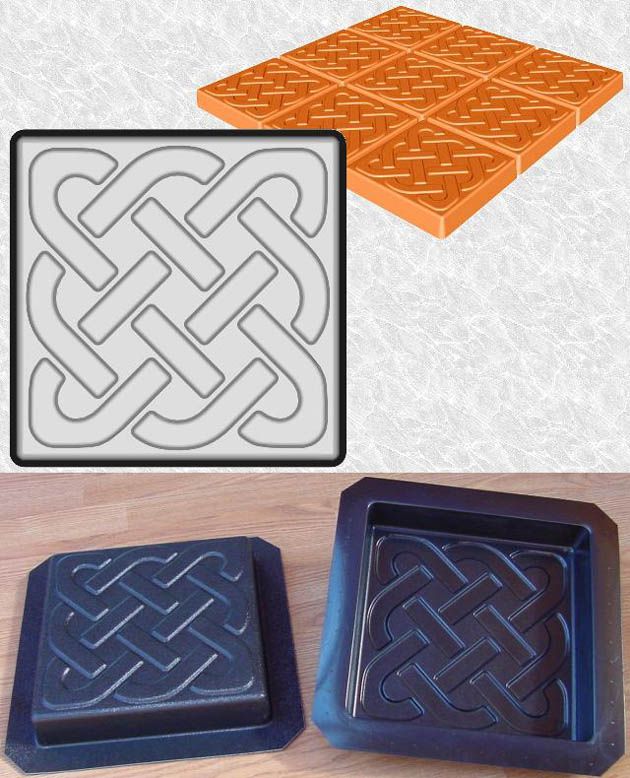
Demolding Drama: Getting Your Stepping Stones Out Safely
Demolding can feel like the most exciting part, but it can also be nerve-wracking. Here’s how to remove your stepping stones without damaging them:
- Patience, Young Padawan: Wait the recommended time before demolding. This is usually at least 24-48 hours, but it can vary depending on your concrete mix and the size of your stepping stone. Check the instructions on your concrete bag.
- Gentle Tapping: Gently tap the sides of the mold to loosen the concrete. Don’t get too aggressive! You can also try inverting the mold and gently tapping it on a hard surface.
- Mold Release is Your Friend (Again!): A good mold release agent will make demolding much easier and reduce the risk of damage.
- Flexibility is Key: If your mold is flexible (like rubber), you can gently flex the sides to help release the stone. If it’s rigid, be extra careful and tap gently.
- Handle with Care: Once the stone is out, handle it with care. Concrete is still curing, and can be more fragile than it will be later on. Avoid dropping it or putting too much weight on it for the first few days.
Coloring Your Creations: Adding Personality and Pizzazz
Adding color to your stepping stones is a great way to personalize them and make them even more eye-catching. Here’s how:
- Integral Colorants: The easiest way to add color is to use integral colorants, which are pigments that you mix directly into the concrete. These are available in a wide range of colors.
- Surface Staining: After the concrete has cured, you can use concrete stains to add color. Stains penetrate the concrete and create a more natural look than paints. Always follow the manufacturer’s instructions.
- Acrylic Paints: You can also paint your stepping stones with acrylic paints after they have completely cured. Be sure to seal the painted surface with a concrete sealer to protect the paint from the elements. But, keep in mind that paint may need to be reapplied over time.
- Experiment and Have Fun! Play around with different color combinations and techniques to create unique and beautiful stepping stones. There is no right or wrong, it’s all about what you like.
Troubleshooting Tips and Tricks
Here are a few extra things to keep in mind:
- Practice Makes Perfect: Don’t get discouraged if your first stepping stones aren’t perfect. It takes practice to master the techniques and the right concrete mix for your project.
- Read the Instructions: Always read the instructions on your concrete mix and any other products you’re using. This will help you avoid common mistakes.
- Test it Out: Before you pour a large batch of concrete, do a small test pour to get a feel for the mix and the mold.
- Embrace Imperfection: Sometimes, a little imperfection adds character. Don’t be afraid to embrace minor flaws. They can make your stepping stones even more unique.
- Clean Up: Clean up your work area immediately after you are finished. Concrete is easier to remove before it hardens.
So there you have it! By understanding these common issues and following these troubleshooting tips, you’ll be well on your way to creating beautiful, long-lasting Celtic horse stepping stones that you can be proud of. Remember, patience, practice, and a little bit of know-how are the keys to success. Go forth, create, and transform your garden into a magical space. I hope this helped, and as always, happy crafting! Until next time!