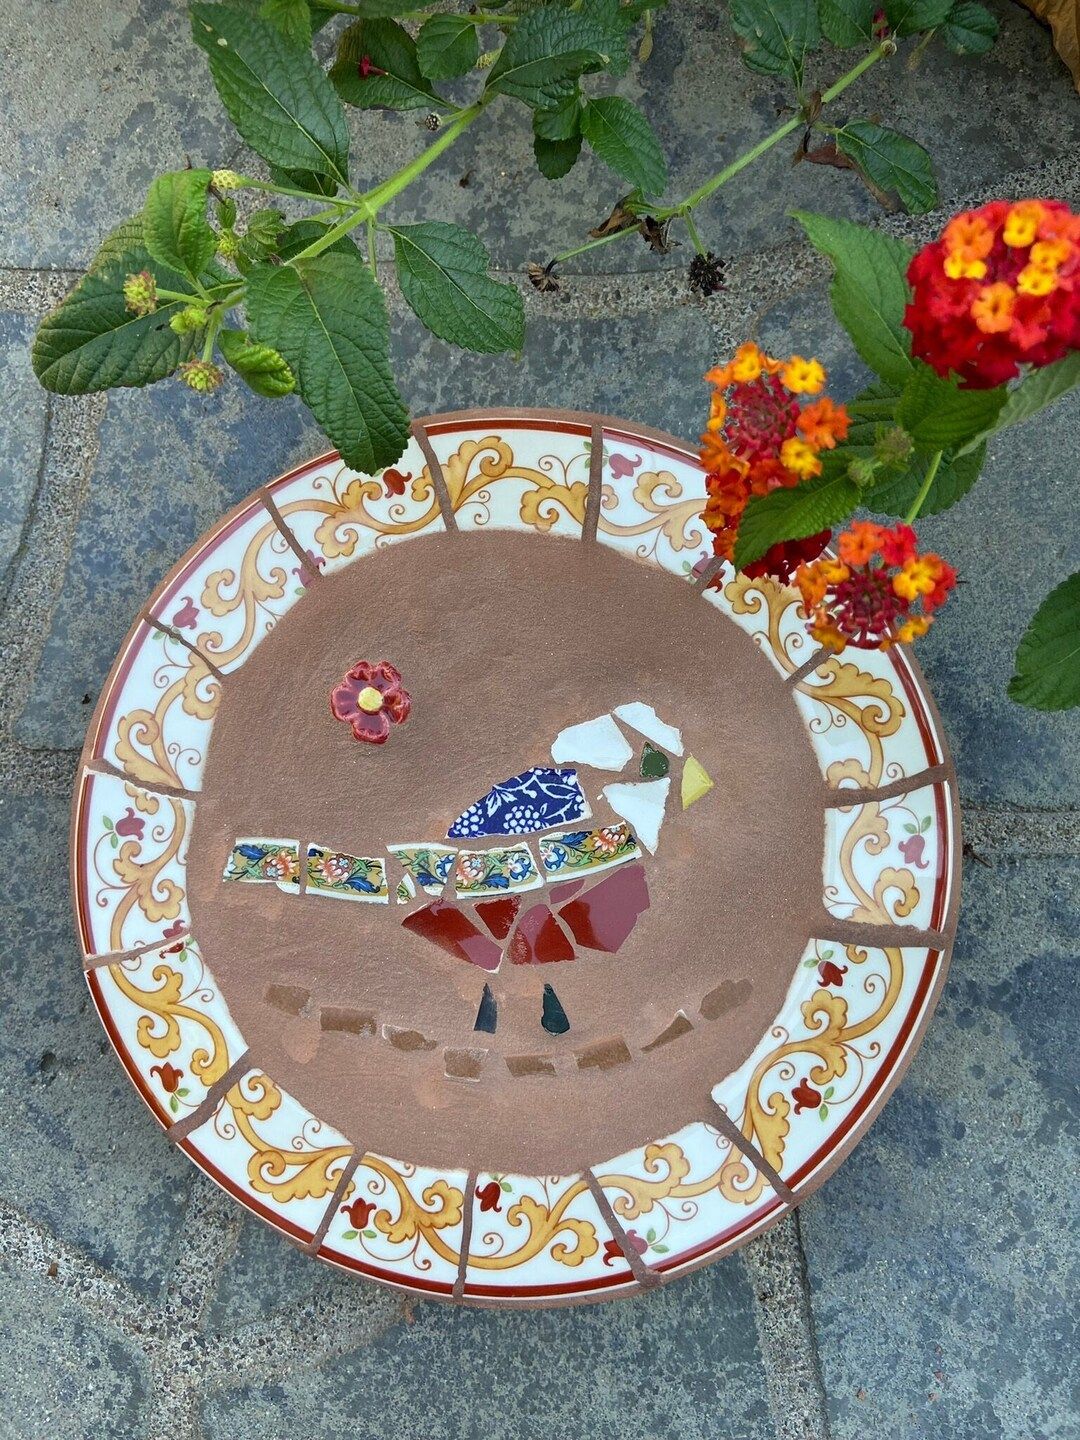
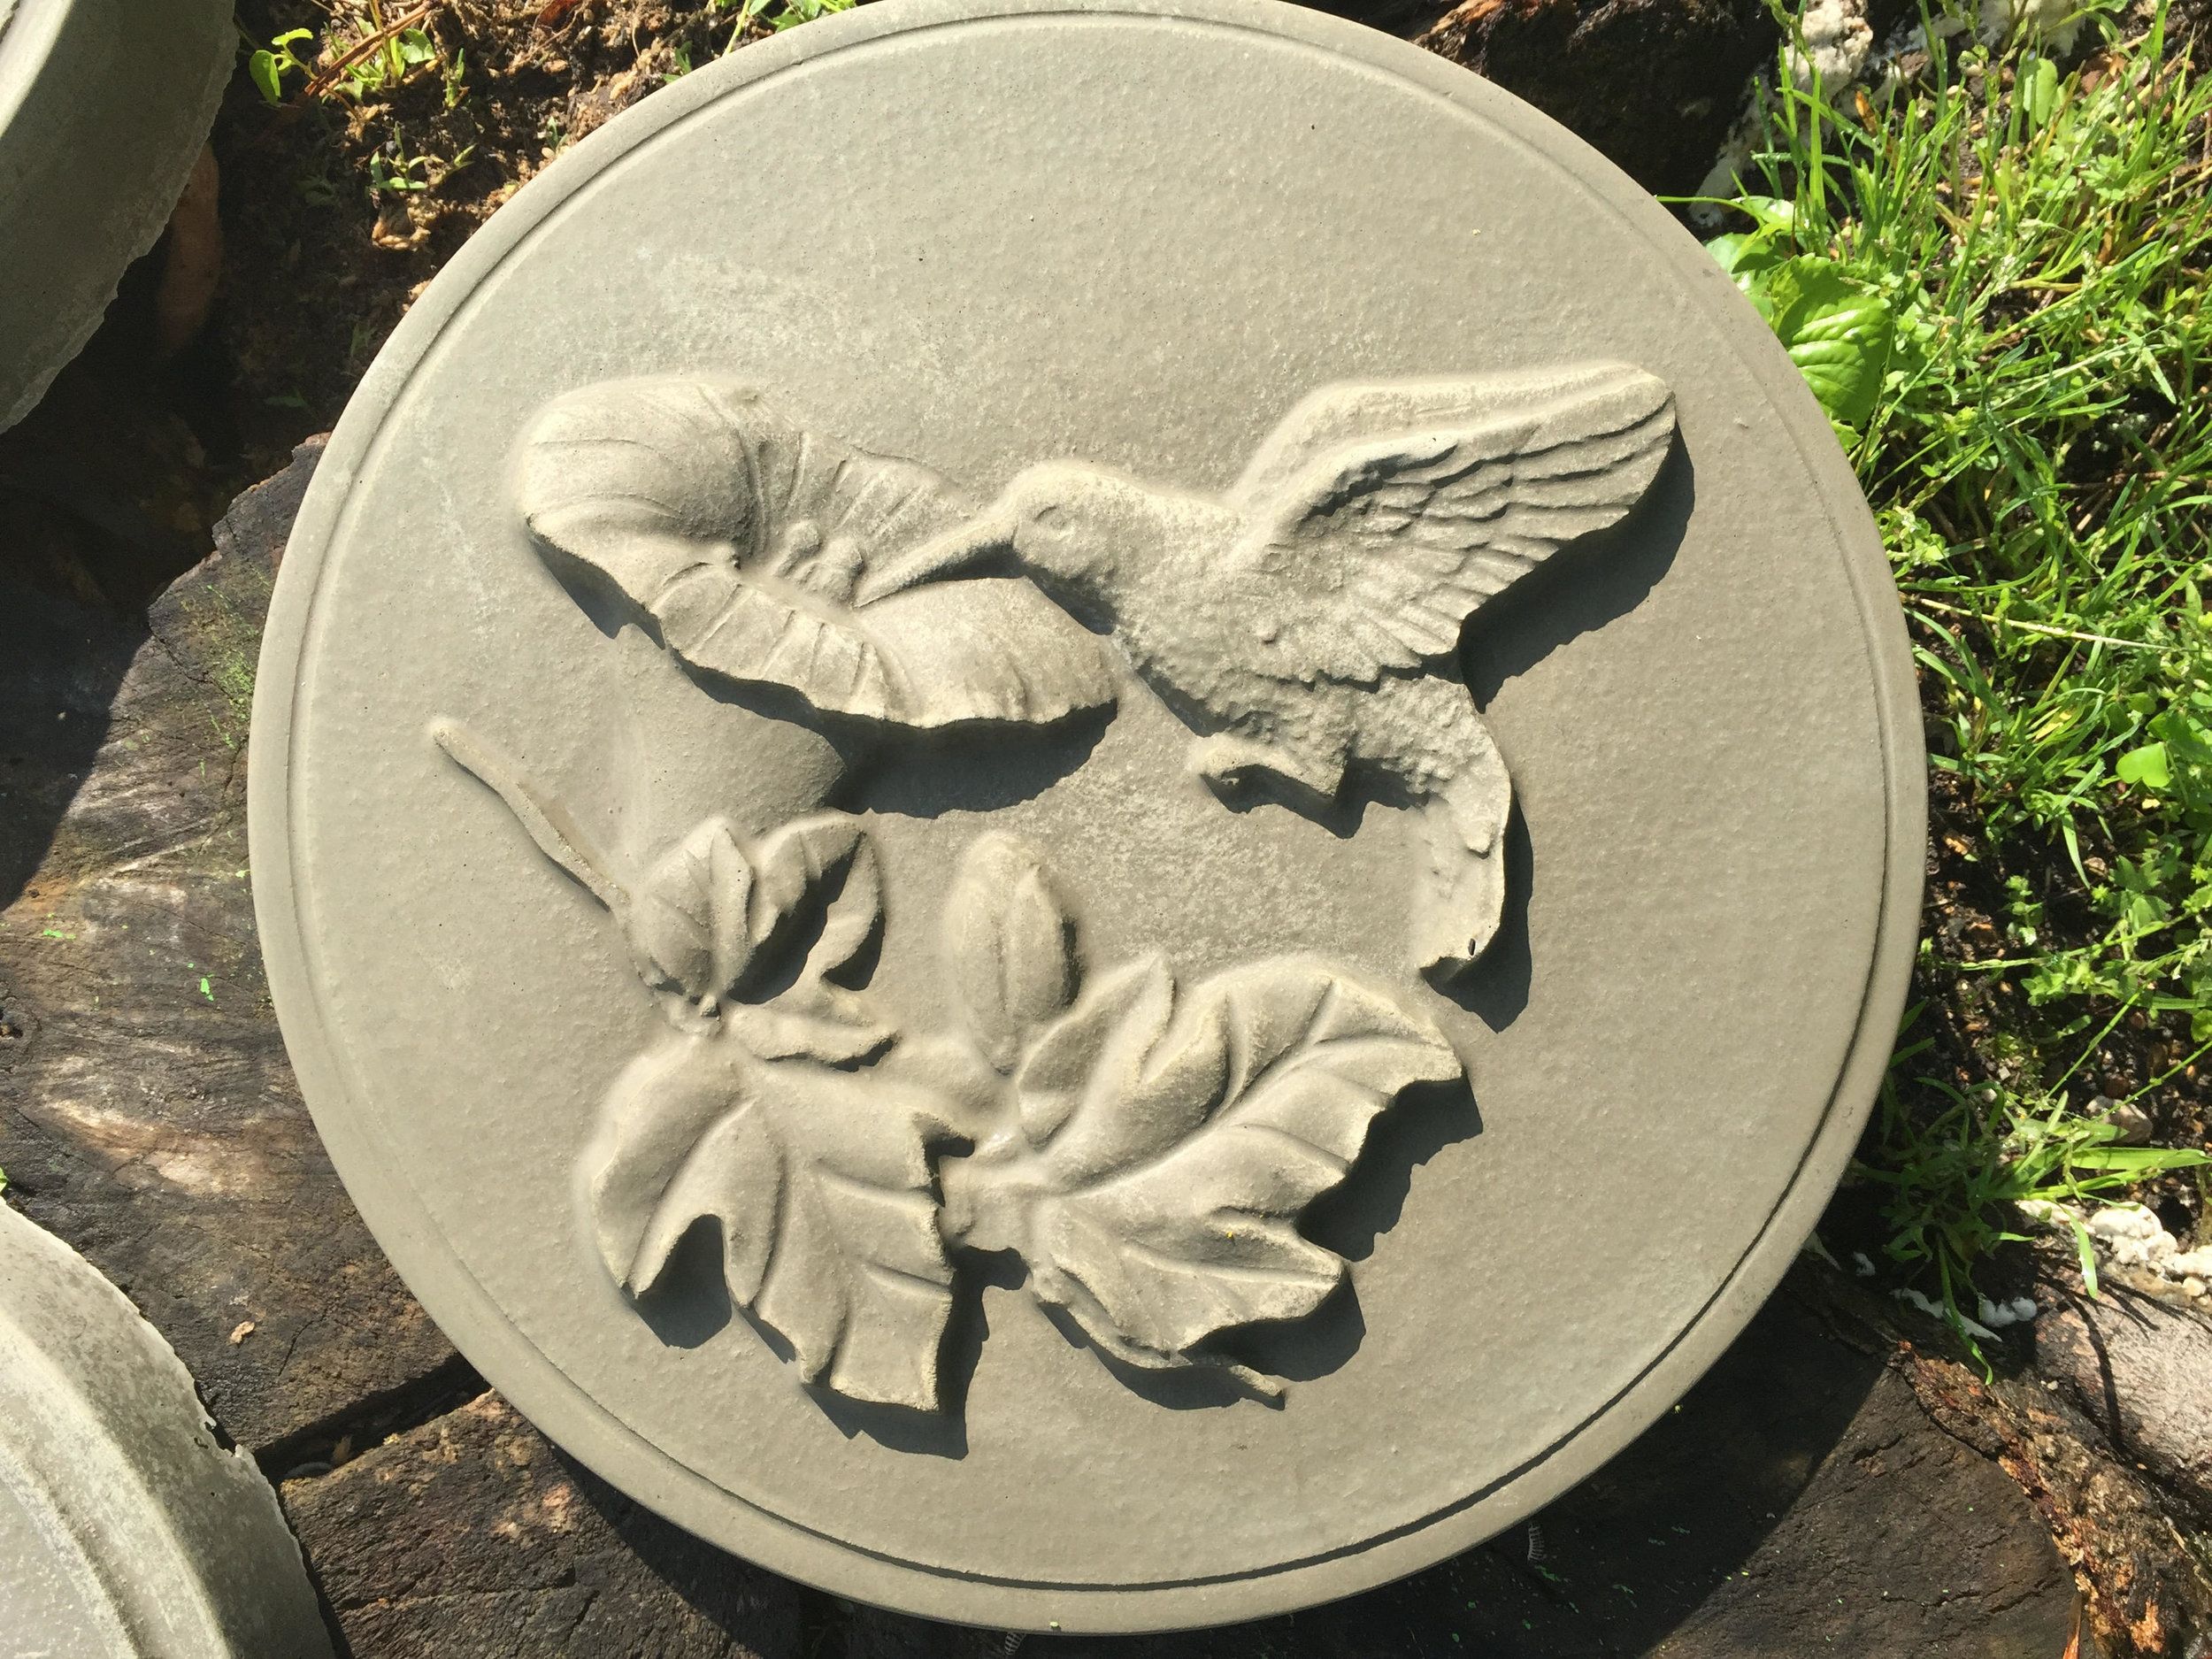
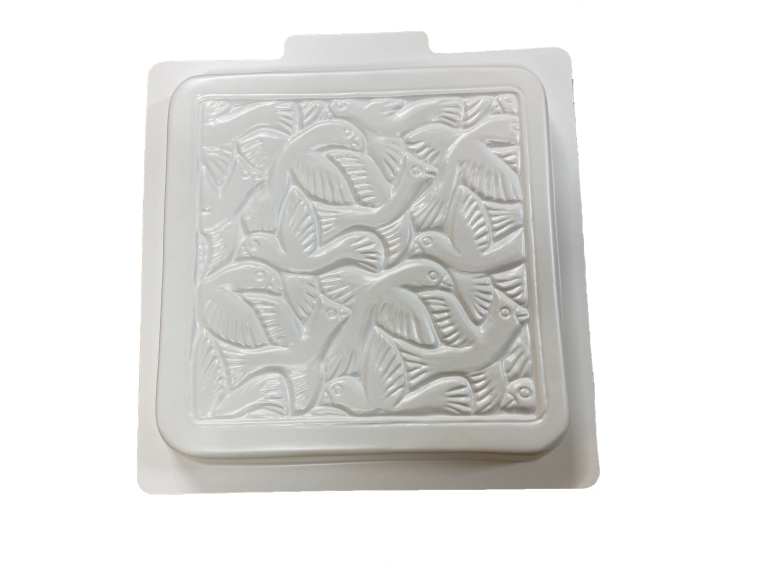
Concrete, often seen as a simple building material, can be a canvas for breathtaking art. Specifically, bird in flight designs offer a dynamic and visually stunning way to elevate the ordinary to the extraordinary. From simple stencils to intricate carvings, the possibilities are limitless. This article will guide you through the process, offering tips and inspiration to help you master this art form. It’s about bringing a touch of nature’s grace to the built environment, making every surface tell a story of freedom and movement.
Have you ever looked at a plain concrete surface and imagined it bursting with life? That’s the magic of bird in flight designs. It’s not just about adding a picture; it’s about capturing the spirit of flight, the elegance of a soaring creature, right there on a seemingly static surface. Whether you’re a seasoned artist or a complete beginner, this art form is incredibly accessible. And the results? They’re often spectacular, turning sidewalks, patios, and even walls into captivating displays. Let’s dive in and explore how you can bring this art to life, one feathered wing at a time.
Choosing Your Design and Planning
The first move is picking your design. Do you fancy a lone hawk circling, a flock of swallows in playful flight, or perhaps a silhouette of a soaring eagle? Start by gathering inspiration. Browse photos, sketches, and even videos of birds in flight. Think about the space where your design will live. A small patio might suit a few delicate birds, while a larger wall can handle a more ambitious composition.
Next, make a plan. Sketch your design on paper first. Consider the scale and the overall feel you want to achieve. Will it be a bold, graphic image, or a more realistic representation? This initial planning stage is crucial; it sets the foundation for your success. Don’t be afraid to experiment with different layouts and styles until you find something that truly excites you. Remember, this is your chance to express yourself.
Preparing the Concrete Surface
Before you begin, the concrete must be ready. Clean the surface thoroughly to remove any dirt, debris, or loose particles. Use a stiff brush and soapy water, and rinse well. Let it dry completely. If the concrete is particularly old or weathered, you might want to consider a light sanding to create a better surface for your design to adhere to.
Next, consider sealing the concrete. This will help to protect your artwork from the elements and make it last longer. There are various concrete sealers available; choose one that’s suitable for outdoor use and follow the manufacturer’s instructions. A well-prepared surface ensures your art will not only look great but will also endure for years to come.
Methods for Transferring Your Design
Now comes the fun part: transferring your design to the concrete. There are many techniques you can use.
- Stencils: Stencils are a simple option, especially for beginners. You can buy pre-made stencils or create your own using stencil paper or acetate. Just secure the stencil to the concrete and apply your paint or stain.
- Freehand Drawing: For those with a steady hand, freehand drawing directly onto the concrete with a pencil or chalk is an option. This allows for more creativity, but requires practice.
- Projector: A projector can project your design onto the concrete, allowing you to trace it. This is great for complex designs and ensures accurate proportions.
- Grid Method: The grid method involves drawing a grid over your original design and then creating a corresponding grid on the concrete. You can then transfer the design square by square.
Choose the method that suits your skill level and the complexity of your design. Remember, patience and careful execution are key.
Painting and Coloring Techniques
Choosing the right paints is important. Acrylic paints are a popular choice for concrete art because they’re durable, weather-resistant, and come in a wide range of colors. Concrete stains can also be used; they penetrate the concrete and create a more permanent finish.
When painting, start with a base coat and let it dry completely. Then, begin adding details and shading. Use thin layers of paint to build up color and depth. Consider using different brush sizes for different areas of your design. For example, use a fine brush for intricate details and a larger brush for filling in broad areas. Don’t be afraid to experiment with blending and layering to create a realistic effect. This is where your artistic vision really shines through.
Adding Details and Finishing Touches
Once the main painting is complete, it’s time to add the details that bring your birds to life. Consider adding highlights and shadows to give them dimension. Use a fine brush to paint in the feathers, eyes, and beaks. You can also add subtle details, such as the texture of the concrete or the surrounding environment.
After your design is dry, apply a sealant to protect it from the elements and wear and tear. This will help to ensure that your art lasts for years to come. This final step is crucial and will make all the difference in the longevity of your artwork. This seals the design. So, you can enjoy your art.
Troubleshooting Common Issues and Tips for Success
Every artist encounters challenges. Here are some tips to overcome them:
- Paint Bleeding: To prevent paint from bleeding under stencils, use a low-tack adhesive or tape to secure them firmly. Apply paint in thin layers.
- Uneven Surfaces: If the concrete surface is uneven, consider using a self-leveling compound to smooth it out before painting.
- Color Fading: Choose high-quality paints and sealants that are UV-resistant to prevent fading.
- Practice: Don’t be afraid to practice on a small area of concrete first. This will give you a chance to experiment with techniques and colors.
And finally, embrace the process. Enjoy the journey of creating your bird in flight design. It’s about the fun, the learning, and the satisfaction of bringing your vision to life.
Creating bird in flight designs on concrete is a truly rewarding experience. It’s a chance to transform the mundane into something beautiful, to celebrate the freedom of nature, and to express your creativity. With careful planning, the right materials, and a little practice, anyone can master this art form. So, gather your supplies, find your inspiration, and get ready to watch your concrete surface take flight. And don’t forget to share your creations – the world is waiting to be inspired by your art. The possibilities are endless, and the joy of creating something unique is immeasurable. Happy creating.