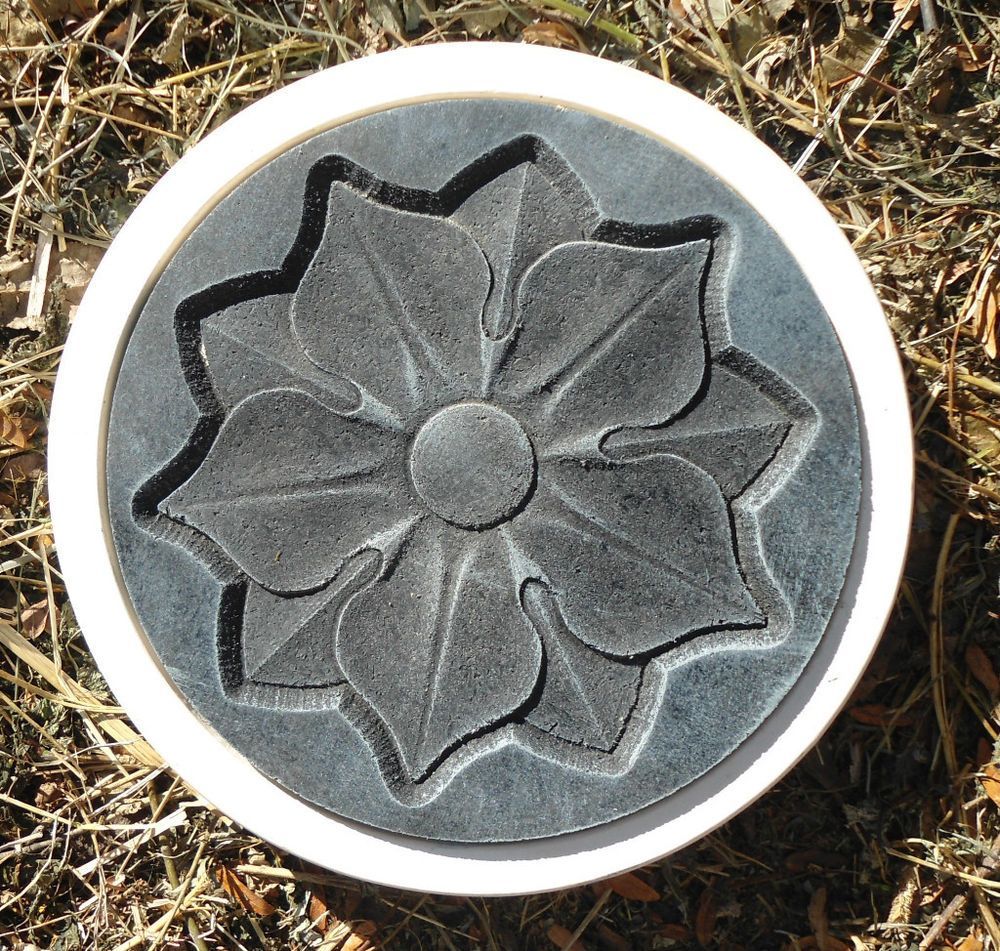
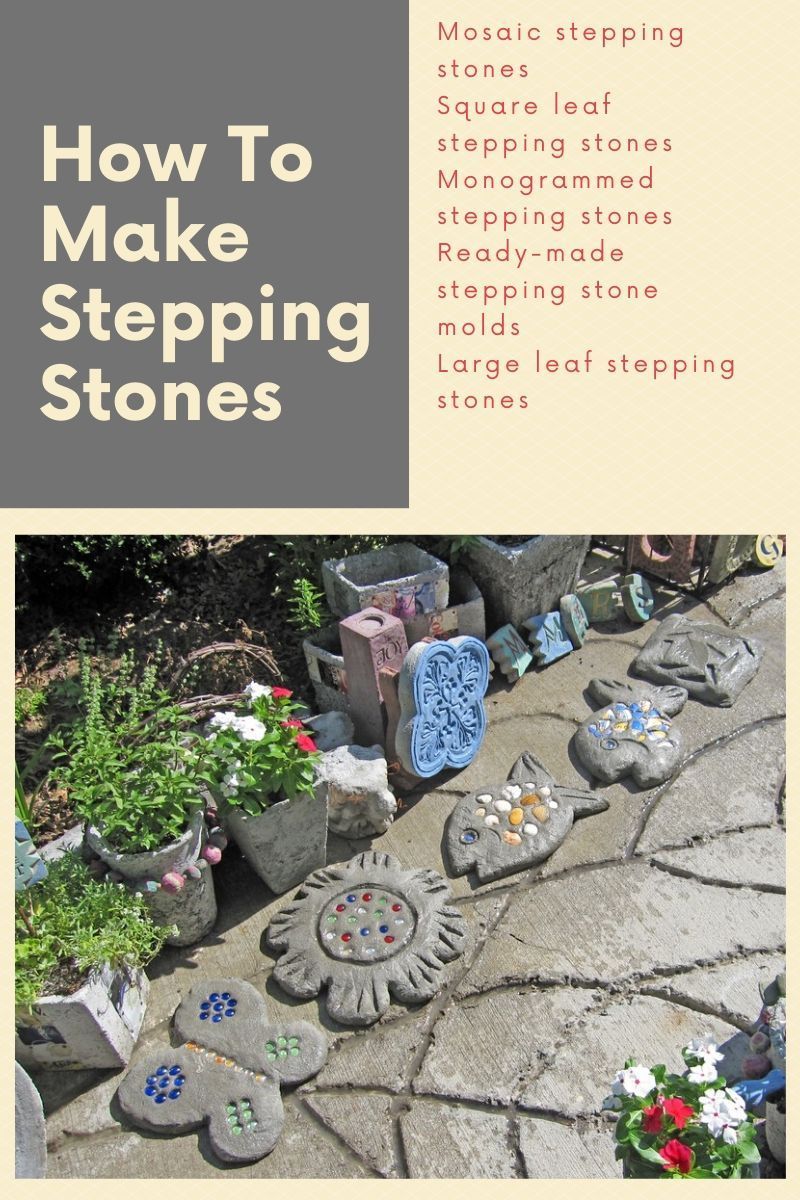
Hey, garden lovers. It’s your pal, [Your Name/Channel Name], here and I’m so excited to dive into a topic near and dear to many of our hearts: crafting stunning blossom stepping stones. These little works of art add so much charm to any outdoor space, don’t they? But, let’s face it, sometimes things don’t go as planned. We’ve all been there – the perfect pour that turned into a cracked catastrophe, or a stubborn mold that just refuses to release its precious cargo. That’s why today, we’re going to roll up our sleeves and tackle the most common issues you might face when using blossom stepping stone molds, so you can create those gorgeous stepping stones without the head-scratching frustrations. Let’s get started and blossom into a world of beautiful stepping stones together.
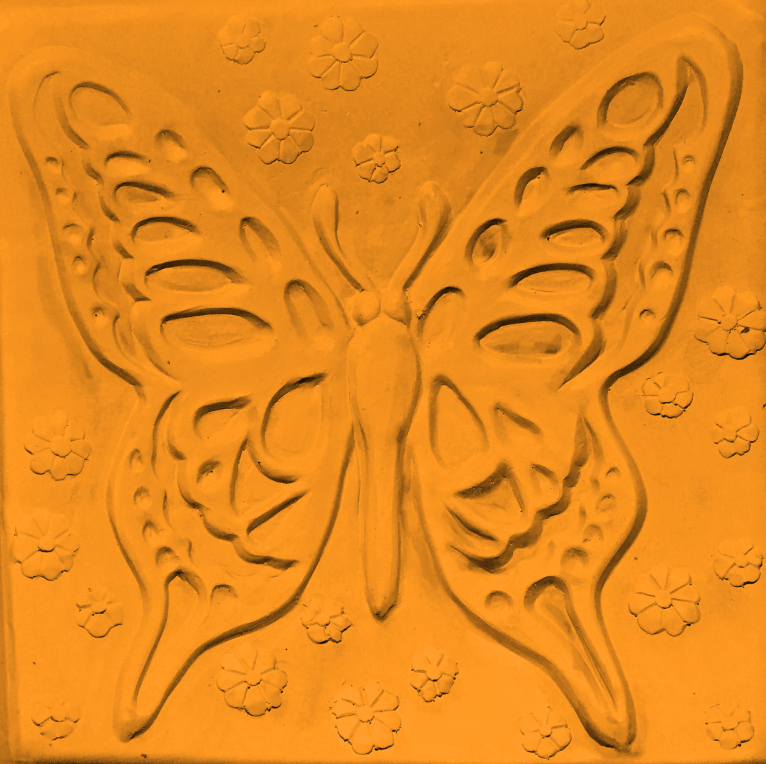
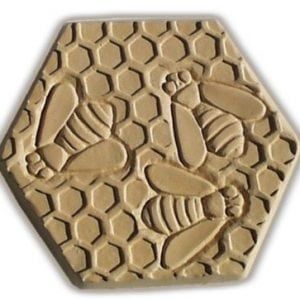
Crafting blossom stepping stones is a rewarding hobby, a creative outlet, and a fantastic way to personalize your garden. From delicate petal designs to bold, vibrant colors, the possibilities are endless. However, even the most experienced crafters encounter challenges. That’s where understanding the common problems comes in handy. This guide is designed to help you navigate those hurdles and ensure your blossom stepping stones are a success story, not a source of garden grief. We’ll cover everything from air bubbles to cracked stones, offering practical solutions and tips to get you back on the right track. Let’s make some magic happen, shall we?
Air Bubbles: The Bane of a Smooth Finish
Air bubbles are, without a doubt, a common foe. They can ruin the surface of your stepping stone, leaving unsightly holes and a less-than-perfect finish. So, how do you combat these pesky little guys? Well, here’s the lowdown:
- Proper Mixing: This is your first line of defense. Mix your concrete or cement thoroughly, ensuring you eliminate any pockets of air. Try a slow, deliberate mixing process to avoid incorporating too much air in the first place.
- Vibration: If you have a vibrating table, perfect. If not, gently tap the sides of your mold after pouring the mixture. This vibration helps to release trapped air bubbles.
- Tapping & Poking: Use a popsicle stick or a thin dowel to gently poke the mixture in the mold. This assists in releasing any trapped air near the surface and edges.
- Pre-wetting: Sometimes, pre-wetting the mold can help. Just a light spritz of water inside the mold before pouring can make a difference, especially with porous molds. But don’t overdo it, of course.
Remember, patience is key. Take your time during these steps, and you’ll minimize those frustrating air bubbles.
Cracking Concerns: Preventing Structural Issues
Cracking is another common issue, and it’s often caused by a few factors. Understanding these factors and taking preventative measures can save you a lot of heartache.
- Improper Water-to-Cement Ratio: Too much water weakens the concrete, making it more prone to cracking. Always follow the manufacturer’s instructions for the correct water-to-cement ratio. It’s crucial.
- Rapid Drying: Concrete needs time to cure properly. If it dries too quickly, it can crack. Protect your stones from direct sunlight and wind during the curing process. Consider covering them with plastic sheeting or a damp cloth.
- Temperature Fluctuations: Extreme temperature changes can also cause cracking. Avoid pouring concrete in very hot or very cold weather. Try to maintain a consistent temperature during curing.
- Reinforcement: For larger or more complex stepping stones, consider adding reinforcement like wire mesh or small fibers to give the stone extra strength and minimize cracking. This is a great tip for those intricate blossom designs.
By paying attention to these factors, you can significantly reduce the risk of cracking and ensure your stepping stones last for years to come.
Difficult Mold Release: Getting Your Creation Out Safely
Sometimes, the mold just doesn’t want to let go of your beautiful creation. This can be frustrating, but there are a few tricks to make the release process smoother.
- Mold Preparation: Before pouring, lightly coat the inside of your mold with a mold release agent. This can be a commercial release agent or even a thin layer of cooking oil.
- Patience is a Virtue: Wait until the concrete is fully cured before attempting to remove the stone. Rushing the process can lead to damage.
- Gentle Tapping and Flexing: Gently tap the sides of the mold and try flexing it slightly to loosen the stone. Avoid using excessive force, which could damage the mold or the stone.
- Inversion and Gravity: Turn the mold upside down and gently tap it. Gravity can often do the work for you. If the stone is still stuck, you might need to use a small, soft mallet and tap around the edges.
- Warm Water (Sometimes): If the mold is very stubborn, you can try running warm (not hot) water over the outside of the mold. The slight expansion might help release the stone. However, be very careful, and don’t use this method if your mold is sensitive to water.
Remember, a little patience and a gentle touch go a long way.
Surface Imperfections: Achieving a Smooth Finish
Even with careful mixing and pouring, surface imperfections can occur. Here’s how to address them:
- Leveling: After pouring, use a trowel or a straight edge to level the surface of your stepping stone. This ensures a smooth, even finish.
- Smoothing: Once the concrete has partially set (but is still workable), you can use a damp sponge or a float to smooth out any minor imperfections or rough patches. A little bit of preperation can go a long way.
- Sanding (After Curing): For more significant imperfections, you can sand the surface of the cured stone. Use progressively finer sandpaper to achieve a smooth finish. Always wear a dust mask when sanding.
- Sealing: Once your stepping stone is fully cured and smooth, consider sealing it. This will help protect it from the elements and enhance its appearance.
These tips will help you achieve that professional, polished look you’re aiming for.
Color Problems: Dealing with Uneven Pigmentation
Achieving consistent color can sometimes be tricky, especially when using pigments. Here’s how to avoid uneven color distribution:
- Proper Mixing of Pigment: Thoroughly mix the pigment with the concrete or cement before adding water. This ensures the pigment is evenly distributed throughout the mixture.
- Consistent Mixing: Mix for the amount of time that is recommended. This will help make the color even. Be sure to mix the concrete for the same amount of time each time.
- Use Quality Pigments: Invest in high-quality pigments specifically designed for concrete. These pigments are more likely to disperse evenly and resist fading.
- Layering (Optional): For complex color effects, consider layering your colors. Pour a base layer, let it partially set, and then add details or accents.
- Testing: Always test your color mix on a small sample before pouring the entire stepping stone. This will help you ensure you’re happy with the final result before you commit.
Following these tips will make your stepping stones look professional and amazing.
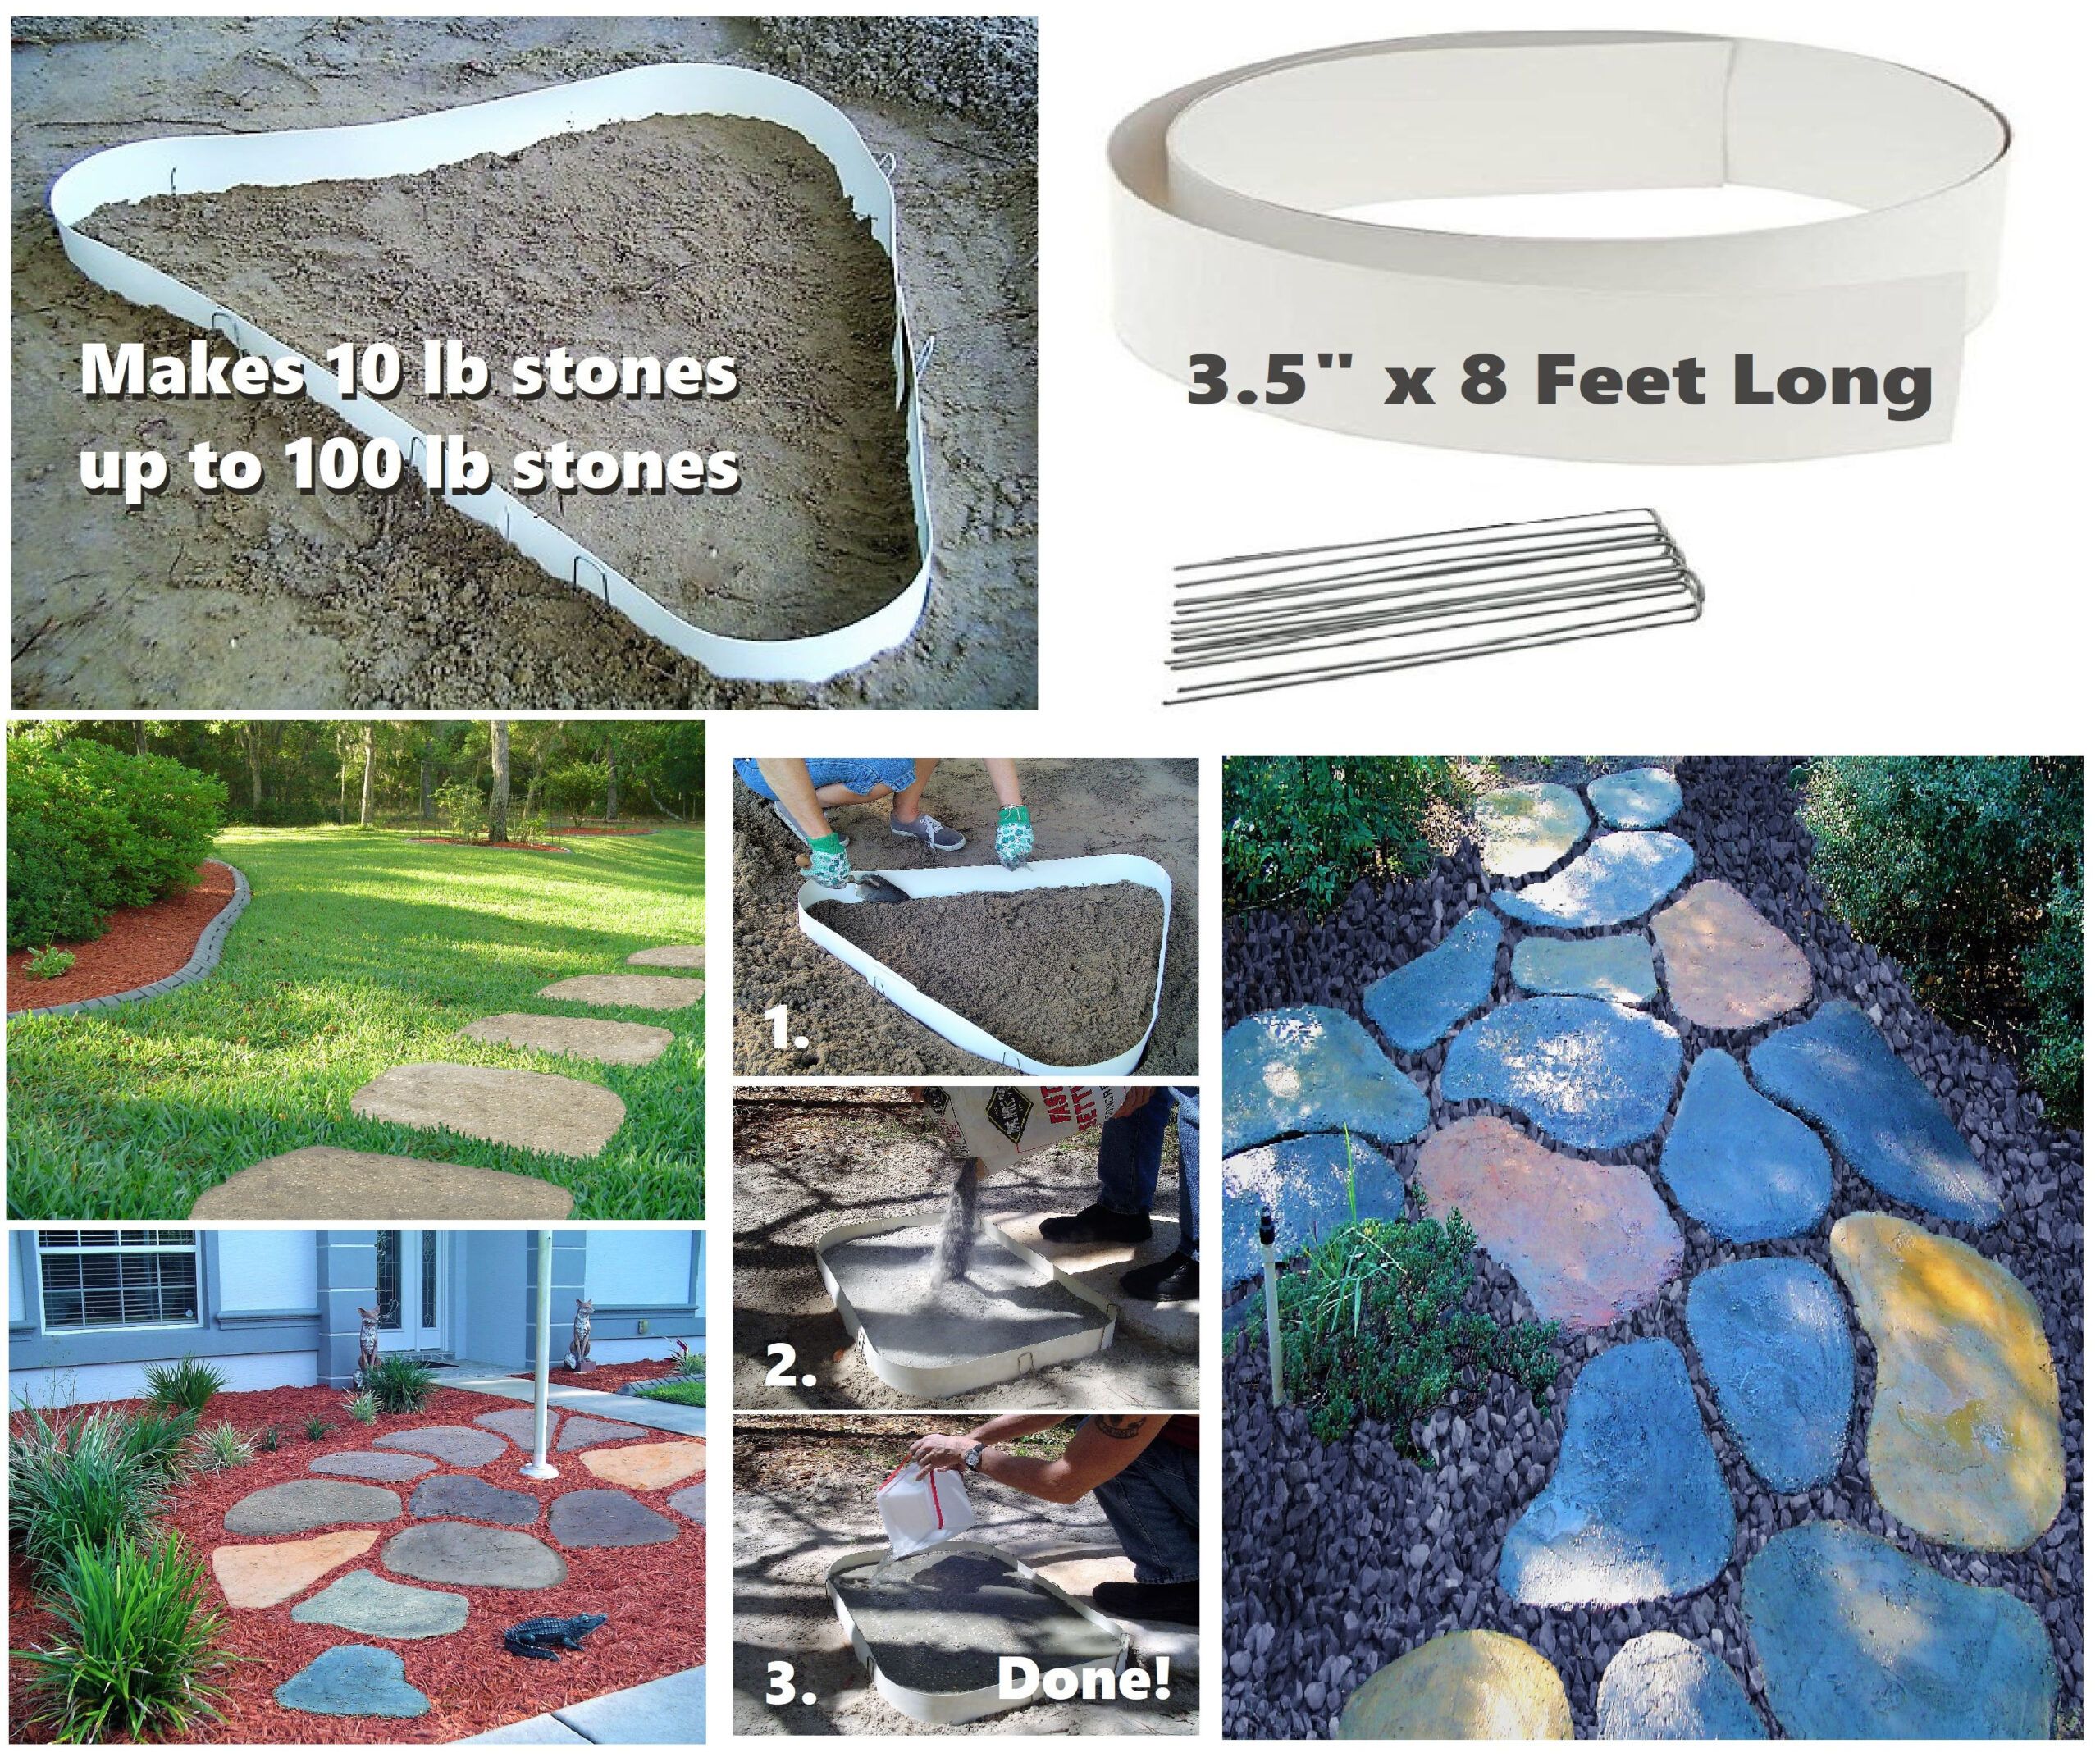
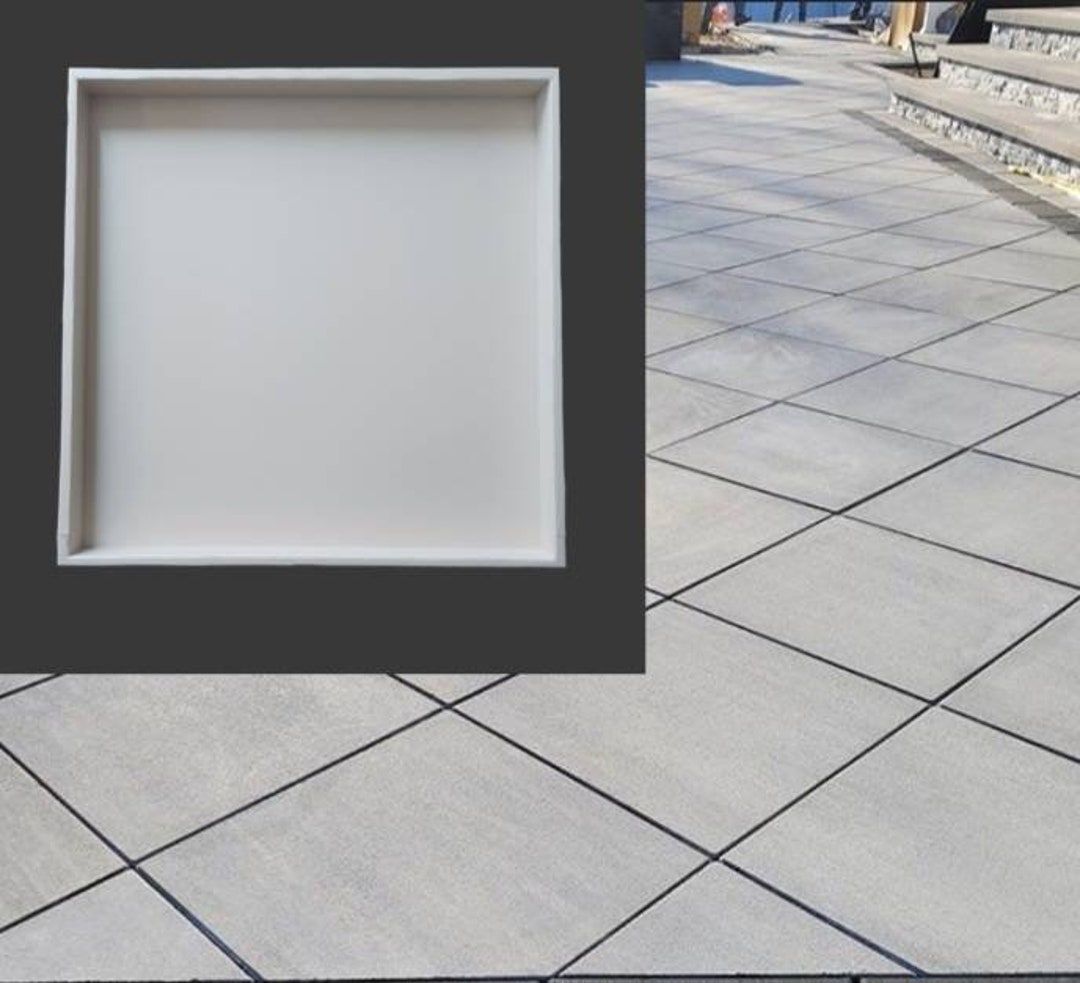
Mold Material Matters: Choosing the Right One
The type of mold you use can significantly impact your results. Here’s a quick rundown:
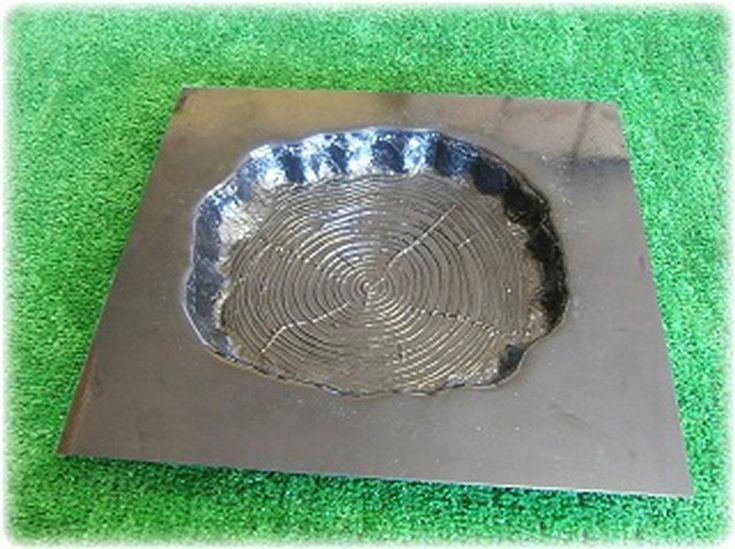
- Silicone Molds: These are great for detailed designs and are generally flexible, making release easier. They tend to be more expensive, but they’re durable and can last a long time if cared for properly.
- Plastic Molds: These are a more affordable option. They’re often rigid, which can make release a bit more challenging. Be sure to use a mold release agent.
- Rubber Molds: These offer a good balance of flexibility and durability. They’re a step up from plastic in terms of detail and ease of release.
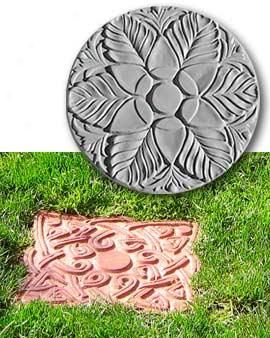
- Consider the Design: For intricate blossom designs, silicone or rubber molds are usually the best choice. They can capture the delicate details more effectively.
- Mold Care: Always clean your molds thoroughly after each use to prevent build-up and extend their lifespan. Store them properly to avoid damage.
Choosing the right mold material is a crucial step in ensuring beautiful stepping stones.
And there you have it. The lowdown on troubleshooting those pesky problems that can crop up when crafting blossom stepping stones. I hope this helps you to create beautiful works of art for your gardens. Remember, practice makes perfect, and don’t be discouraged by any setbacks. Every mistake is a learning opportunity. Keep experimenting, keep creating, and most importantly, have fun. Happy crafting, and I’ll see you in the garden. Until next time, happy gardening.