Hey everyone, it’s me, and I’m thrilled to chat with you about something I’m truly passionate about: sprucing up your outdoor spaces with a touch of personality, specifically, the beauty of cardinals. We’re going to dive into the wonderful world of resin stepping stones and how you can design them to feature those gorgeous red birds. Get ready to transform your garden paths and create some real visual interest. Trust me, it’s easier than you might think, and the results are simply stunning. Let’s get started, shall we?
There’s something incredibly calming about a well-designed garden, isn’t there? It’s a sanctuary, a place to unwind and connect with nature. And what could be more delightful than having a little piece of art under your feet, leading you through your green haven? Cardinals, with their vibrant red plumage, symbolize joy, hope, and a touch of magic. Combine them with the durability and creative freedom of resin stepping stones, and you’ve got a winning combination. This article is all about giving you the knowledge and inspiration to make it happen. We’ll cover everything from choosing the right materials to adding intricate design elements. Let’s get those creative juices flowing.
Gathering Your Supplies: What You’ll Need
Before we begin, let’s make sure you have all the necessary gear. Here’s a basic list, feel free to adjust this based on your vision. You’ll need:
- Resin: Two-part epoxy resin is ideal for outdoor use. Make sure it’s UV-resistant to prevent yellowing.
- Hardener: The other part of your resin mixture; follow the instructions on the resin packaging for the correct ratio.
- Molds: Silicone molds work great. Choose sizes and shapes that fit your space and design. You could use circular, square, rectangular, or even uniquely shaped molds.
- Cardinal Embellishments: This is where the fun begins. You can use:
- Cardinal figures: Small, plastic or resin cardinal figurines.
- Cardinal images: Printed images or stickers, but make sure they’re sealed well with resin.
- Dried flowers and leaves: For a natural touch, arrange these around your cardinal.
- Colorants: Resin dyes or pigments to tint the resin. Red, of course, is essential for cardinals, but consider other colors for the background.
- Mixing Cups and Stirrers: Disposable cups and stir sticks are your best friend. Avoid any contaminations!
- Gloves and Safety Glasses: Resin is sticky and can cause irritation, so protect your hands and eyes.
- Leveling Surface: A flat, stable surface to work on.
- Optional: Decorative Stones, Glitter, or Other Embellishments: To add extra flair.
Preparing Your Resin: The Key to Success
Mixing resin properly is absolutely crucial. Always follow the manufacturer’s instructions. Here’s a general guide:
- Preparation: Set up your workspace, and put on your safety gear. Have everything within easy reach.
- Measure Accurately: Use the correct ratio of resin to hardener. This is super important – an incorrect mixture can result in sticky stones that don’t cure properly.
- Mix Thoroughly: Stir slowly and consistently for the recommended time (usually several minutes). Make sure to scrape the sides and bottom of your cup to incorporate all the resin.
- Add Colorants (If Using): Add small amounts of dye or pigment, mixing well until you achieve your desired color. Test the color on a small piece of paper first to ensure you are happy with it.
- Work Quickly: Resin has a limited working time (pot life), so be ready to pour it into your molds promptly after mixing.
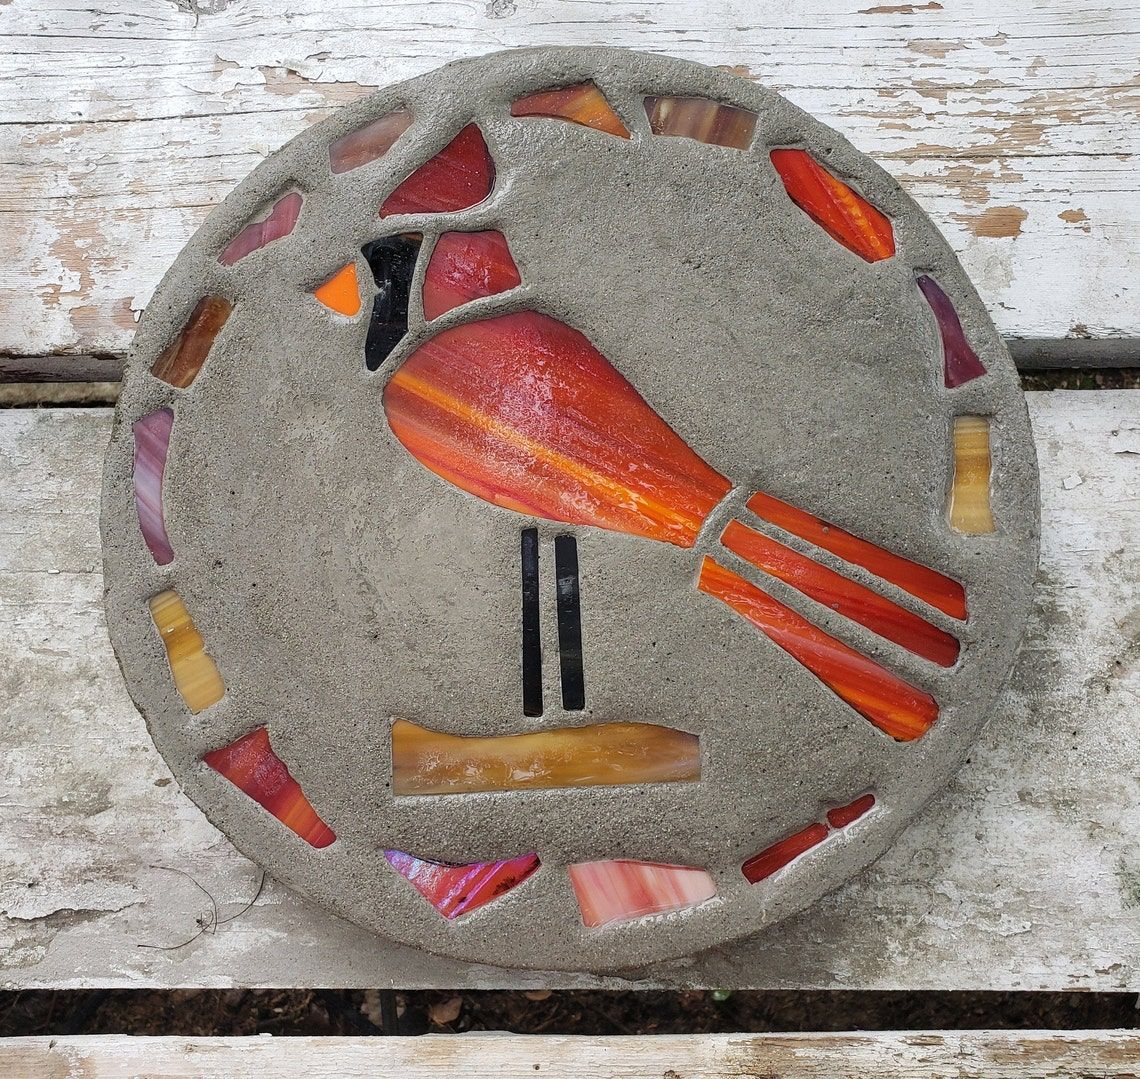
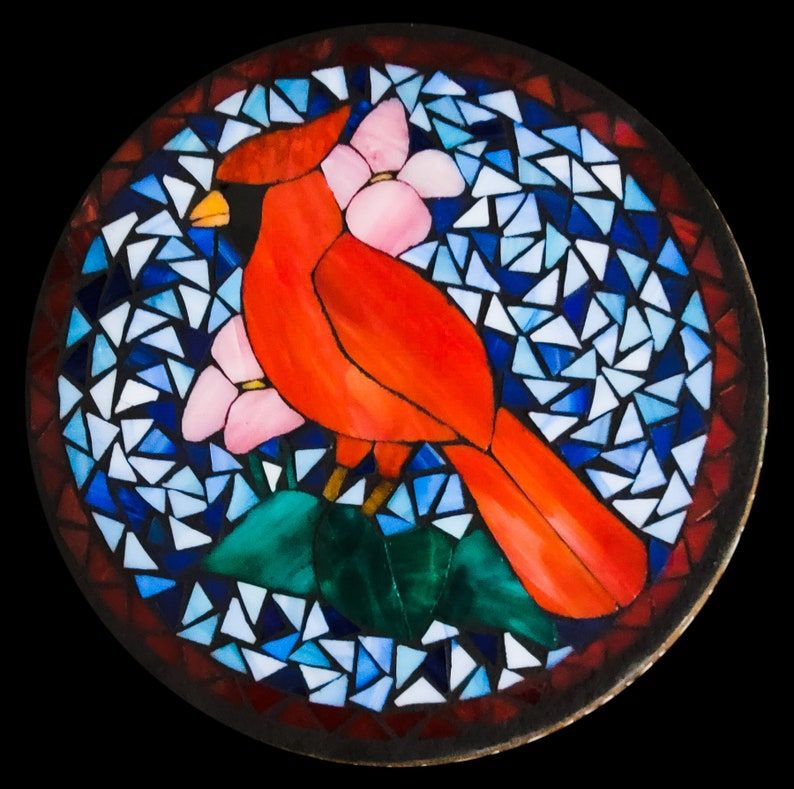
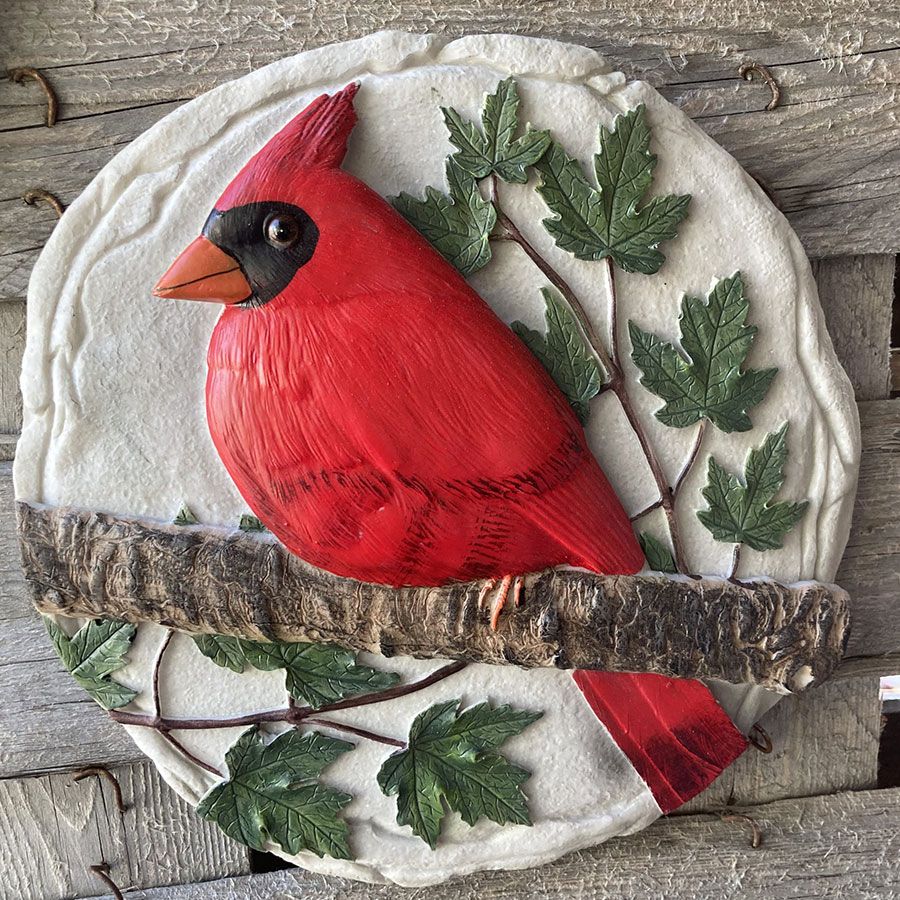
Designing Your Stepping Stones: Cardinal Placement and Beyond
Now for the best part – the design! Here are a few ideas to get you started:
- Cardinal Silhouette: Place a cardinal figure or a pre-cut silhouette in the center of the mold, then pour clear or colored resin around it.
- Cardinal in a Floral Setting: Add dried flowers and leaves around your cardinal figurine, then pour clear resin over the entire design. This creates a beautiful, natural scene.
- Cardinal Footprints: Use small cardinal figurines, and arrange them in a line to appear as if the birds are walking across your stepping stone.
- Abstract Cardinal: Use red resin with some white or black accents to create an abstract representation of a cardinal. Let your creativity run wild!
- Layering Technique: Pour a thin layer of clear resin, let it partially cure, then add your cardinal and a second layer of resin. This helps to suspend the cardinal and gives a cool 3D effect.
Pro Tip: Experiment with different arrangements on a piece of paper before pouring the resin. This will help you visualize the final result.
Pouring and Curing: The Art of Patience
Once your design is ready, it’s time to pour the resin.
- Pour Slowly: Pour the resin carefully into your molds, making sure to avoid air bubbles. If bubbles appear, you can use a heat gun or a toothpick to pop them.
- Add Embellishments (If Any): If you’re using any additional embellishments like glitter or decorative stones, add them now, while the resin is still wet.
- Level Your Molds: Ensure your molds are level to ensure even curing.
- Curing Time: Allow your stepping stones to cure completely. This can take anywhere from 24 to 72 hours, depending on the resin you’re using and the environmental conditions. Check the manufacturer’s instructions for specific curing times.
- Demolding: Once the resin is fully cured, carefully remove the stepping stones from the molds. If they’re sticking, try gently flexing the mold or using a release agent.
Finishing Touches and Installation
After demolding, you might want to add some finishing touches.
- Sanding: If there are any rough edges, you can sand them down with fine-grit sandpaper.
- Sealing: For added protection, you can apply a clear sealant to the finished stepping stones. This will help protect them from the elements and UV damage.
- Installation: Plan your pathway layout and install your stepping stones. Make sure the ground is level before placing them. You can use sand, gravel, or mortar to set them firmly in place.
Important: Always allow the sealant to dry completely before placing the stepping stones in your garden.
Troubleshooting and Common Mistakes
Let’s be honest, not everything goes perfectly the first time. Here are some common issues and how to fix them:
- Bubbles: Prevent them by pouring slowly, using a heat gun, or popping them with a toothpick. You can also let the resin sit for a few minutes after mixing to allow bubbles to rise to the surface.
- Sticky Stones: This usually means the resin wasn’t mixed correctly, or the ratio of resin to hardener was off. Unfortunately, there’s not much you can do with sticky stones except to start over.
- Cloudy Resin: This can be caused by humidity or using the wrong type of resin. Make sure you’re working in a dry environment and using UV-resistant resin.
- Uneven Surface: Ensure your molds are level during the curing process.
Don’t be discouraged by mistakes. Every project is a learning experience. And, the more you create, the better you will get!
There you have it – a comprehensive guide to creating stunning cardinal stepping stone resin designs. It’s a fantastic way to personalize your outdoor space and add a touch of art and nature. Remember, the key is to be creative, patient, and, most importantly, to have fun. I can’t wait to see what you create. Share your projects with me, and let’s inspire each other. Happy crafting, and may your gardens be filled with the beauty of cardinals and the joy of your own handmade art. Remember to cherish the process, the journey, and the beautiful results you create. That’s it for today, friends. Until next time, happy gardening, and happy crafting. And don’t be afraid to get your hands a little bit dirty. The best creations often come from a touch of mess and a whole lot of heart!