Hey everyone, it’s your friendly garden guru here! Today, we’re diving into a project that’s not only super fun, but also a fantastic way to support our buzzing friends – designing bee stepping stones. These aren’t just pretty garden features; they’re practical, durable, and can really add some personality to your outdoor space. I’m going to show you how to make stepping stones that look amazing, last for years, and give bees a little help navigating your garden. Ready to get started?
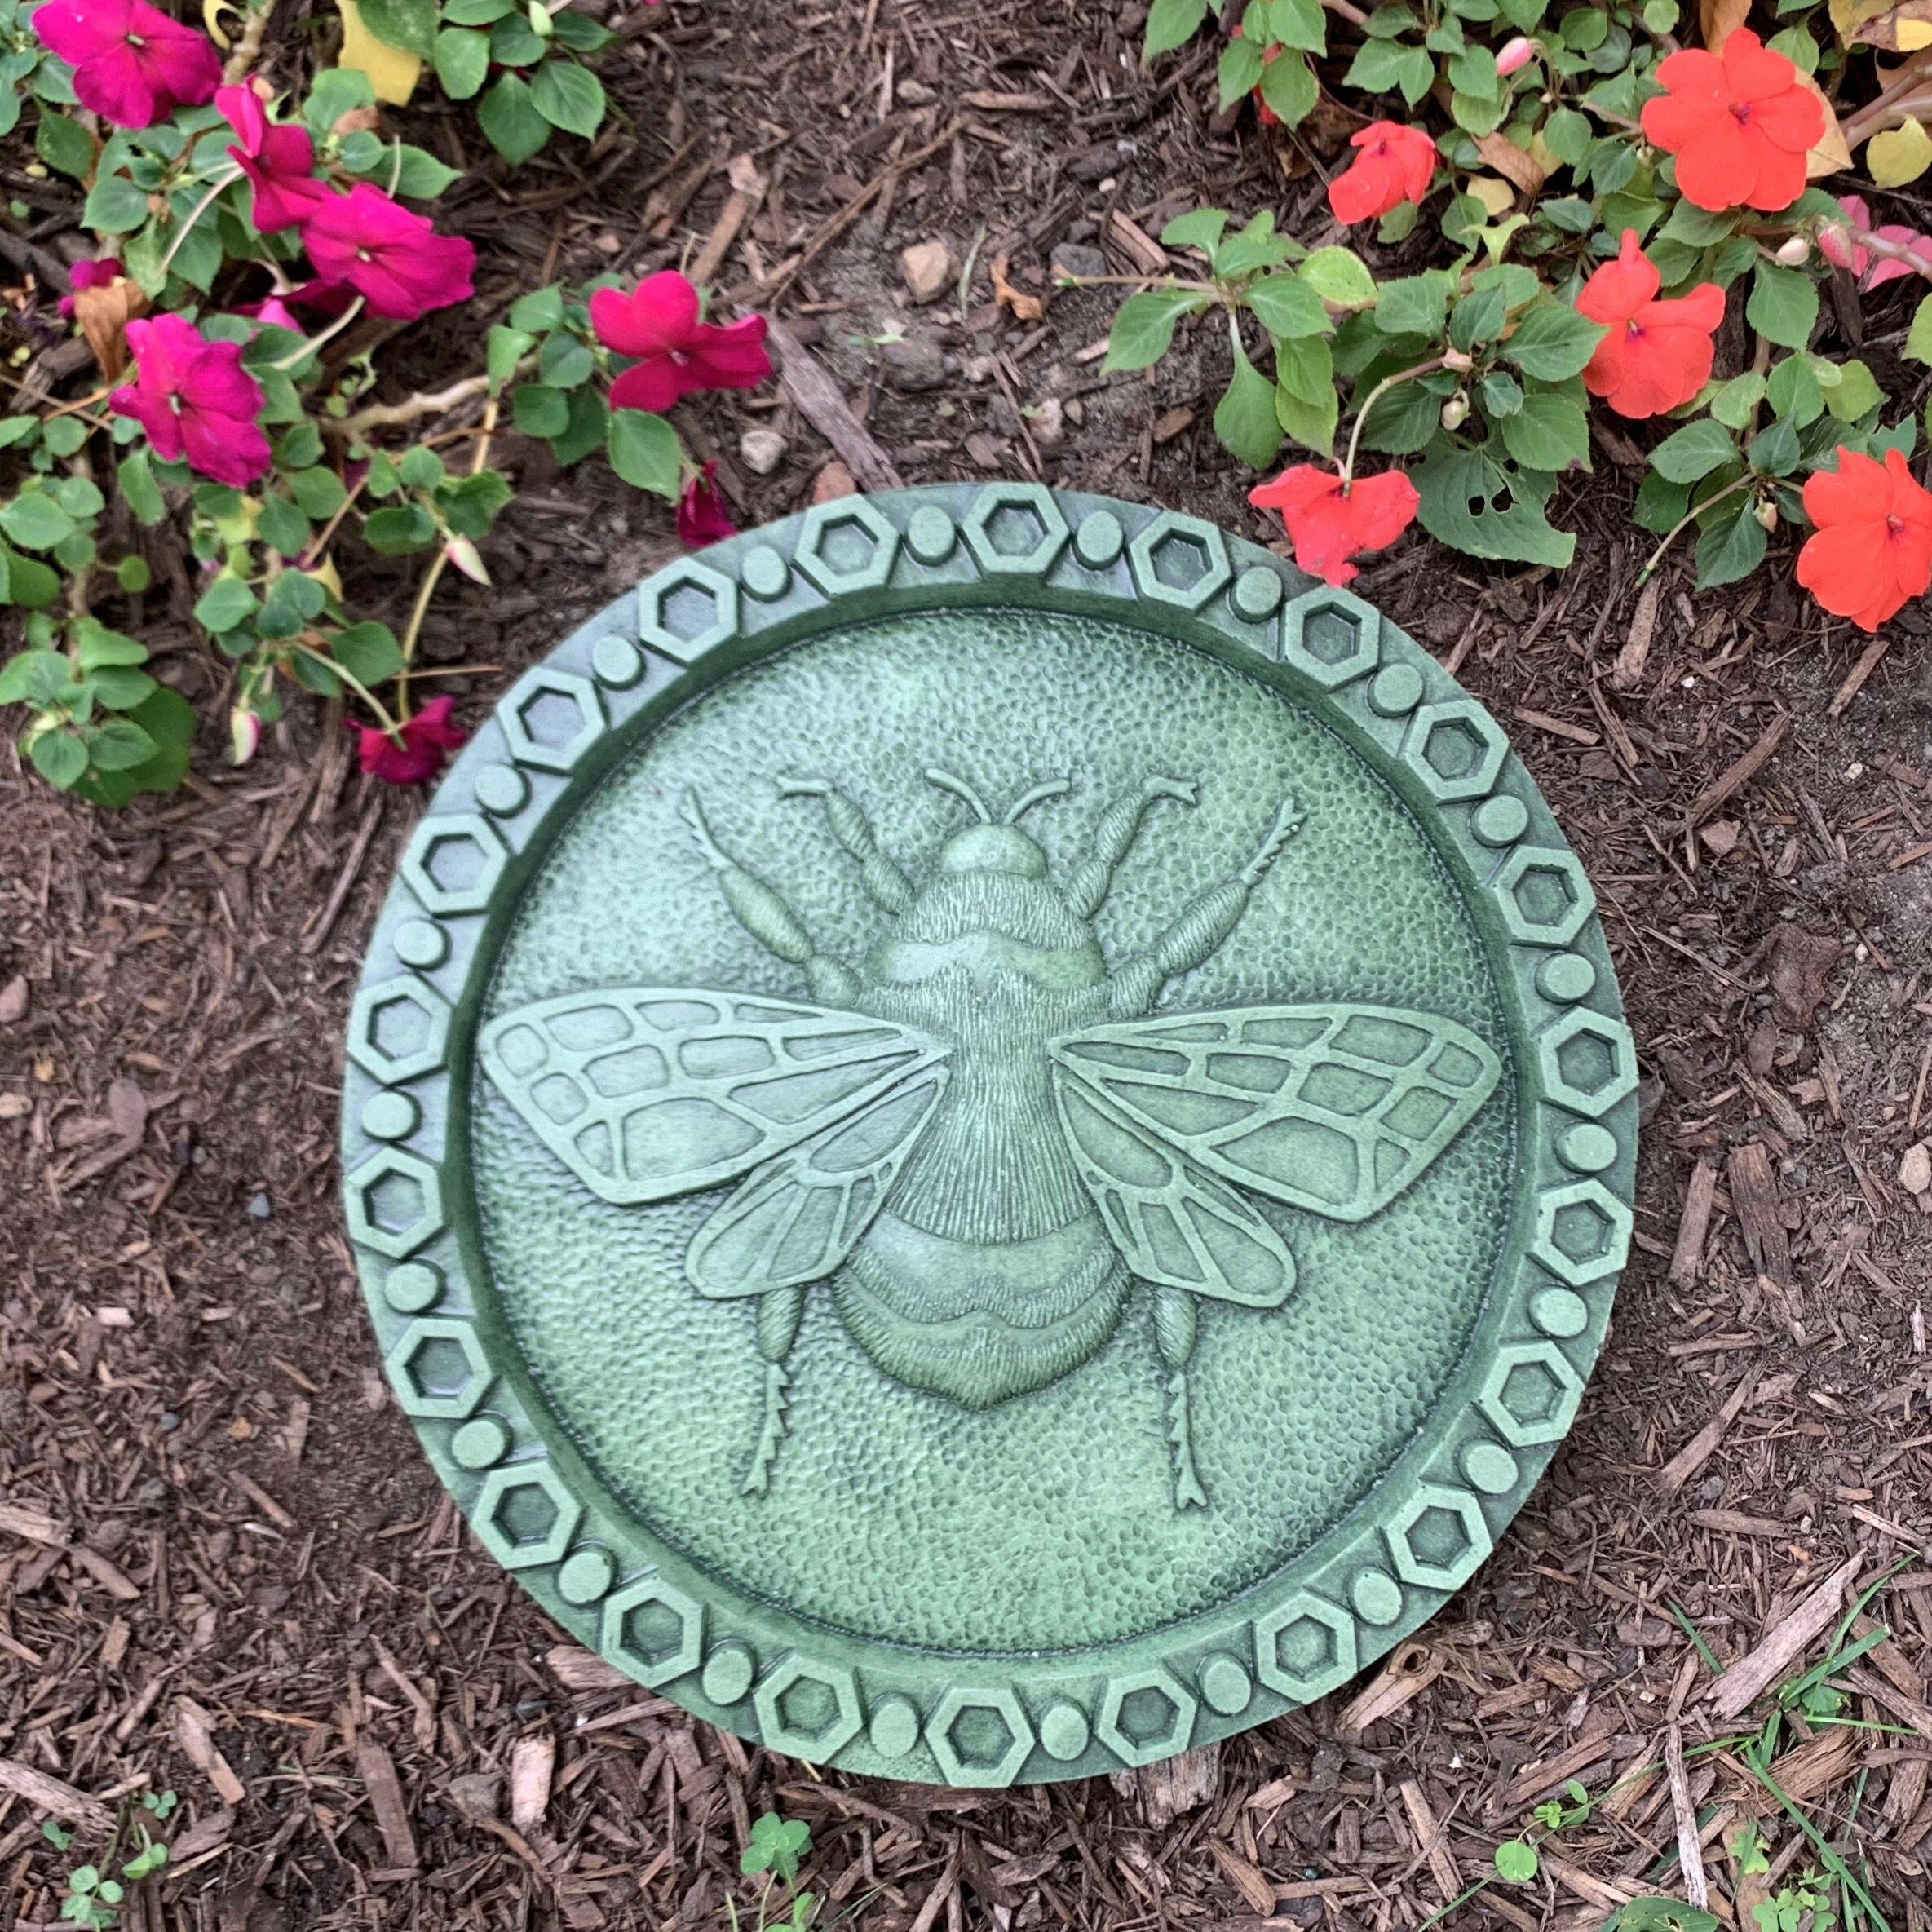
Imagine a garden path, winding its way through lush greenery, with charming bee stepping stones leading the way. These stones, adorned with delightful bee designs, aren’t just decorative; they offer a safe landing spot for our fuzzy pollinators and add a whimsical touch to any outdoor area. Creating these little works of art is easier than you might think. We’ll explore the best materials, design ideas, and techniques to make stepping stones that are both beautiful and built to last. Plus, the added bonus of knowing you’re providing a little help to the bees makes this project even sweeter. Let’s get our hands dirty and create something truly special, shall we?
I’ve been making these for years and have learned a thing or two along the way. Trust me, there’s a real satisfaction in seeing your own stepping stones become a part of your garden’s landscape. And, you can customize them to match your own personal style and the vibe of your yard.
Choosing Your Materials: The Foundation of Durability
The materials you choose will determine how long your bee stepping stones will last, and how well they will withstand the elements. Concrete is, without a doubt, the best choice for durability. It’s weather resistant, doesn’t decay, and can handle a lot of weight, making it perfect for foot traffic. You can buy pre-mixed concrete at any hardware store or make your own by combining cement, sand, and gravel.
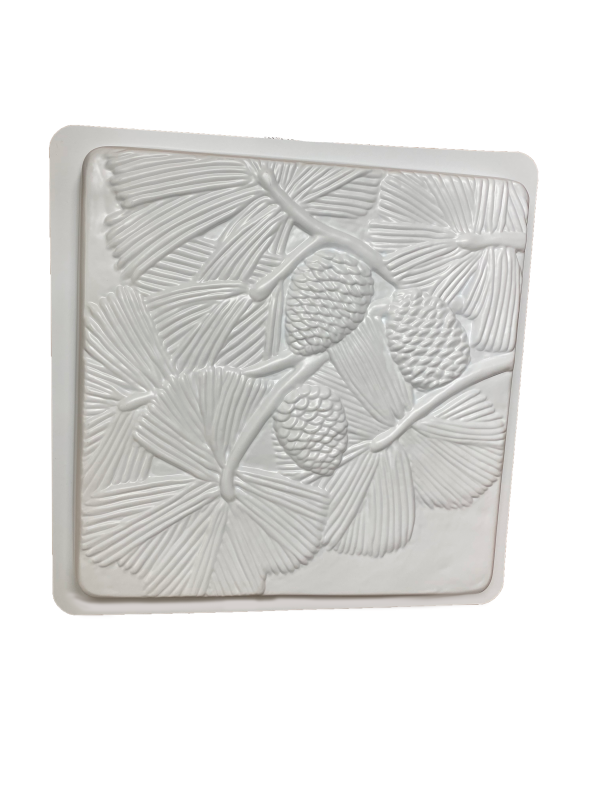
Another option is paver stones. They come in a variety of shapes, sizes, and materials, including concrete, brick, and even some natural stone. They are already designed to be durable and weather resistant. The downside is, you’re limited by the shapes and designs available.
Avoid using materials like wood or certain types of clay, as they are not as durable and will break down over time. Always select materials that are meant to withstand the outdoors. This will ensure your bee stepping stones look great year after year, and won’t be a pain to maintain.
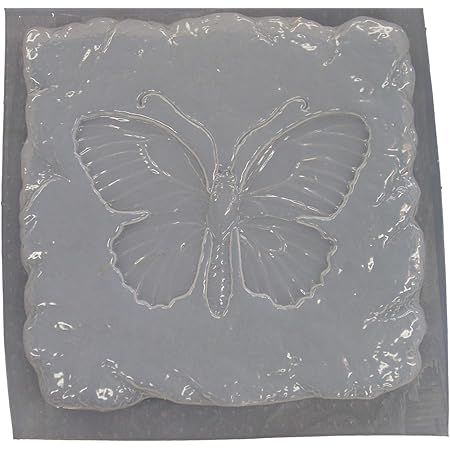
Designing Your Bee-utiful Stones: Inspiration and Ideas
Now for the fun part – the design! Bee stepping stones offer a fantastic canvas for your creativity. Think about what kind of aesthetic you’re going for. Do you want a whimsical, cartoonish look, or something more realistic?
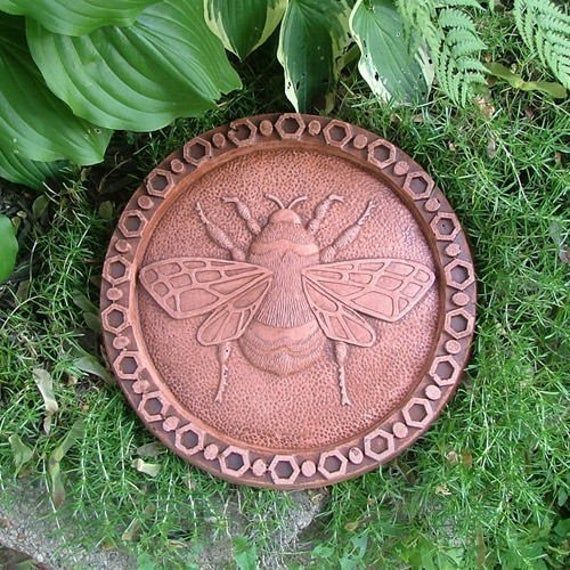
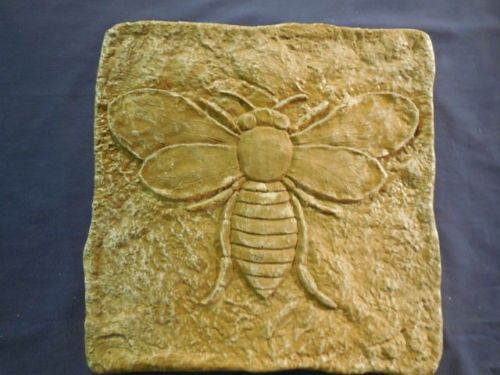
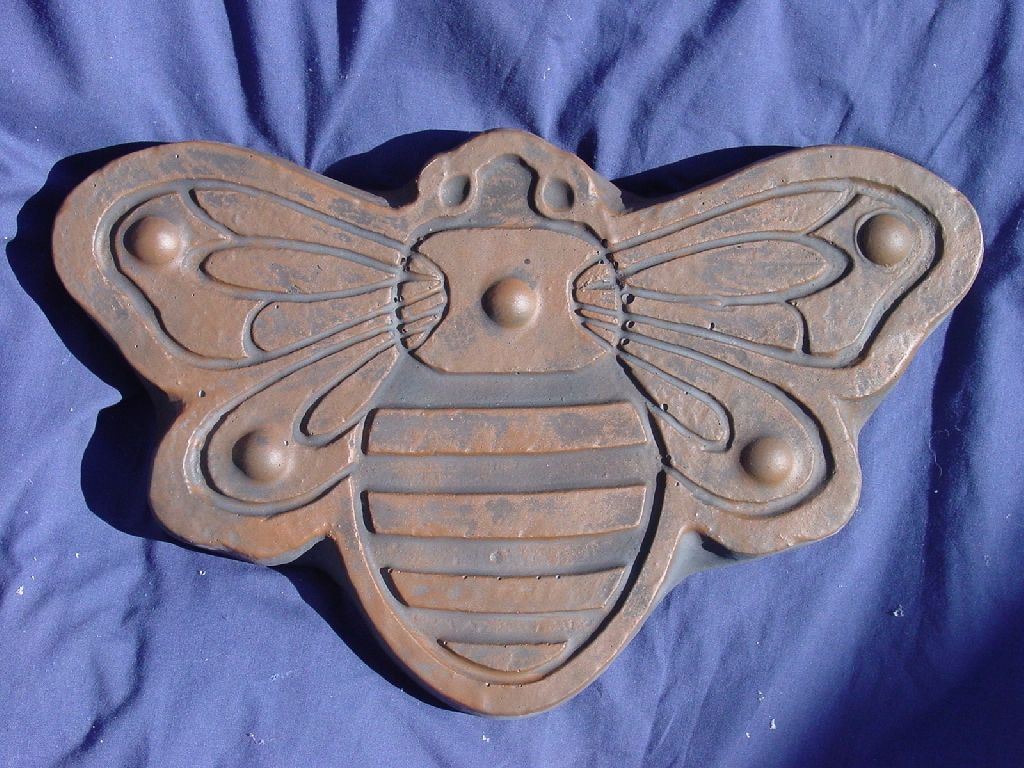
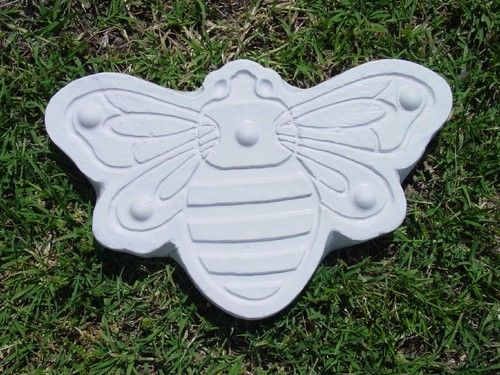
- Bee Motifs: Obviously, bees are the stars of the show. Consider using bee stencils, stamps, or freehand painting to create the bee shapes. I love using a simple silhouette of a bee and then adding details like stripes and little antennae.
- Color Palette: Yellows, blacks, and whites are classic bee colors. But don’t be afraid to experiment. Think about incorporating shades of blue and purple to represent flowers, or green to represent foliage.
- Embellishments: Add some visual flair by using glass gems to represent pollen, or small pebbles to create a textured background. Just make sure any embellishments are securely embedded in the concrete so they don’t come loose.
Remember, the key is to have fun and let your creativity flow. It’s your garden, your rules!
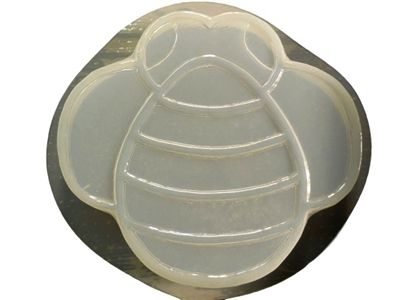
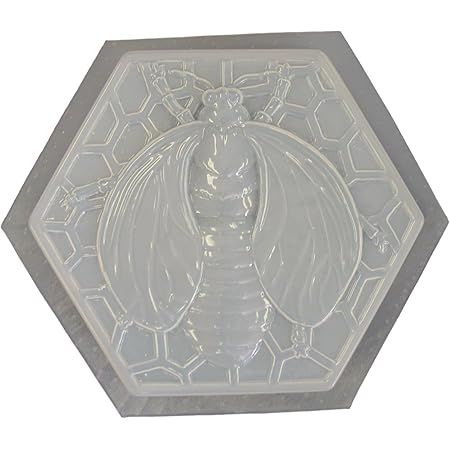
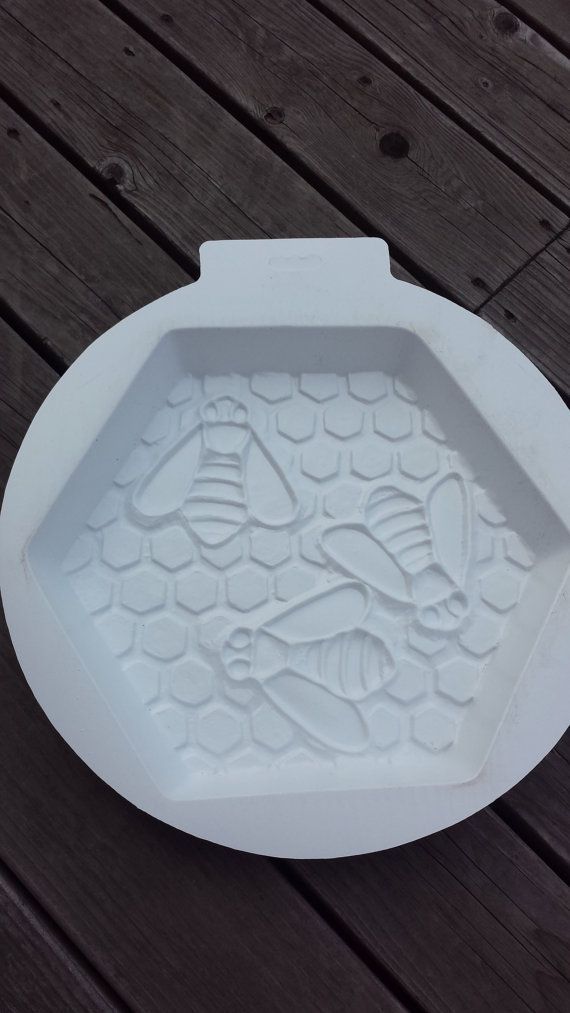
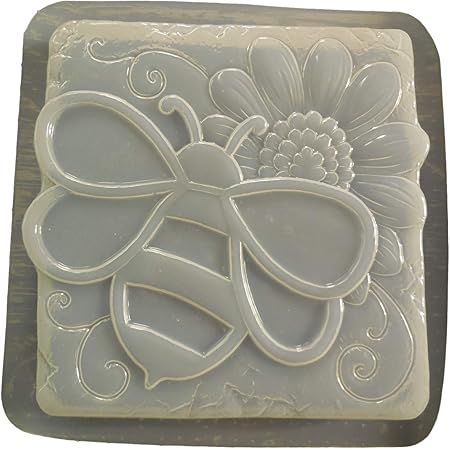
The Concrete Casting Process: Step-by-Step Guide
Let’s get into the nitty-gritty of how to actually make these stones. Here’s a simple guide to casting concrete stepping stones:
- Gather Your Supplies: You’ll need concrete mix, water, a mixing container (a bucket works great), a trowel or mixing stick, molds (you can buy stepping stone molds or use things like plastic containers), cooking spray (to help the stones release from the molds), and your design tools (stencils, paint, etc.). And of course, don’t forget some gloves and safety glasses.
- Prepare Your Molds: Lightly spray your molds with cooking spray to prevent the concrete from sticking.
- Mix the Concrete: Follow the instructions on your concrete mix packaging. Usually, this involves mixing the concrete powder with water until you get a thick, pancake-batter-like consistency. Don’t add too much water, as this can weaken the final product.
- Pour the Concrete: Carefully pour the concrete into your molds, filling them to the top.
- Vibrate and Smooth: Gently tap the sides of the molds to release any air bubbles. Use your trowel to smooth the surface.
- Add the Design: This is where you add your bee designs! Use your stencils, stamps, or paint to create your artwork. If you’re using embellishments, press them gently into the wet concrete.
- Cure the Concrete: Let the concrete cure for at least 24-48 hours, or as instructed on your concrete mix packaging. Keep the stones out of direct sunlight and cover them with plastic to retain moisture.
- Remove and Finish: Once the concrete is fully cured, carefully remove the stones from the molds. You might need to gently flex the molds to help release them. Let the stones dry completely.
- Seal (optional): Applying a concrete sealant will help protect your stepping stones from the elements and make them last even longer.
See, it’s not so hard, is it? It just takes a little patience.
Paver Stones: A Quick and Easy Alternative
If you’re not keen on mixing concrete, paver stones are a fantastic alternative. They come pre-made, so the process is significantly faster. Here’s how to incorporate them into your bee-themed garden:
- Choose Your Pavers: Select paver stones in the shape and size that you like. Concrete pavers are the most durable.
- Paint or Decorate: Use exterior-grade paints or concrete stains to decorate your pavers with bee designs. You can use the same design ideas we discussed earlier. Stencils work wonders!
- Seal for Protection: Apply a concrete sealant to protect your painted designs from the weather.
- Placement: Lay the paver stones in your garden to create a path. You can space them evenly or create a more natural, winding path.
Paver stones are a great option if you’re short on time or want a hassle-free project. They still allow you to express your creativity and add a bee-utiful touch to your outdoor area.
Placement and Integration in Your Garden: Creating a Bee-Friendly Habitat
The placement of your bee stepping stones is just as important as their design. Think about where bees will be most likely to visit in your garden.
- Pathways: Place your stepping stones along paths to guide visitors, both human and bee.
- Near Flower Beds: Put the stepping stones near flower beds and other areas where bees will be foraging for nectar and pollen. This provides them with a safe place to land and rest.
- Create a Bee Haven: Consider incorporating other bee-friendly features into your garden, such as bee baths (shallow dishes of water with pebbles for them to land on), pollinator-friendly plants, and a bee house.
- Spacing: Space the stepping stones appropriately to make a comfortable path, but also to allow for some natural ground cover.
By thoughtfully placing your bee stepping stones, you’re not only adding a decorative element but also actively creating a welcoming environment for bees and other pollinators.
Maintenance and Longevity: Keeping Your Stones Buzzing
Once your bee stepping stones are in place, you’ll want to ensure they stay in tip-top shape for years to come. Here are some maintenance tips:
- Regular Cleaning: Occasionally, wash your stepping stones with mild soap and water to remove dirt, debris, and algae. Avoid using harsh chemicals that could damage the paint or sealant.
- Re-Sealing (if needed): If you used a sealant, you might need to re-apply it every few years, depending on the product and the amount of wear and tear. This will help protect the stones from the elements.
- Repair Cracks: If you see any cracks, repair them promptly with concrete crack filler. This will prevent water from seeping in and causing further damage.
- Winter Protection: In colder climates, you might want to cover your stepping stones during the winter to protect them from freezing and thawing cycles.
By following these simple maintenance tips, you can keep your bee stepping stones looking their best and provide a long-lasting, welcoming space for your bee neighbors.
There you have it! Designing and creating bee stepping stones is a rewarding project that combines creativity, practicality, and a touch of environmental stewardship. You’ve learned about the best materials, design ideas, and construction techniques to craft stepping stones that will not only beautify your garden but also support our important pollinators. Remember, every little bit helps, and by creating bee-friendly spaces, we can all contribute to a healthier environment for bees and for ourselves. So, get out there, get creative, and start building a garden that’s buzzing with life. I can’t wait to see what you create. Happy gardening, everyone. And remember to share your bee stepping stone creations with me – I’d love to see them. Until next time, keep those gardens growing and the bees happy!