Hey everyone, it’s your friendly neighborhood outdoor enthusiast, back with a passion project that’s close to my heart – the simple, yet profound, beauty of natural gray cement stepping stones. They’re a go-to for me, and I’ve found they can completely change how your outside area looks and feels. Forget the overly-done, and let’s embrace the understated grace of these amazing elements. They’re more than just pathways; they’re a way to connect with nature, add a touch of class, and make your yard truly yours. I’m going to share everything I’ve learned over the years, from picking the right stones to laying them out and keeping them looking their best. Let’s dive in and build something beautiful, together.
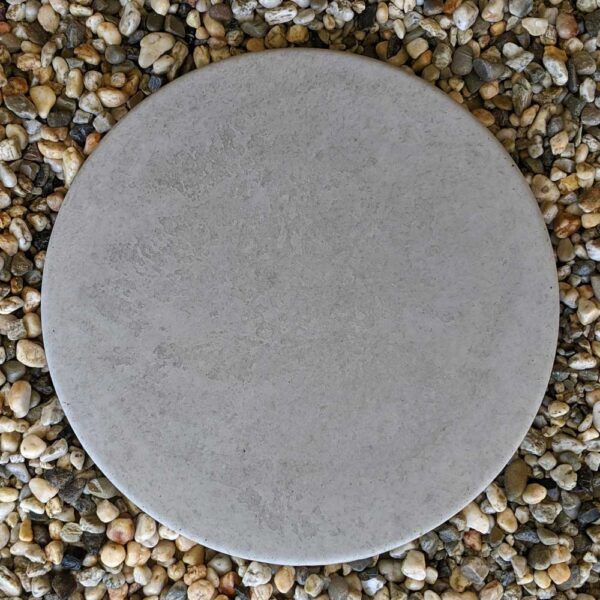
So, why cement stepping stones, and why the natural gray? Well, for me, it starts with their versatility. That neutral color goes with absolutely anything. Think about it: whether you’re into a modern, minimalist vibe, or a more rustic, cottage-garden feel, gray cement fits right in. They’re also incredibly durable – able to withstand the weather, foot traffic, and the test of time. Plus, they’re relatively inexpensive, making them a great option for anyone looking to upgrade their outdoor space without breaking the bank. And that’s before we even get to how easy they are to work with! I’ve personally laid countless paths, and I can tell you, it’s a satisfying project that even beginners can tackle with confidence. We’re talking about crafting a space that’s not just functional, but also a genuine reflection of your style.
Choosing Your Stones: Size, Shape, and Style
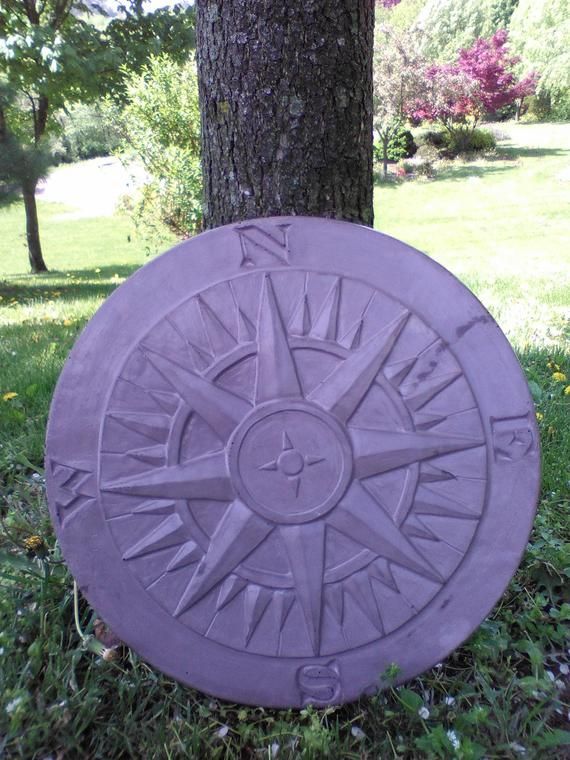
The first step, obviously, is picking the right stones. You’ve got a lot of options, so let’s break it down. Consider the size of your area. Smaller spaces might do better with smaller, more manageable stones. For larger areas, feel free to go bigger. Think about shape, too. Round stones create a softer, more organic look, while square or rectangular ones offer a more structured, contemporary feel. Then there’s the finish. Some stones are smooth, some are rough, and some have interesting textures. The texture affects both the look and the slip-resistance of the stones. My personal favorite? A slightly textured stone that’s easy on the feet and won’t become dangerously slippery when wet. And don’t forget about thickness. Thicker stones are generally more durable and less likely to crack, especilly in climates with freezing temperatures. Always consider what your space demands and what kind of look you’re hoping to achieve and the functionality of your project.
Planning Your Path: Design and Layout
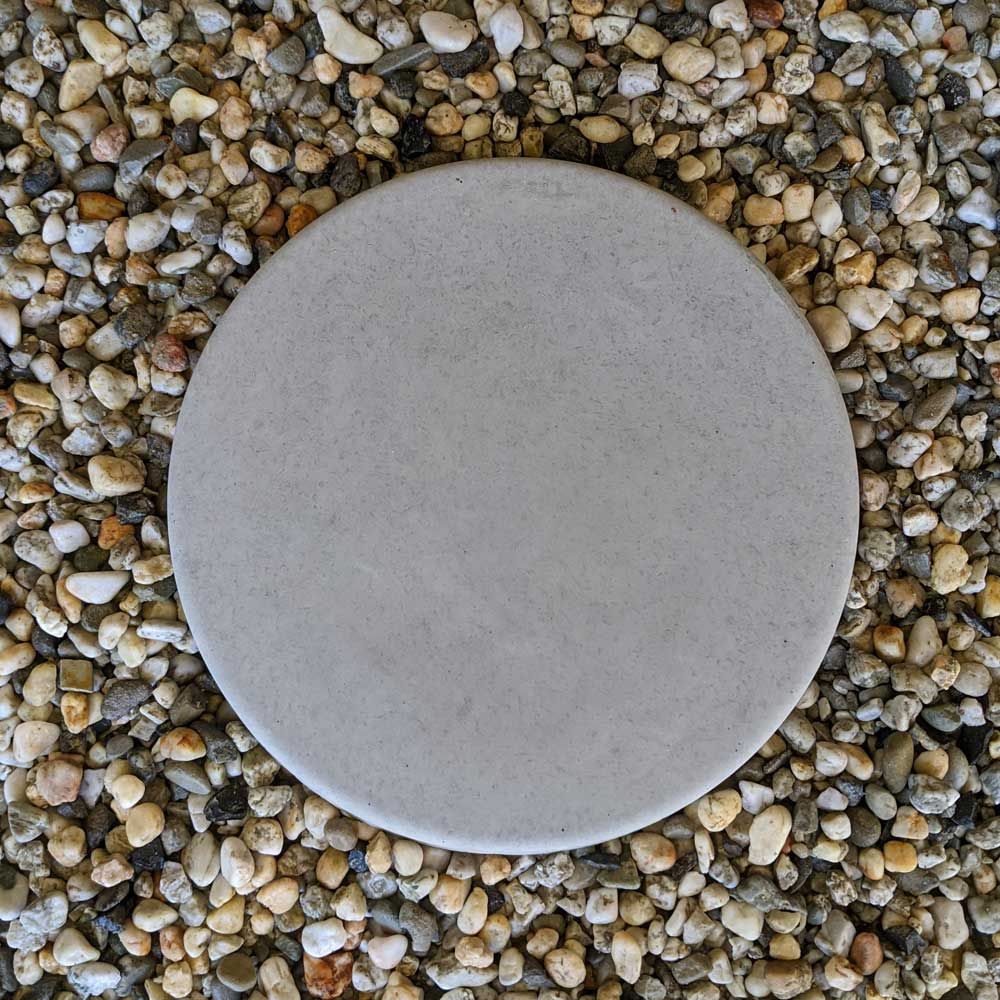
Before you start digging, plan, plan, plan. Sketch out your path on paper. Measure everything, and think about how the path will flow through your space. Will it be a straight shot, or will it meander? A winding path can be really charming, but it requires a bit more planning. Consider the distance between the stones. A comfortable stride is usually about 18-24 inches. Use a garden hose or rope to mark out the path on the ground, this helps you visualize the design. This is also where you can start thinking about the materials that will go around the stones. Gravel, mulch, or even grass can add a lot of personality. I’ve used everything from river rocks to decorative pebbles. The key is to pick something that complements the gray cement and the overall style of your space. And remember, the goal is a path that’s both functional and beautiful, so think carefully about both aspects.
Getting Your Hands Dirty: Laying the Stones
Okay, time to get down to business. First, you’ll need to excavate the area where your stones will go. Dig down a few inches – enough to accommodate the stone, plus a layer of gravel for drainage. Next, compact the soil. Then, add a layer of gravel. This helps with drainage and prevents the stones from settling unevenly. Level the gravel, and then you can start placing the stones. Use a level to make sure each stone is perfectly even with the others. Once the stones are in place, you can fill the gaps with your chosen material – gravel, mulch, or whatever you’ve decided on. One great tip: slightly angle the stones away from your house or any structures. This helps water run off, preventing any potential damage. And, of course, always wear gloves and eye protection, safety first!
Adding the Finishing Touches: Edging and Details
The details are what really make the difference. Consider edging your path. This can be as simple as using the same material as the fill (like gravel), or you can use something more defined, like brick or metal edging. Edging helps to contain the fill material and gives your path a cleaner, more polished look. Think about the surrounding landscape, too. Plant flowers or shrubs along the path to soften the look and add color. Consider adding lighting. Solar-powered lights are a great, low-maintenance option. And don’t be afraid to experiment! Add some stepping stones to your path, or set up a small seating area nearby. These small touches really make the space your own. That’s where the real joy of this project lies – in expressing your own creativity.
Maintaining Your Masterpiece: Care and Upkeep
Once your path is complete, you’ll want to keep it looking its best. Fortunately, gray cement stepping stones are relatively low-maintenance. Sweep the path regularly to remove dirt and debris. If you live in an area with a lot of moss or algae, you might need to scrub the stones with a mild detergent and water. Avoid using harsh chemicals, which can damage the cement. Every few years, consider resealing the stones. This will help protect them from the elements and keep them looking fresh. Inspect your path periodically for any signs of settling or damage. If you notice any issues, address them promptly to prevent further problems. The key is regular maintenance, to keep your stepping stones looking their best for years to come. And keep in mind, a little effort goes a long way.
Real-World Examples: Inspiration and Ideas
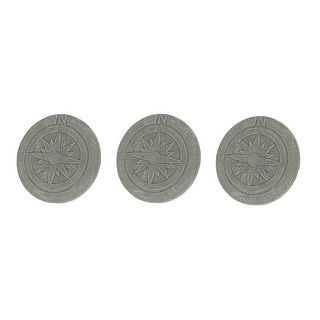
Let’s look at some examples to get your creative juices flowing. I’ve seen stunning paths created with large, rectangular stones, set with wide gaps filled with lush green grass. The contrast is amazing! Another great look is to use small, round stones with a gravel fill, creating a more relaxed, natural feel. In one of my own projects, I used a combination of different sizes and shapes of stones, with a border of red brick. The result was a really unique, eye-catching path that gets a lot of compliments. Don’t be afraid to get creative and mix things up. Look at pictures online, visit local gardens, and get inspired by what others have done. The possibilities are endless. The best part? It’s all about making something that you love.
So there you have it: everything you need to know to create a beautiful, functional, and timeless outdoor space with natural gray cement stepping stones. It’s a project that’s both rewarding and accessible. Remember, it’s not about perfection, but about creating a space that you enjoy and that reflects your personal style. I hope this article has inspired you to get started on your own stepping stone adventure. Go ahead, get out there, and start crafting your own outdoor elegance. I can’t wait to see what you create. Happy gardening, and happy building. And remember, the journey is as important as the destination. Enjoy the process, and don’t be afraid to get a little dirty. You’ve got this. And thanks for reading, everyone.