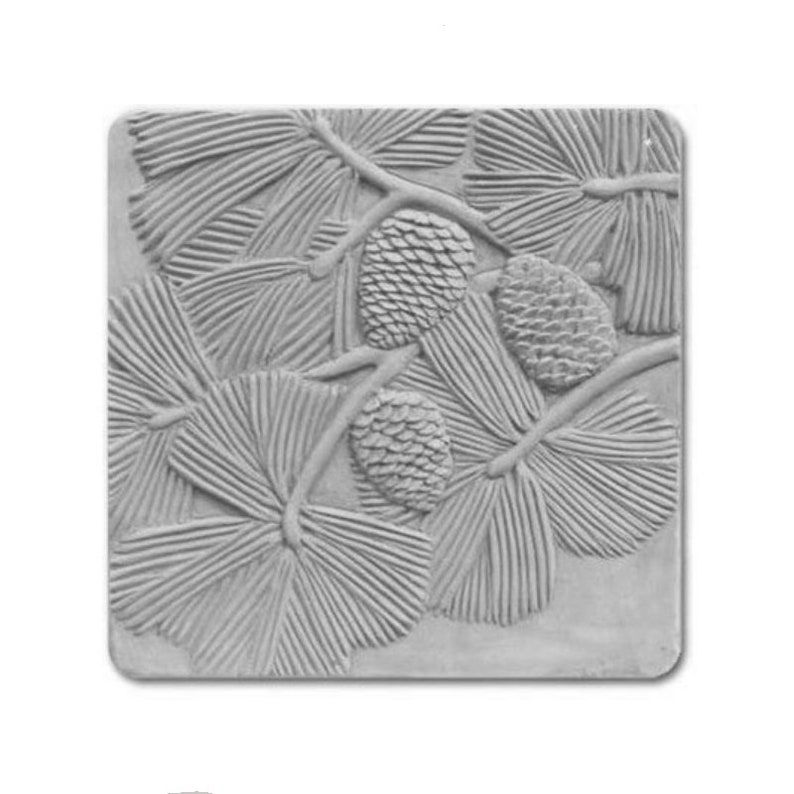
Hey everyone, it’s your pal, back with another passion project! I’ve been totally obsessed with bringing the beauty of nature into our homes and gardens lately. And what better way to do that than by crafting something with your own two hands, using materials that Mother Earth provides? Today, we’re diving headfirst into the wonderful world of pine branch stepping stones. Yep, those fallen branches you usually rake up can be repurposed into something truly special. Let’s get started, shall we?
There’s a certain magic in creating something beautiful from what many would consider waste. Pine branches, often overlooked, possess a unique texture and character that translates beautifully into garden stepping stones. These stones aren’t just functional; they’re a statement, a conversation starter, and a testament to your creativity. Plus, they’re surprisingly easy to make. This guide will walk you through every step, from gathering your materials to placing your finished stones in your garden, so you can enjoy the process, and the results, for years to come.
Gathering Your Materials: The Hunt Begins
First things first, you’ll need some pine branches. Look for branches that are relatively straight and have a decent diameter – aim for at least 2-3 inches thick. The longer the branch, the more stepping stones you can create. Of course, you will also need:
- Pine Branches: The stars of the show. Look for fallen branches after a storm, or you might even be able to get some from a tree trimming service. Be sure you get permission before taking any.
- Concrete Mix: Pre-mixed concrete is your friend here. It’s easy to use, and comes in various strengths. Pick a mix designed for outdoor use, and follow the package instructions for water ratio.
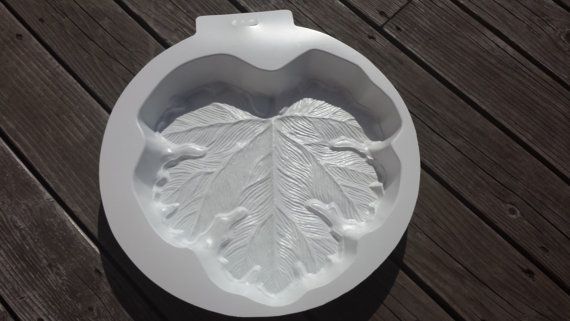
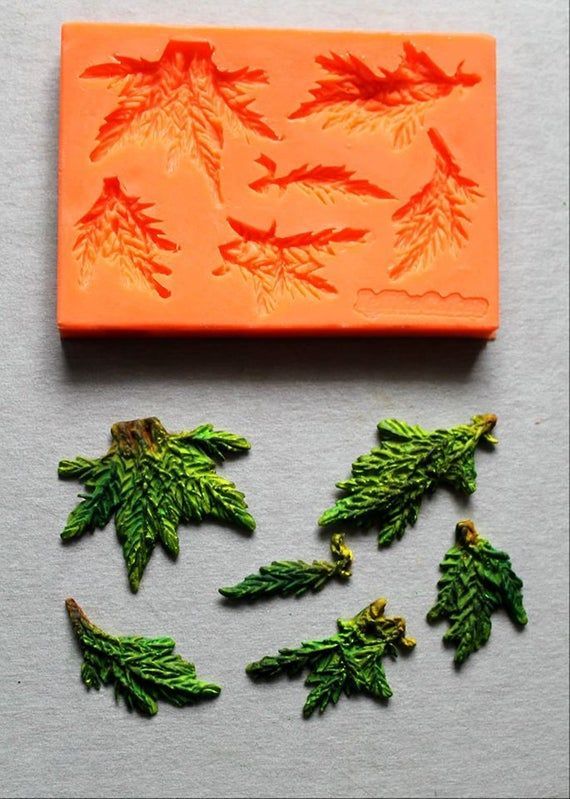
- Molds (Optional): While you can pour concrete directly into the space around the branches, using molds can give your stones a more defined shape. You can use plastic containers, cardboard boxes, or even repurposed buckets.
- Tools: You’ll need a saw (hand or power), a trowel or mixing stick, a bucket for mixing concrete, safety glasses, gloves, and a level.
Preparing the Pine Branches: A Little Prep Work
Once you’ve gathered your branches, give them a good cleaning. Brush off any loose bark, dirt, and debris. Then, using your saw, cut the branches into the desired thickness for your stepping stones. Remember, the thickness will determine the height of your stone. A good starting point is around 2-3 inches. Now, here’s a tip: you can choose to keep the bark on for a rustic look, or remove it for a smoother finish. It’s all about your preference and the aesthetic you’re aiming for. And, make sure you give the branches a good dry. You don’t want too much water mixing with the concrete.
Mixing the Concrete: Getting Your Hands Dirty
Safety first! Put on your gloves and safety glasses. Follow the instructions on your concrete mix packaging for the correct water-to-concrete ratio. Over-watering can weaken the concrete and make it prone to cracking. Mix the concrete thoroughly in your bucket until you achieve a thick, even consistency – like thick pancake batter, or maybe a little thicker. If you’re using molds, place them on a level surface. If not, you can just pour the concrete directly where you want your stepping stones to be.
Embedding the Branches: The Creative Part
Pour a layer of concrete into your molds or the prepared spaces. The depth of this layer will depend on the look you want. Next, carefully place your pine branch slices into the wet concrete. You can arrange them in a neat row, or get creative with a more random pattern. If you want to create a more durable stone, space the branch slices about an inch apart. Gently press the branch slices into the concrete, ensuring they are fully embedded and level with each other. Then, pour more concrete around and between the branches, covering them completely.
Curing and Finishing: Patience is a Virtue
This is the most important part, and it requires patience. Allow the concrete to cure, or harden, for at least 24-48 hours. The curing time depends on the weather conditions and the type of concrete mix you used. You can cover your stepping stones with plastic sheeting to help retain moisture and prevent cracking. Once the concrete is fully cured, you can remove the stones from the molds (if you used them) and brush away any loose concrete dust. You might also want to consider sealing the stones with a concrete sealant to protect them from the elements and extend their lifespan. This step is optional, but recommended, especially if you live in an area with harsh winters.
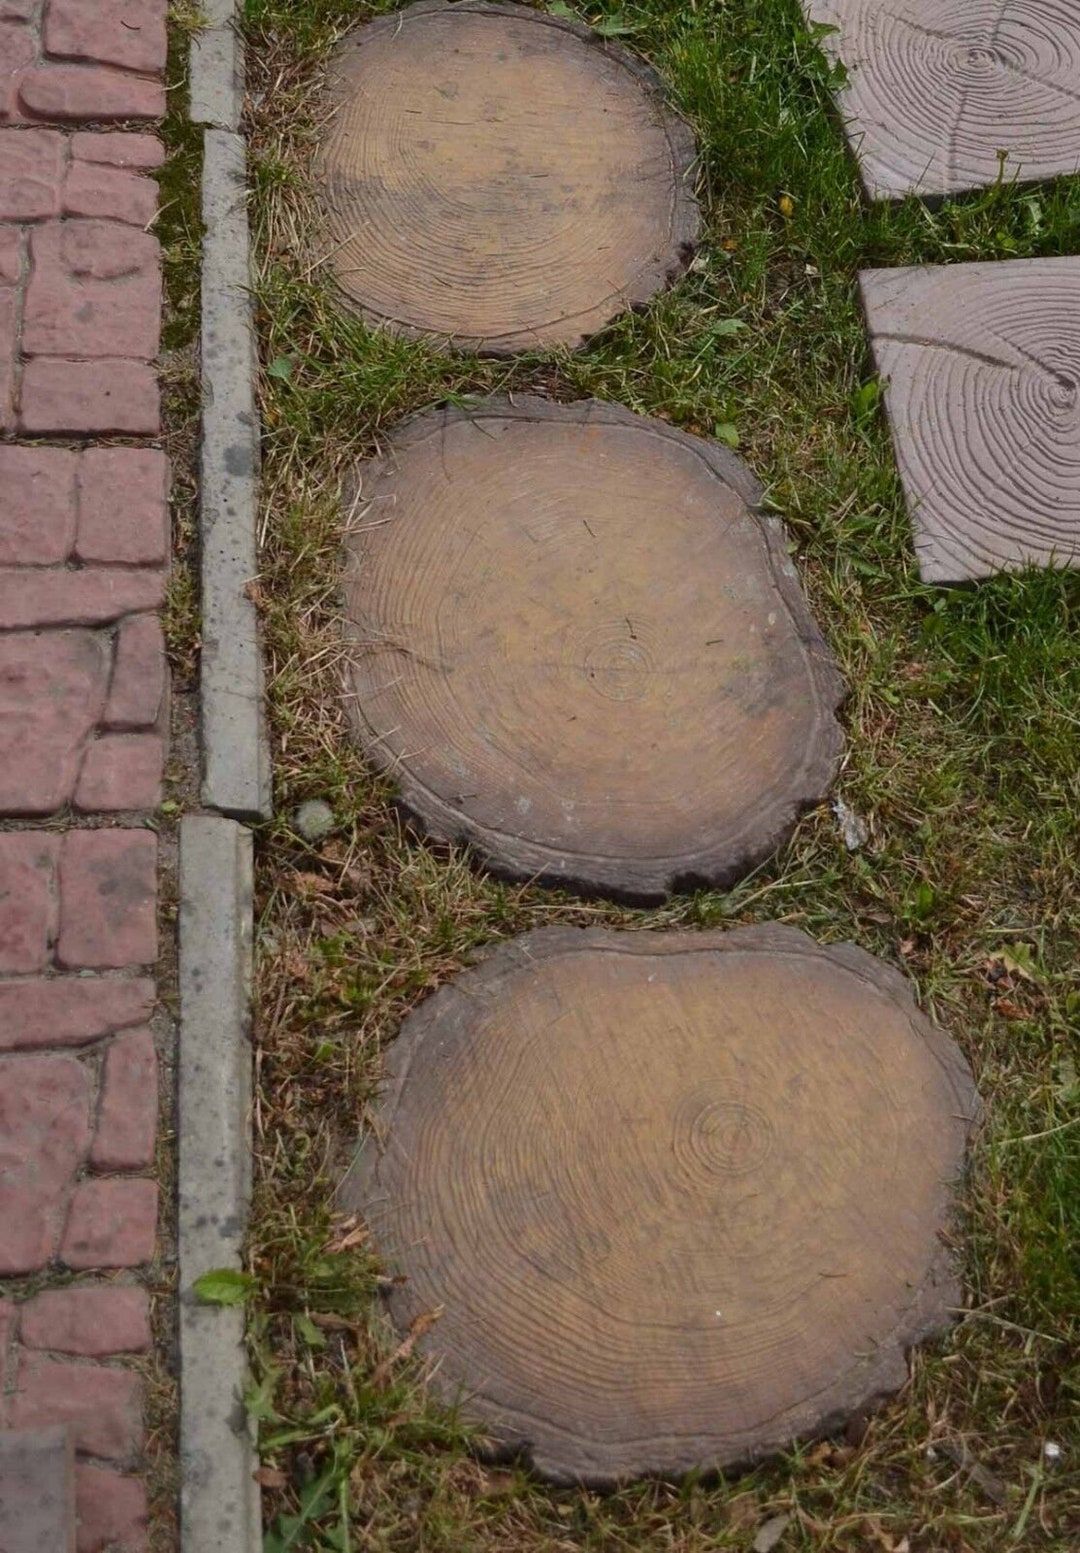
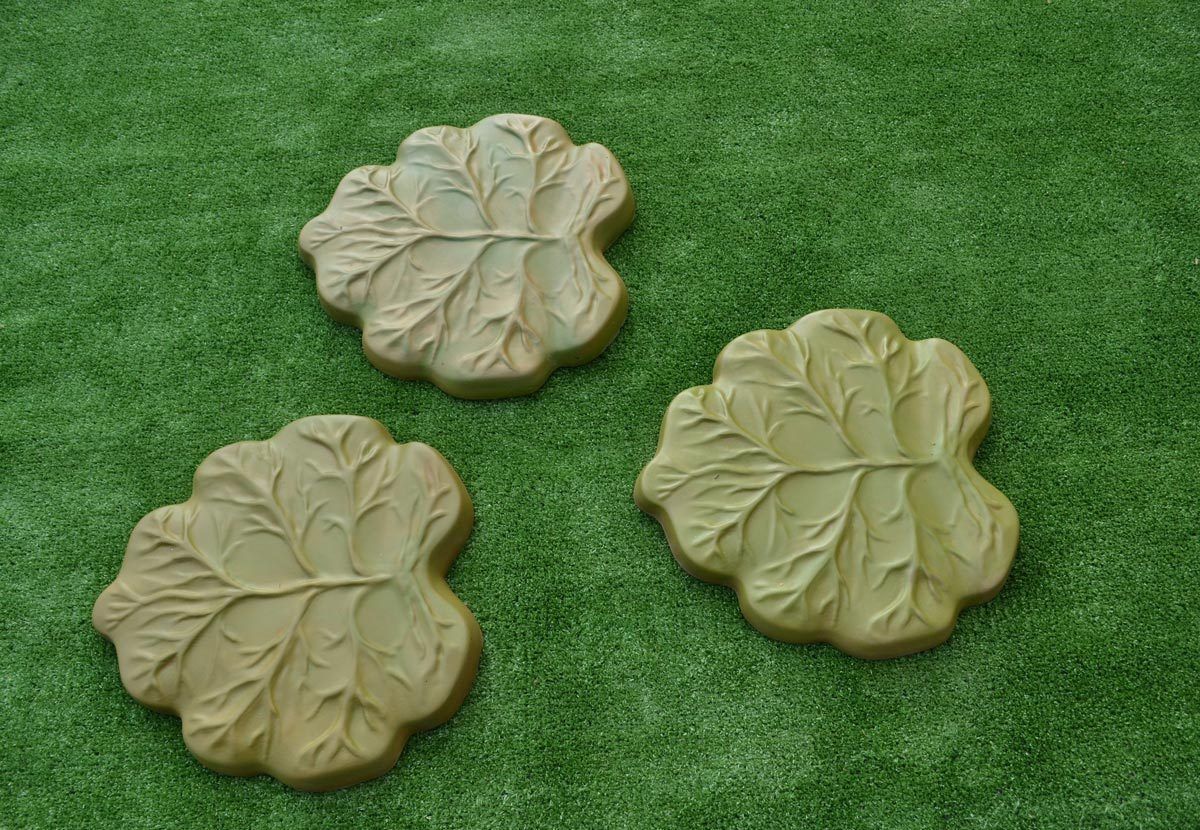
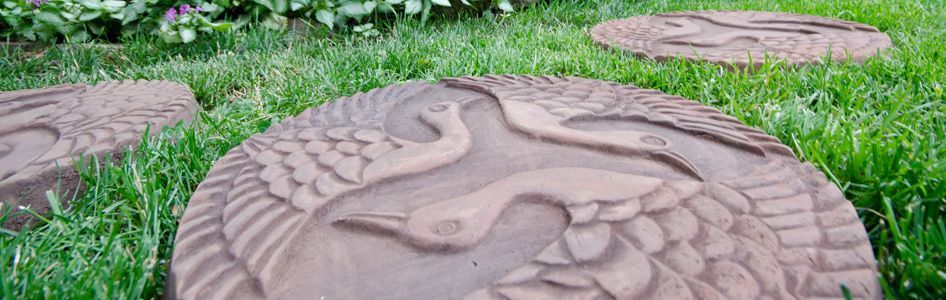
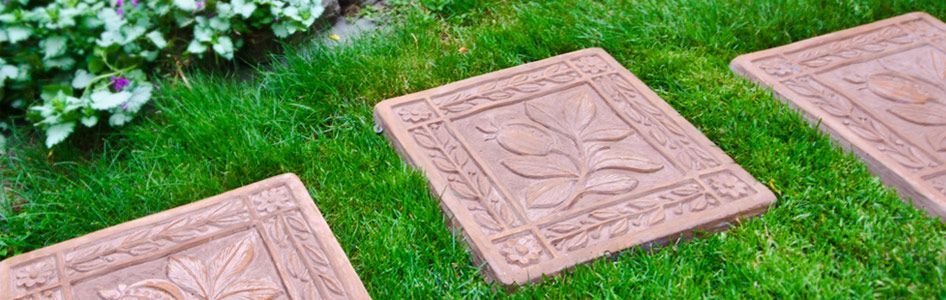
Installing Your Stepping Stones: Stepping into Beauty
Now comes the fun part: installing your new stepping stones! Choose the location for your pathway. You can create a winding path, a straight line, or a more organic arrangement. Dig out the area where each stone will sit, and make sure the surface is level. Place the stepping stones in the prepared holes, and fill in the gaps around them with soil, gravel, or mulch. Step back and admire your handiwork. You’ve transformed ordinary pine branches into something extraordinary, adding a touch of nature’s elegance to your outdoor space. And, you will notice that your garden has become a whole lot more inviting and beautiful. Really, it’s a fantastic project for a weekend, and it is so rewarding.
There you have it, my friends – a simple, satisfying, and sustainable way to enhance your garden. Crafting pine branch stepping stones is more than just a DIY project; it’s a chance to connect with nature, express your creativity, and create something that will bring joy for years to come. So get out there, gather those branches, and start building your own garden of glory. I can’t wait to see what you create. Remember to share your creations with me, and as always, happy gardening and crafting. I know you can do it, and I am here to help. And, thanks for reading, and I’ll see you next time.