Hey everyone, it’s your pal, [Your Name/Content Creator Persona Name]! I’m so excited to share my best-kept secrets for keeping those paisley stepping stone molds in the best shape ever. I’ve been crafting these beautiful garden accents for years, and trust me, a little tender loving care goes a long way. This isn’t just about cleaning; it’s about preserving your investment and ensuring those gorgeous stepping stones keep coming. Get ready to dive into the nitty-gritty of mold maintenance, from the basics to some advanced tips and tricks. Let’s get started, shall we?
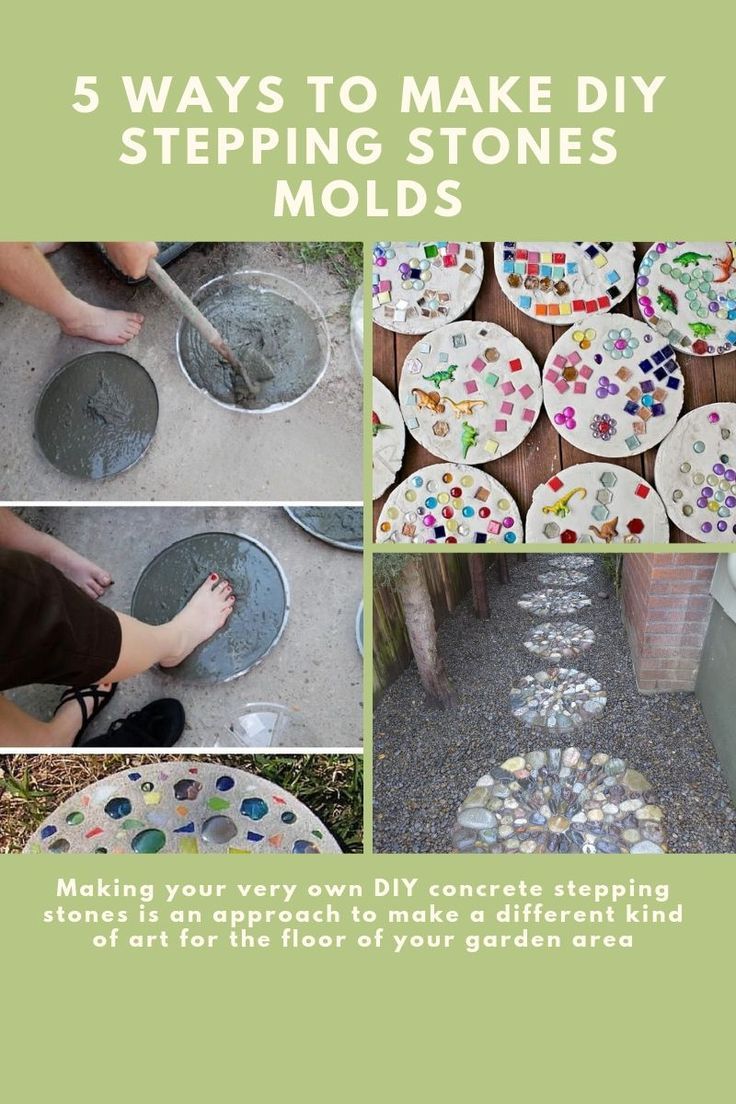
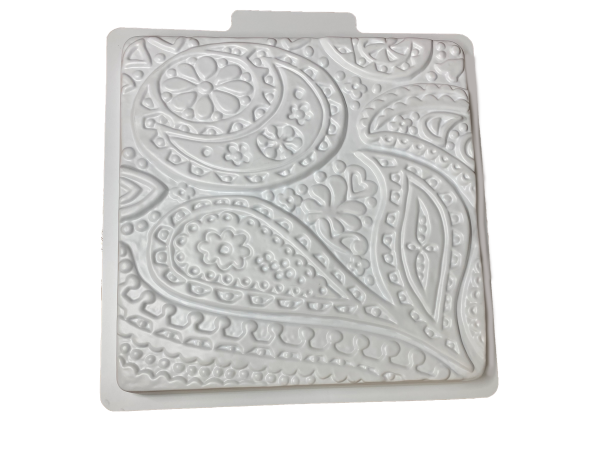
Paisley stepping stones are a fantastic way to add personality and flair to your garden or yard. They’re a surefire way to create a unique, inviting outdoor space that reflects your individual style. But, to keep those stepping stones looking fantastic year after year, you need to start with taking care of your molds. This guide will cover everything you need to know to clean, maintain, and store your paisley stepping stone molds, ensuring they last for many years and deliver beautiful results every time you cast a new stone. We’ll explore the essential tools, the best cleaning methods, and the secrets to preventing damage – plus, a few bonus pro tips to take your stepping stone game to the next level. Let’s make sure your molds are ready for action!
Gathering Your Gear: The Essential Toolkit
Before we even think about cleaning, let’s get your workspace set up with the right stuff. You don’t need a whole lot, but having these items on hand will make the process way easier (and more enjoyable!).
- Mild Dish Soap: Avoid harsh chemicals. They can damage the mold material. Dawn or a similar gentle soap is perfect.
- Warm Water: A bucket or sink full of warm water is ideal for washing.
- Soft Sponges or Cloths: No scratchy scrub brushes, we want to be kind to our molds.
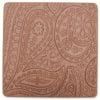
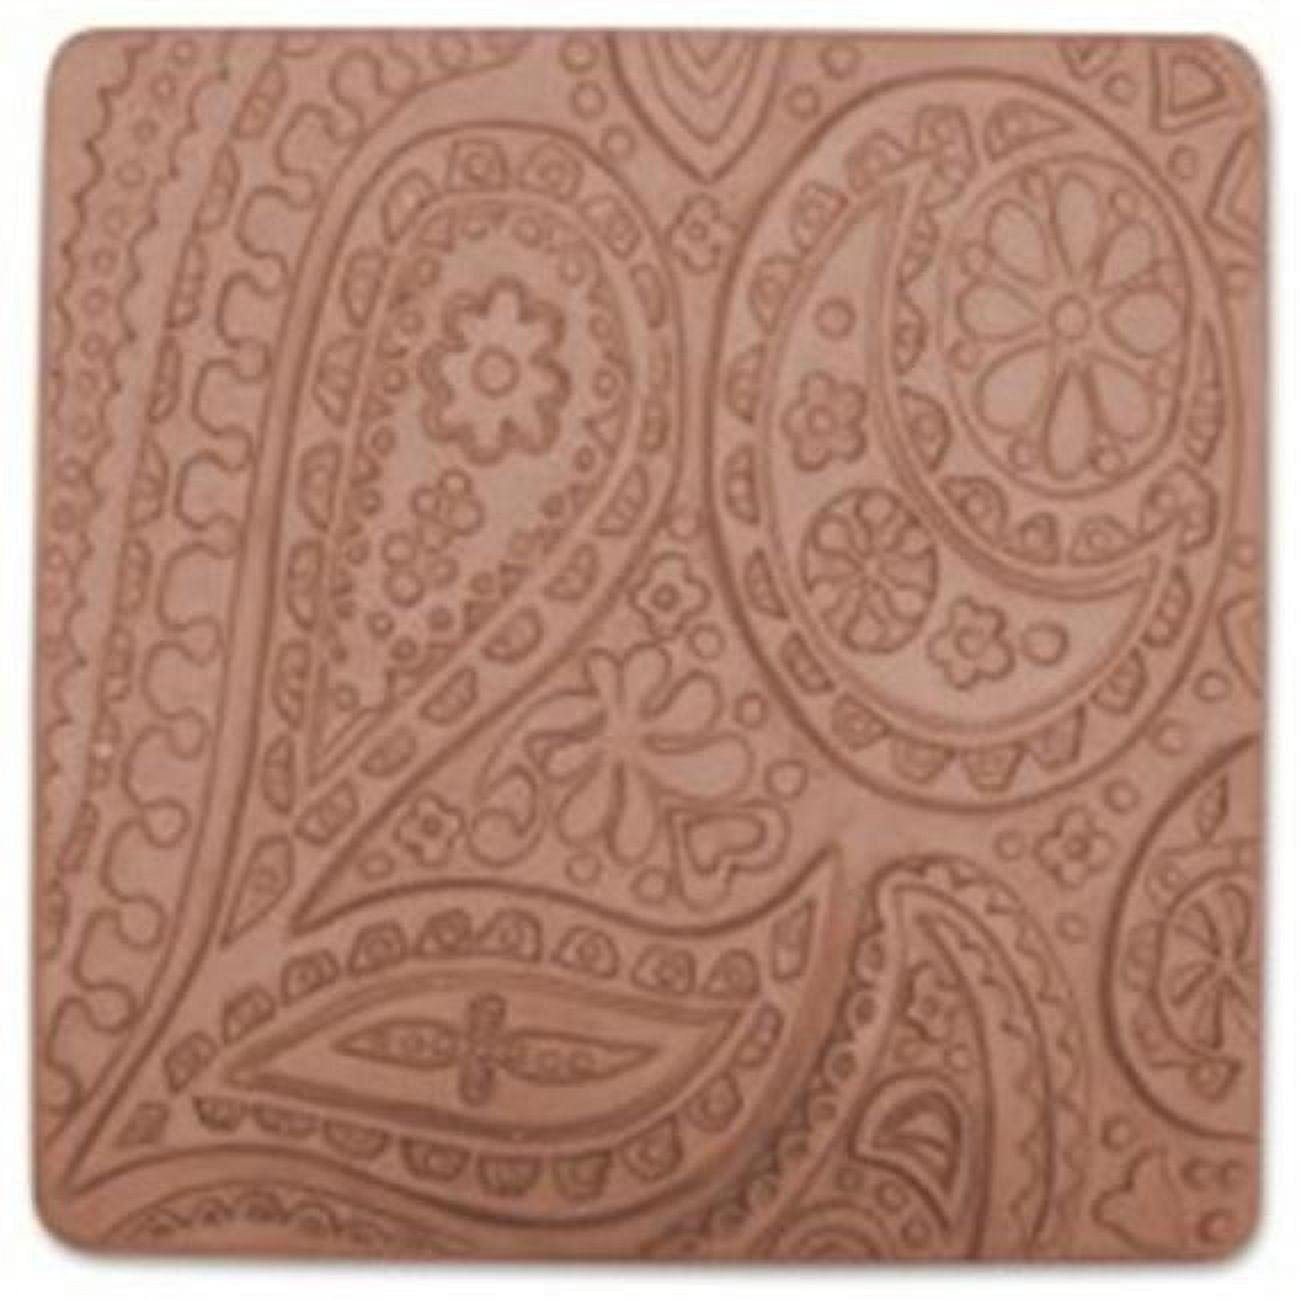
- Old Toothbrush: Great for getting into those intricate paisley designs.
- Mold Release Agent (Optional): This helps prevent the concrete from sticking. More on this later.
- Protective Gloves: Keep your hands clean, and safe.
- A Clean Workspace: A table or flat surface where you can work without making a mess.
The Cleaning Process: Step-by-Step Guide
Okay, time to get those molds squeaky clean! Here’s a simple step-by-step process to follow:
- Rinse & Remove: Start by giving your mold a good rinse with clean water to get rid of any loose debris, like dried concrete bits. Get rid of any chunks that might be stuck. And if there are any stubborn bits, a gentle scrape with a plastic scraper can help (be careful not to gouge the mold!).
- Soapy Scrub: Fill your bucket or sink with warm water and add a squirt of mild dish soap. Use a soft sponge or cloth to gently scrub the mold’s surfaces. Pay close attention to the paisley designs; use the toothbrush to get into the small spaces.
- Rinse Thoroughly: Rinse the mold again, making sure all the soap is gone. If you still feel any soapiness, rinse again.
- Inspect: Once it’s clean, give your mold a good look-over. Check for any cracks, tears, or damage. Catching these early can prevent bigger problems down the road.
- Dry Completely: Let your mold air dry completely before storing it. You can also wipe it down with a clean cloth to speed up the process. A dry mold is a happy mold!
Mold Release Agents: Your Secret Weapon
Mold release agents are like magic for concrete casting! They create a barrier between your concrete mix and the mold, making it so much easier to remove the finished stepping stone. Plus, they can extend the life of your mold by preventing the concrete from sticking and potentially damaging it.
- What to Use: You can buy commercial mold release agents specifically designed for concrete casting. Cooking oil, such as vegetable or canola oil, also works, but should be applied sparingly.
- How to Apply: Apply a thin, even layer to the inside of your mold before each casting. Use a brush or spray bottle to make sure you get complete coverage. Be sure to follow the manufacturer’s instructions.
Storage Savvy: Keeping Your Molds Safe
Proper storage is key to extending the life of your molds. Here are some simple storage tips:
- Clean & Dry: Always clean and dry your molds before storing them. This prevents mold and mildew growth.
- Location, Location, Location: Store your molds in a cool, dry place away from direct sunlight and extreme temperatures. A garage or shed is usually ideal.
- Stacking Smart: If you’re stacking molds, be careful not to put too much weight on them, which could cause them to lose their shape. Place a sheet of cardboard or a similar barrier between the molds.
- Avoid Heavy Objects: Never place heavy objects on top of your molds. This can distort their shape and ruin them.
Troubleshooting Common Issues
Even with the best care, problems can arise. Here’s how to tackle some common issues:
- Stuck Concrete: If your stepping stone gets stuck, don’t panic. Try tapping the mold gently with a rubber mallet or using a small pry bar to carefully loosen the stone. If it’s really stuck, it might be time to use more mold release next time.
- Cracks or Tears: Small cracks can often be repaired with silicone sealant. For larger tears, you might need to replace the mold.
- Deformation: If your mold gets misshapen, you might be able to reshape it using heat or by placing heavy objects on it for a while. However, some damage may be irreversible. Be careful, and consider mold release.
Pro Tips & Beyond: Elevating Your Stepping Stone Game
Let’s kick things up a notch with a few pro tips:
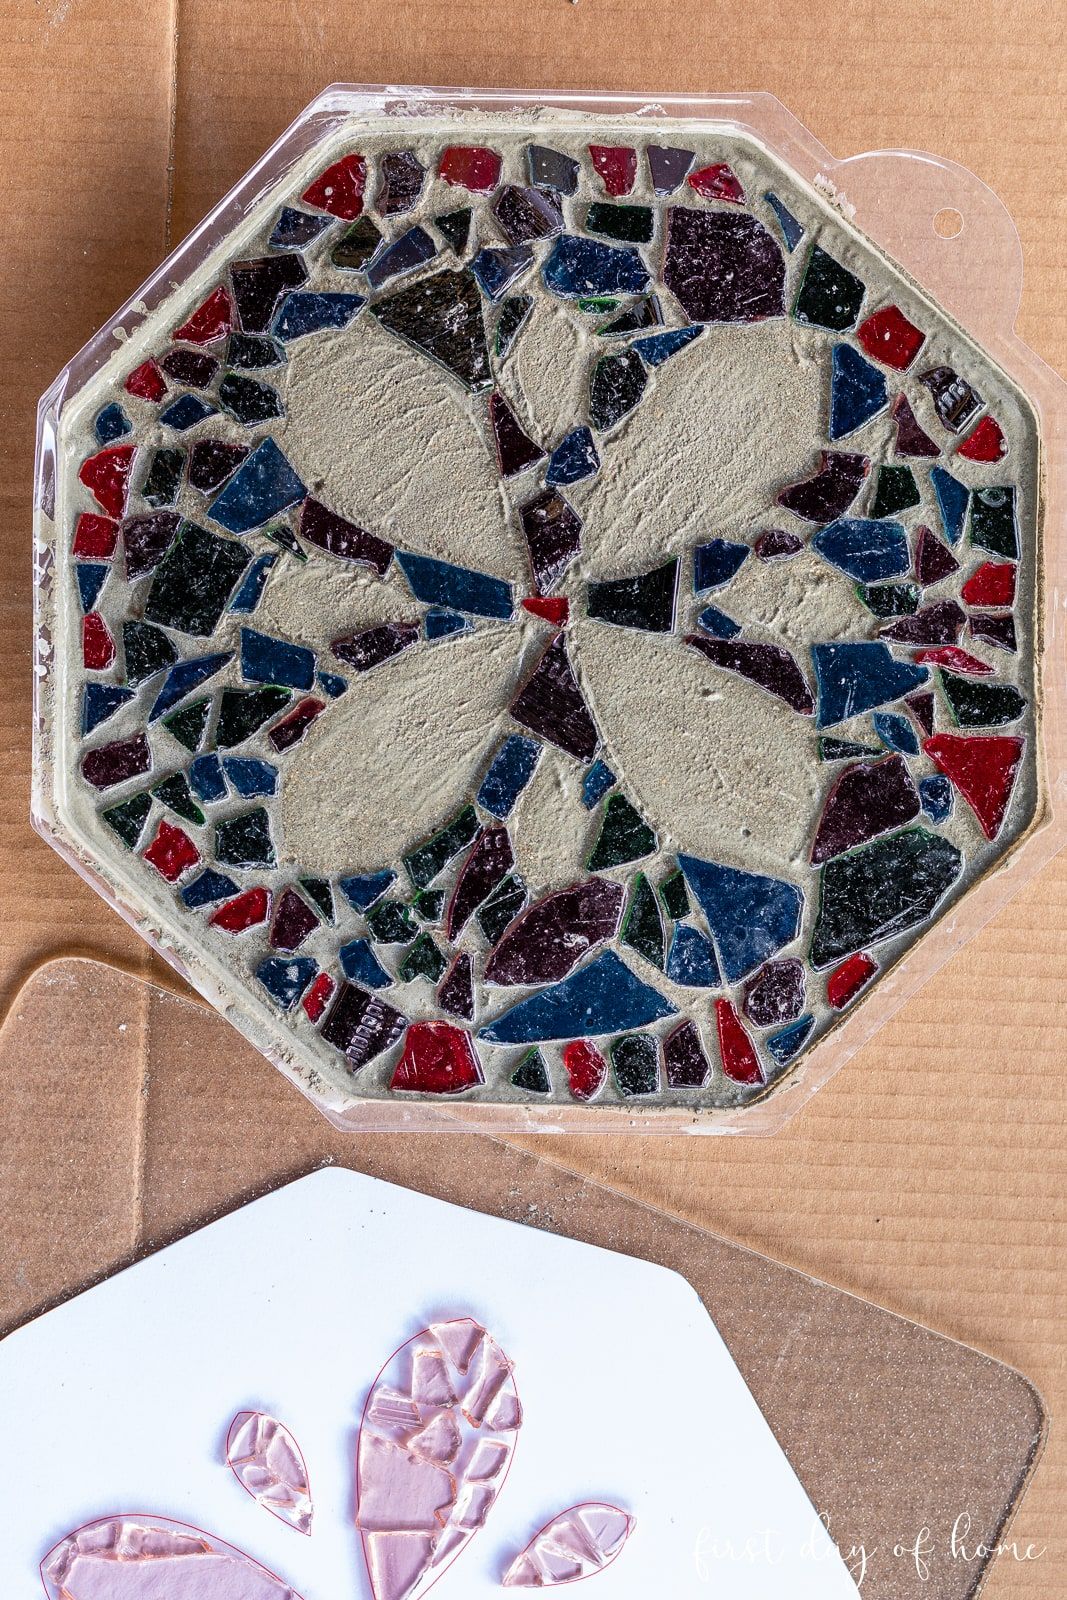
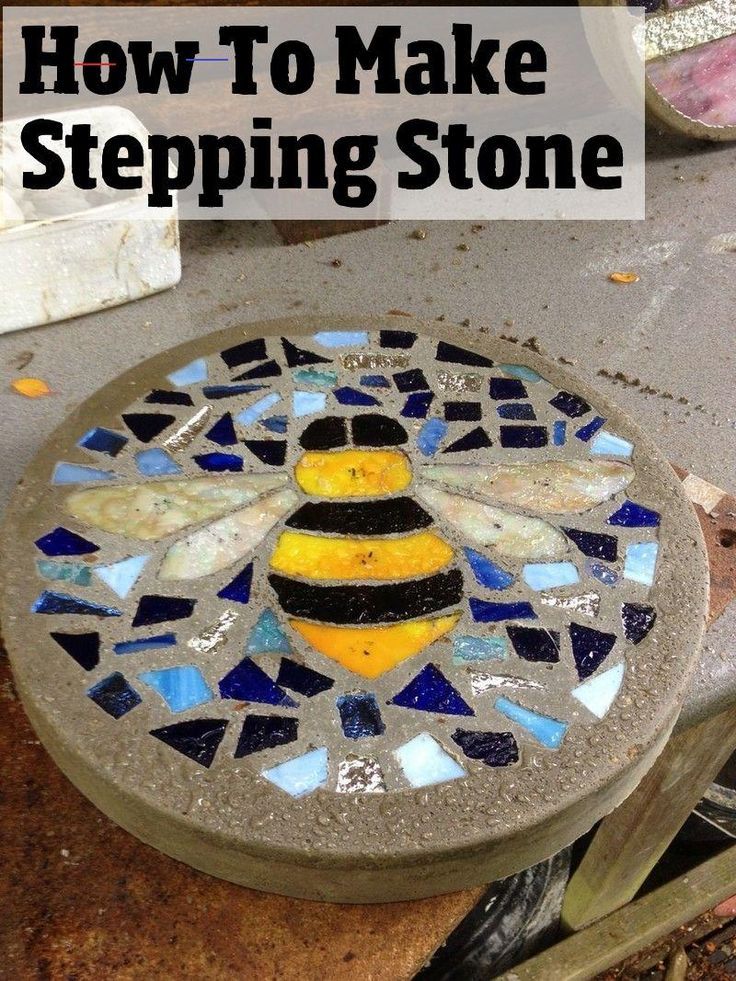
- Experiment with Colors & Materials: Don’t be afraid to try different concrete mixes, pigments, and even add-ins like glass or stones to create unique stepping stones.
- Regular Inspections: Make it a habit to inspect your molds before each use. Catching problems early can save you a headache later.
- Mold Release is Your Friend: Seriously, don’t skip the mold release agent! It makes everything so much easier.
- Consider Multiple Molds: Having multiple molds allows you to cast several stepping stones at once, speeding up your project. And, it is so much fun.
- Share Your Creations: The best part of crafting is sharing your work. Join online communities, show off your stepping stones, and get inspired by others.
So there you have it! With these tips and tricks, you’re well on your way to keeping your paisley stepping stone molds in top-notch shape. Remember, a little care and attention can make a huge difference in the longevity and performance of your molds. From cleaning to storing, and using mold release agents, you are now equipped with the knowledge to create beautiful, long-lasting stepping stones, adding a personal touch to your yard or garden. Now go forth, get casting, and enjoy the process. I can’t wait to see your beautiful creations! And as always, happy crafting, my friends!