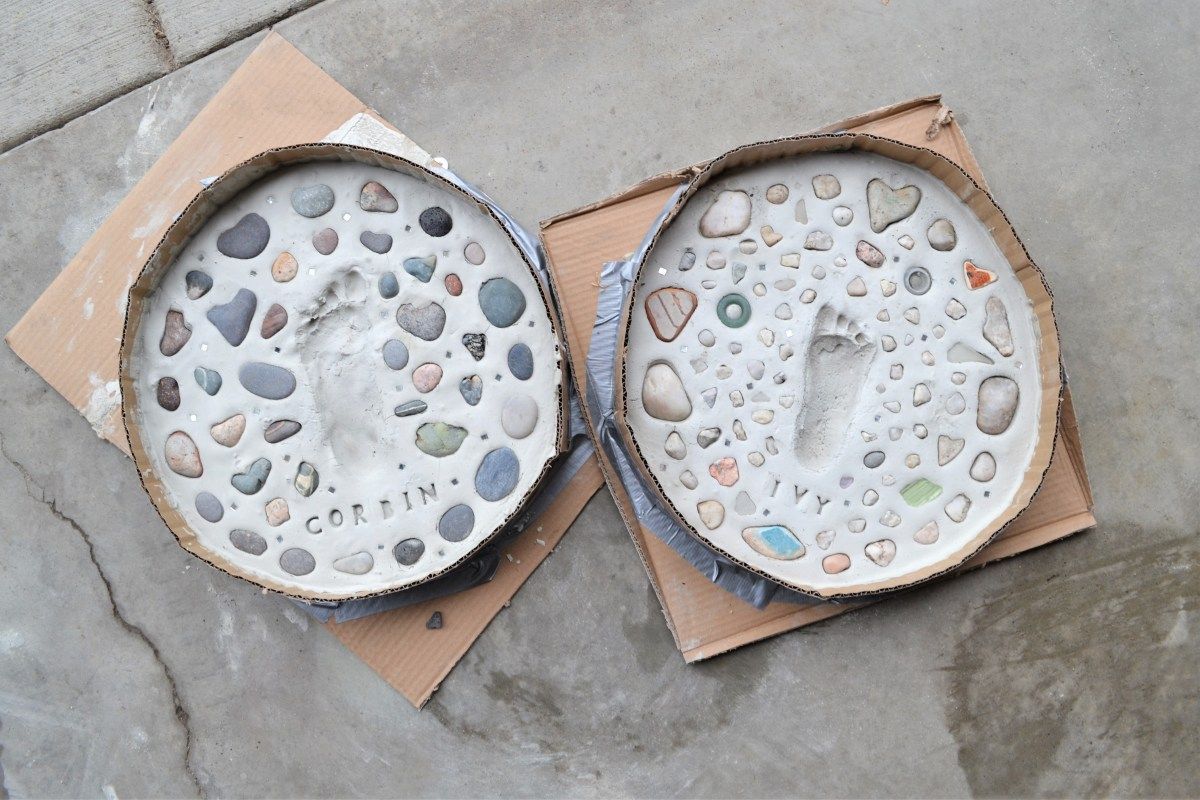
Welcome, friends, to a project that’s near and dear to my heart: making handprint stepping stones. It’s a craft that blends creativity, family bonding, and a charming touch of personalization. I’ve been doing this with my own kids for years, and watching their little hands (and feet, as they got older!) immortalized in stone has been a true joy. It’s more than just a garden decoration; it’s a tangible reminder of time spent together, a celebration of growth, and a beautiful way to add some personality to your outdoor space. Get ready to dive into the world of stepping stones, where every print tells a story.
Why this specific craft, you may ask? Well, there’s something truly magical about it. It’s a project that is easily adaptable for all ages, from tiny toddler hands to the grown-up palms of older children (and, let’s be honest, the parents too!). It’s a fun activity, a creative outlet, and a way to make a lasting memento. Plus, it’s a relatively inexpensive project that yields stunning results. Imagine a pathway of handprints, a constant visual reminder of how quickly time flies, and the precious moments shared. It’s also a fantastic gift idea, perfect for grandparents or other loved ones. Let’s get started, shall we?
Gathering Your Supplies: What You’ll Need
Before we get our hands dirty (literally!), let’s make sure we have everything we need. Fortunately, the supply list is pretty straightforward. Here’s what you’ll require:
- Concrete Mix: You can buy pre-mixed concrete at any home improvement store. Look for a quick-setting variety if you want to finish the project in a day.
- Water: For mixing the concrete.
- Mixing Bucket and Trowel or Shovel: To mix the concrete. Make sure the bucket is big enough to hold the mixed concrete.
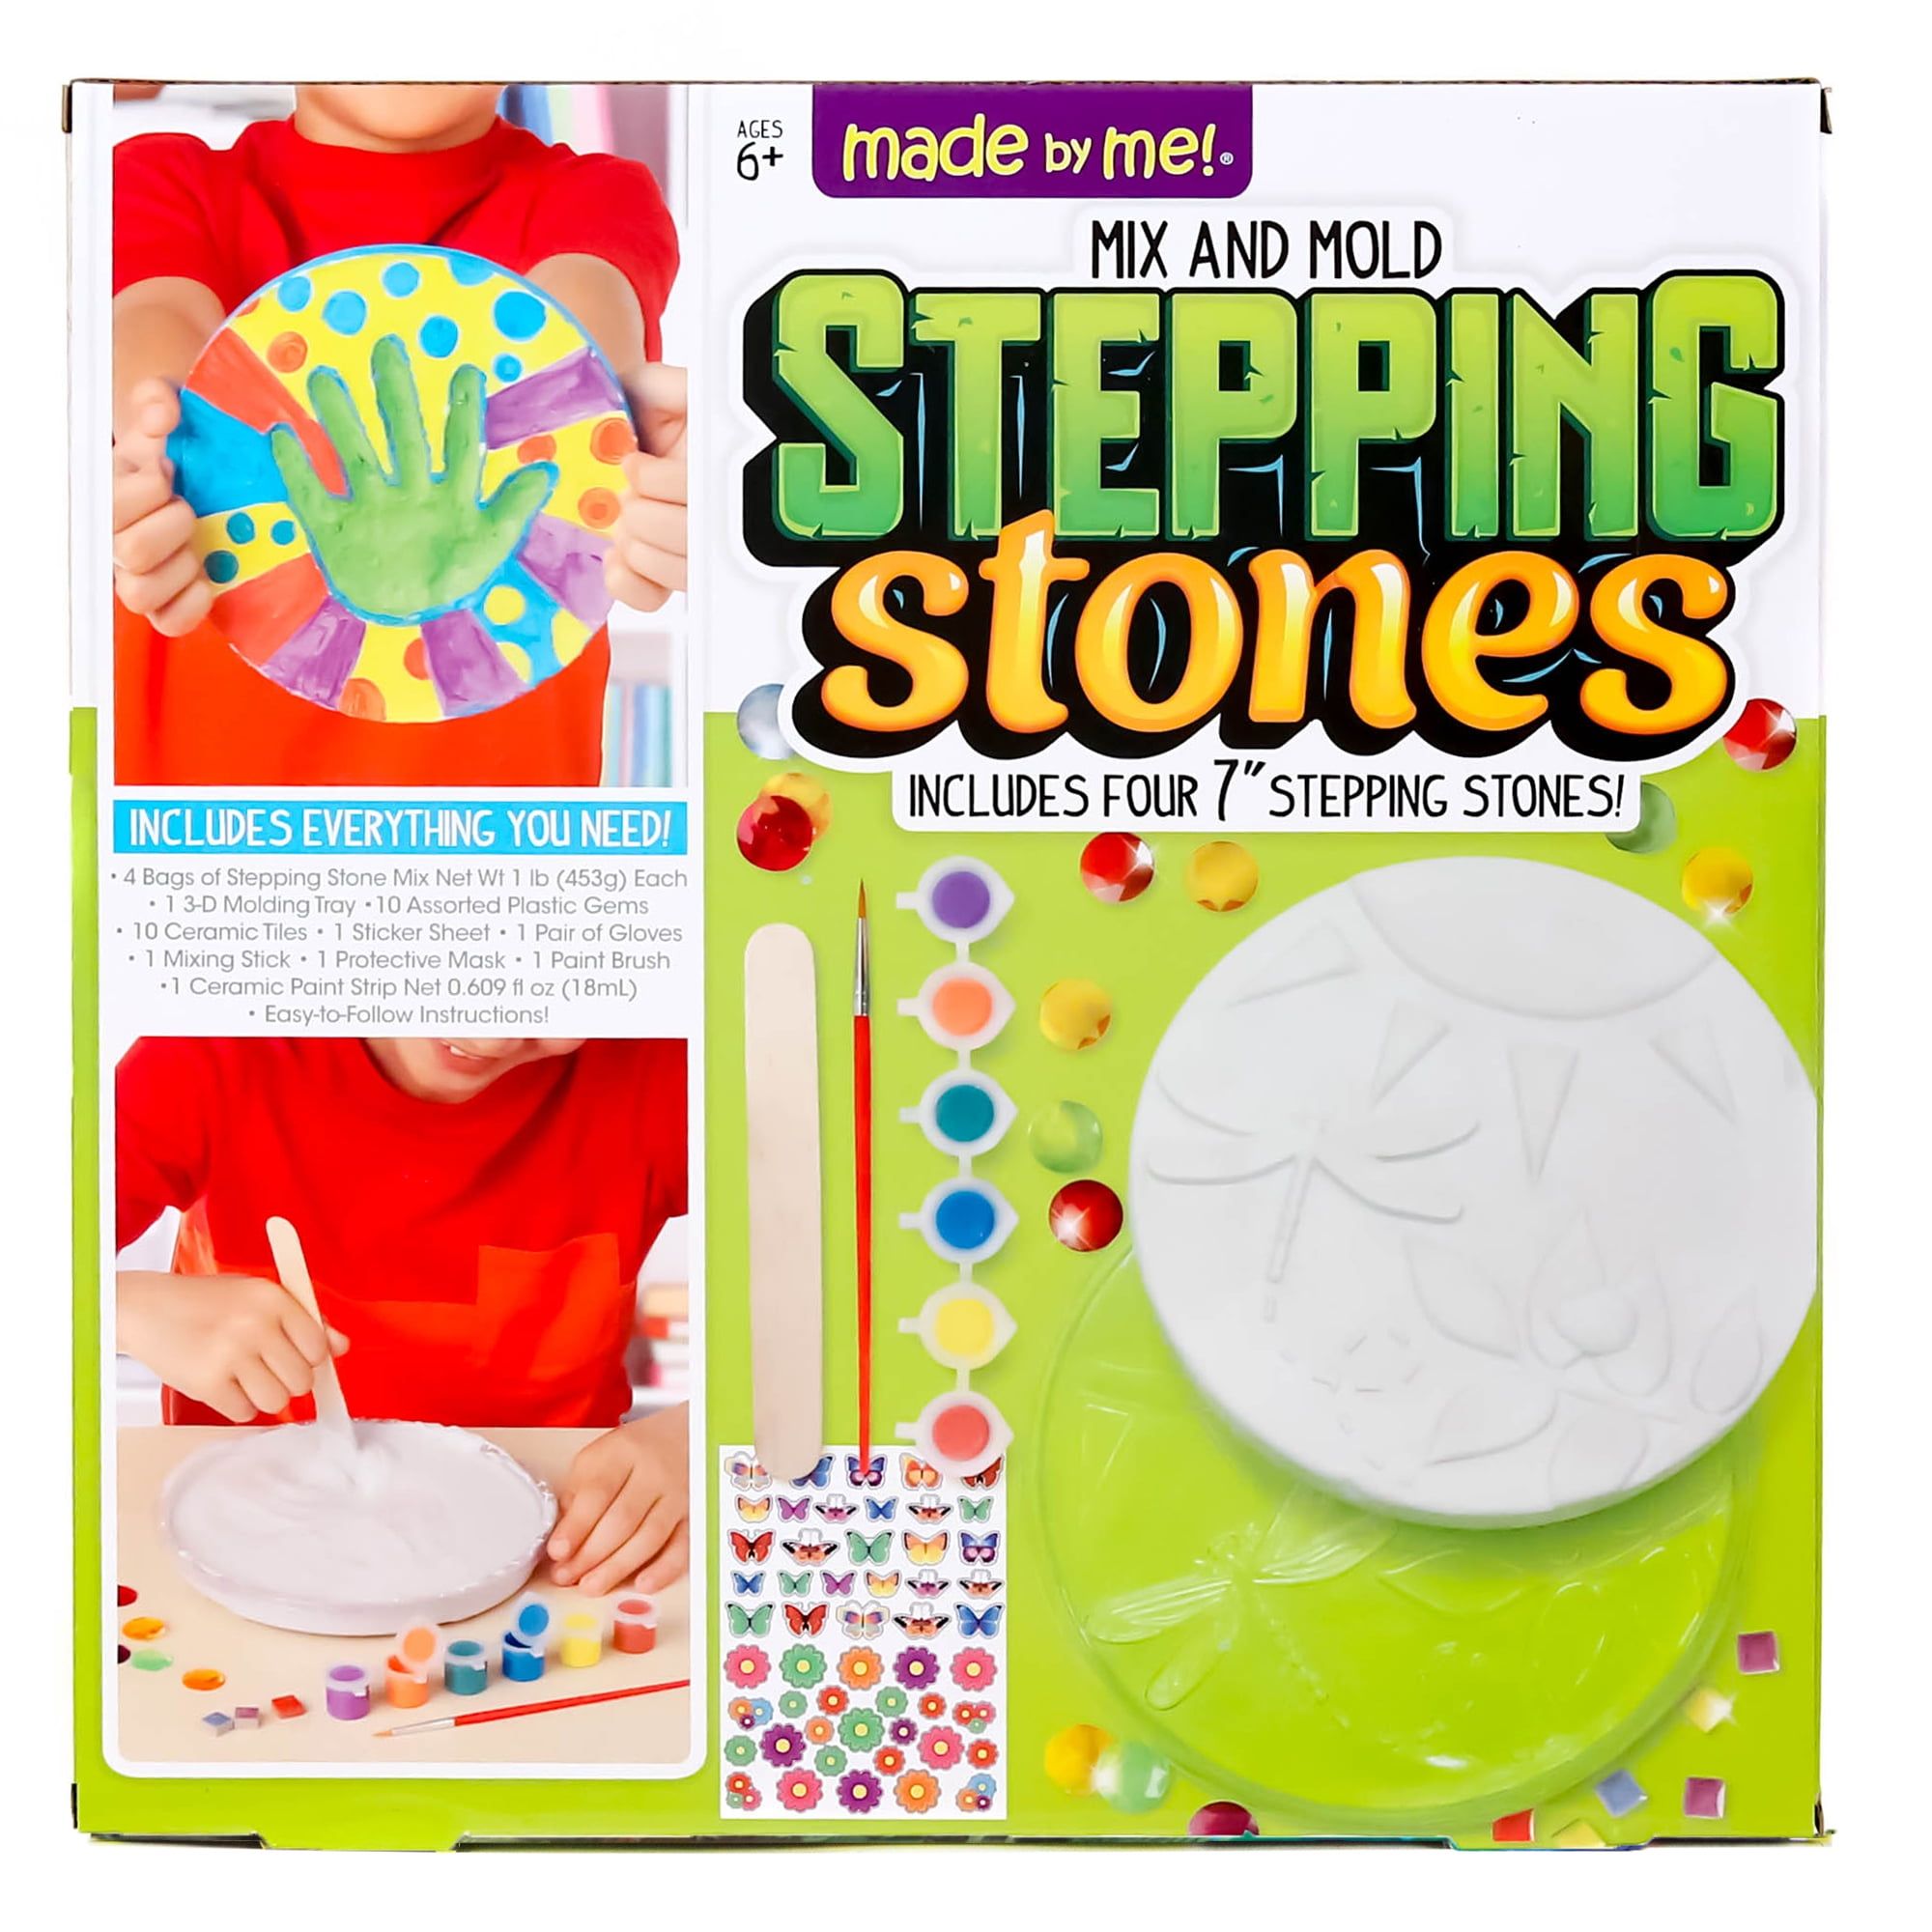
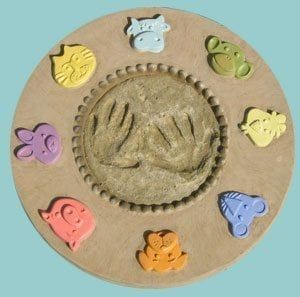
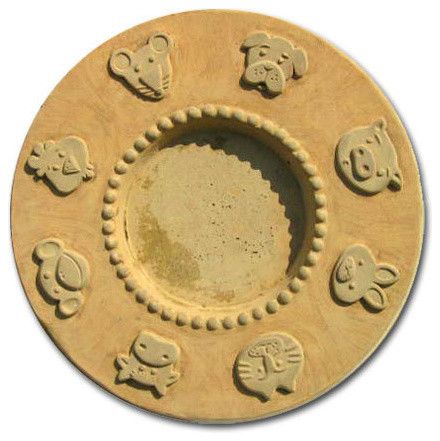
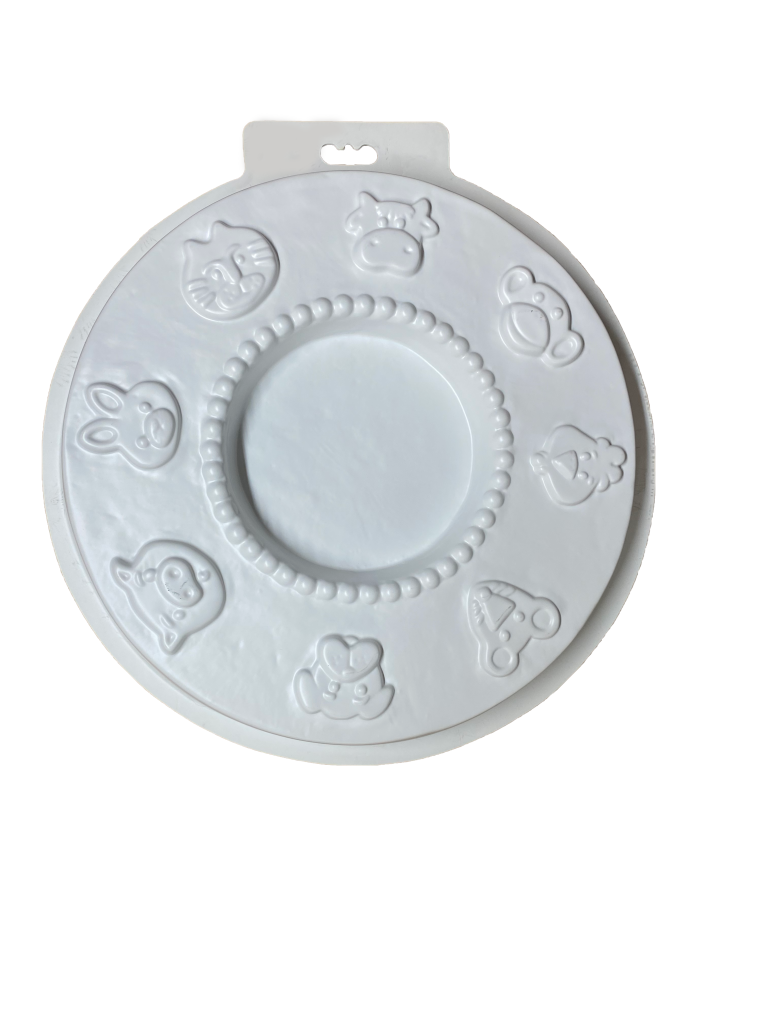
- Stepping Stone Molds: You can buy these online or at craft stores. Round, square, or even heart-shaped molds work well. You can also get creative and use pie pans or other sturdy containers.
- Gloves: To protect your hands.
- Safety Glasses: To protect your eyes while mixing concrete.
- Mixing Stick: A sturdy stick or trowel for mixing.
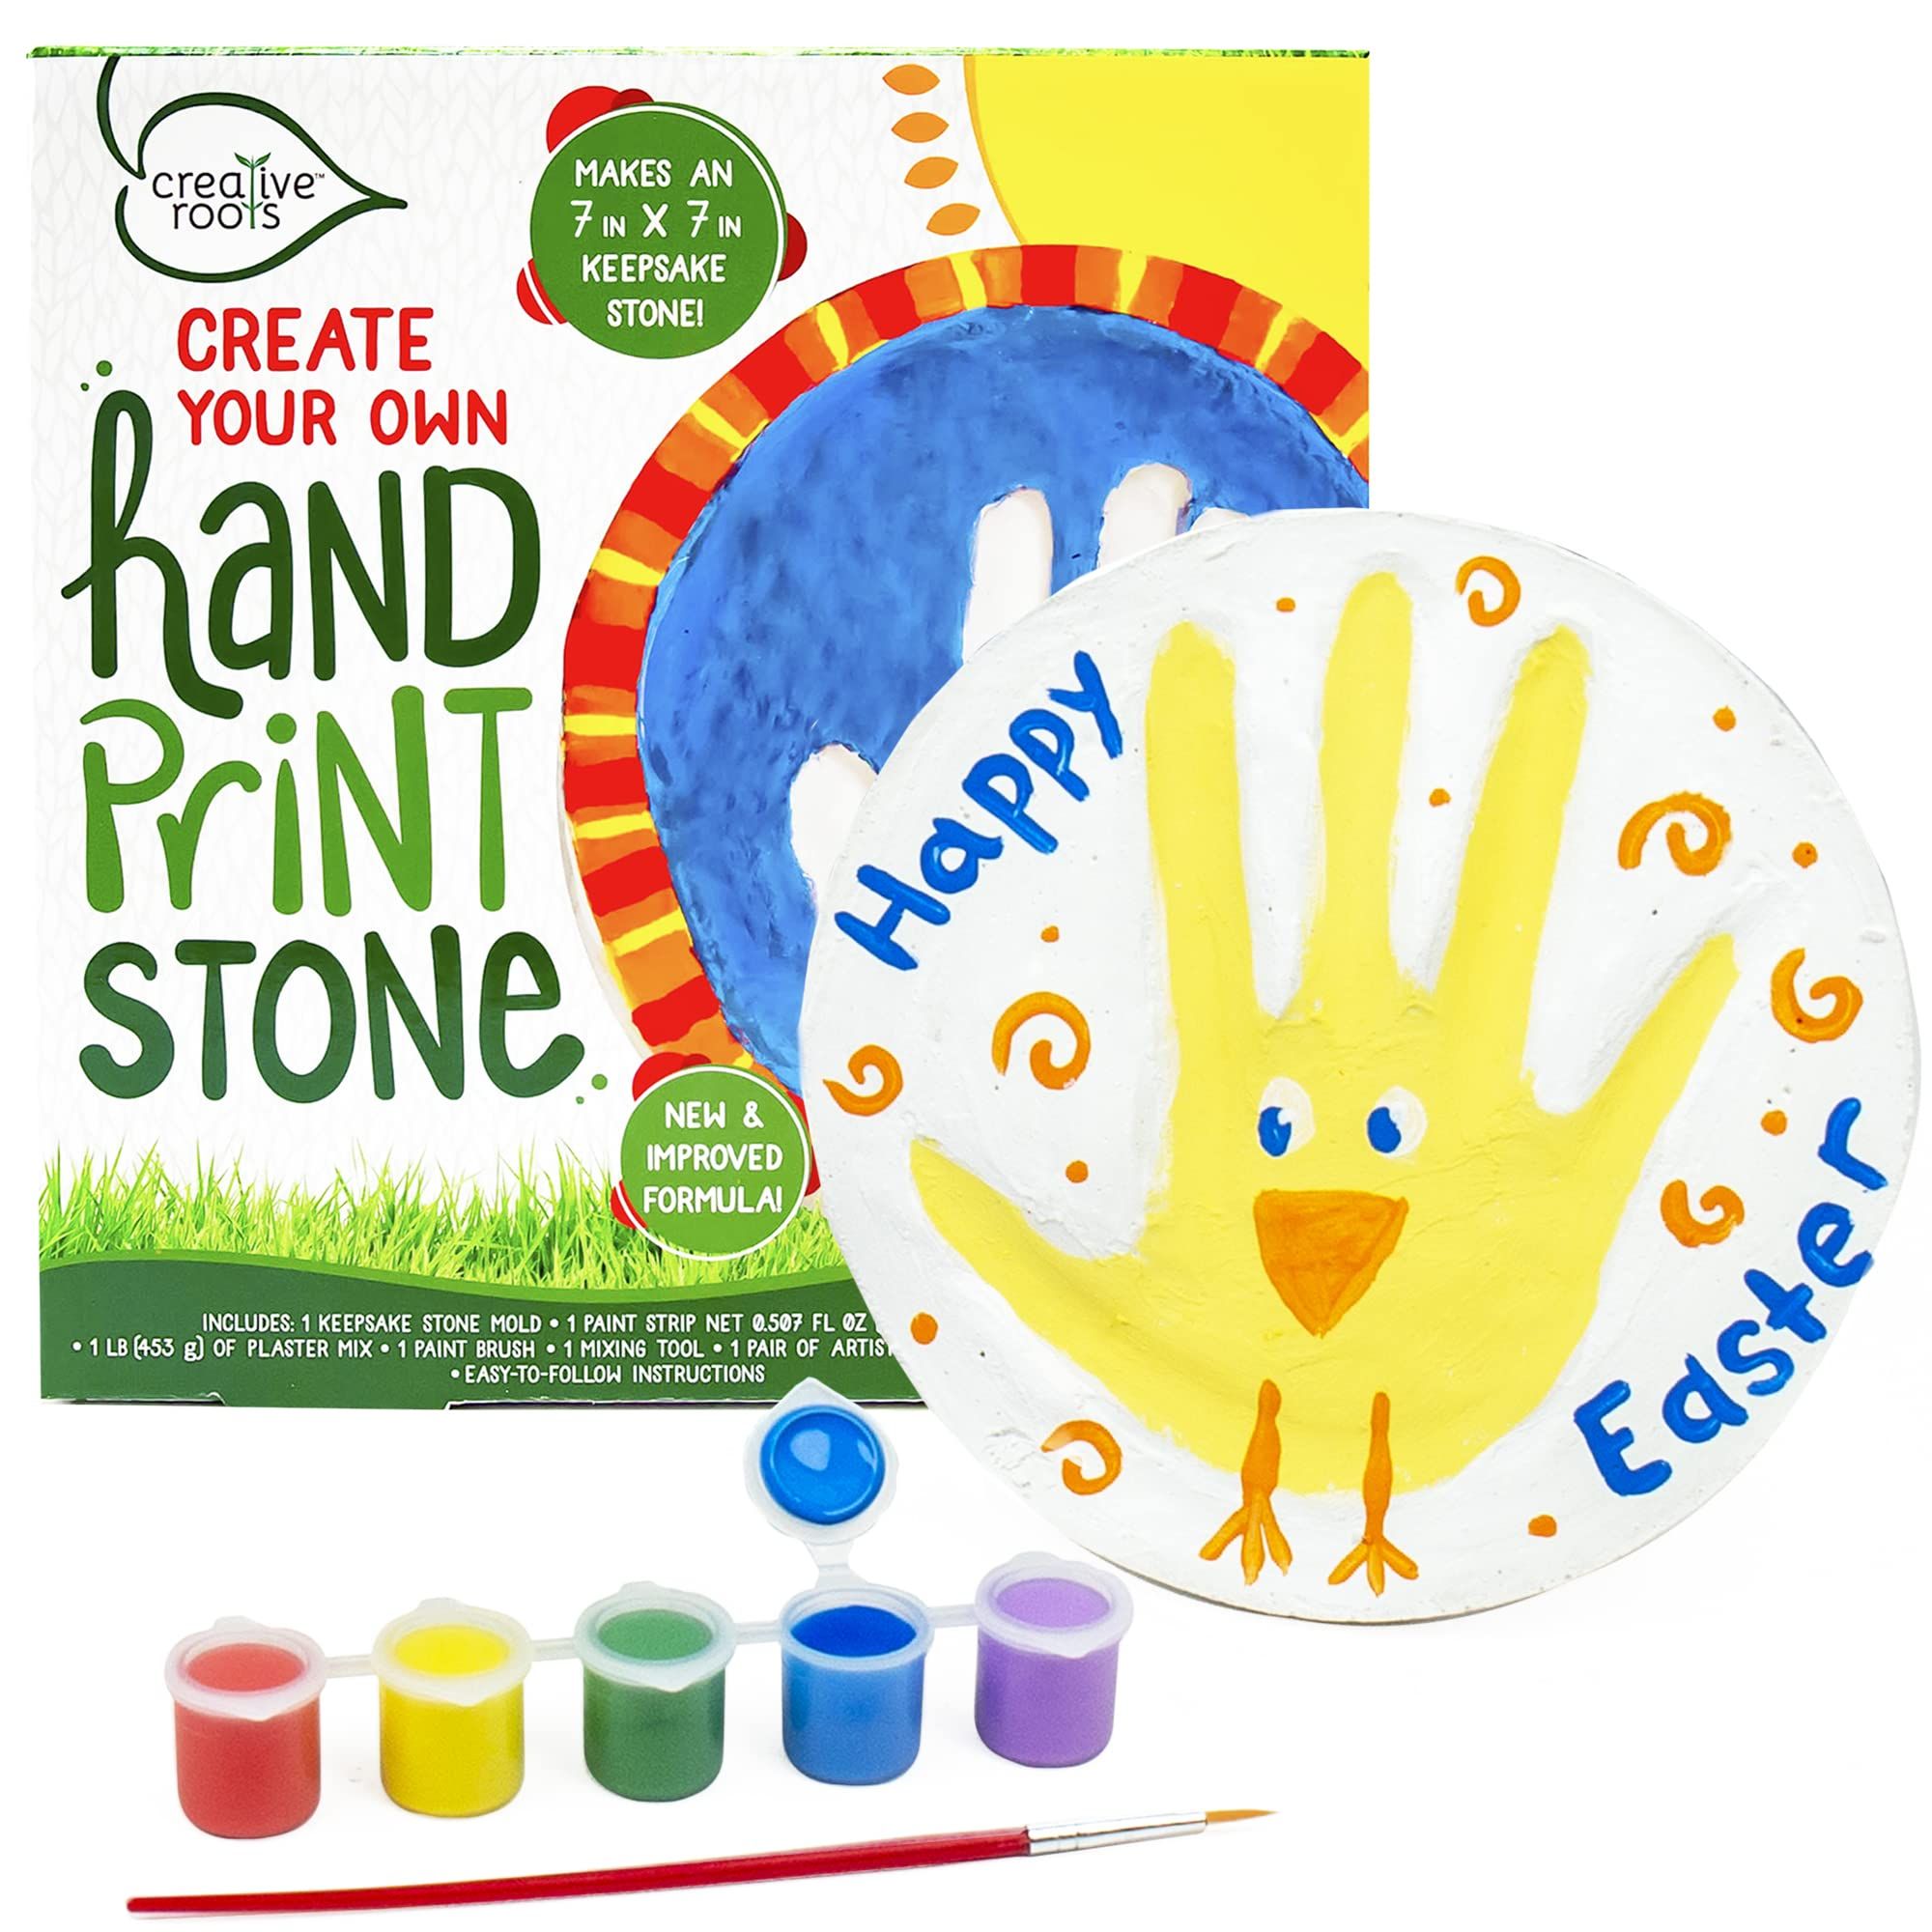
- Paint: For decorating the finished stones. Acrylic paints are a good choice as they are weather-resistant.
- Paintbrushes: Various sizes for painting.
- Sealer: To protect the finished stones from the elements and make them last longer. A concrete sealer is ideal.
- Optional: Decorative Items: Glass beads, pebbles, mosaic tiles, or anything else you’d like to embed in the concrete for added flair.
Mixing the Concrete: The Foundation of Your Creations
Mixing concrete is easier than it sounds, but it’s crucial to get the consistency right. Always follow the instructions on your concrete mix packaging. Here’s a general guide:
- Put on your safety gear: Gloves and glasses are essential for safety.
- Pour the concrete mix into your bucket.
- Add water gradually, mixing constantly with your trowel or shovel. The mixture should be about the consistency of thick oatmeal. You want it to be pourable but not runny.
- Mix thoroughly: Make sure there are no lumps and that all the dry concrete is moistened. This might take a few minutes.
- Let it rest for a few minutes: This allows the concrete to fully absorb the water.
- Mix again: Just before pouring.
Creating the Handprints: Making Your Mark
Now for the fun part. Here’s how to create those precious handprints:
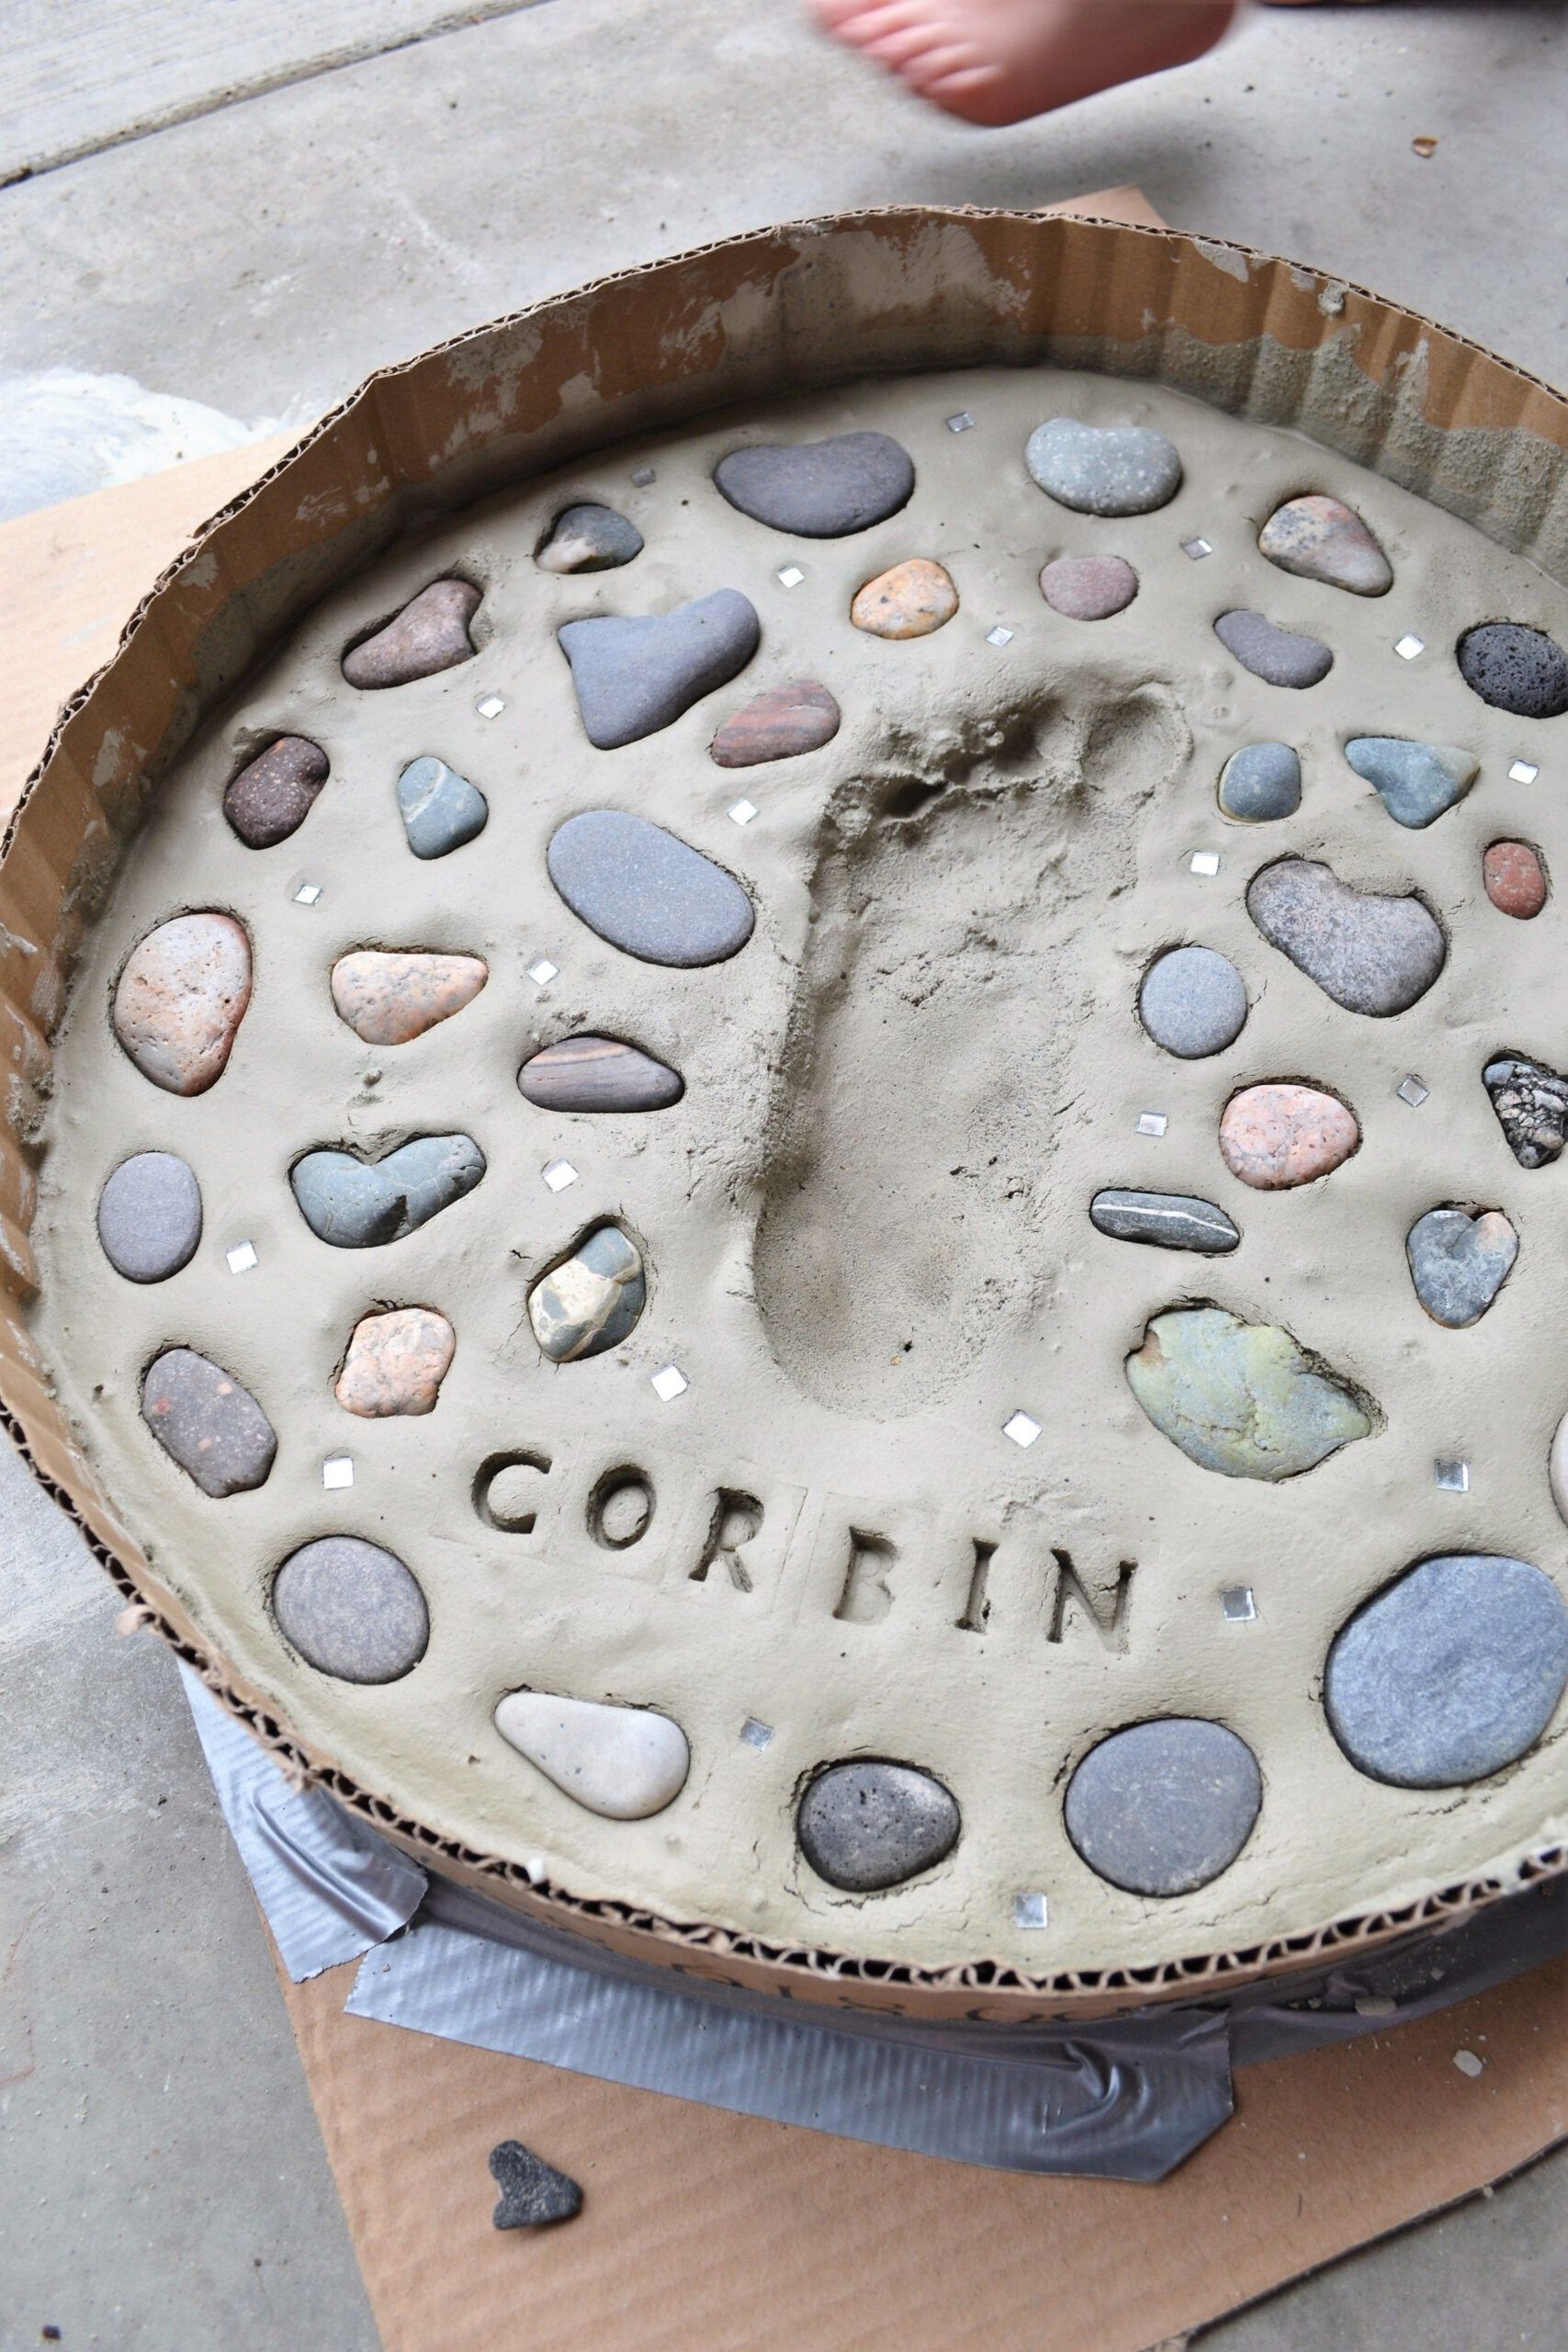
- Pour the mixed concrete into your stepping stone mold, filling it about halfway. If you’re using decorative items, now is the time to gently press them into the concrete.
- Smooth the surface with your trowel.
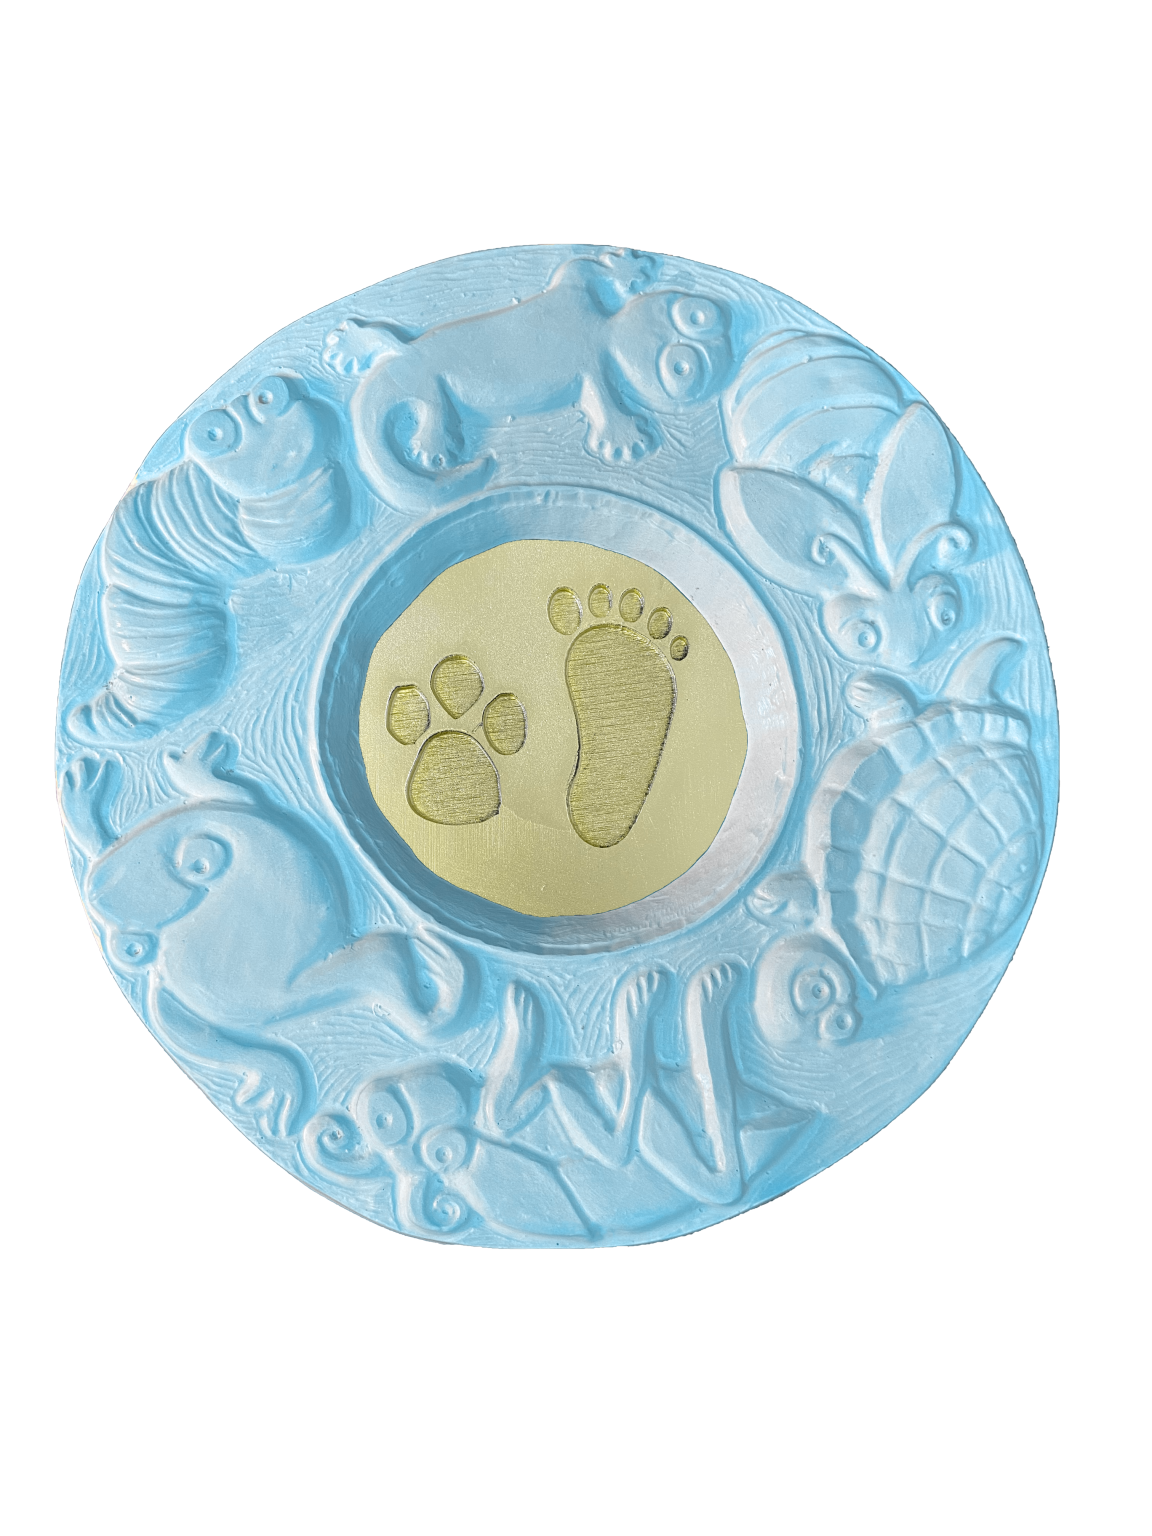
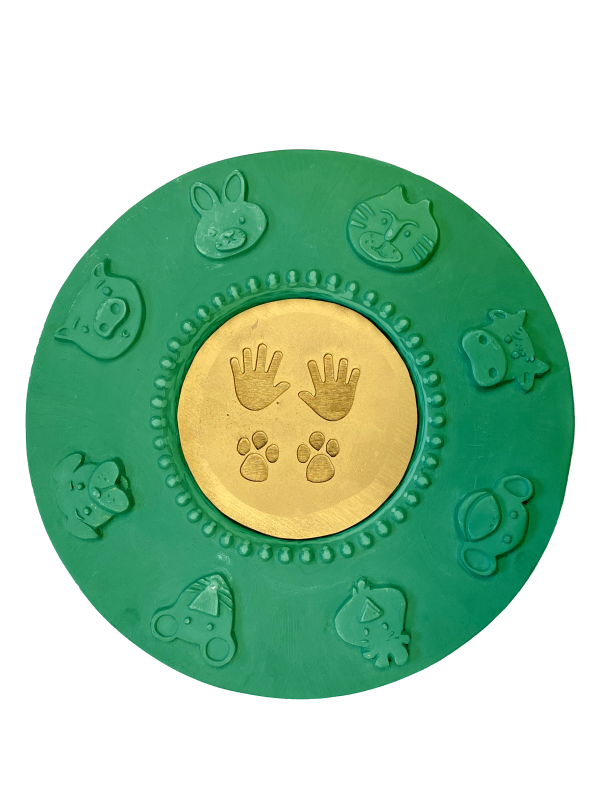
- Have your child (or you!) press their hand firmly into the concrete. Make sure they press down evenly to get a good impression.
- For deeper prints, have them press down a bit harder. If you want to include footprints, this is the time to do it, too.
- Gently remove their hand. You might need to wiggle it a bit to get it out without distorting the print.
- Use a tool to clean up any rough edges around the handprint. A small trowel or even a popsicle stick works great.
- Let the concrete set: Follow the instructions on your concrete mix for setting times. Typically, this is a few hours. Avoid disturbing the stones during this time.
Removing and Finishing Your Stepping Stones
Once the concrete has set, it’s time to remove the stones from their molds.
- Gently flip the mold over and tap the bottom to loosen the stone.
- Carefully remove the stone.
- Let the stones cure: Curing is the process of allowing the concrete to fully harden. Keep them in a cool, damp place for a few days, as directed on the concrete mix package. This prevents cracks.
- Once the stones are fully cured, you can start decorating. Let the kids’ creativity run wild with paints, glitter, and any other embellishments you desire.
- Once the paint is dry, apply a concrete sealer to protect the stones from the weather and add durability.
Adding Personal Touches: Decoration Ideas
The decorating phase is where the magic truly happens. Here are some ideas to spark your creativity:
- Paint the handprints: Use different colors for each child’s handprint, or create a rainbow effect.
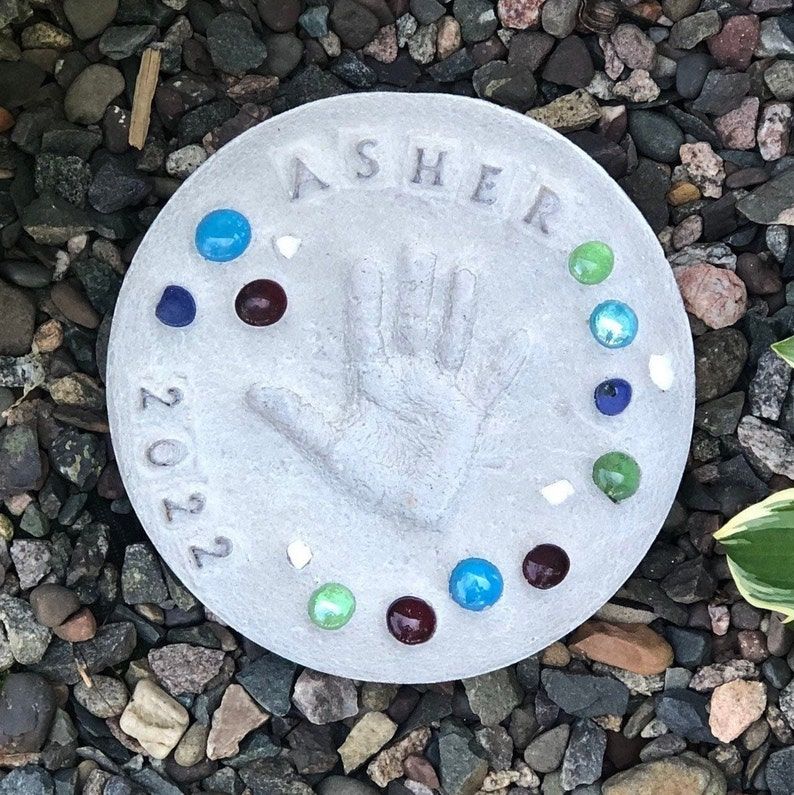
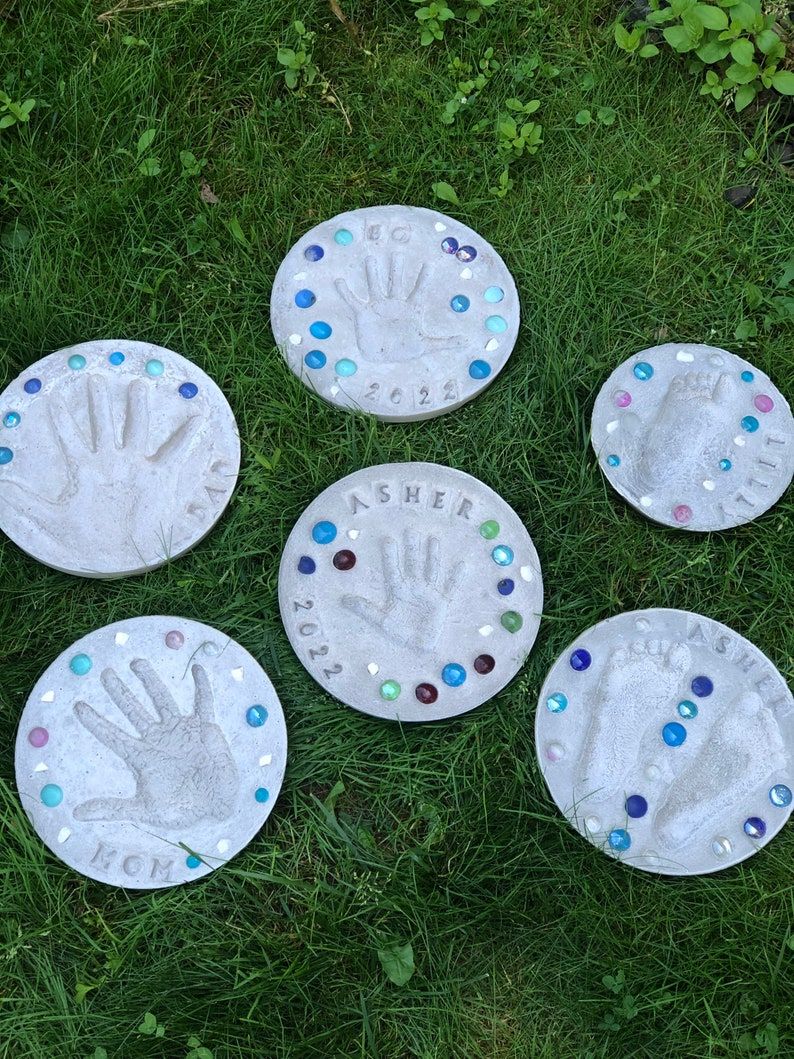
- Write names and dates: Use a permanent marker or paint to add names, dates, or special messages. This is a great way to commemorate the year the stone was made.
- Add mosaic tiles: Create intricate designs or patterns using mosaic tiles. This adds a lovely texture and visual interest.
- Embed small objects: Before the concrete sets, press in small objects like seashells, glass beads, or even small toys. Just be mindful of the size and shape of the objects to ensure they don’t create cracks.
- Create themed stones: Make stones with a specific theme, such as a garden theme, a nautical theme, or a holiday theme.
Tips for Success and Troubleshooting
Here are a few tips and common problems to keep in mind:
- Work in a shaded area: Direct sunlight can cause the concrete to dry too quickly, leading to cracks.
- Don’t overmix the concrete: Overmixing can weaken the concrete.
- Smooth the surface: Use a trowel to smooth the surface of the concrete before making the handprints. This will give you a cleaner, more defined print.
- Clean up spills immediately: Concrete can stain, so clean up any spills as soon as they happen.
- Cracks: If cracks appear, it might be due to the concrete drying too fast, not enough water, or the stone getting knocked around before it fully cured. A good sealer will help prevent further damage.
- Fading paint: Use exterior-grade paints and seal the stones properly to prevent fading.
And there you have it – a simple, fun, and incredibly rewarding project that brings families together and creates lasting memories. Handprint stepping stones are more than just garden decor; they’re a testament to the love, laughter, and shared moments that make life so precious. So, grab your supplies, gather your little ones, and get ready to create something beautiful and meaningful. I can’t wait to see the amazing stepping stones you all create. Share your creations with me – I’d love to see them. Happy crafting, my friends, and may your gardens bloom with memories.