Hey everyone, it’s your pal, back again to talk about something I’m genuinely passionate about: crafting gorgeous outdoor spaces. We all dream of a backyard that’s a true sanctuary, a place where we can unwind, entertain, and connect with nature. And one of the most impactful ways to achieve that dream is through clever landscape design, especially when you incorporate pavers. Trust me, pavers are not just for patios anymore; they are a game-changer. They offer incredible versatility, durability, and a world of design possibilities. We’re going to dive deep into everything you need to know to get started, from choosing the right materials to planning your layout, and finally, bringing your vision to life. Let’s get started, shall we?
Landscaping with pavers is a fantastic way to add function, beauty, and value to your property. They’re so much more than just functional elements; they are the building blocks of stunning outdoor living areas. Think about it: a perfectly paved patio invites you to enjoy a summer evening, a winding walkway guides you through your garden, or a stylish driveway boosts your home’s curb appeal. But where do you even begin? Don’t worry, I’m here to assist you through the process, one step at a time. We’ll break down the essentials so you can create an outdoor space that reflects your style and meets your needs. I’m going to give you the info I’ve learned over the years, the things that really matter, and the things you should probably avoid.
Choosing the Right Pavers: Materials & Considerations
The first, and possibly most crucial, step is selecting the right pavers. This isn’t a decision to be taken lightly, as the material you choose will influence the appearance, durability, and maintenance requirements of your project.
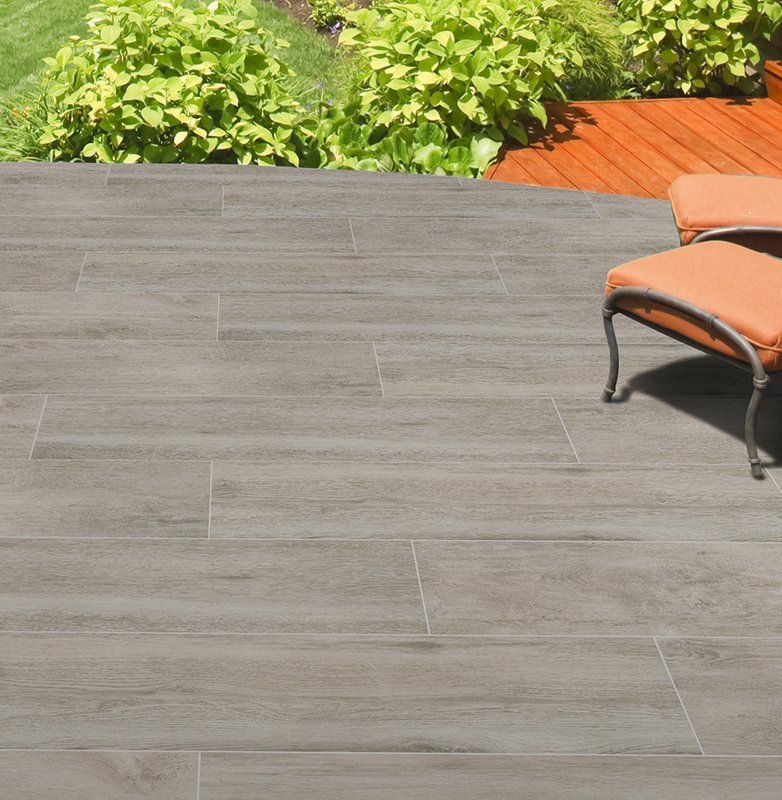
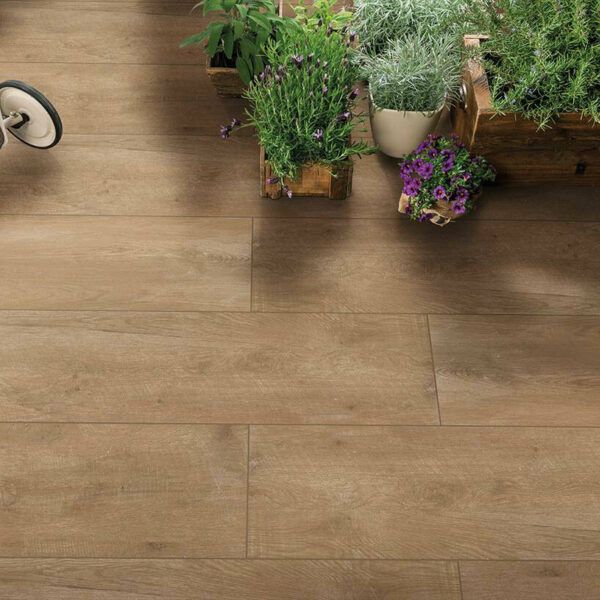
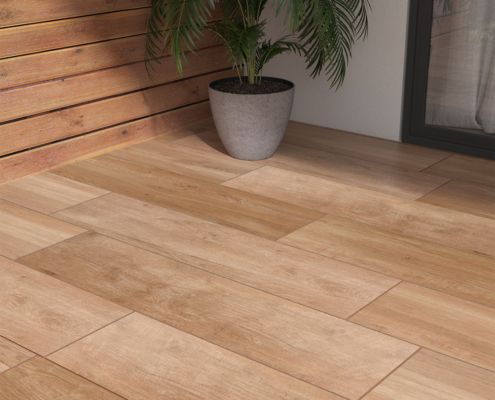
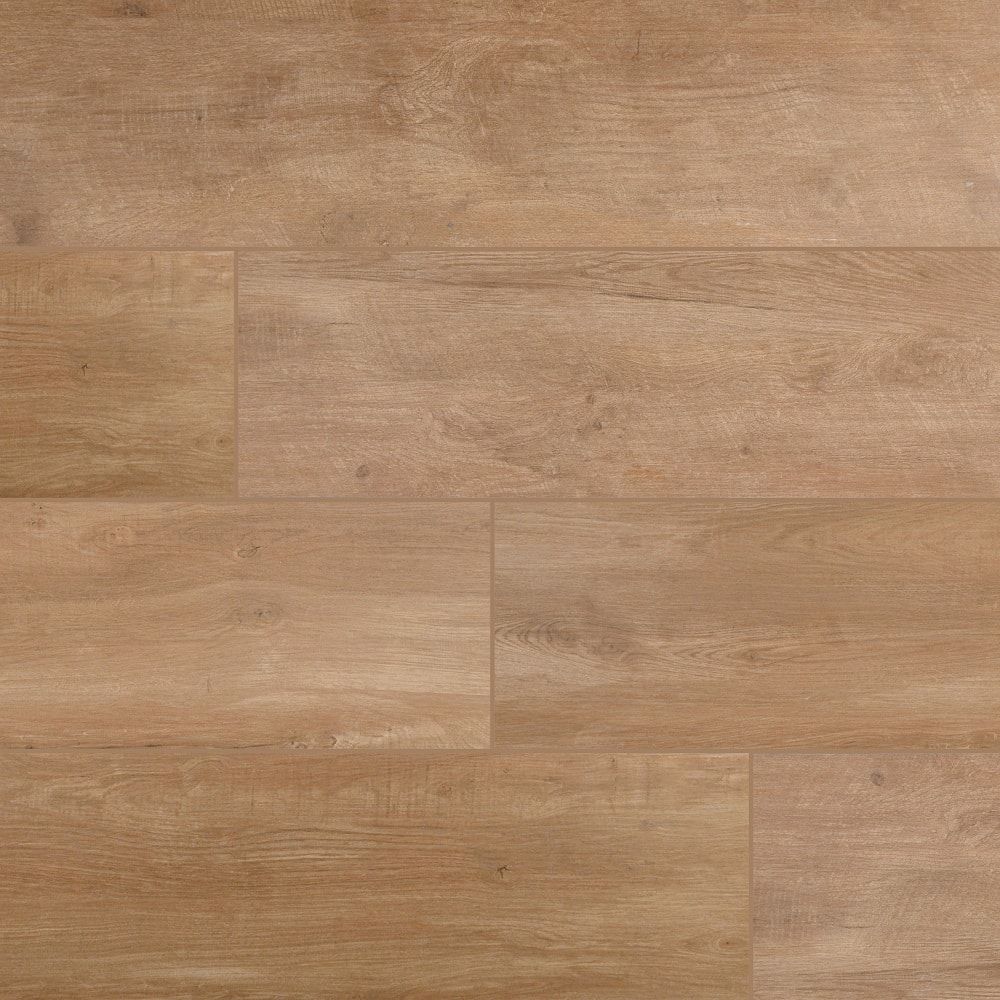
- Concrete Pavers: These are a popular choice due to their affordability, wide range of styles, colors, and shapes. They’re incredibly versatile and can mimic the look of natural stone, brick, or even wood. They are also very strong and can handle heavy traffic. Just be aware that concrete pavers may be susceptible to staining and fading over time.
- Clay Brick Pavers: These offer a classic, timeless aesthetic. They’re known for their natural beauty and warm tones. Brick pavers are also incredibly durable and long-lasting, capable of withstanding the elements. However, they may require periodic sealing to protect against staining and water damage.
- Natural Stone Pavers: This is the king of sophistication. Options like granite, sandstone, and limestone offer a luxurious feel and unique, natural variations. They are incredibly strong and can last for decades. The downside? Natural stone pavers are typically more expensive than other options, and they may require professional installation.
Important Considerations:
- Climate: Consider your local climate. Some materials are better suited for extreme temperatures or heavy rainfall.
- Traffic: How much foot or vehicle traffic will the paved area experience? Choose pavers that are durable enough to handle the load.
- Style: What’s the overall aesthetic you’re aiming for? Do you prefer a modern, rustic, or traditional look?
- Budget: Set a realistic budget before you start shopping. Paver prices can vary significantly depending on the material and style.
Planning Your Paver Project: Design & Layout
Before you start laying pavers, careful planning is essential. This is where your vision starts to come to life.
- Define the Purpose: What will the paved area be used for? A patio for entertaining, a walkway to your front door, or a driveway for your vehicles? This will influence the size, shape, and material choices.
- Measure and Sketch: Accurately measure the area where you’ll be installing the pavers. Sketch out your design, including the dimensions, shape, and any curves or angles. This will help you visualize the final product and estimate the number of pavers you’ll need.
- Consider Drainage: Proper drainage is critical to prevent water damage and ensure the longevity of your pavers. Make sure the area slopes away from any buildings and that you have adequate drainage systems in place.
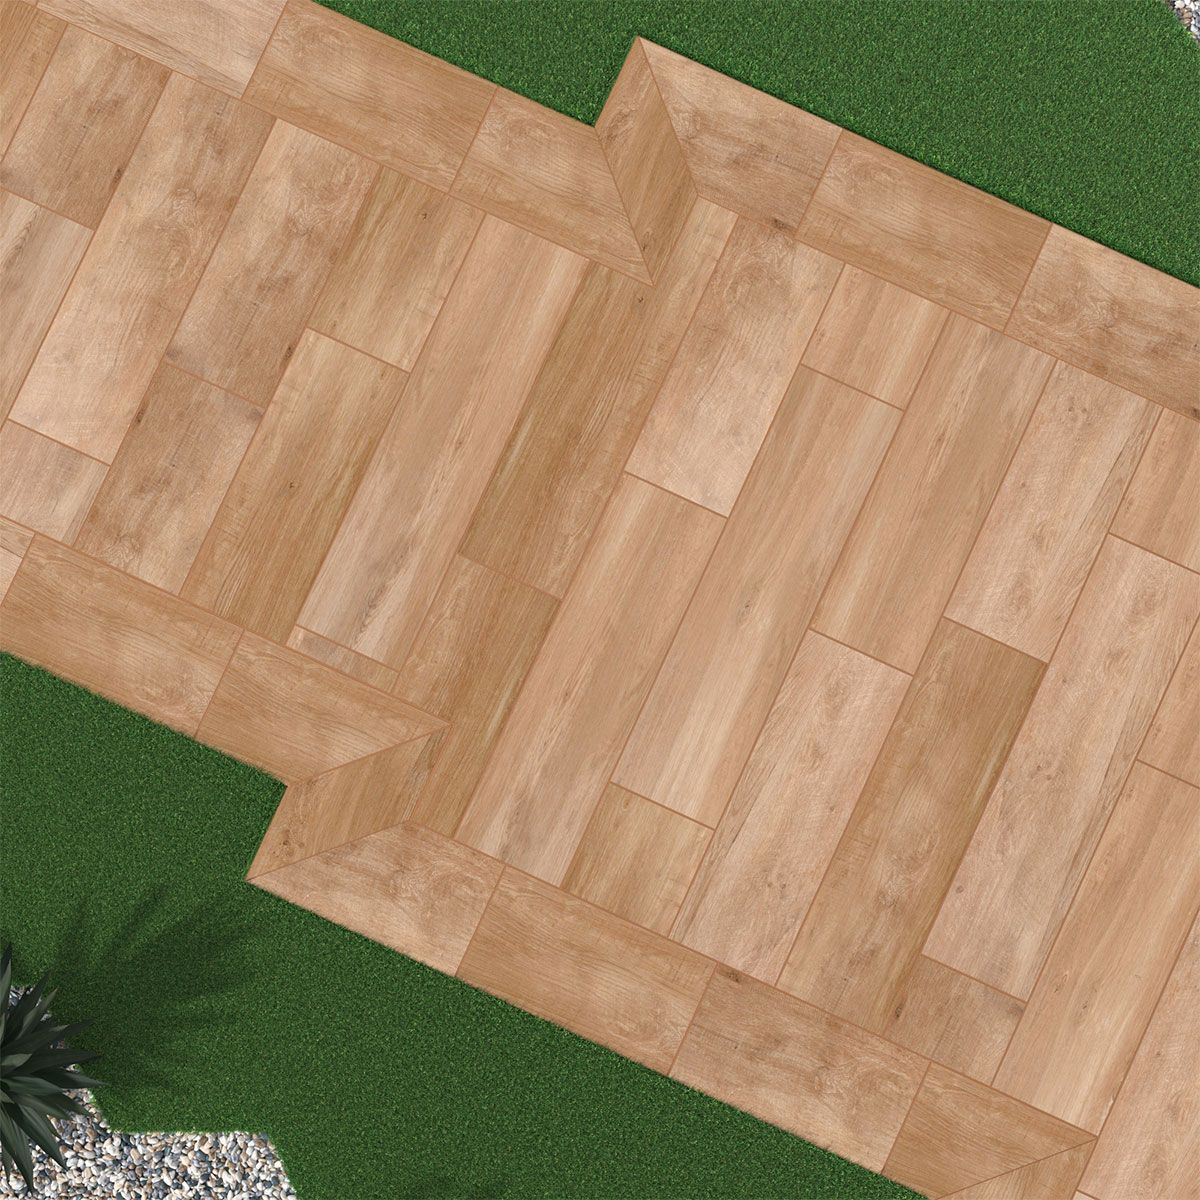
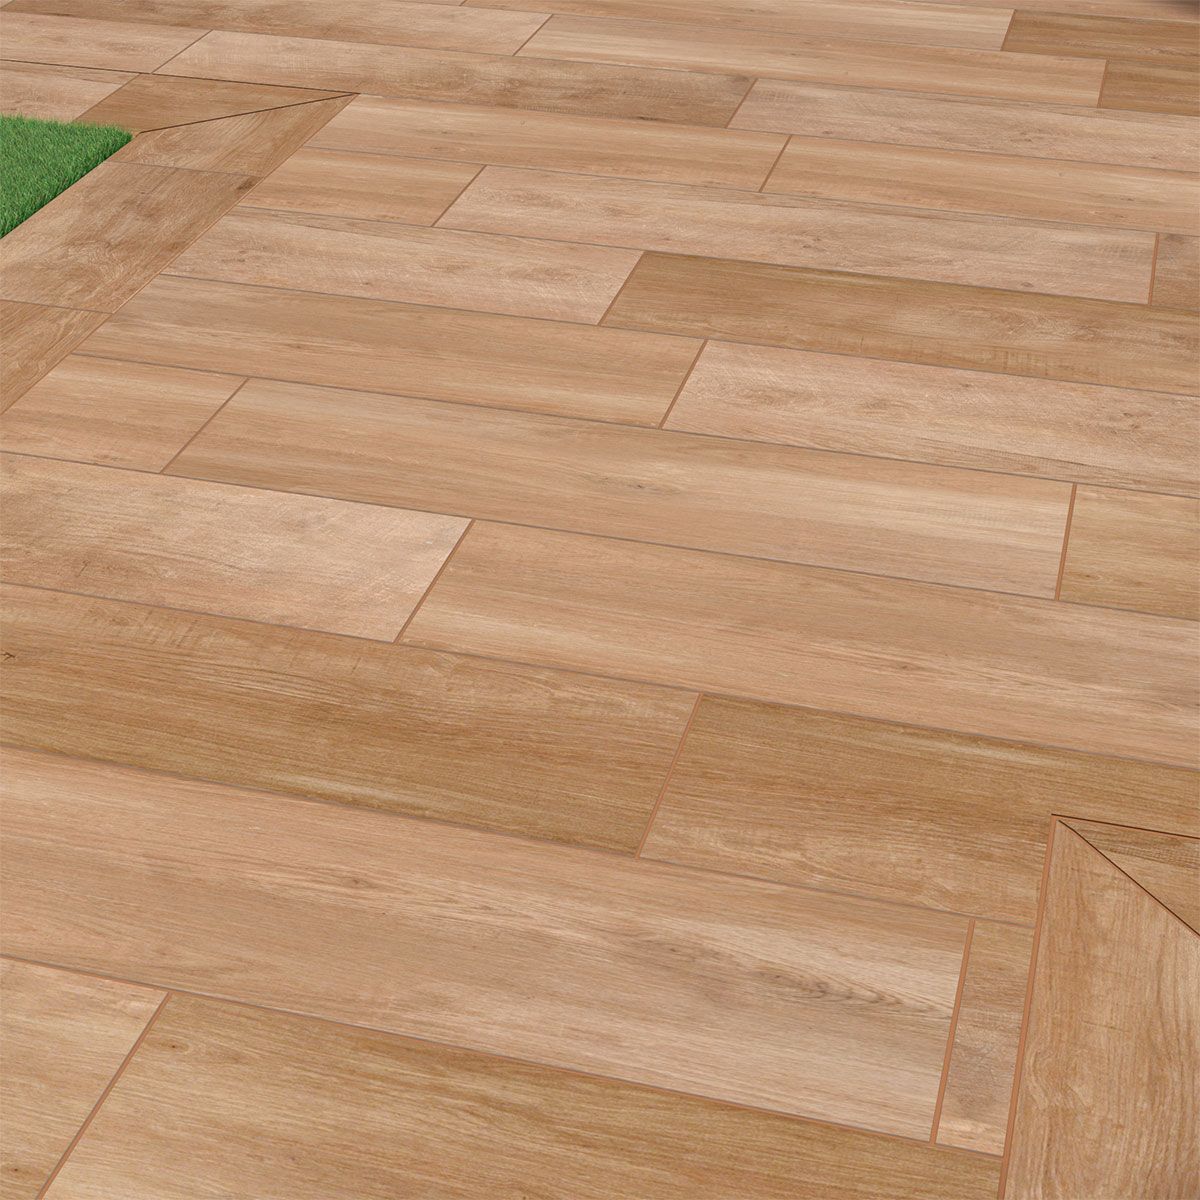
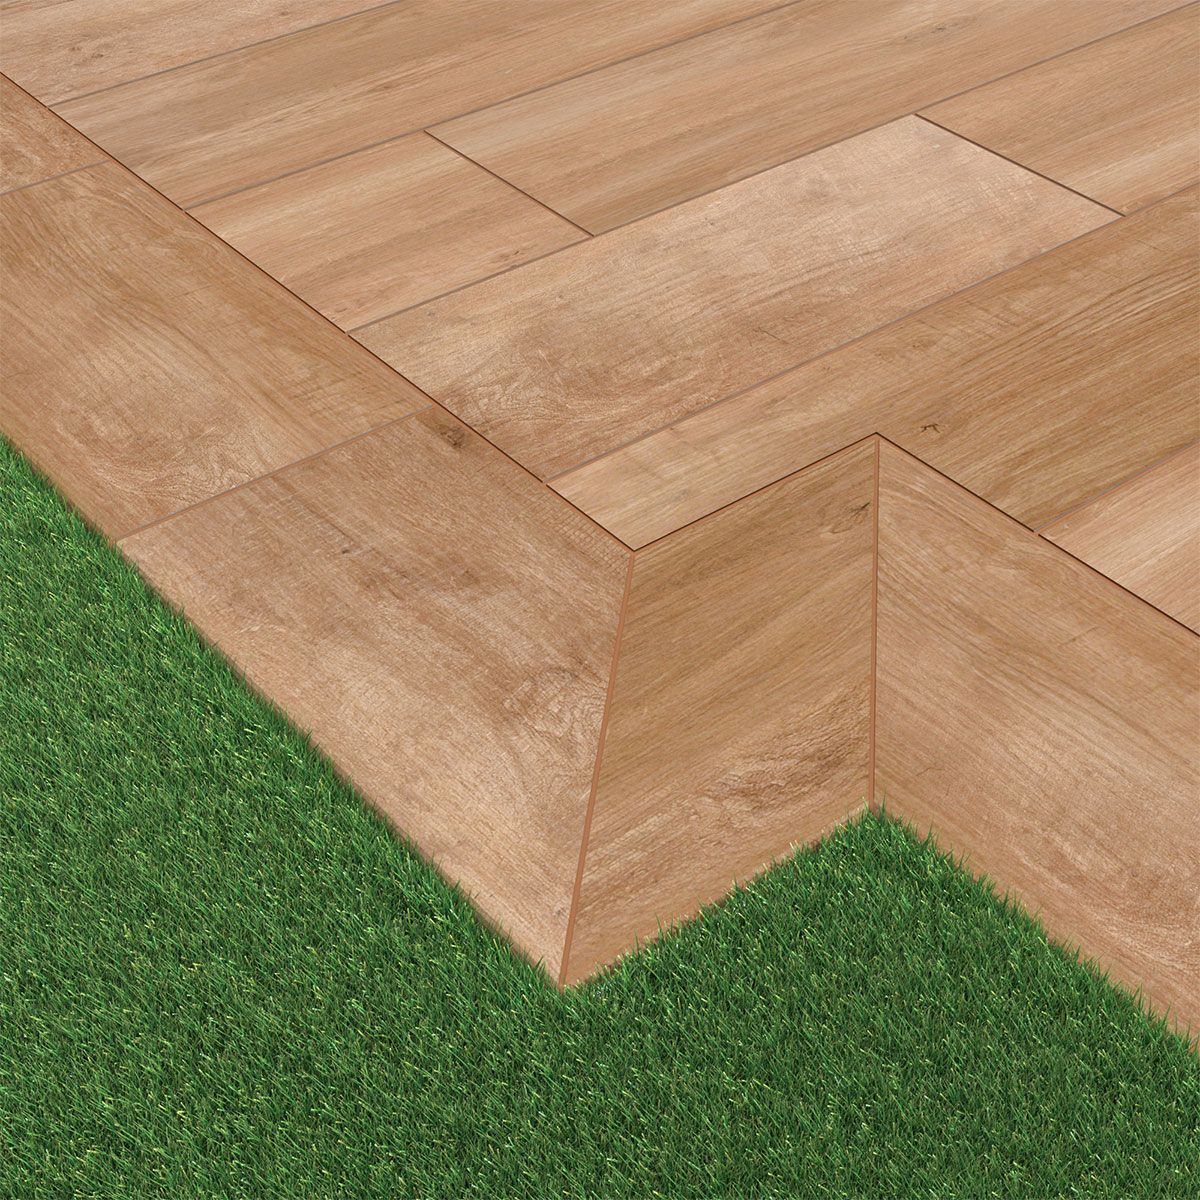
- Choose a Pattern: There are numerous paver patterns to choose from, including running bond, herringbone, basketweave, and stack bond. The pattern you choose will affect the overall look of your paved area and the amount of cutting and fitting required.
- Calculate Materials: Determine the total square footage of your project and calculate the number of pavers, base material (gravel or crushed stone), sand, and edging materials you’ll need. It’s always wise to order a few extra pavers to account for breakage or future repairs.
The Installation Process: Step-by-Step Guide
Installing pavers is a DIY-friendly project, but it requires careful execution. Let’s go over the main steps:
- Site Preparation: Clear the area of any vegetation, debris, and existing materials. Excavate the area to the required depth, considering the paver thickness, base material, sand, and any desired slope for drainage.
- Base Installation: Add a layer of compacted base material (gravel or crushed stone) to the excavated area. This provides a stable foundation for your pavers. Compact the base material thoroughly using a plate compactor.
- Sand Layer: Spread a layer of sand over the compacted base material. This will act as a leveling course for the pavers. Use a screed to create a smooth, even surface.
- Paver Placement: Start laying the pavers according to your chosen pattern. Leave a small gap (typically 1/8 to 1/4 inch) between each paver for expansion and contraction.
- Cutting Pavers: You’ll likely need to cut some pavers to fit around edges, curves, and obstacles. Use a wet saw or paver splitter for clean, accurate cuts.
- Edging: Install edging materials (such as plastic or metal edging) along the perimeter of your paved area to contain the pavers and prevent them from shifting.
- Compaction and Sanding: Once all the pavers are in place, compact the entire surface using a plate compactor. This will help to settle the pavers and lock them into place. Spread a fine sand over the surface and sweep it into the joints between the pavers.
- Sealing (Optional): Consider sealing your pavers, especially if they are made of concrete or natural stone. Sealing can help protect them from stains, water damage, and fading. Always follow the manufacturer’s instructions.
Maintenance and Upkeep: Keeping Your Pavers Looking Great
Regular maintenance will ensure your paver project looks its best for years to come.
- Regular Cleaning: Sweep your pavers regularly to remove dirt, debris, and leaves. Rinse with water as needed. Avoid using harsh chemicals or abrasive cleaners, which could damage the surface.
- Weed Control: Weeds can grow between pavers, so it’s important to control them. Pull weeds by hand, use a weed killer, or consider applying a paver joint stabilizer to prevent weed growth.
- Joint Sand Replacment: Over time, the sand in the joints between the pavers may wash away. Replenish the sand as needed to maintain the structural integrity of your project.
- Sealing: Reapply sealant every few years, following the manufacturer’s instructions, to protect the pavers and keep them looking fresh.
- Repairs: Address any cracks, chips, or unevenness promptly. Replacing damaged pavers is usually a straightforward process.
Common Mistakes to Avoid
Let’s talk about some things to avoid so you don’t run into trouble.
- Poor Site Preparation: This is the most frequent mistake. A poorly prepared base can lead to uneven settling, cracking, and other problems. Always ensure proper excavation, base material, and compaction.
- Incorrect Drainage: Inadequate drainage can cause water to pool on the surface, leading to staining, erosion, and freeze-thaw damage. Pay close attention to the slope and drainage systems.
- Skipping Edging: Edging is essential to contain the pavers and prevent them from shifting over time. Without edging, your project may become unstable and unsightly.
- Using the Wrong Sand: Always use a fine, polymeric sand specifically designed for paver joints. Regular sand may wash away too quickly.
- Ignoring Expansion Joints: Expansion joints are critical to prevent the pavers from cracking due to temperature changes. Leave appropriate gaps between the pavers, especially in larger areas.
- Rushing the Process: Paver installation requires patience and attention to detail. Don’t try to cut corners or rush the process. Take your time and follow the instructions carefully.
- Not Sealing (If Needed): While not always a necessity, sealing can significantly extend the life and beauty of your pavers, especially concrete and natural stone. Don’t skip this step if it’s recommended.
Inspiring Paver Projects: Real-World Examples
Let’s get some ideas flowing. Here are some examples of how pavers can be used to completely transform your outdoor space:
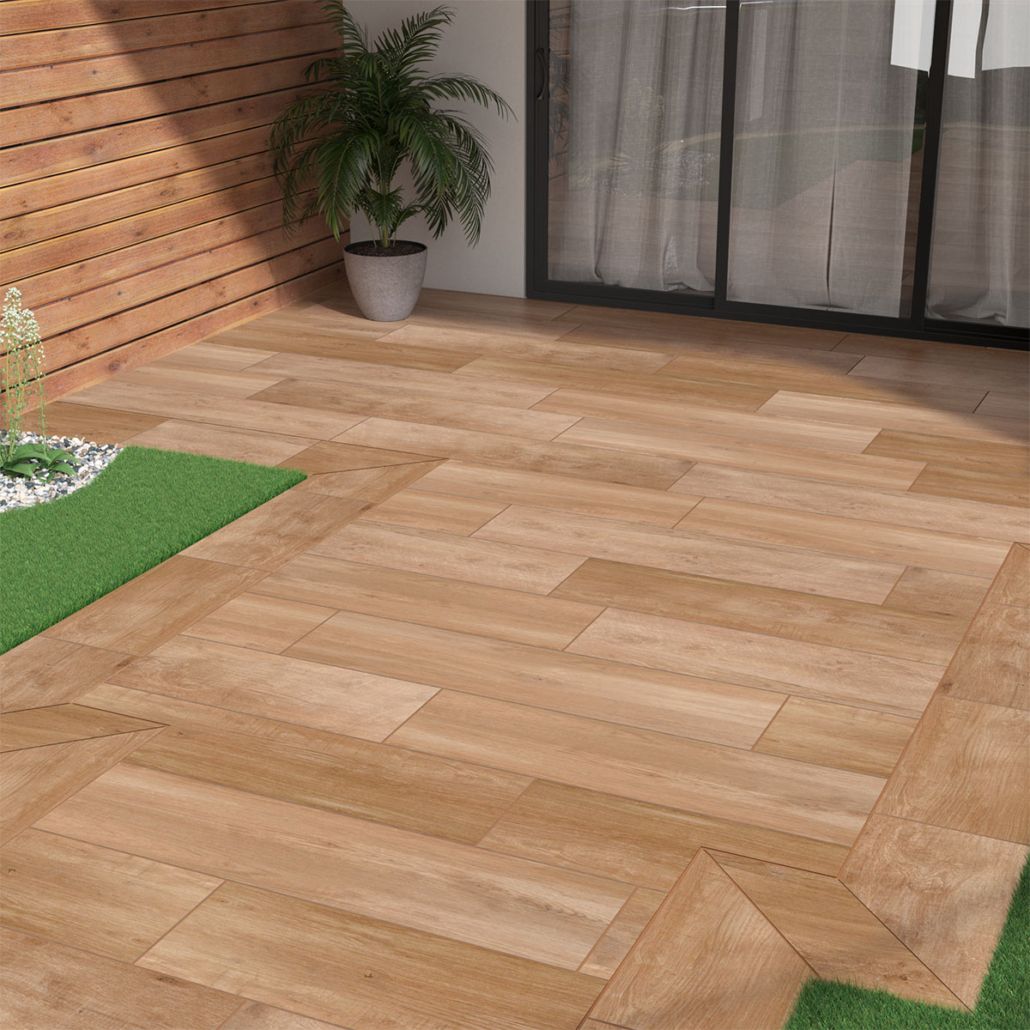
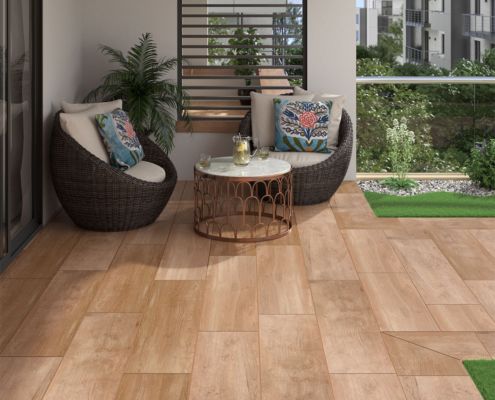
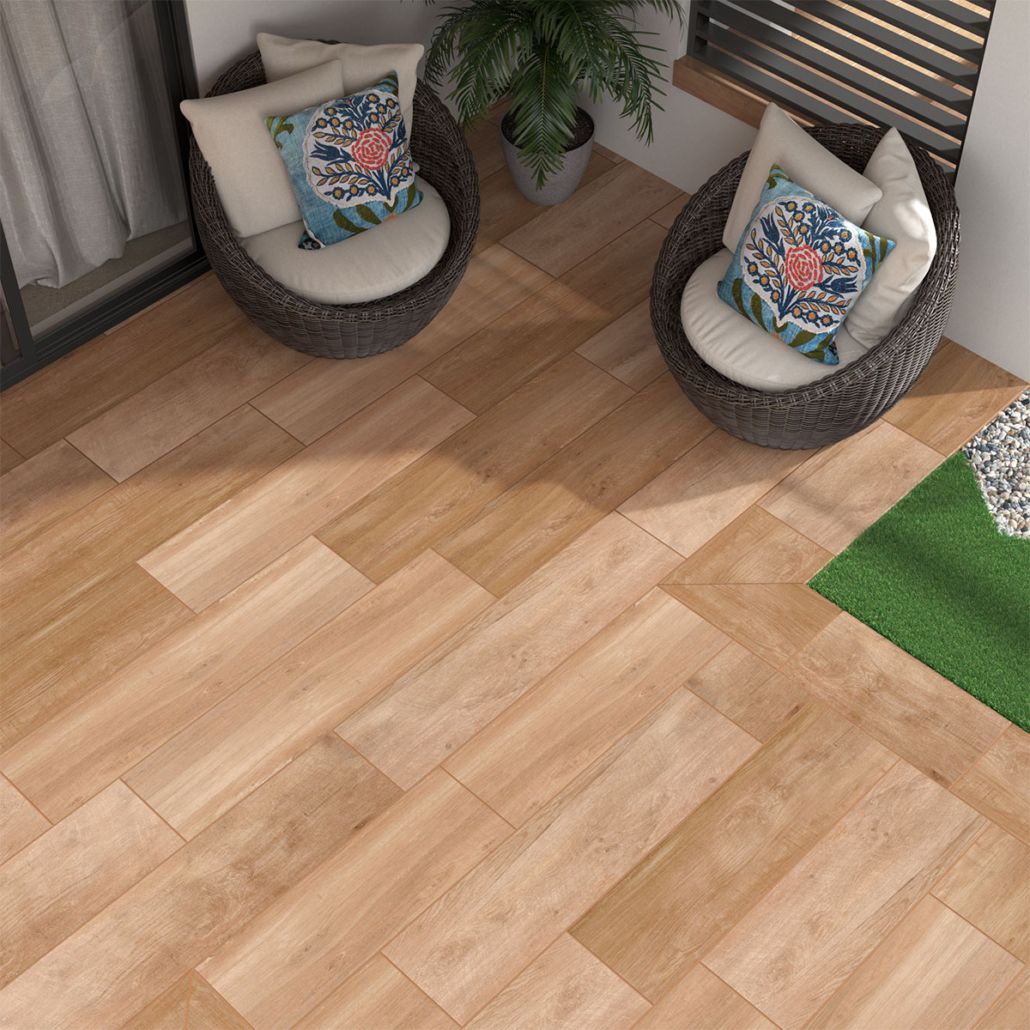
- Patio Paradise: A spacious patio made of concrete pavers, perfect for entertaining, with a built-in outdoor kitchen and fire pit.
- Elegant Walkways: A winding walkway made of brick pavers, leading through a lush garden, creating a sense of tranquility.
- Stylish Driveways: A driveway paved with interlocking concrete pavers, adding curb appeal and a touch of sophistication to the home.
- Poolside Retreat: A pool deck constructed with natural stone pavers, creating a luxurious and inviting space for relaxation.
- Outdoor Kitchen Area: A small area with pavers for the outdoor grill and prep space.
Remember, the possibilities are truly endless. The key is to choose the right materials, plan carefully, and don’t be afraid to get creative.
There you have it, folks. Building a gorgeous outdoor space with pavers can seem like a daunting task, but with the right planning and execution, it’s a very achievable goal. From choosing the perfect materials and designing your layout to the installation and maintenance, I hope this guide has equipped you with the knowledge and confidence to create the outdoor oasis of your dreams. Remember to take your time, do your research, and don’t be afraid to ask for help if you need it. The rewards of a beautifully paved outdoor space – a place to relax, entertain, and connect with nature – are well worth the effort. And and if you need any more ideas, feel free to ask. Until next time, happy paving. And remember to always enjoy the process.