Ever wondered how those beautiful, durable stepping stones of the medieval era were made? It’s a question that has captivated historians, artisans, and curious minds for centuries. The answer lies in the intricate world of mold-making, a craft that combined artistry, technical skill, and a deep understanding of materials. This article delves into the techniques, materials, and the legacy of these remarkable medieval stepping stones, and how they were crated.
Imagine strolling through a medieval town, your feet guided by the smooth, often patterned, surfaces of stepping stones. These weren’t just functional; they were a testament to human ingenuity and the artistry of the time. These stones, crafted from clay, were more than just pathways; they were a window into the culture, economy, and the daily lives of the people who used them. Their creation required an understanding of clay, the careful preparation of molds, and the skillful application of firing techniques. In this article, we will explore the fascinating world of medieval tile stepping stone molds, revealing the secrets behind their creation, the materials involved, and the enduring legacy they left behind. It’s a journey through history, a celebration of craftsmanship, and a testament to the enduring human spirit and the ability to create beautiful and long lasting things. And I’m really excitted to share this with you.
The Foundation: Understanding Medieval Clay
The cornerstone of any medieval tile was, of course, the clay. But not just any clay would do. The type of clay selected was crucial to the final product’s quality, durability, and appearance. Medieval artisans, through trial and error, came to understand the properties of different clays. They valued clays that were free of impurities, that would shrink and crack during firing. These clays were often sourced locally, their composition reflecting the geological makeup of the region. Before being used, the clay had to be carefully prepared. This often involved removing stones, mixing the clay with water to form a workable consistency, and sometimes adding temper, such as sand or grog (crushed fired clay), to reduce shrinkage and cracking during the firing process. This was a very imporant step, and could make or break the quality of the final product.
Crafting the Molds: The Heart of the Process
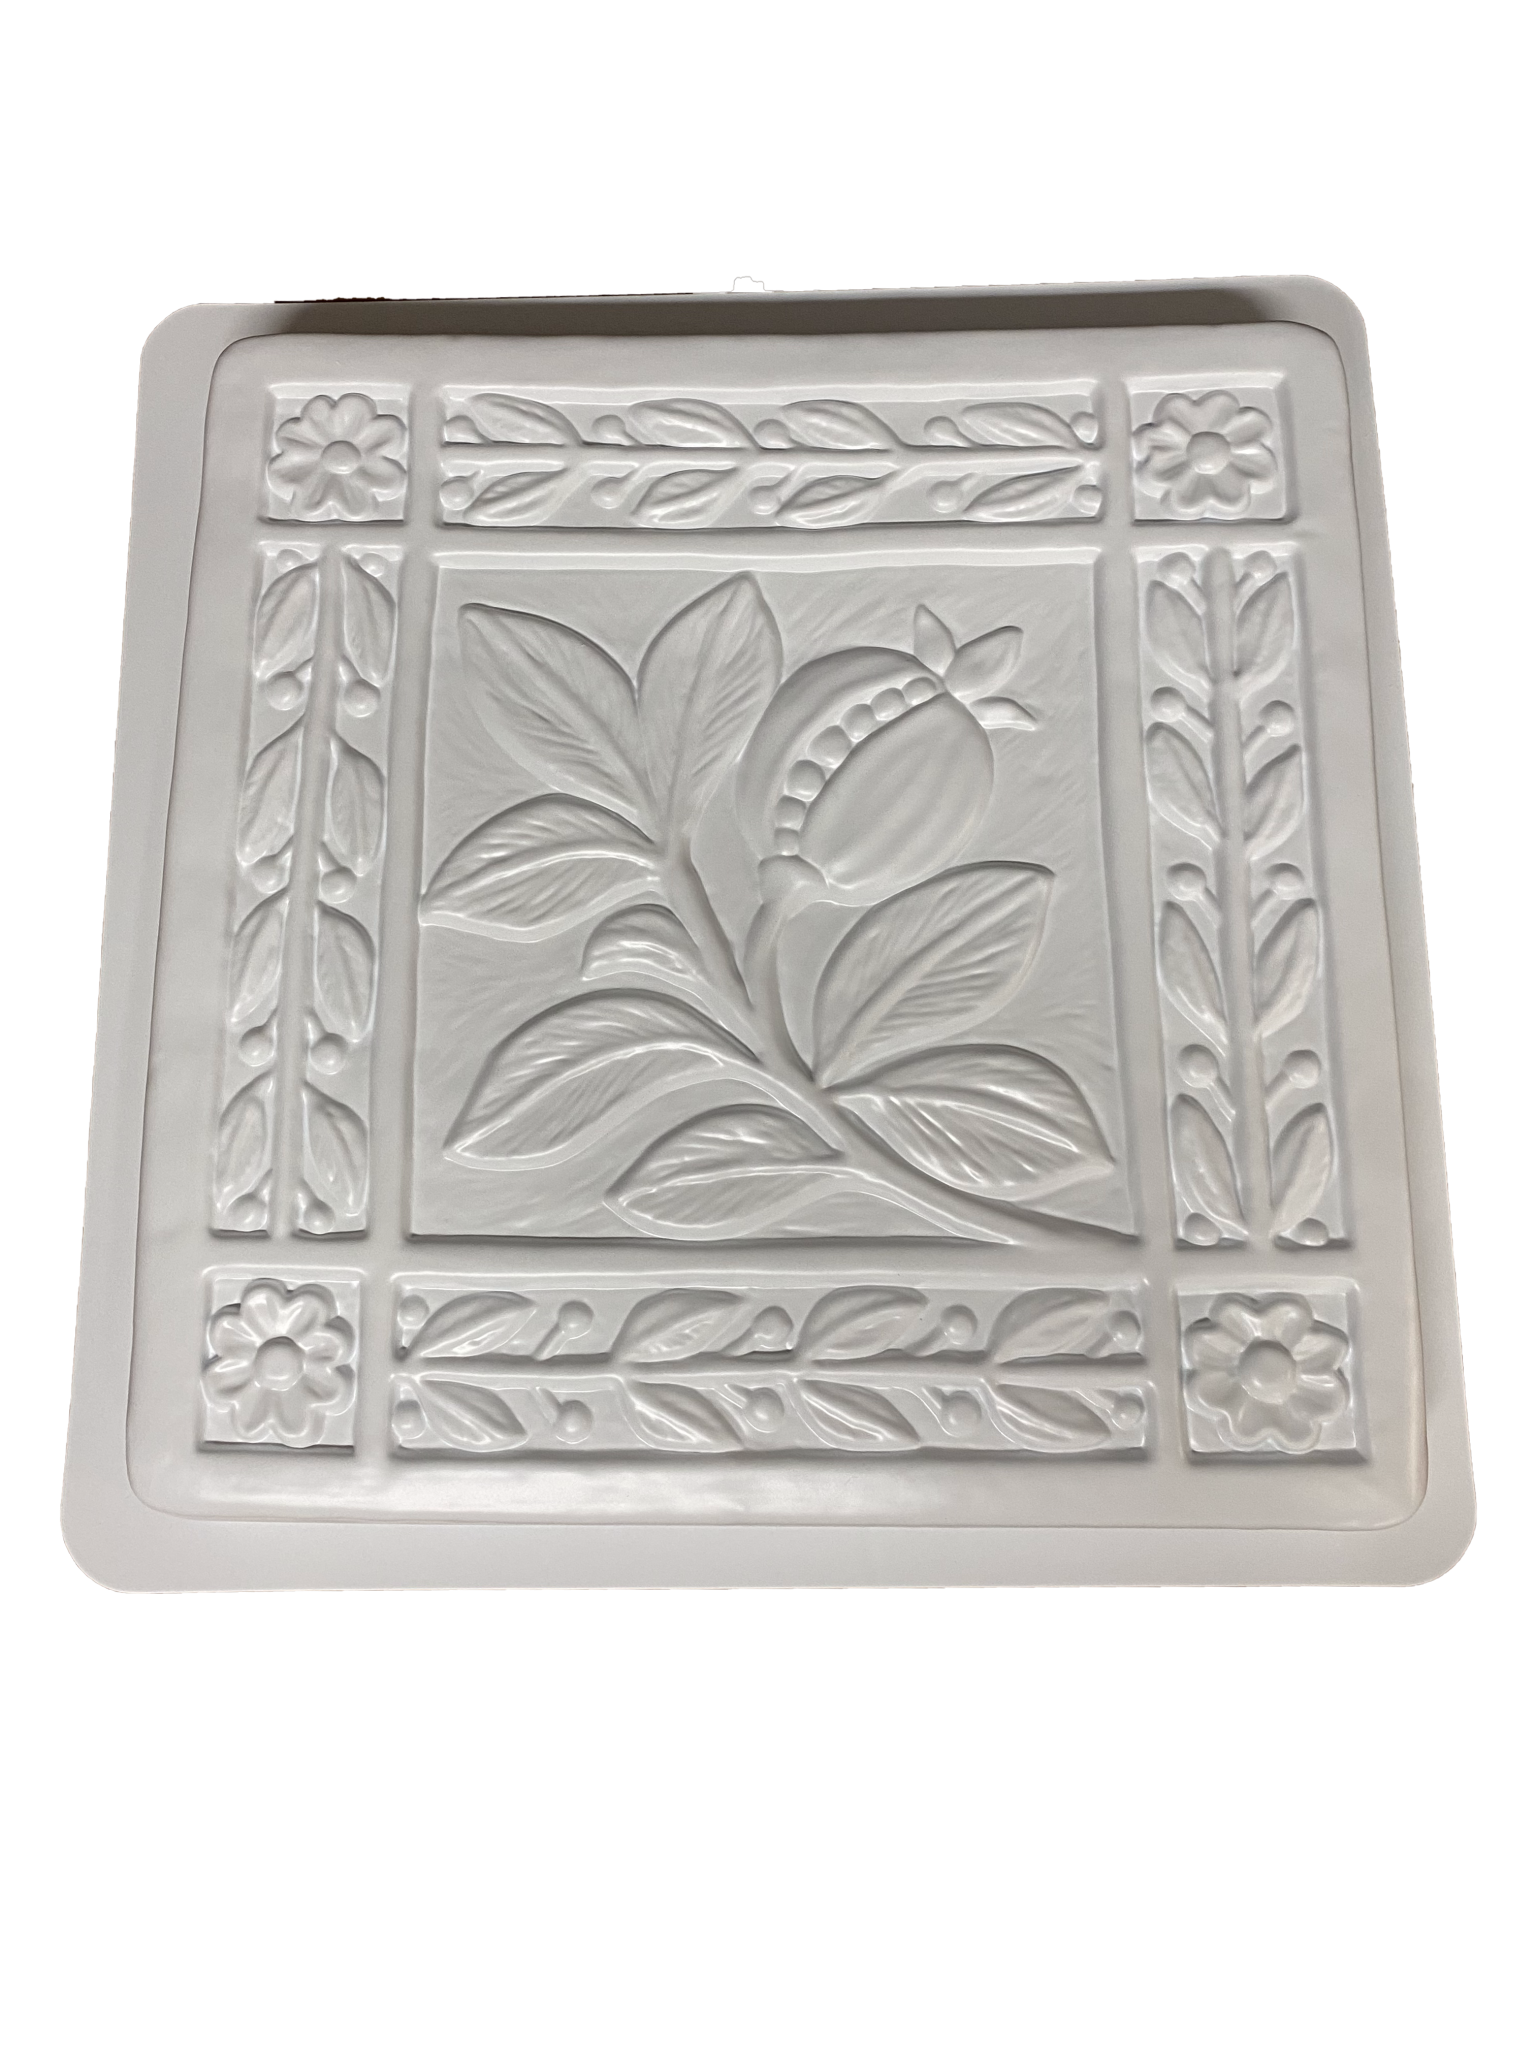
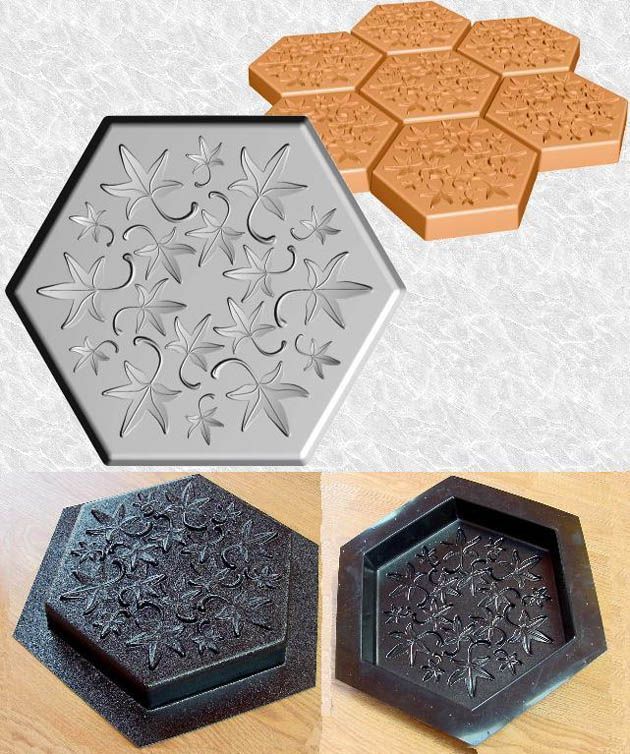
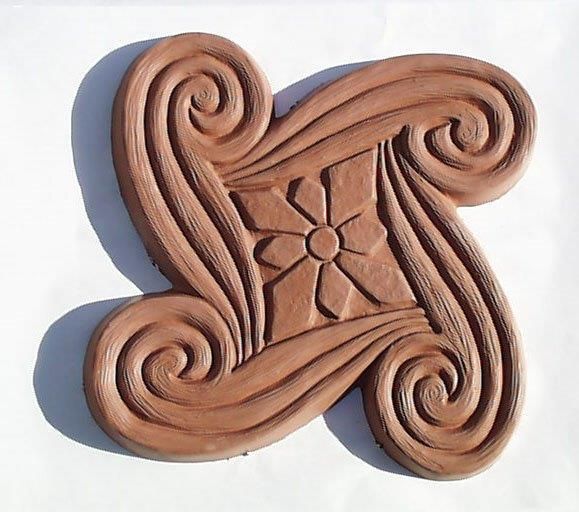
Creating the mold was the real art. The mold determined the shape, size, and design of the stepping stone. Molds were typically made from wood, stone, or even fired clay. Wooden molds were often the simplest, carved out of a single piece of wood or constructed from multiple pieces. Stone molds offered greater durability and the ability to create more complex designs. Fired clay molds, though more prone to breakage, could also be used. The mold-making process would usually begin with a master pattern, a template that would be used to create multiple molds. The pattern would be pressed or carved into the chosen material, and then the mold would be formed around it. The inside of the mold would be smooth and clean, ensuring a clean impression of the stepping stone. Think of it like making a cake – you need a good mold to get a good cake!
Forming the Tile: From Mud to Masterpiece
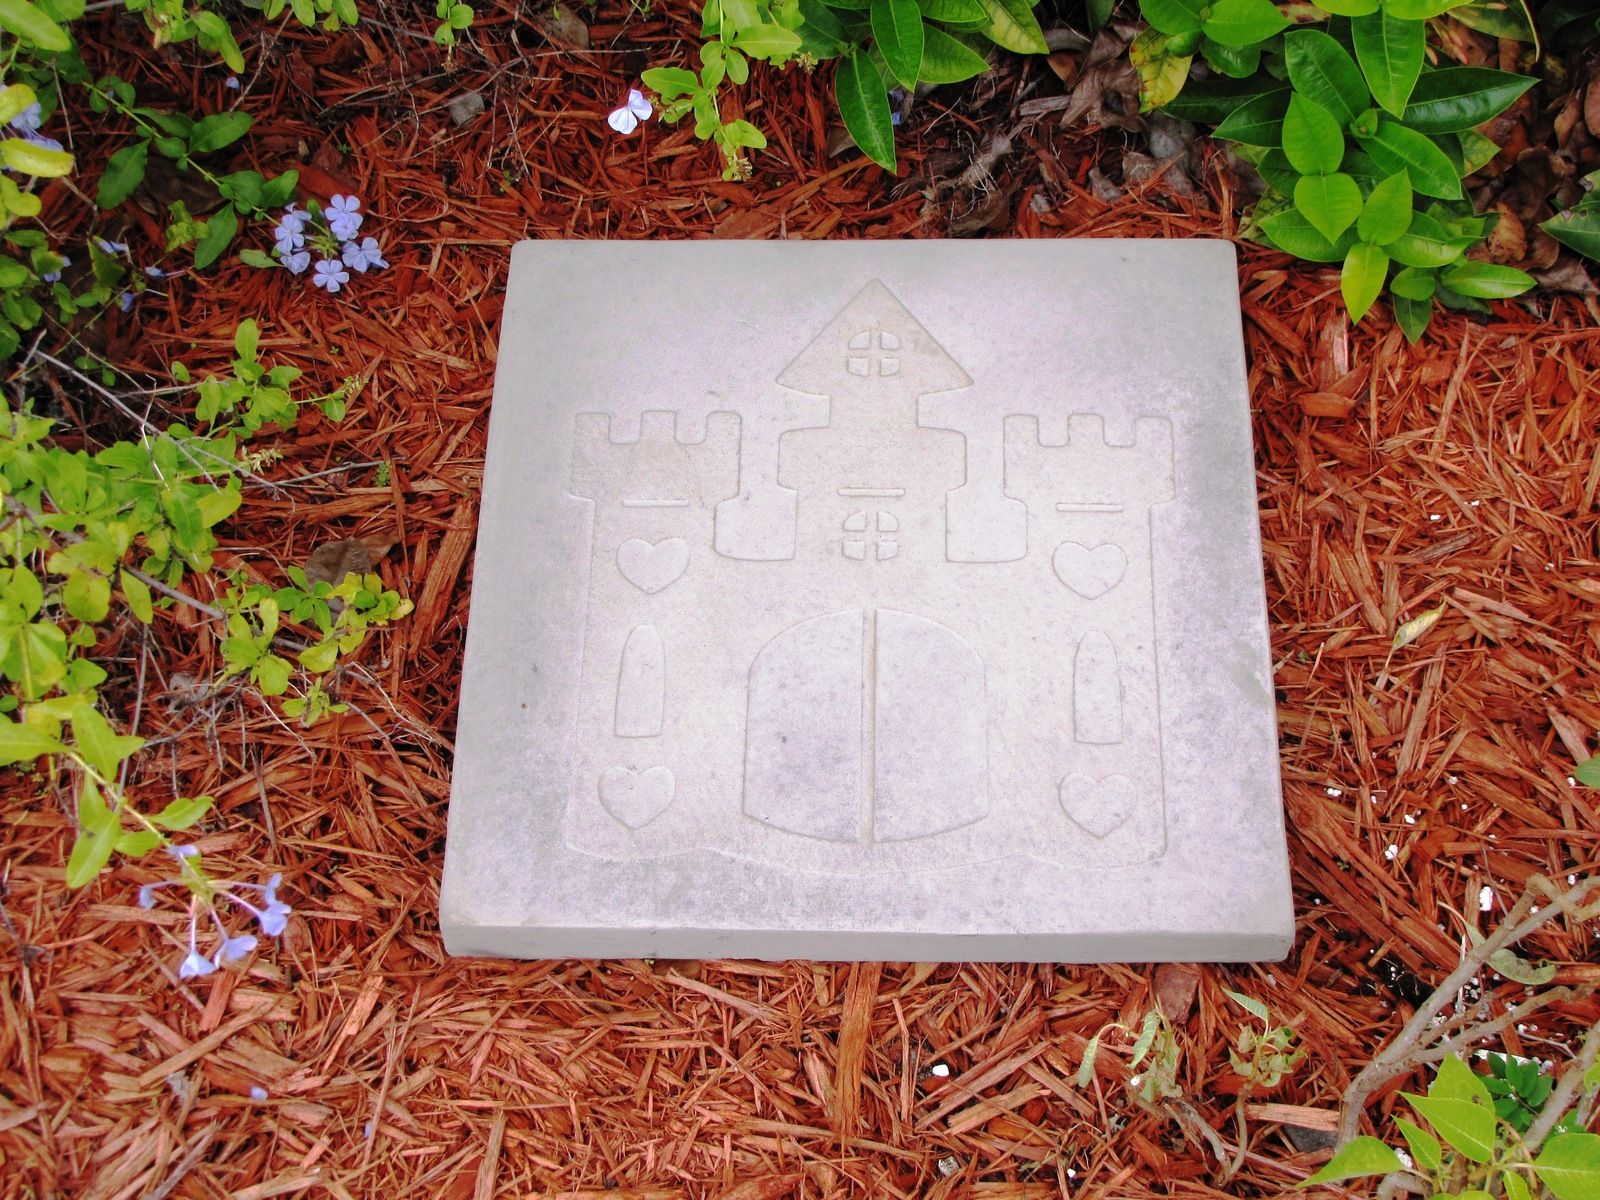
Once the mold was ready, the clay would be carefully pressed or poured into the mold. The artisan would make sure to fill every crevice, ensuring a complete and detailed impression. The clay was then allowed to dry, a process that could take several days or even weeks, depending on the weather and the thickness of the tile. As the clay dried, it would shrink, making it easier to remove the tile from the mold. After the clay was dry, the tile would be carefully removed from the mold. Any rough edges or imperfections would be trimmed, and the tile would be ready for firing. A very interesting aspect of the process.
The Firing Process: Transforming Clay into Stone
Firing was the critical step that transformed the fragile clay into a durable stepping stone. This process involved heating the tiles in a kiln, a specialized oven designed to reach high temperatures. The temperature and the duration of the firing process were crucial to the final product’s strength and color. Medieval kilns varied in design, from simple open-pit kilns to more sophisticated updraft kilns. The tiles were carefully stacked in the kiln, with spaces left between them to allow for air circulation. The firing process could take several days, with the temperature gradually increased to reach the desired level. Different firing temperatures and atmospheres could produce different colors and finishes, giving the tiles a diverse range of appearances. Sometimes, they would make the tiles a bit darker to make them look even better and more durable.
Decoration and Design: Adding a Touch of Art
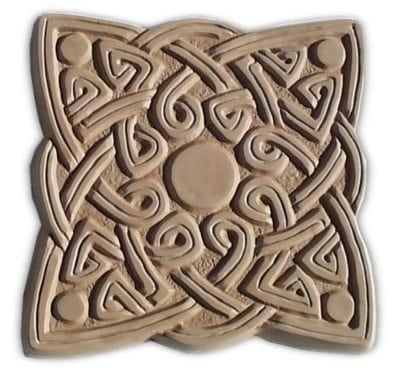
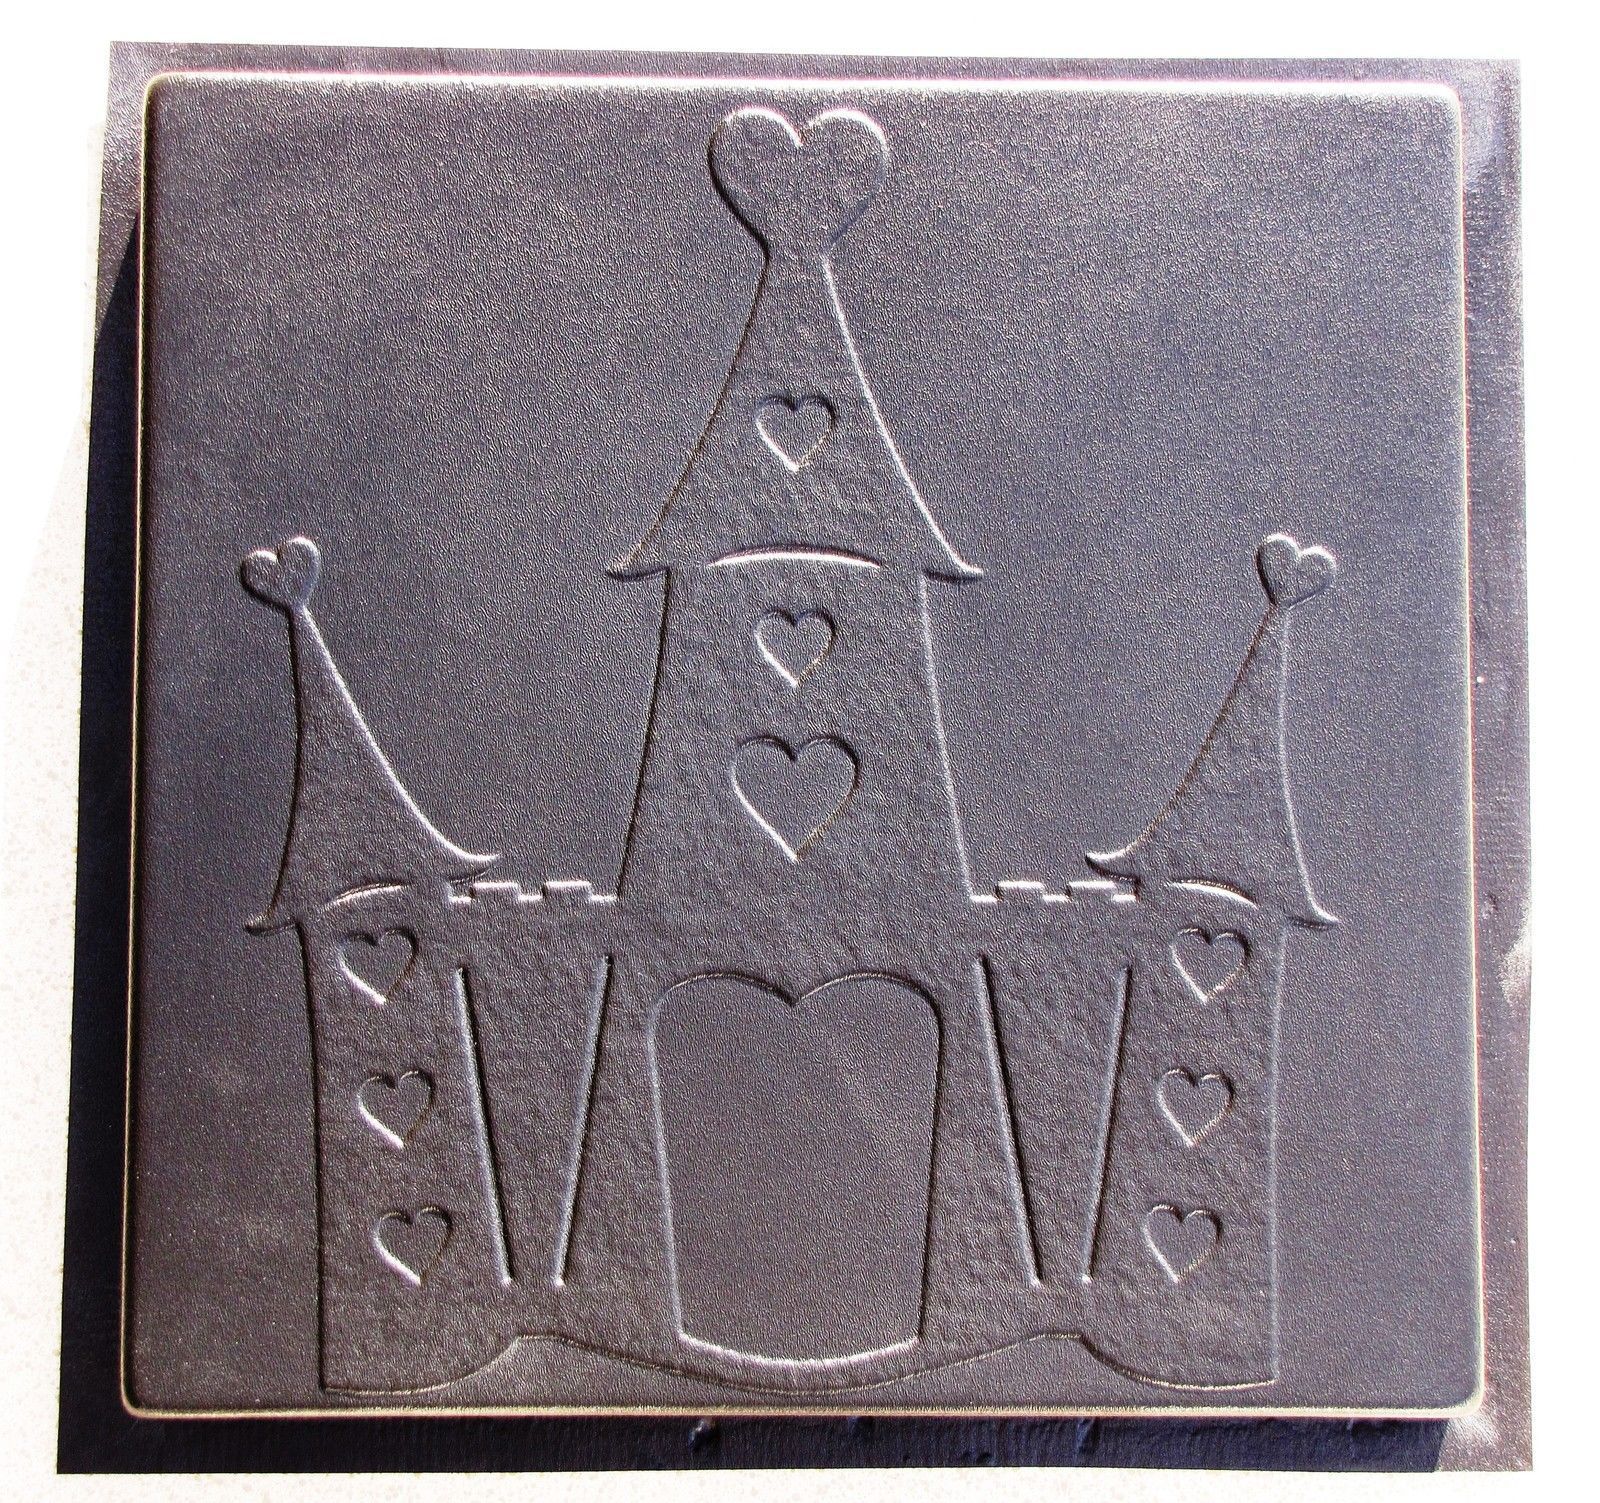
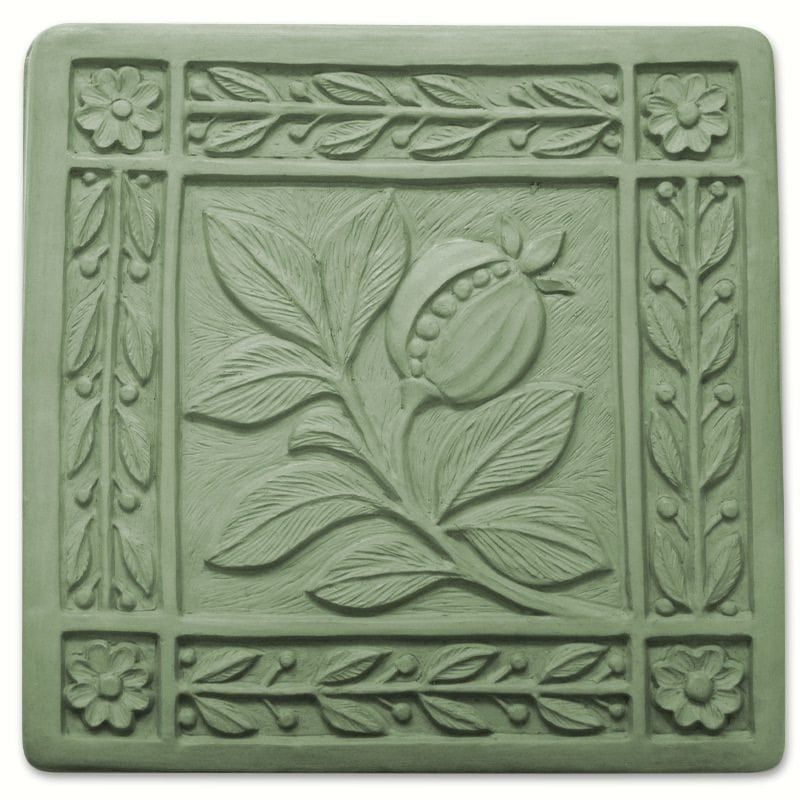
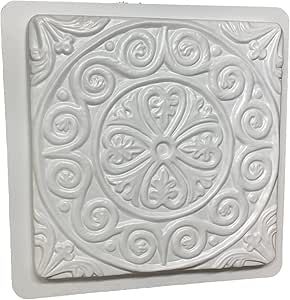
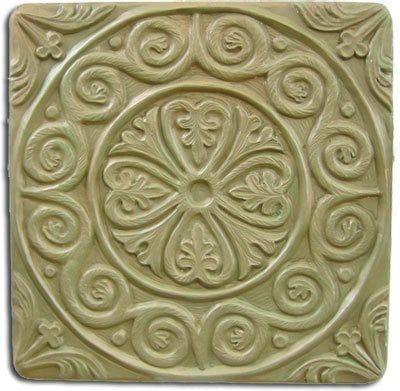
While many stepping stones were plain, others were adorned with beautiful designs. These decorations could be added in several ways. One method was to carve the design directly into the mold, creating a raised pattern on the finished tile. Another method involved applying colored clay slips (liquid clay) or glazes to the tile before firing. These decorative elements added a touch of elegance and artistry to the humble stepping stone. The designs often reflected the local culture, incorporating symbols, patterns, and images that were meaningful to the community. Some had religious themes, others had symbols of power, and some were just decorative and pretty.
The Legacy of Medieval Stepping Stones: A Timeless Craft
The stepping stones of the medieval era are a testament to the skill and ingenuity of the artisans who created them. They remind us that even the most mundane objects can be imbued with beauty and meaning. The techniques used to create these stepping stones, from clay selection and mold making to firing and decoration, have been passed down through generations, influencing ceramic traditions around the world. Today, we can still see these remarkable creations in medieval towns and cities, a lasting reminder of a time when craftsmanship, and a love for making things, reigned supreme. The knowledge of how to create these stones is a treasure, and one that deserves to be preserved and celebrated. I hope this article inspires you to look at the world with more appreciation and respect for the past, and the people who created it. It’s a beautiful thing.
From the careful selection of clay to the intricate process of mold-making and firing, the creation of medieval tile stepping stones was a labor of love, and a demonstration of skill. These stepping stones, more than just practical elements, were expressions of art, culture, and the ingenuity of the people who created them. They stand as a testament to a time when craftsmanship was valued, and every object, no matter how small, had the potential to be a work of art. Understanding the techniques behind their creation allows us to appreciate the skill of medieval artisans and the enduring legacy they left behind. So, the next time you walk on a stepping stone, take a moment to appreciate the history and the craftsmanship beneath your feet. It’s a connection to the past, a reminder of the enduring human spirit, and a testament to the power of creation. And maybe, just maybe, you’ll feel like you’re walking through history, one stone at a time. I hope you have enjoyed this journey.