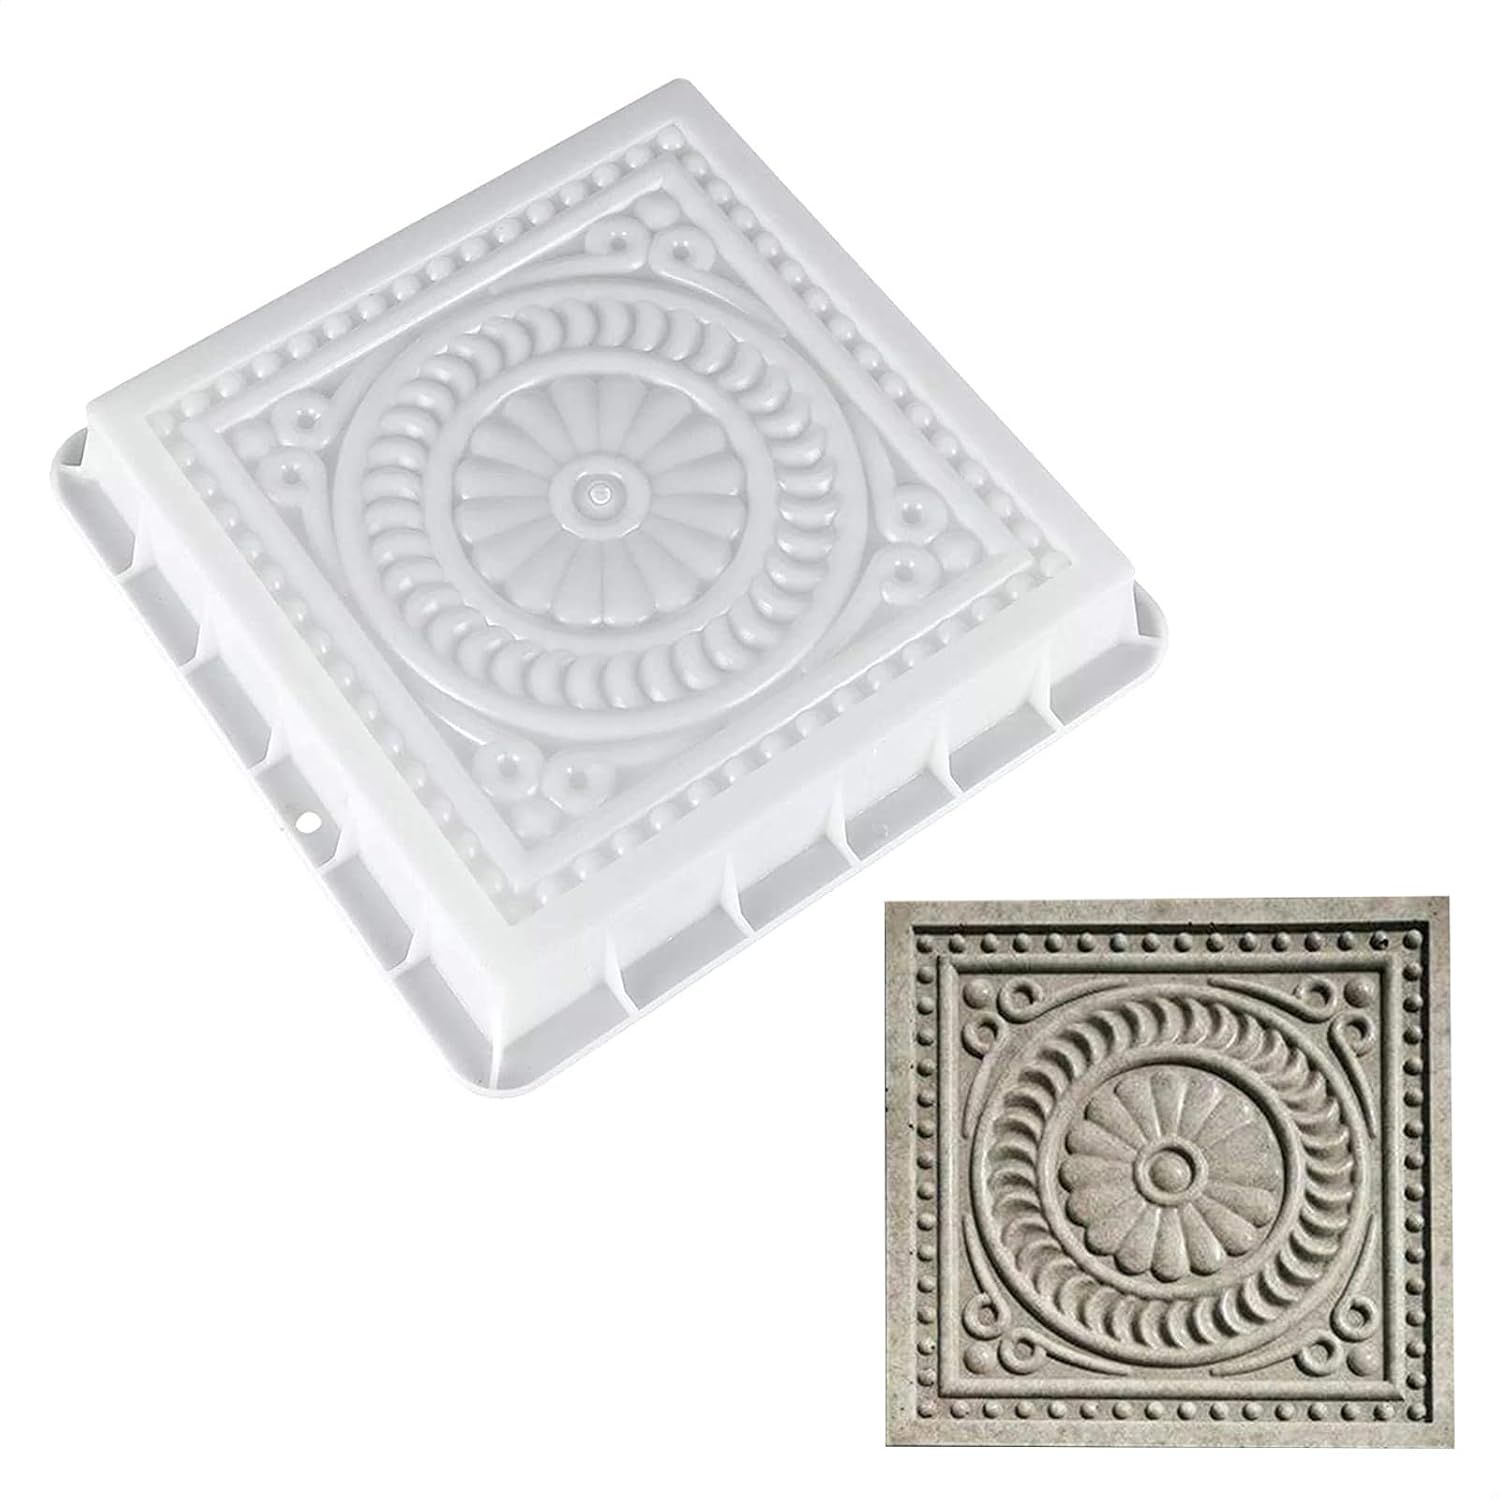
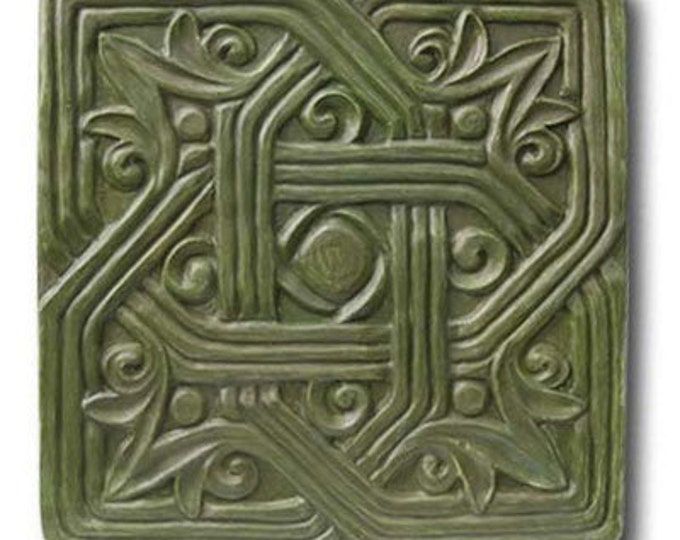
Gothic square stepping stones add a touch of elegance to any outdoor space. But, like any DIY project, creating them can come with a few snags. Don’t worry, though. This guide will walk you through common issues, offering practical fixes and insider tips to help you cast flawless stepping stones every single time. We’ll explore the most frequent problems, from air bubbles to cracking, and give you the know-how to overcome them, making the process both enjoyable and rewarding, and helping you create a garden that you’ll love. And you can even make some extra cash doing it.
So, you’re diving into the world of stepping stone creation, huh? Excellent choice. Gothic square stepping stones are a fantastic way to add character and a touch of history to your garden or patio. However, even the most seasoned DIYers hit snags from time to time. This article is your go-to resource for troubleshooting those common issues, ensuring your stepping stones turn out beautifully, consistently. We will look at problems, like air bubbles, cracking, and uneven surfaces, and offer easy-to-follow solutions that will transform you into a stepping stone master. Get ready to learn, adapt, and create.
Battling Air Bubbles: Your First Foe
Air bubbles are, without a doubt, the most common enemy of a smooth stepping stone surface. These tiny pockets of air get trapped in the concrete mix, leading to unsightly holes and an uneven finish. Here’s how to conquer them:
- Proper Mixing: Don’t overmix, but ensure all the ingredients (cement, sand, water) are completely combined. Overmixing can sometimes introduce even more air.
- Vibration, Vibration, Vibration: This is your secret weapon. Vibrate the mold gently after pouring the concrete. You can use a vibrating table, or even gently tap the sides of the mold with a rubber mallet. This helps the air bubbles rise to the surface and escape. A good way to do this is to hold the mold on a table and use a sander on the bottom of the mold.
- Tapping: After pouring, gently tap the sides of the mold. This can help dislodge any air bubbles that are clinging to the edges.
- The Right Mix: Using a concrete mix designed for casting can help reduce bubble formation. Look for mixes with a finer aggregate.
Remember, patient and careful mixing, plus a little vibration, is the key to a smooth, bubble-free finish. And, as a bonus, you’ll get a little arm workout.
Cracking Concerns: Preventing the Splits
Cracking is another issue that can ruin your stepping stones. It’s frustrating, but completely preventable. Here’s how to say goodbye to cracks:
- Proper Water Ratio: Too much water weakens the concrete and increases the likelihood of cracking. Follow the instructions on your concrete mix packaging carefully.
- Curing is Crucial: Curing is the process of keeping the concrete moist so that it can harden properly. After pouring, cover your stepping stones with plastic sheeting or a damp cloth for at least 24-72 hours. This slows down the drying process and helps prevent cracking. Remember, a slow cure is a strong cure.
- Reinforcement is Your Friend: Consider adding reinforcing materials, like wire mesh, or fiber additives, to your concrete mix. This will add extra strength and help prevent cracks from forming.
- Control Joints: If you’re making large stepping stones, consider adding control joints. These are pre-planned weak points that allow the concrete to crack in a controlled manner, preventing random, unsightly cracks.
By following these steps, you can dramatically reduce the risk of cracking and make your stepping stones last for years to come. And, you can impress your friends and family.
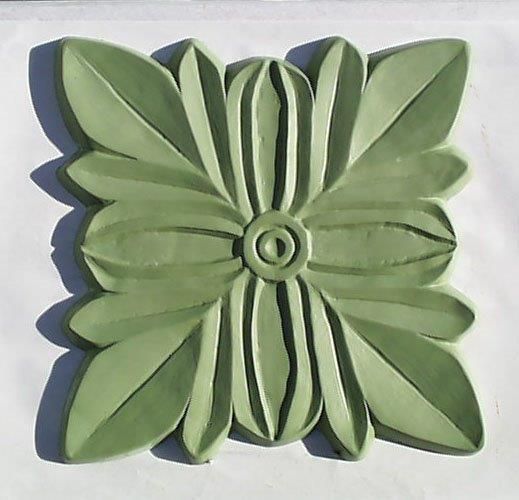
Uneven Surfaces: Achieving a Level Finish
An uneven surface can make your stepping stones look unprofessional. Here’s how to ensure a perfectly level finish:
- Level the Mold: Before pouring any concrete, make sure your mold is sitting on a perfectly level surface. Use a bubble level to check.
- Consistent Pouring: Pour the concrete evenly, ensuring that it fills all corners of the mold. Don’t pour it all in one spot; spread it out.
- Screeding: After pouring, use a straight edge (like a piece of wood or a metal ruler) to scrape across the top of the mold, removing any excess concrete and creating a level surface. Do this carefully, and don’t press too hard.
- Troweling: After screeding, you can use a trowel to smooth the surface further. This is especially helpful if you want a really smooth finish. Be gentle, though; you don’t want to disturb the surface too much.
Remember: a little patience and a level surface go a long way. And a bit of practice will get you making perfect stepping stones in no time.
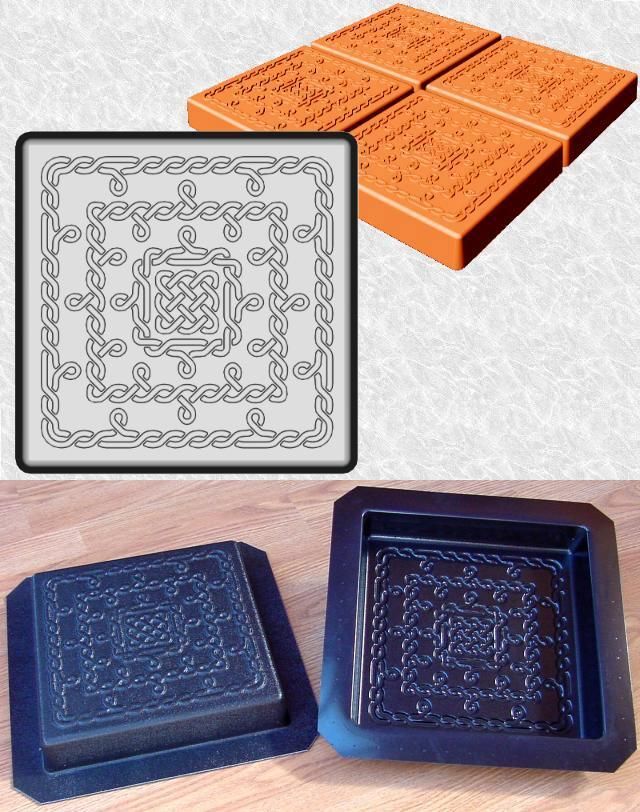
Mold Release Woes: Getting Your Stones Out
Getting your stepping stones out of the mold can sometimes be tricky. Here’s how to make the process easier:
- Mold Release Agent: Use a mold release agent before pouring the concrete. This creates a barrier between the concrete and the mold, making it easier to remove the finished stone. There are many commercial mold release agents available, or you can even use a thin layer of vegetable oil.
- Patience is a Virtue: Wait for the concrete to fully cure before attempting to remove it from the mold. Trying to remove it too soon can damage the stone.
- Gentle Tapping: Gently tap the sides of the mold to help loosen the stone. If the stone is still stuck, try tapping it from different sides.
- Flexible Molds: If possible, use flexible molds (like those made of silicone or rubber). These are much easier to remove than rigid molds.
With a little planning, removing your stepping stones from the mold should be a breeze. And, it’s always a rewarding feeling to see the finished product.
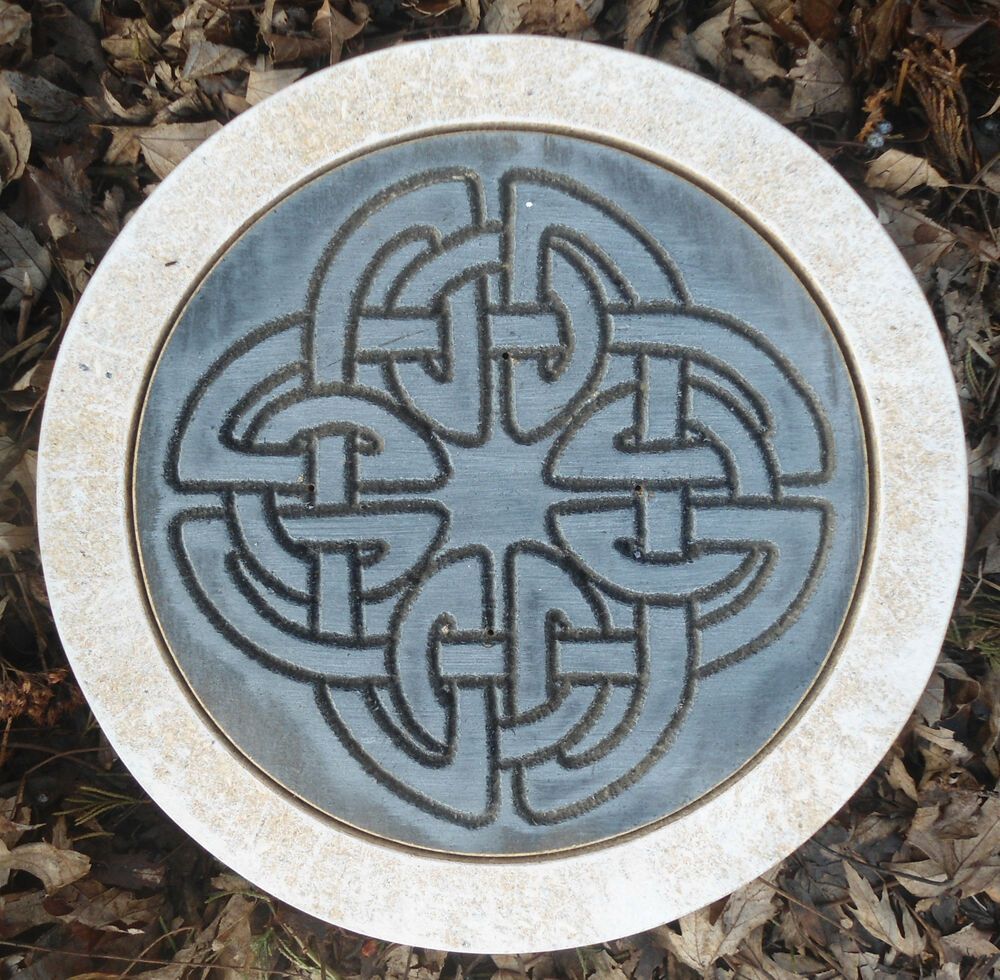
Coloring Concerns: Achieving the Perfect Hue
Adding color to your stepping stones can really make them stand out. Here’s how to get the color you want:
- Pigments, Not Dyes: Use concrete pigments, not dyes. Dyes can fade over time. Pigments are designed to withstand the elements and last longer.
- Mix Thoroughly: Mix the pigment thoroughly with the dry concrete mix before adding water. This ensures an even distribution of color.
- Test it Out: Before pouring a large batch, do a small test to ensure you’re getting the color you want. The color can vary depending on the type of cement and pigment used.
- Consider the Environment: The color of your stepping stones will look different in different lighting conditions. Consider the environment where they will be placed when choosing your color.
Adding color is a fun way to personalize your stepping stones and make them truly unique. And, if you mess up, you can always try again.
Dealing with Imperfections and Making Repairs
Even the best of us make mistakes. Here’s how to deal with imperfections and make repairs:
- Small Chips and Holes: For small imperfections, you can use a concrete patching compound to fill them in. Follow the instructions on the patching compound carefully.
- Cracks: Small cracks can be repaired with a concrete crack sealant. For larger cracks, you may need to remove the damaged portion and repour with fresh concrete.
- Surface Imperfections: If the surface is rough, you can use a concrete grinder or sandpaper to smooth it out. Be careful not to remove too much material.
- Embrace Imperfection: Sometimes, a little imperfection adds character. Don’t stress too much about minor flaws. They often add to the charm.
Remember, every stepping stone tells a story. And even the mistakes can be a part of that story. And, it’s a good way to learn.
Creating Gothic square stepping stones is a rewarding project that adds beauty and character to any outdoor space. By understanding the common issues and following the solutions and tips outlined in this guide, you’re well-equipped to create stunning stepping stones that will last for years to come. Remember to be patient, pay attention to the details, and most importantly, have fun. Your garden, your patio, and your home will thank you for it. Now, go forth, create, and enjoy the beauty of your own, unique Gothic square stepping stones. Happy stepping stone making. and remeber to always be learning.