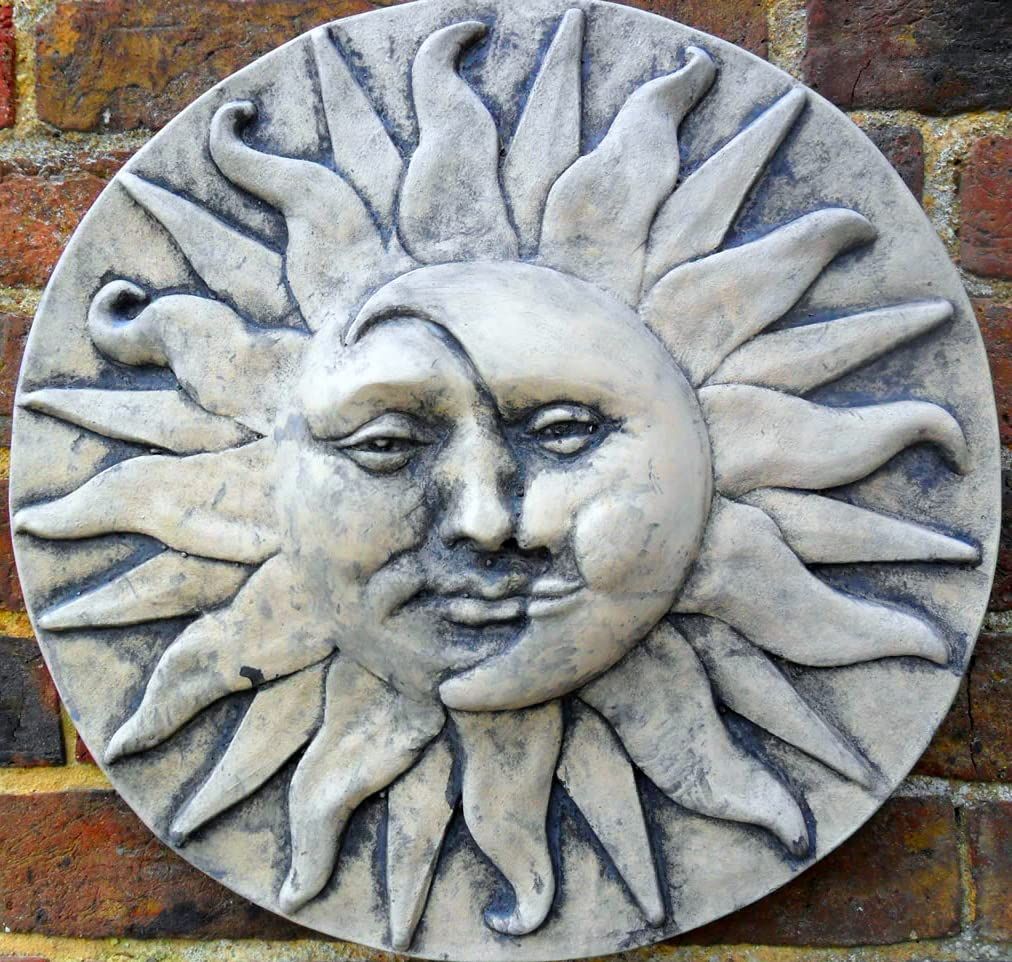
Hello, fellow garden enthusiasts and crafters. Welcome back to the channel. Today, we’re diving headfirst into a project that’s sure to brighten your outdoor spaces – crafting stunning sun face stepping stones. These aren’t just ordinary garden features; they’re little bursts of sunshine, capturing the warmth and joy of the sun itself. They add a touch of personality and a unique charm to any garden path or outdoor area. Get ready to get your hands dirty, and let’s bring some celestial beauty into your backyard.
For years, I’ve been captivated by the magic of handmade garden art. There’s something incredibly satisfying about taking raw materials and transforming them into something beautiful and functional. Sun face stepping stones, in particular, have always held a special appeal. They’re relatively easy to make, incredibly customizable, and they bring a cheerful vibe to any garden. In this guide, we’ll explore the process step-by-step, covering everything from choosing your materials to adding the final touches. Whether you’re a seasoned DIYer or a complete novice, I’m confident you can create your very own sun face stepping stones that will be the envy of your neighborhood and, more importantly, bring you a lot of enjoyment. And don’t worry, I’ll share some of my own missteps and learnings along the way. We all learn from our mistakes, right?
Gathering Your Supplies: What You’ll Need
Before we get started, let’s gather our materials. It’s important to have everything ready to go before you start mixing concrete – trust me, it makes the whole process a lot smoother.
- Concrete Mix: Opt for a concrete mix designed for outdoor use. Quick-setting concrete can be really handy. I love using the pre-mixed bags; they’re easy to work with and give reliable results.
- Water: Have a bucket of clean water on hand for mixing.
- Mixing Container: A sturdy bucket or a wheelbarrow works well. Ensure it’s large enough to hold your concrete and allow for easy mixing.
- Mixing Tool: A trowel, a shovel, or even a sturdy stick will do the trick. I prefer a trowel for better control.
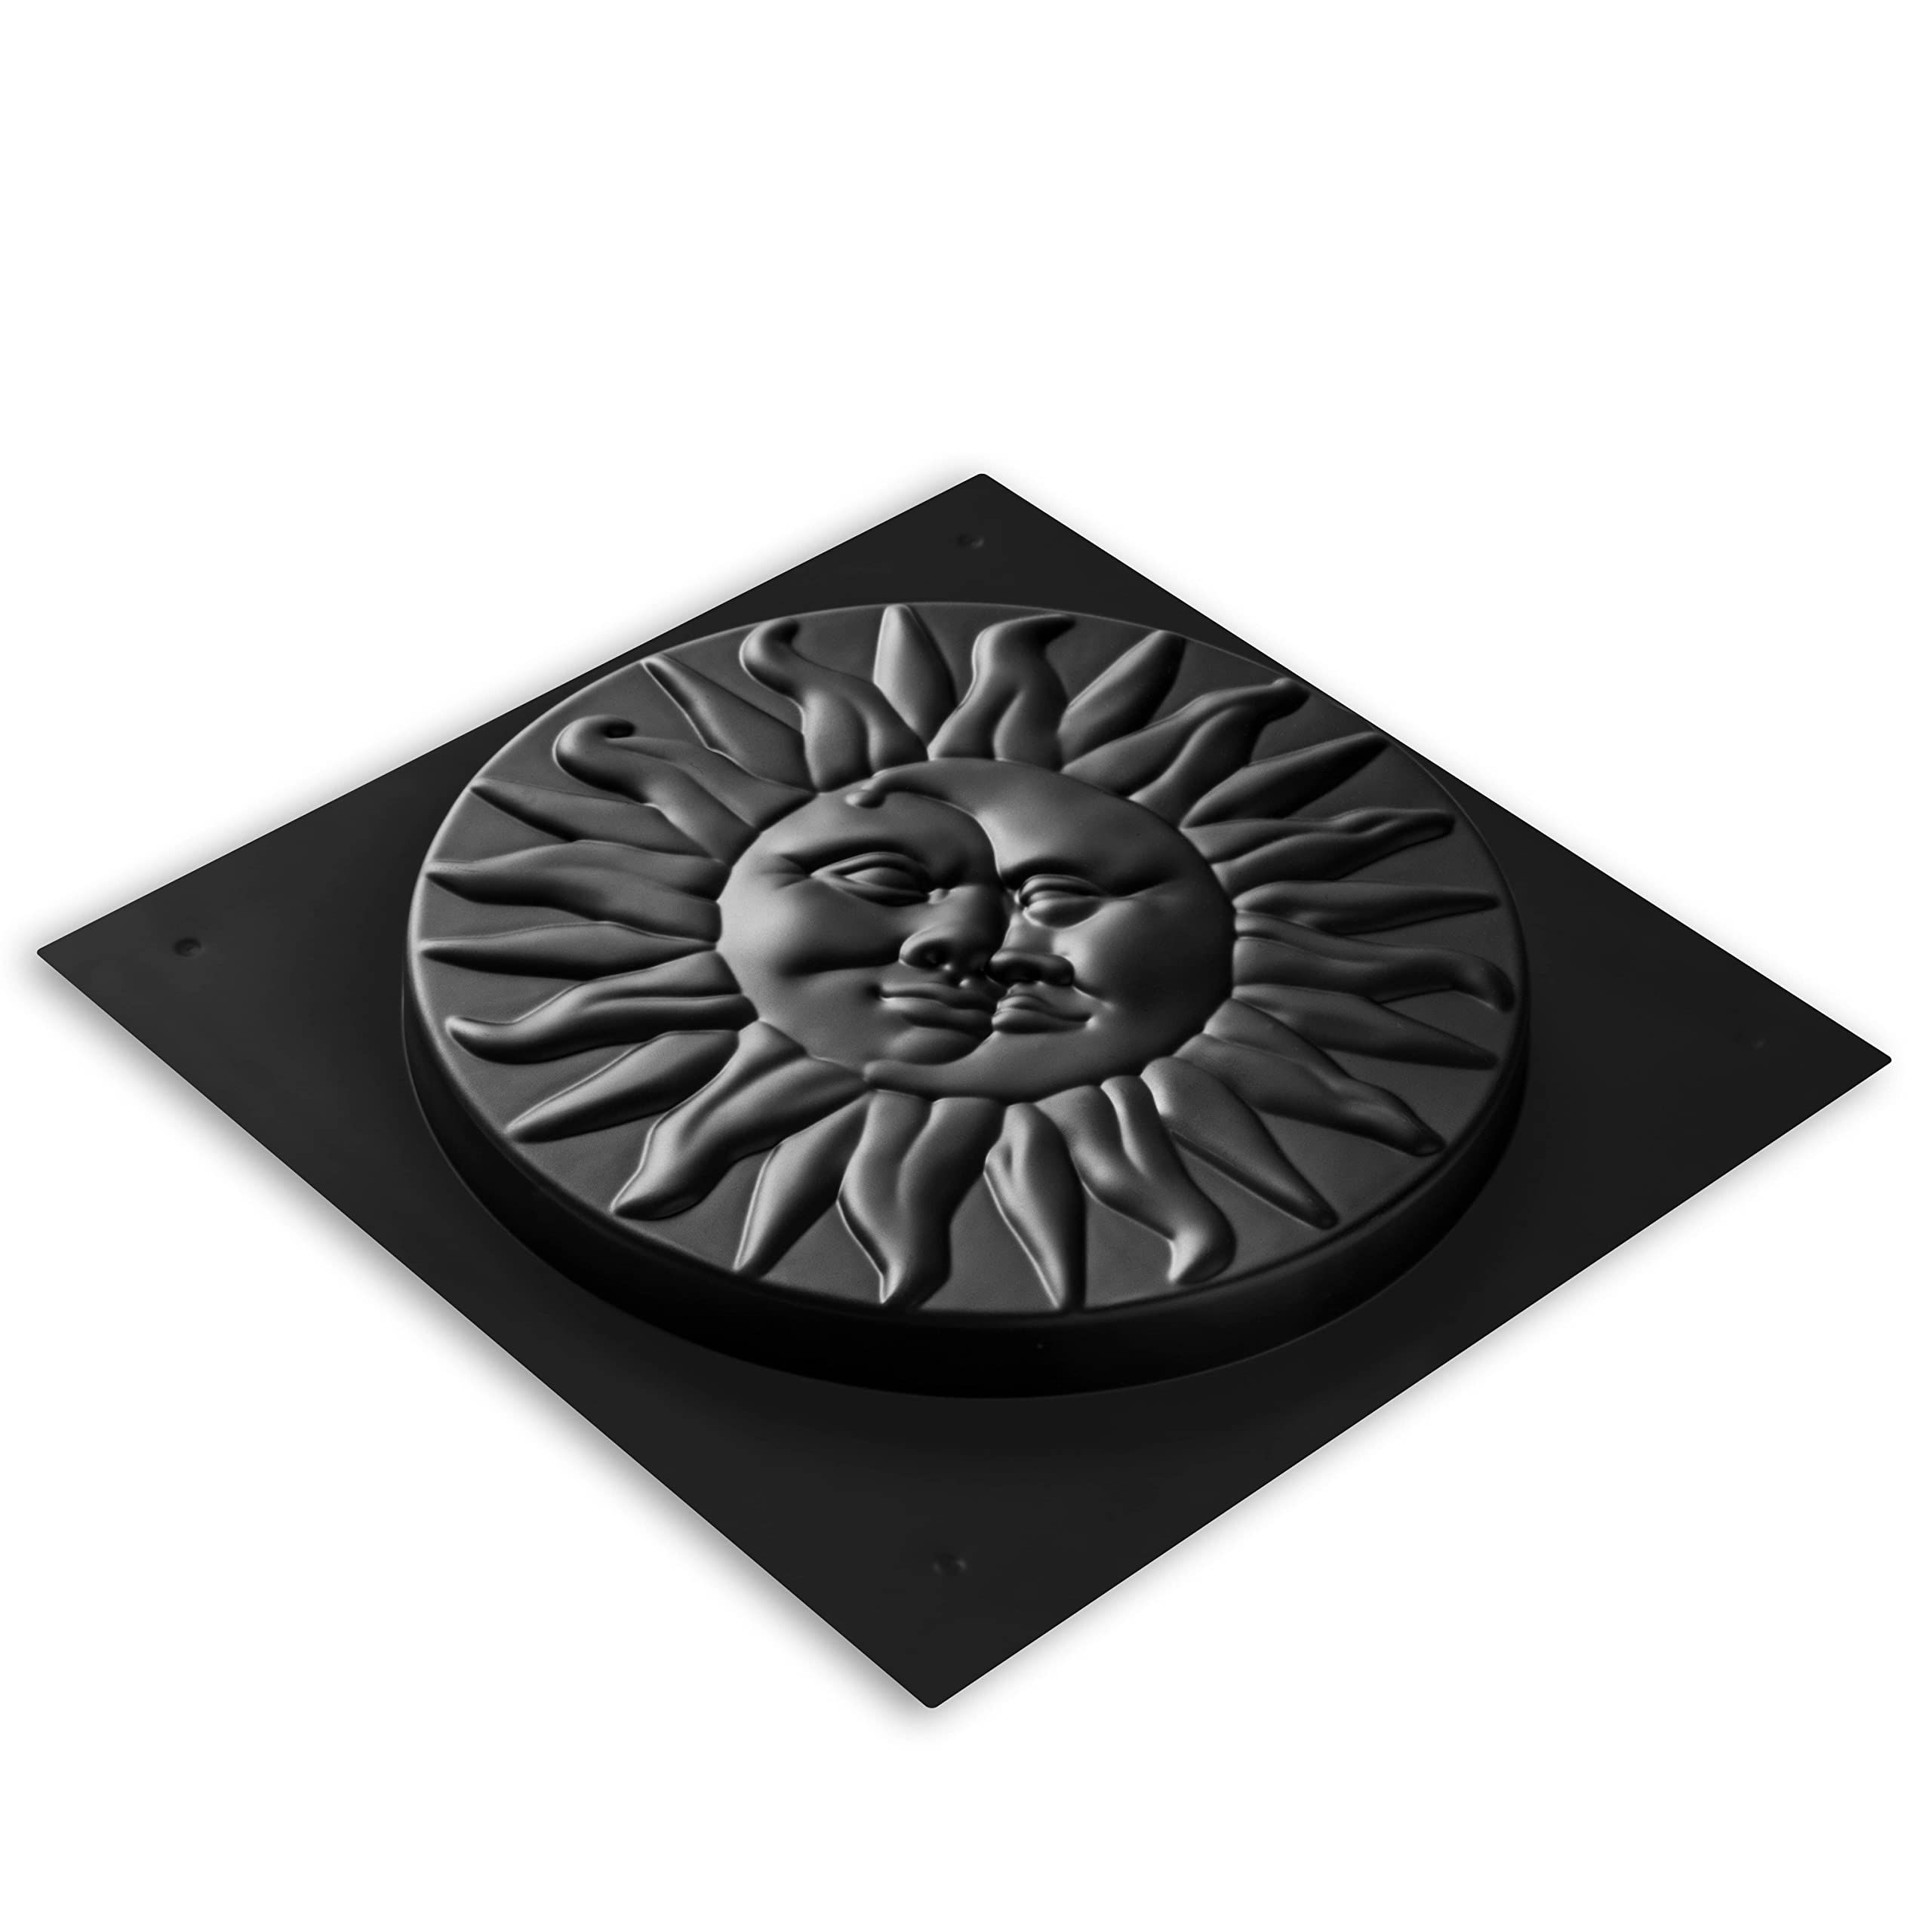
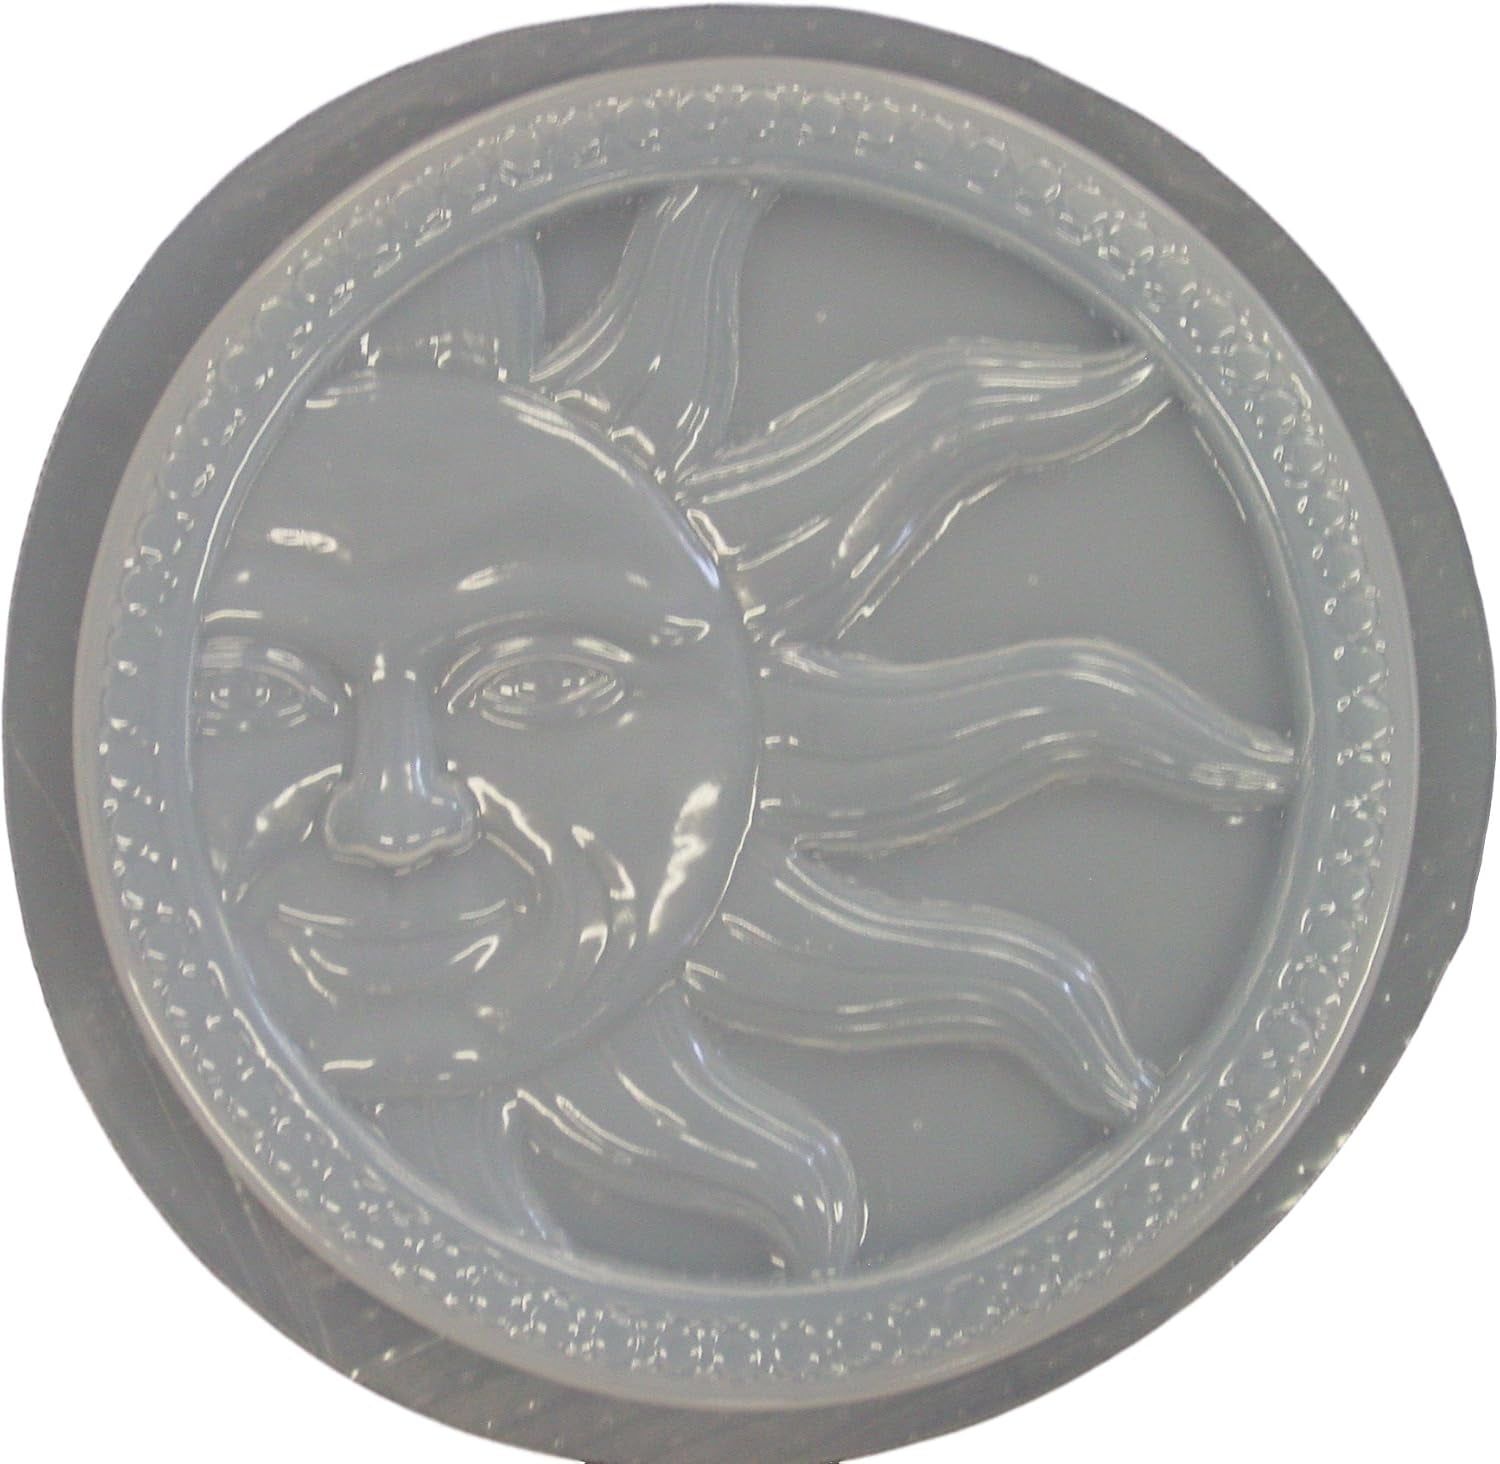
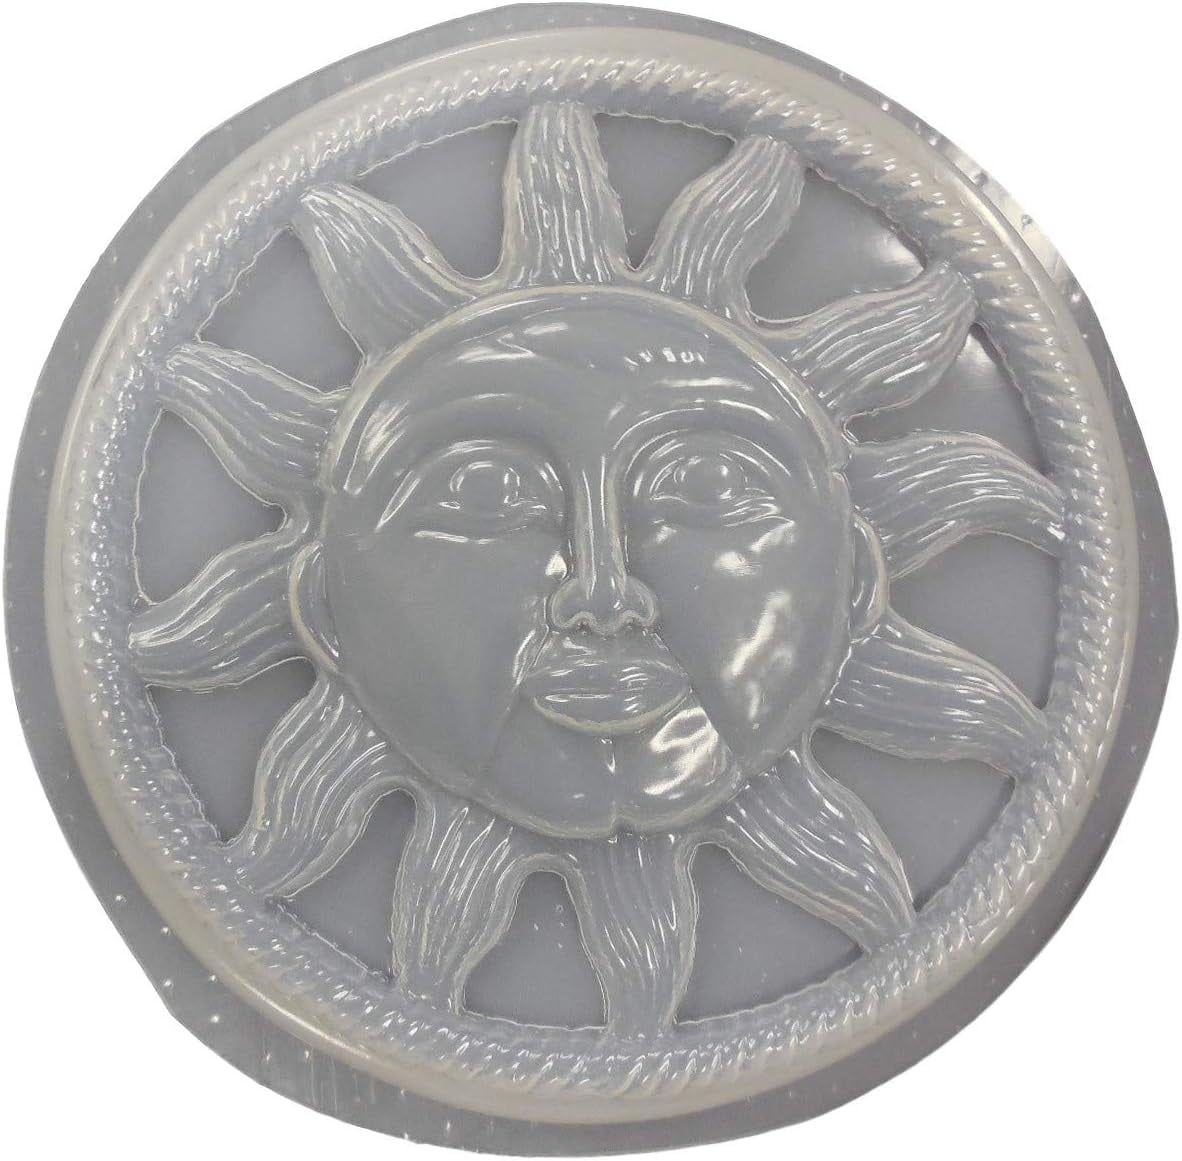
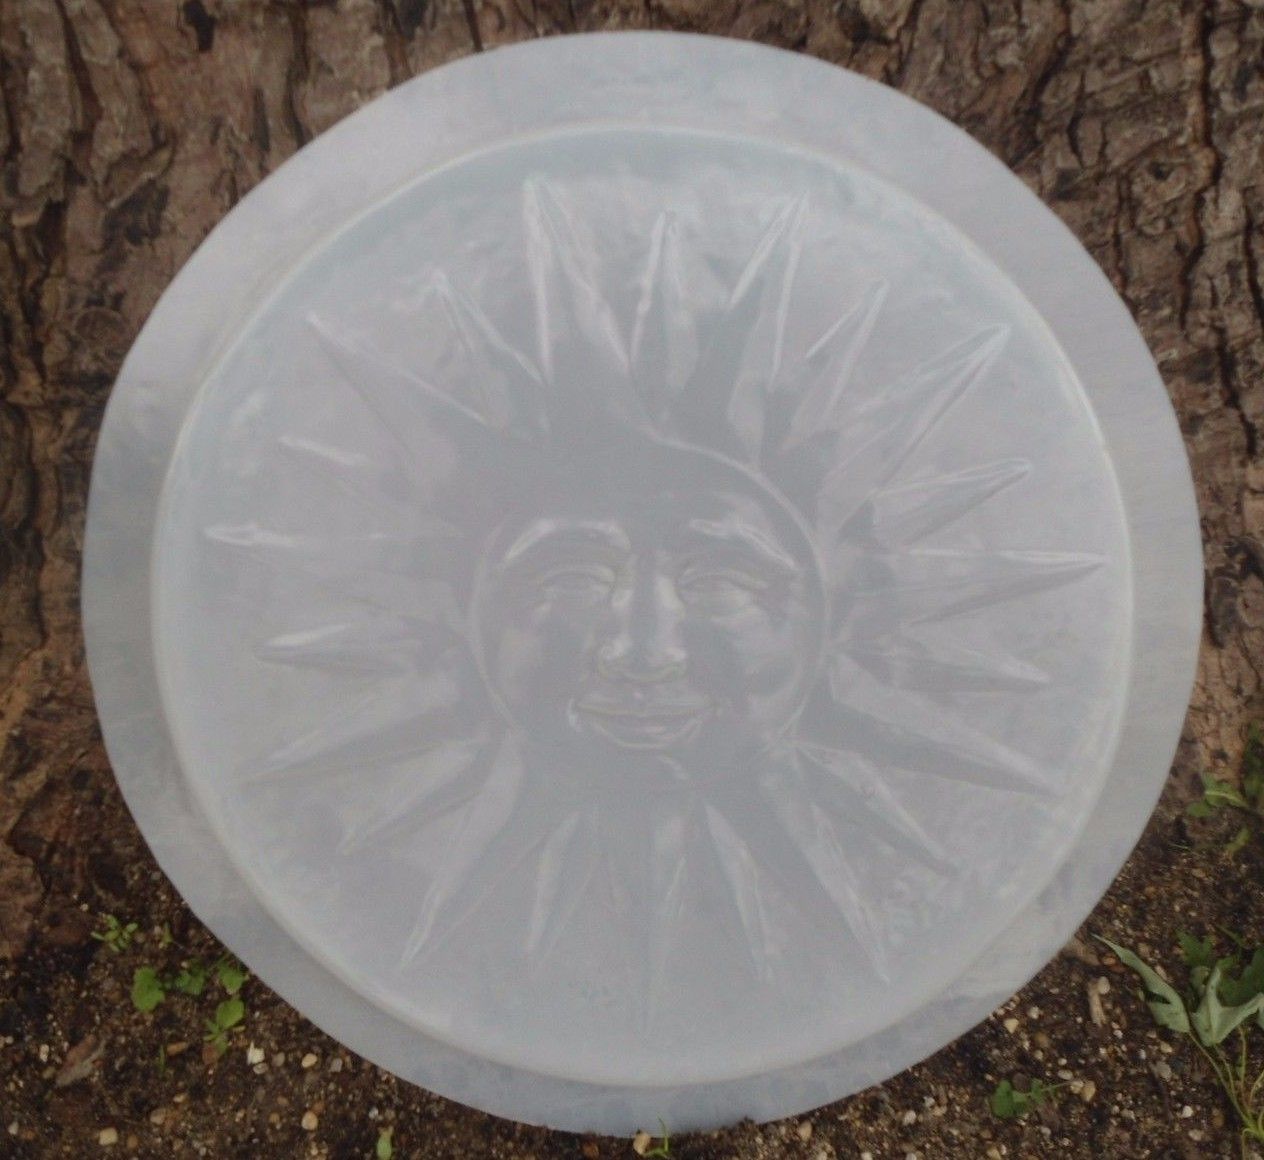
- Molds: These are the heart of your sun face. You can use store-bought molds (plastic or rubber are great) or get creative. Think about using pie plates, cake pans, or even large bowls. The shape will define your sun face.
- Sun Face Elements: This is where your creativity shines. Gather items to create the face. Consider things like:
- For the eyes: Small pebbles, glass beads, marbles, or even bottle caps.
- For the mouth: A curved piece of tile, a small piece of brick, or smooth stones.
- For the rays: Broken tiles, sea shells, or even pieces of stained glass. Be imaginative.
- Protective Gear: Gloves are a must to protect your hands. Safety glasses are a good idea to protect your eyes from splashes.
- Trowel or Spatula: For smoothing the surface of the concrete.
- Optional: Concrete Sealant: To protect your finished stepping stones from the elements and enhance their longevity.
Preparing Your Molds: Setting the Stage
Preparing your molds is a crucial step for achieving a flawless finish. Here’s how to do it:
- Cleanliness is Key: Ensure your molds are spotlessly clean and dry. Any debris can interfere with the concrete’s setting process and affect the final appearance.
- Mold Release (Optional but Recommended): To make removing your stepping stones easier, consider using a mold release agent. You can buy these at most hardware stores. Alternatively, a light coating of cooking oil (like vegetable oil) can also work. This prevents the concrete from sticking to the mold.
- Arrange Your Face Features: This is where the fun begins. Before you pour the concrete, arrange your sun face elements (eyes, mouth, rays) inside the mold. Experiment with different designs until you’re happy with the look. Remember, the features will be embedded in the concrete, so make sure they are positioned correctly.
- Planning is important: Think about the size of your stepping stone and the overall design. Smaller stones may require smaller features, and vice versa. It’s also wise to take a picture for reference or sketch your design before placing the pieces.
Mixing the Concrete: The Right Consistency
Mixing concrete properly is essential for a strong, durable stepping stone. Follow these steps:
- Follow the Instructions: Always read the instructions on your concrete mix package. Different mixes may have slightly different water-to-concrete ratios.
- Add Water Gradually: Slowly add water to your concrete mix, stirring constantly. The goal is to achieve a consistency that’s similar to thick pancake batter or peanut butter. You want it to be pourable but not too watery.
- Avoid Over-Mixing: Over-mixing can weaken the concrete. Mix only until the ingredients are thoroughly combined and there are no dry clumps.
- Check for Air Bubbles: Gently tap the sides of your mixing container to release any trapped air bubbles. This helps ensure a smoother finish.
Pouring and Setting: Bringing Your Sun Face to Life
Now for the moment of truth – pouring the concrete. Here’s how to do it:
- Pour Carefully: Slowly pour the concrete into your prepared mold, filling it to the desired level. If you’re using a shallow mold, you may want to fill it to the top.
- Tap and Settle: Gently tap the sides of the mold to help the concrete settle and remove any air pockets. You can also use a stick or trowel to gently poke the concrete and release air bubbles.
- Smooth the Surface: Use a trowel or spatula to smooth the surface of the concrete, ensuring it’s level and even. This will give your stepping stone a professional finish.
- Embed Your Features: If you haven’t already, gently press your sun face elements into the wet concrete. Make sure they are firmly embedded but not submerged too deeply. You want them to be visible.
- Curing Time: This is the most important part. Allow the concrete to cure properly. Curing time varies depending on the concrete mix and environmental conditions. Generally, it takes a few days to a week for the concrete to fully cure. The package instructions will give you the best advice. Keep the mold covered with plastic to stop it from drying out too quickly.
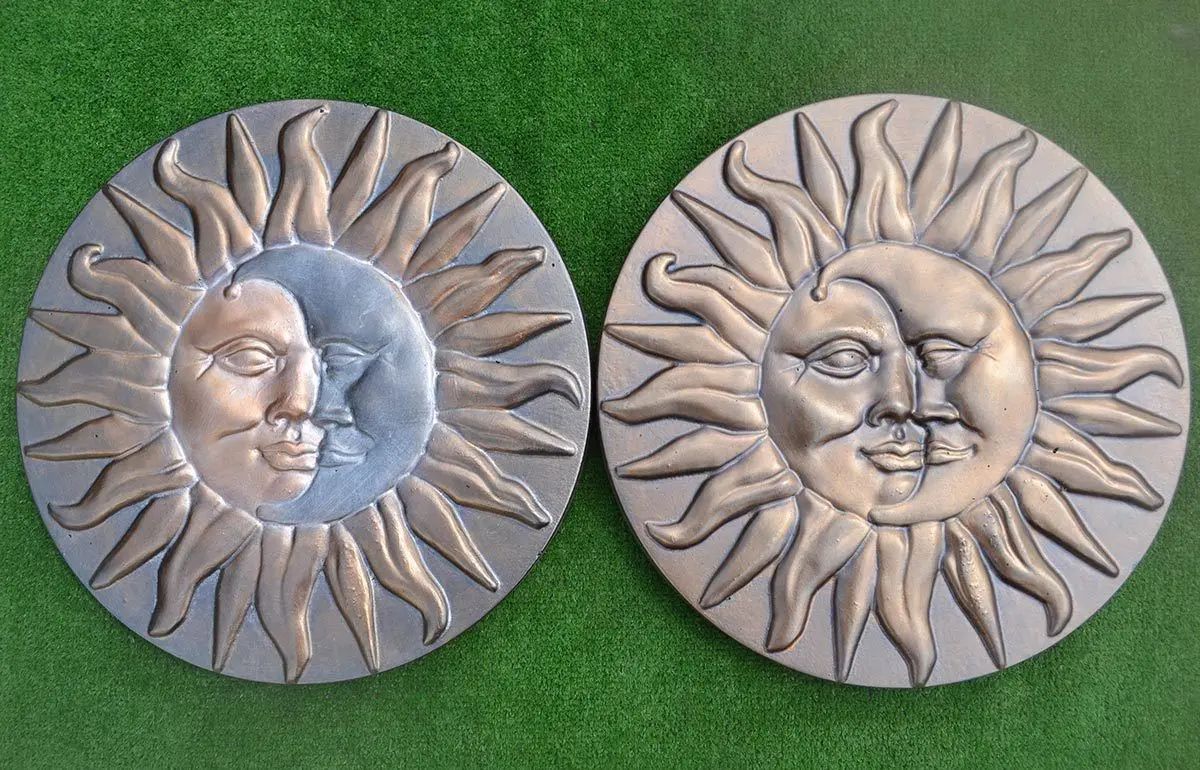
Removing and Finishing: The Grand Reveal
Once the concrete has fully cured, it’s time to reveal your sun face stepping stone. Here’s how:
- Gentle Removal: Carefully remove the stepping stone from the mold. If you used a mold release agent, this should be relatively easy. If the stepping stone is stuck, you might need to gently tap the sides of the mold or use a rubber mallet.
- Cleaning and Inspection: Once you’ve removed the stepping stone, clean off any excess concrete or debris. Inspect it for any imperfections. You can use a wire brush or sandpaper to smooth out any rough edges or surfaces.
- Sealing (Optional): To protect your stepping stone from the elements, consider applying a concrete sealant. This will also enhance the colors and make it more durable. Follow the sealant manufacturer’s instructions.
- Patience is Key: Let the sealant cure completely before placing your stepping stone in your garden.
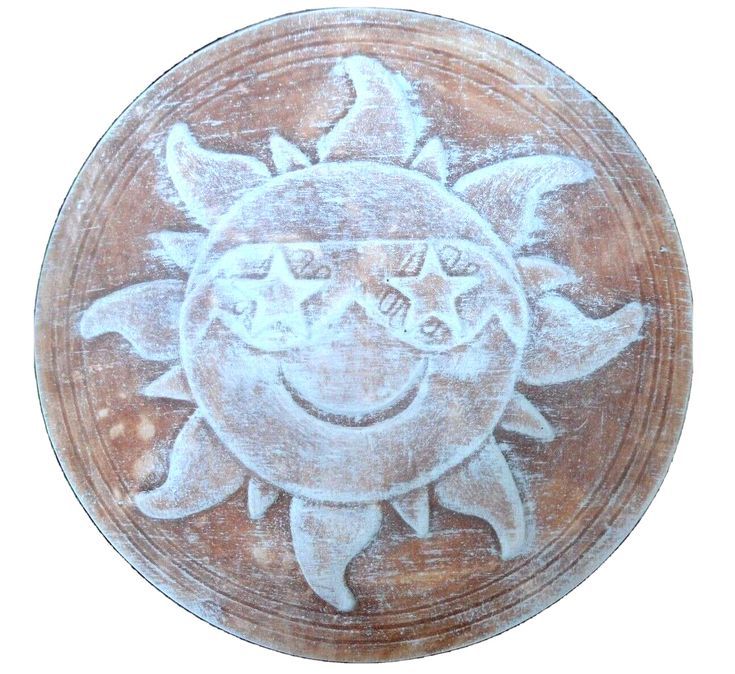
Placement and Inspiration: Bringing the Sunshine Home
Now for the fun part – placing your beautiful sun face stepping stones in your garden. Here are some ideas to get you started:
- Garden Paths: Create a winding path through your garden using your sun face stepping stones. Space them out to allow for comfortable stepping.
- Flower Beds: Use the stones to create a border around your flower beds, adding a touch of whimsy and charm.
- Outdoor Seating Areas: Place stepping stones around your outdoor seating area to create a cohesive and inviting space.
- Water Features: Add sun face stepping stones around a small pond or water feature for a touch of serenity.
- Get Creative: Don’t be afraid to experiment. Mix and match different sizes, colors, and designs to create a unique and personalized look. The possibilities are truly endless.
And remember, the most important thing is to have fun and enjoy the process. Your stepping stones don’t have to be perfect; it’s the love and effort you put into them that makes them truly special. And remember, every sunrise is a new beginning. Every sun face stepping stone is a reminder of that. So go out there, get creative, and bring some sunshine into your life and your garden.
Creating sun face stepping stones is a rewarding and enjoyable project that combines creativity, craftsmanship, and a touch of sunshine. From gathering your materials to placing your finished stones in your garden, each step offers a chance to express your unique style and bring joy to your outdoor space. I hope this guide has provided you with the knowledge, inspiration, and confidence to embark on your own sun face stepping stone journey. Remember to embrace the imperfections, enjoy the process, and let your creativity shine. Thank you for joining me today. Until next time, happy crafting, and may your gardens always be filled with sunshine and smiles.