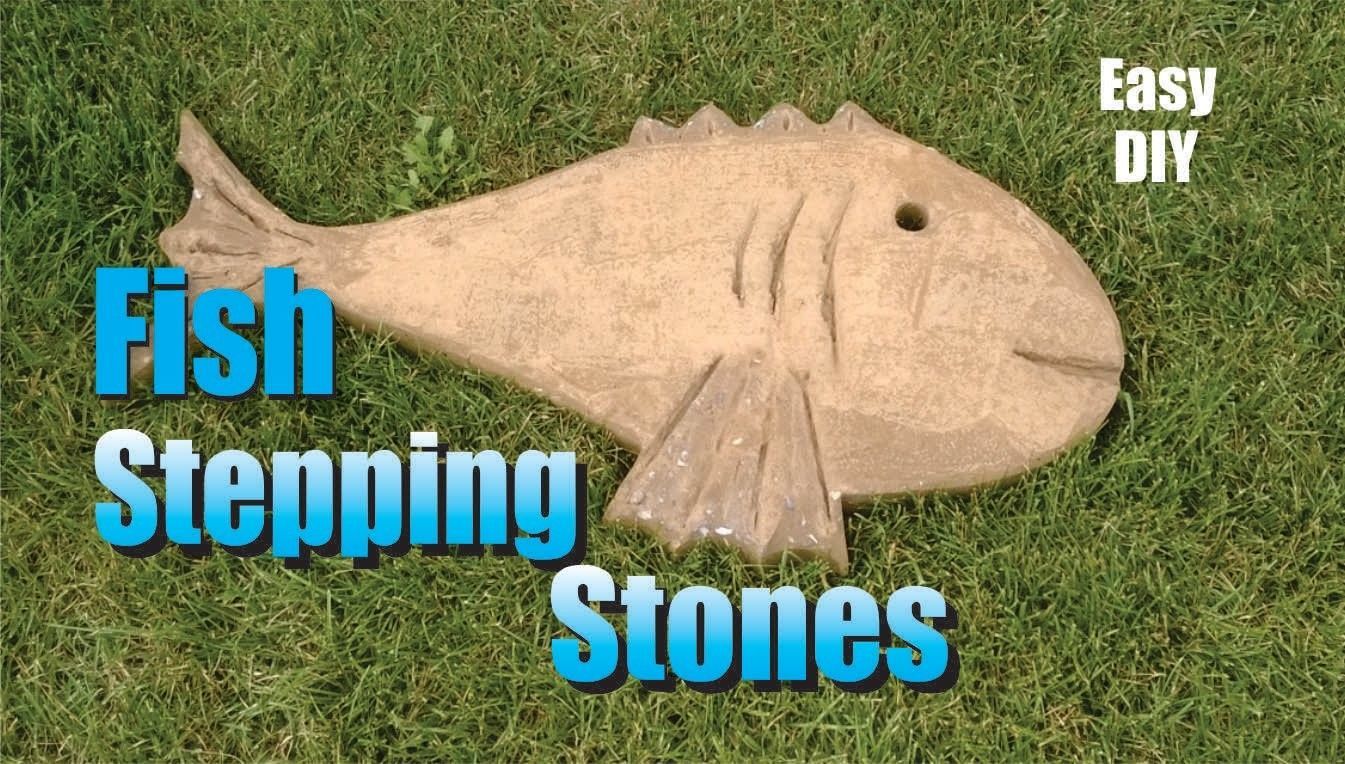
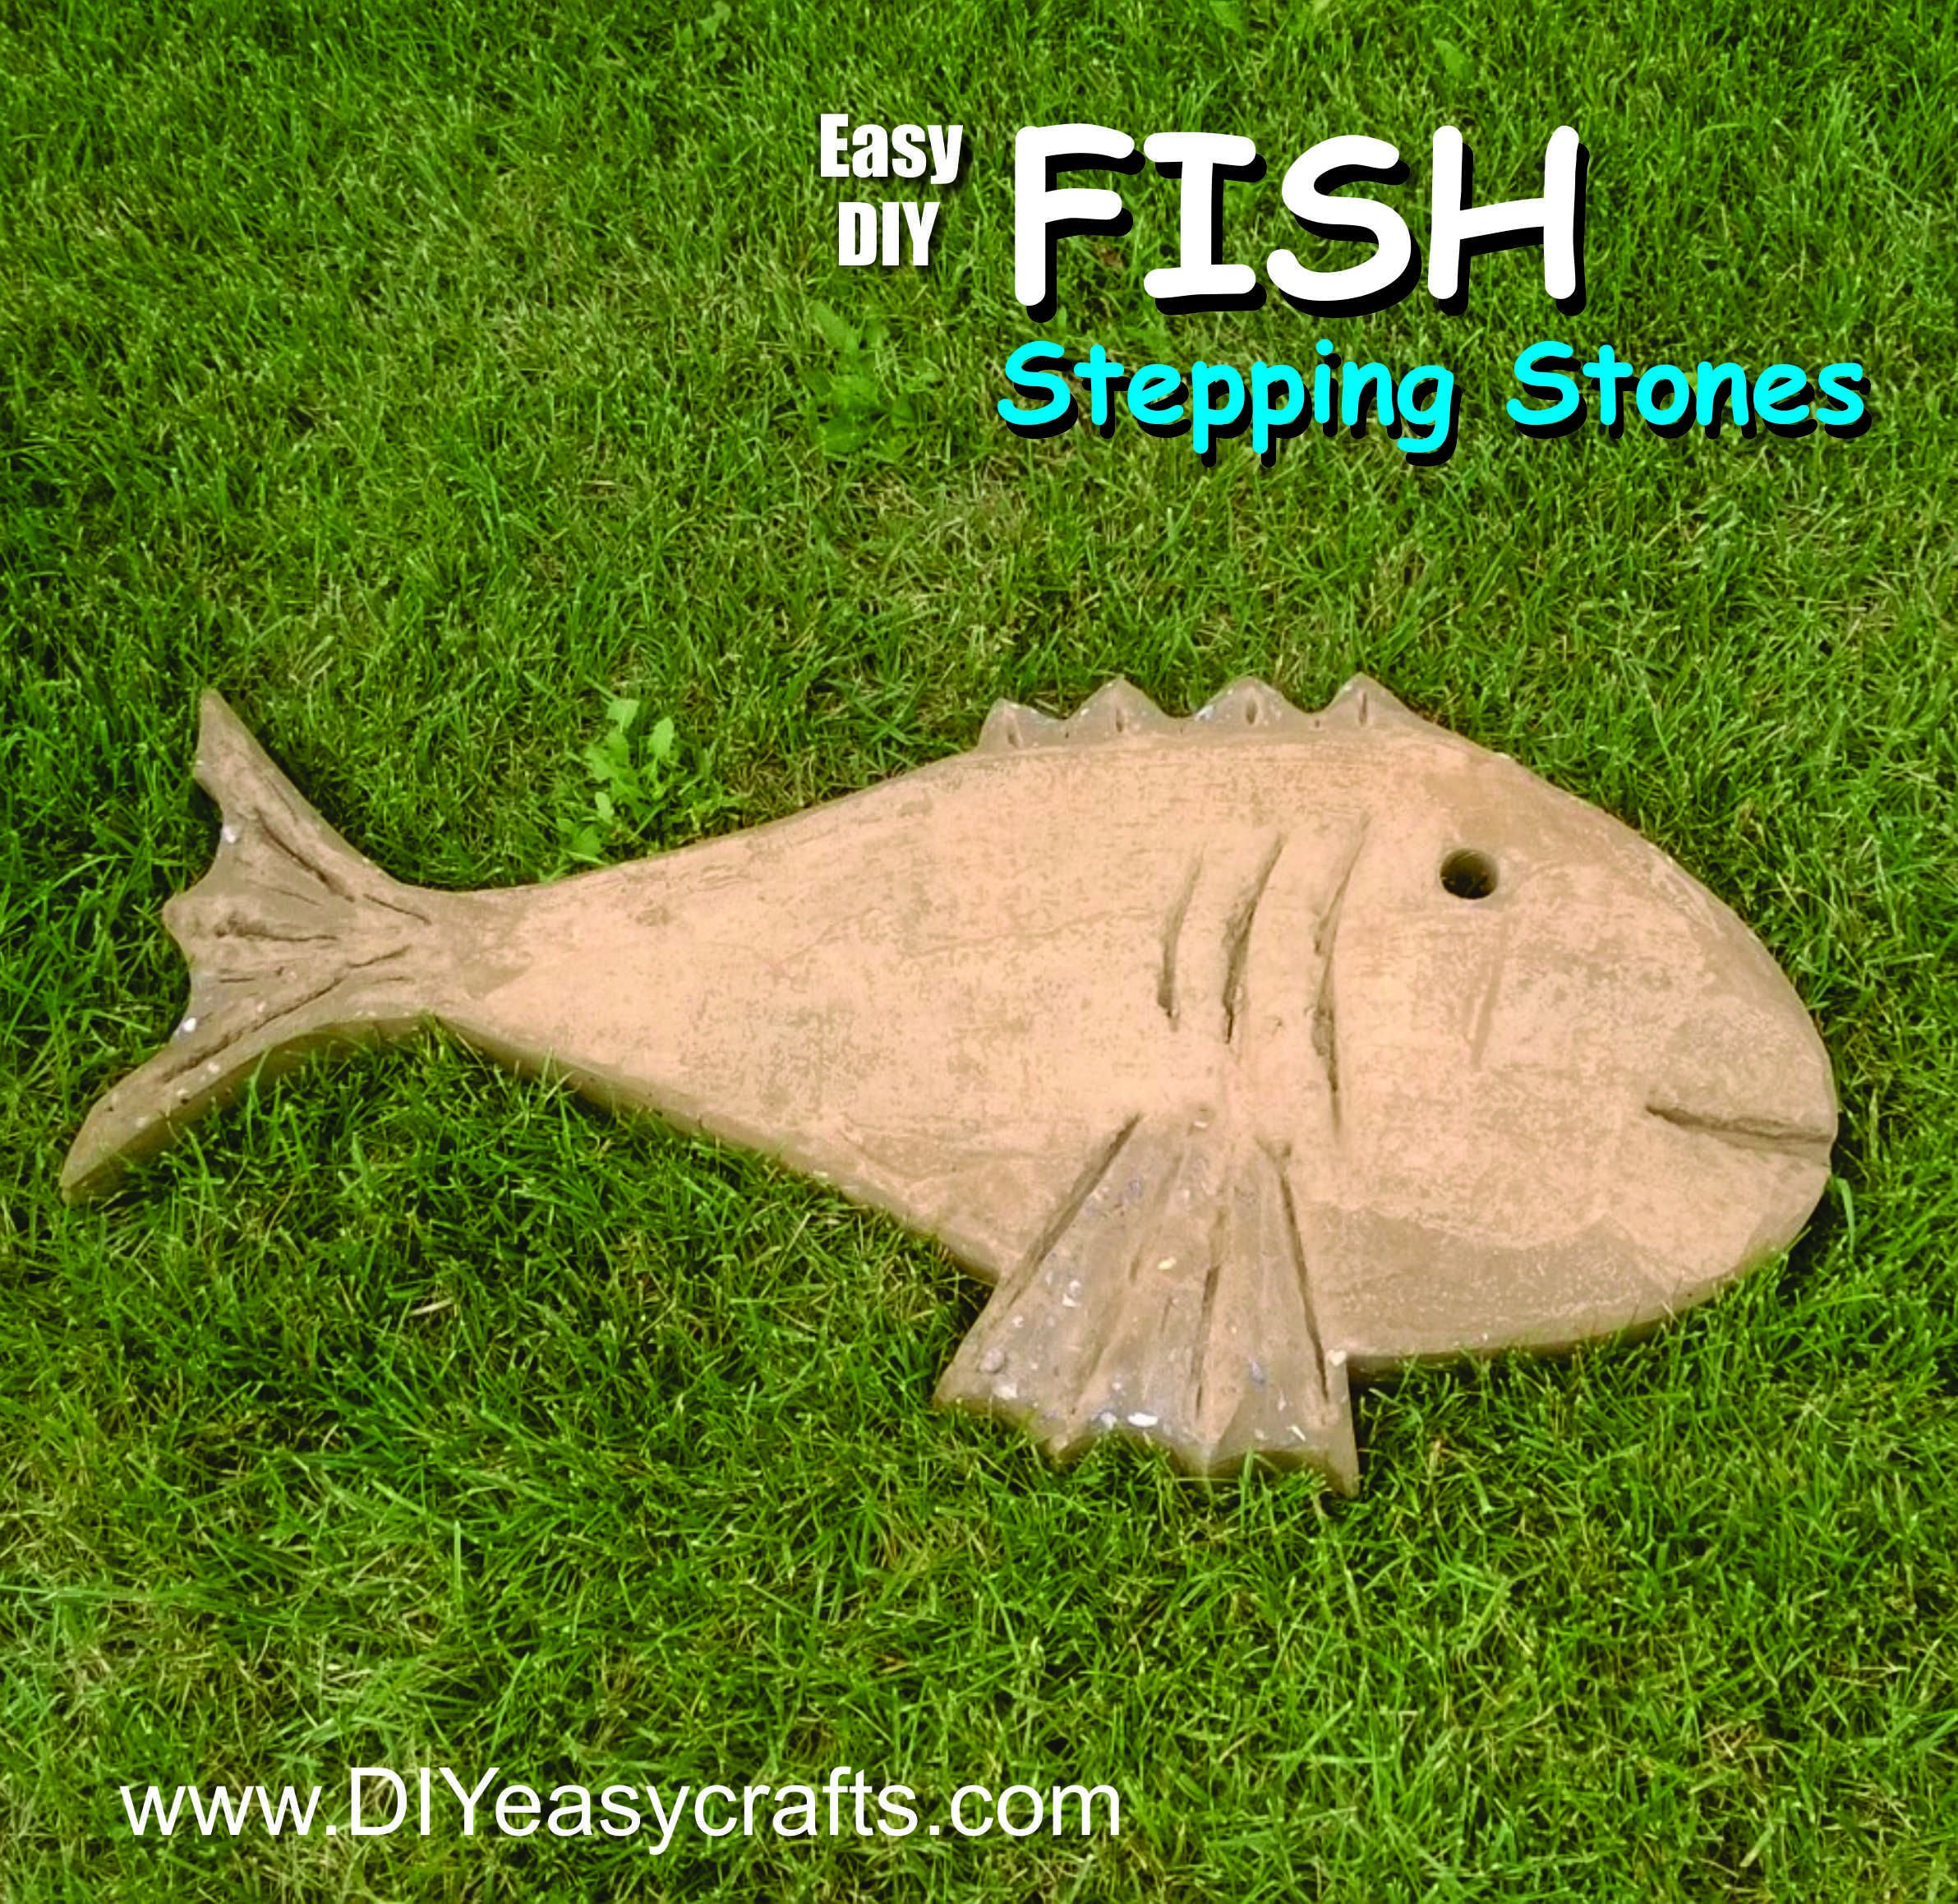
Hey everyone, it’s your friendly neighborhood stepping stone guru here. For years, I’ve been getting my hands dirty, creating and fixing these beautiful, whimsical pieces. And let me tell you, I’ve seen it all – bubbles, cracks, fish that just… vanish. But fear not, because today we’re diving deep into the common problems you might face when crafting those gorgeous fish-in-water stepping stones, and how to solve them. Get ready to make some amazing stepping stones, and let’s get started.
Fish-in-water stepping stones are a fabulous way to bring a touch of magic to your garden or yard. They’re stunning to look at, and they add a unique, personal flair. The problem is, they can be a little tricky to master. From air bubbles to the wrong type of concrete, there are a few common pitfalls that can turn your dream stepping stone into a concrete nightmare. This guide is designed to walk you through the most frequent issues and give you practical solutions to get you back on track. I’ll share my personal experiences, some hard-learned lessons, and plenty of helpful advice. Ready to create some amazing stepping stones with me?
The Dreaded Air Bubbles: Why They Happen and How to Fix Them
Ah, air bubbles. They can be the bane of a stepping stone creator’s existence. These tiny pockets of air trapped in your concrete can cause weakness, cracking, and an all-around messy look.
Why do they happen?
- Mixing too vigorously: Over-mixing can incorporate too much air into the concrete mix. Think of it like whipping cream – the more you whip, the more air you add.
- Using the wrong cement: Some types of cement are more prone to trapping air.
- Improper pouring: Pouring too quickly or from too high can trap air bubbles.
What to do about it:
- Mix gently: Mix your concrete slowly and deliberately. Avoid using a power mixer unless you can control the speed. A hand trowel or a stick is often best.
- Use a concrete vibrator (optional): If you’re feeling fancy, a concrete vibrator (or even just tapping the mold firmly on the table) can help release trapped air.
- Tap the mold: After pouring, gently tap the sides of your mold to encourage air bubbles to rise to the surface.
- Proper Concrete: Make sure you are using the right type of concrete. Some concrete mixes are designed to release air better than others.
- Be Patient: Don’t rush the process. Take your time with each step.
Cracking Concerns: Preventing Those Unwanted Splits
Cracks. They’re the heartbreak of any concrete project. They’re unsightly and can weaken your stepping stone, leading to its eventual demise.
What causes cracks?
- Improper curing: The most common culprit. Concrete needs to cure slowly and evenly to gain its full strength. If it dries too quickly, it will crack.
- Using the wrong water-to-cement ratio: Too much water weakens the concrete, making it more susceptible to cracking.
- Temperature changes: Sudden temperature changes can cause the concrete to expand and contract, leading to cracks. Espescially when it’s cold.
- Thin sections: Areas of your stepping stone that are too thin are more vulnerable.
How to prevent cracking:
- Cure properly: Cover your freshly poured stepping stone with plastic sheeting or a damp cloth to keep it moist. Mist it with water regularly for the first few days. You can also use curing compounds.
- Use the right water-to-cement ratio: Follow the instructions on your cement bag. Generally, you want a ratio that’s close to the recommended one.
- Control the temperature: Avoid pouring concrete in extreme heat or cold. If you must, take steps to protect your project from rapid temperature changes.
- Reinforce thin sections: For areas that are thin, consider adding wire mesh or other reinforcement materials.
- Add fibers: Adding fibers to your concrete mix can also help. Fibers help to reduce the chance of cracking.
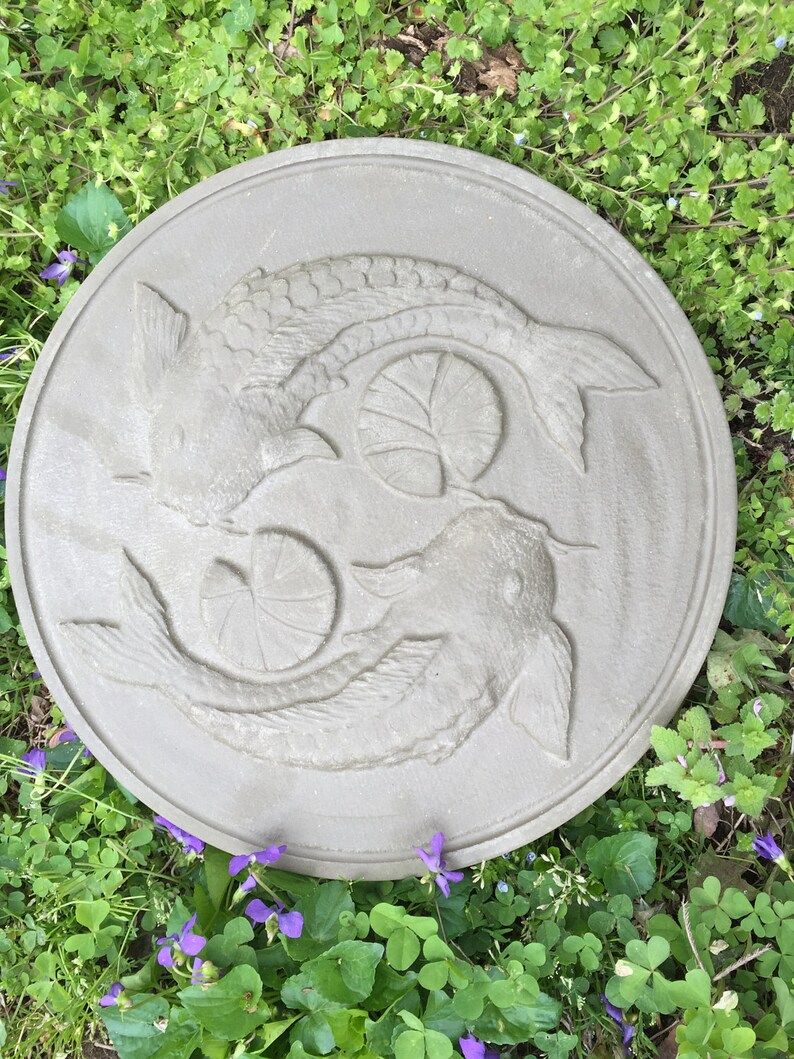
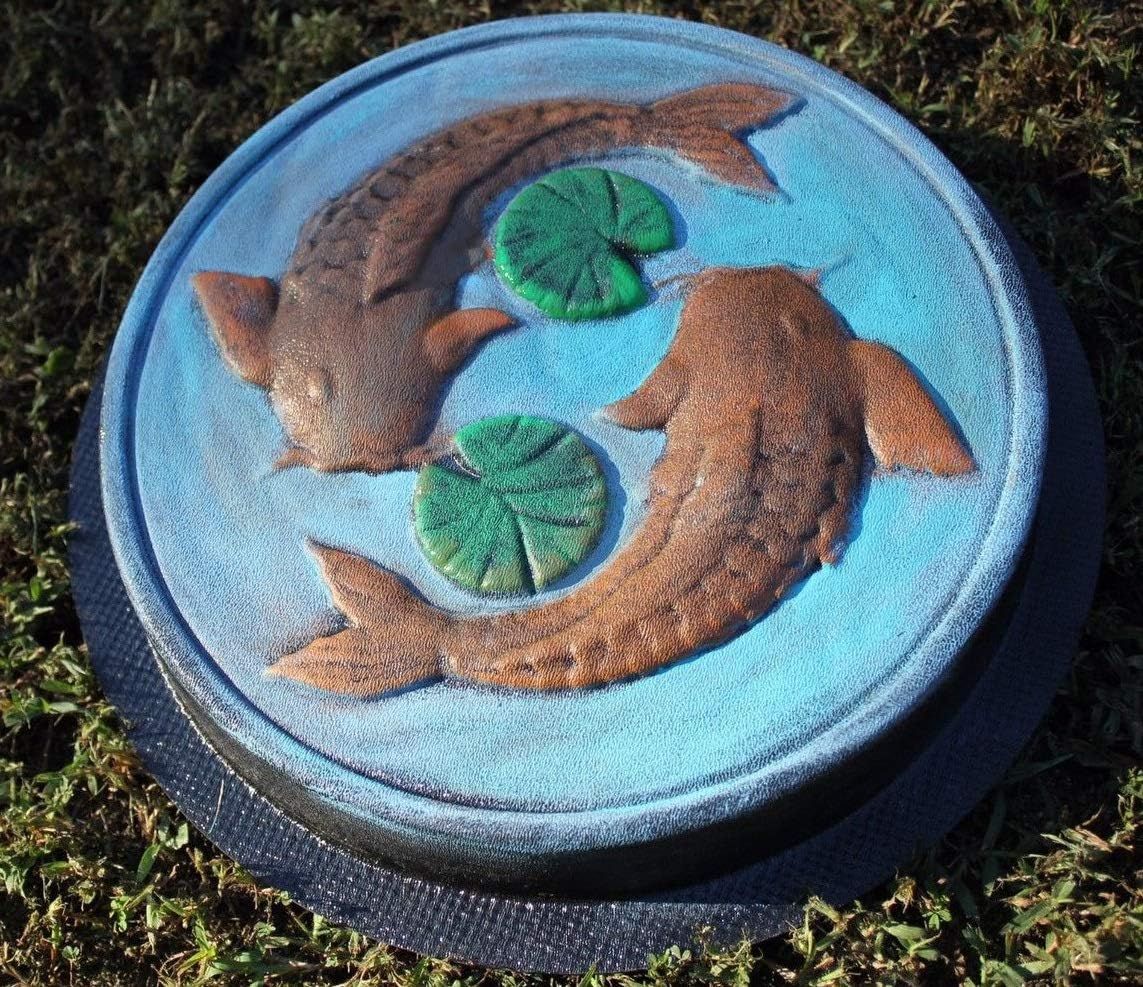
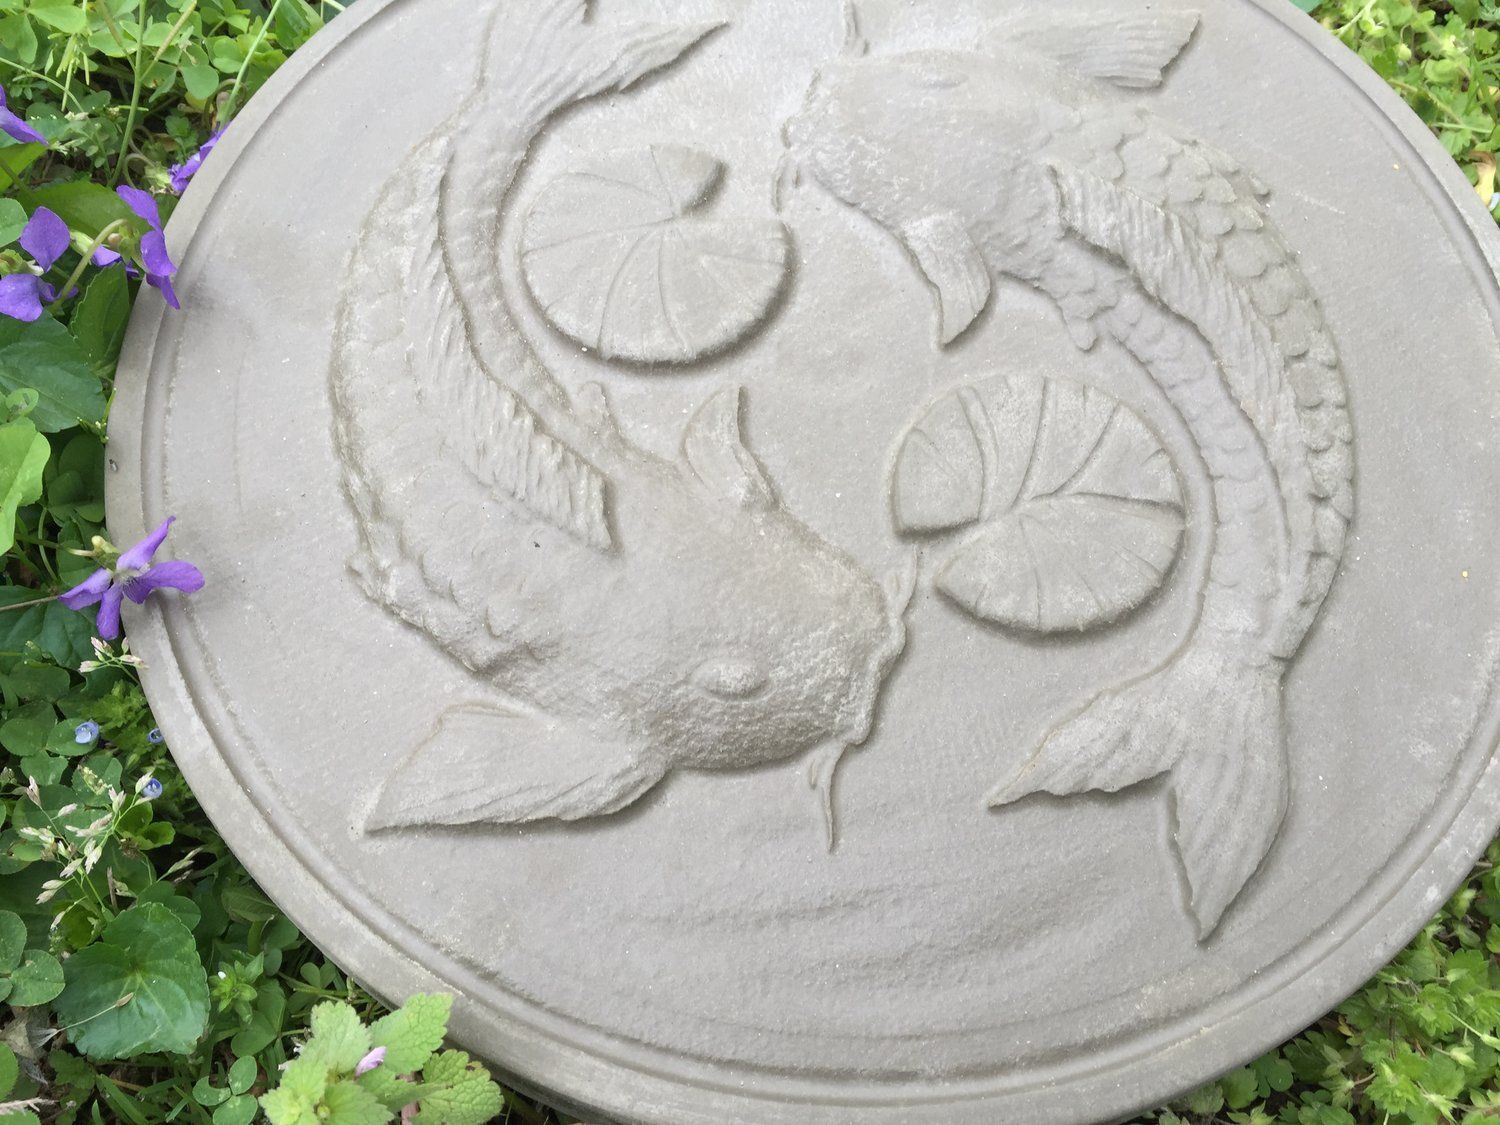
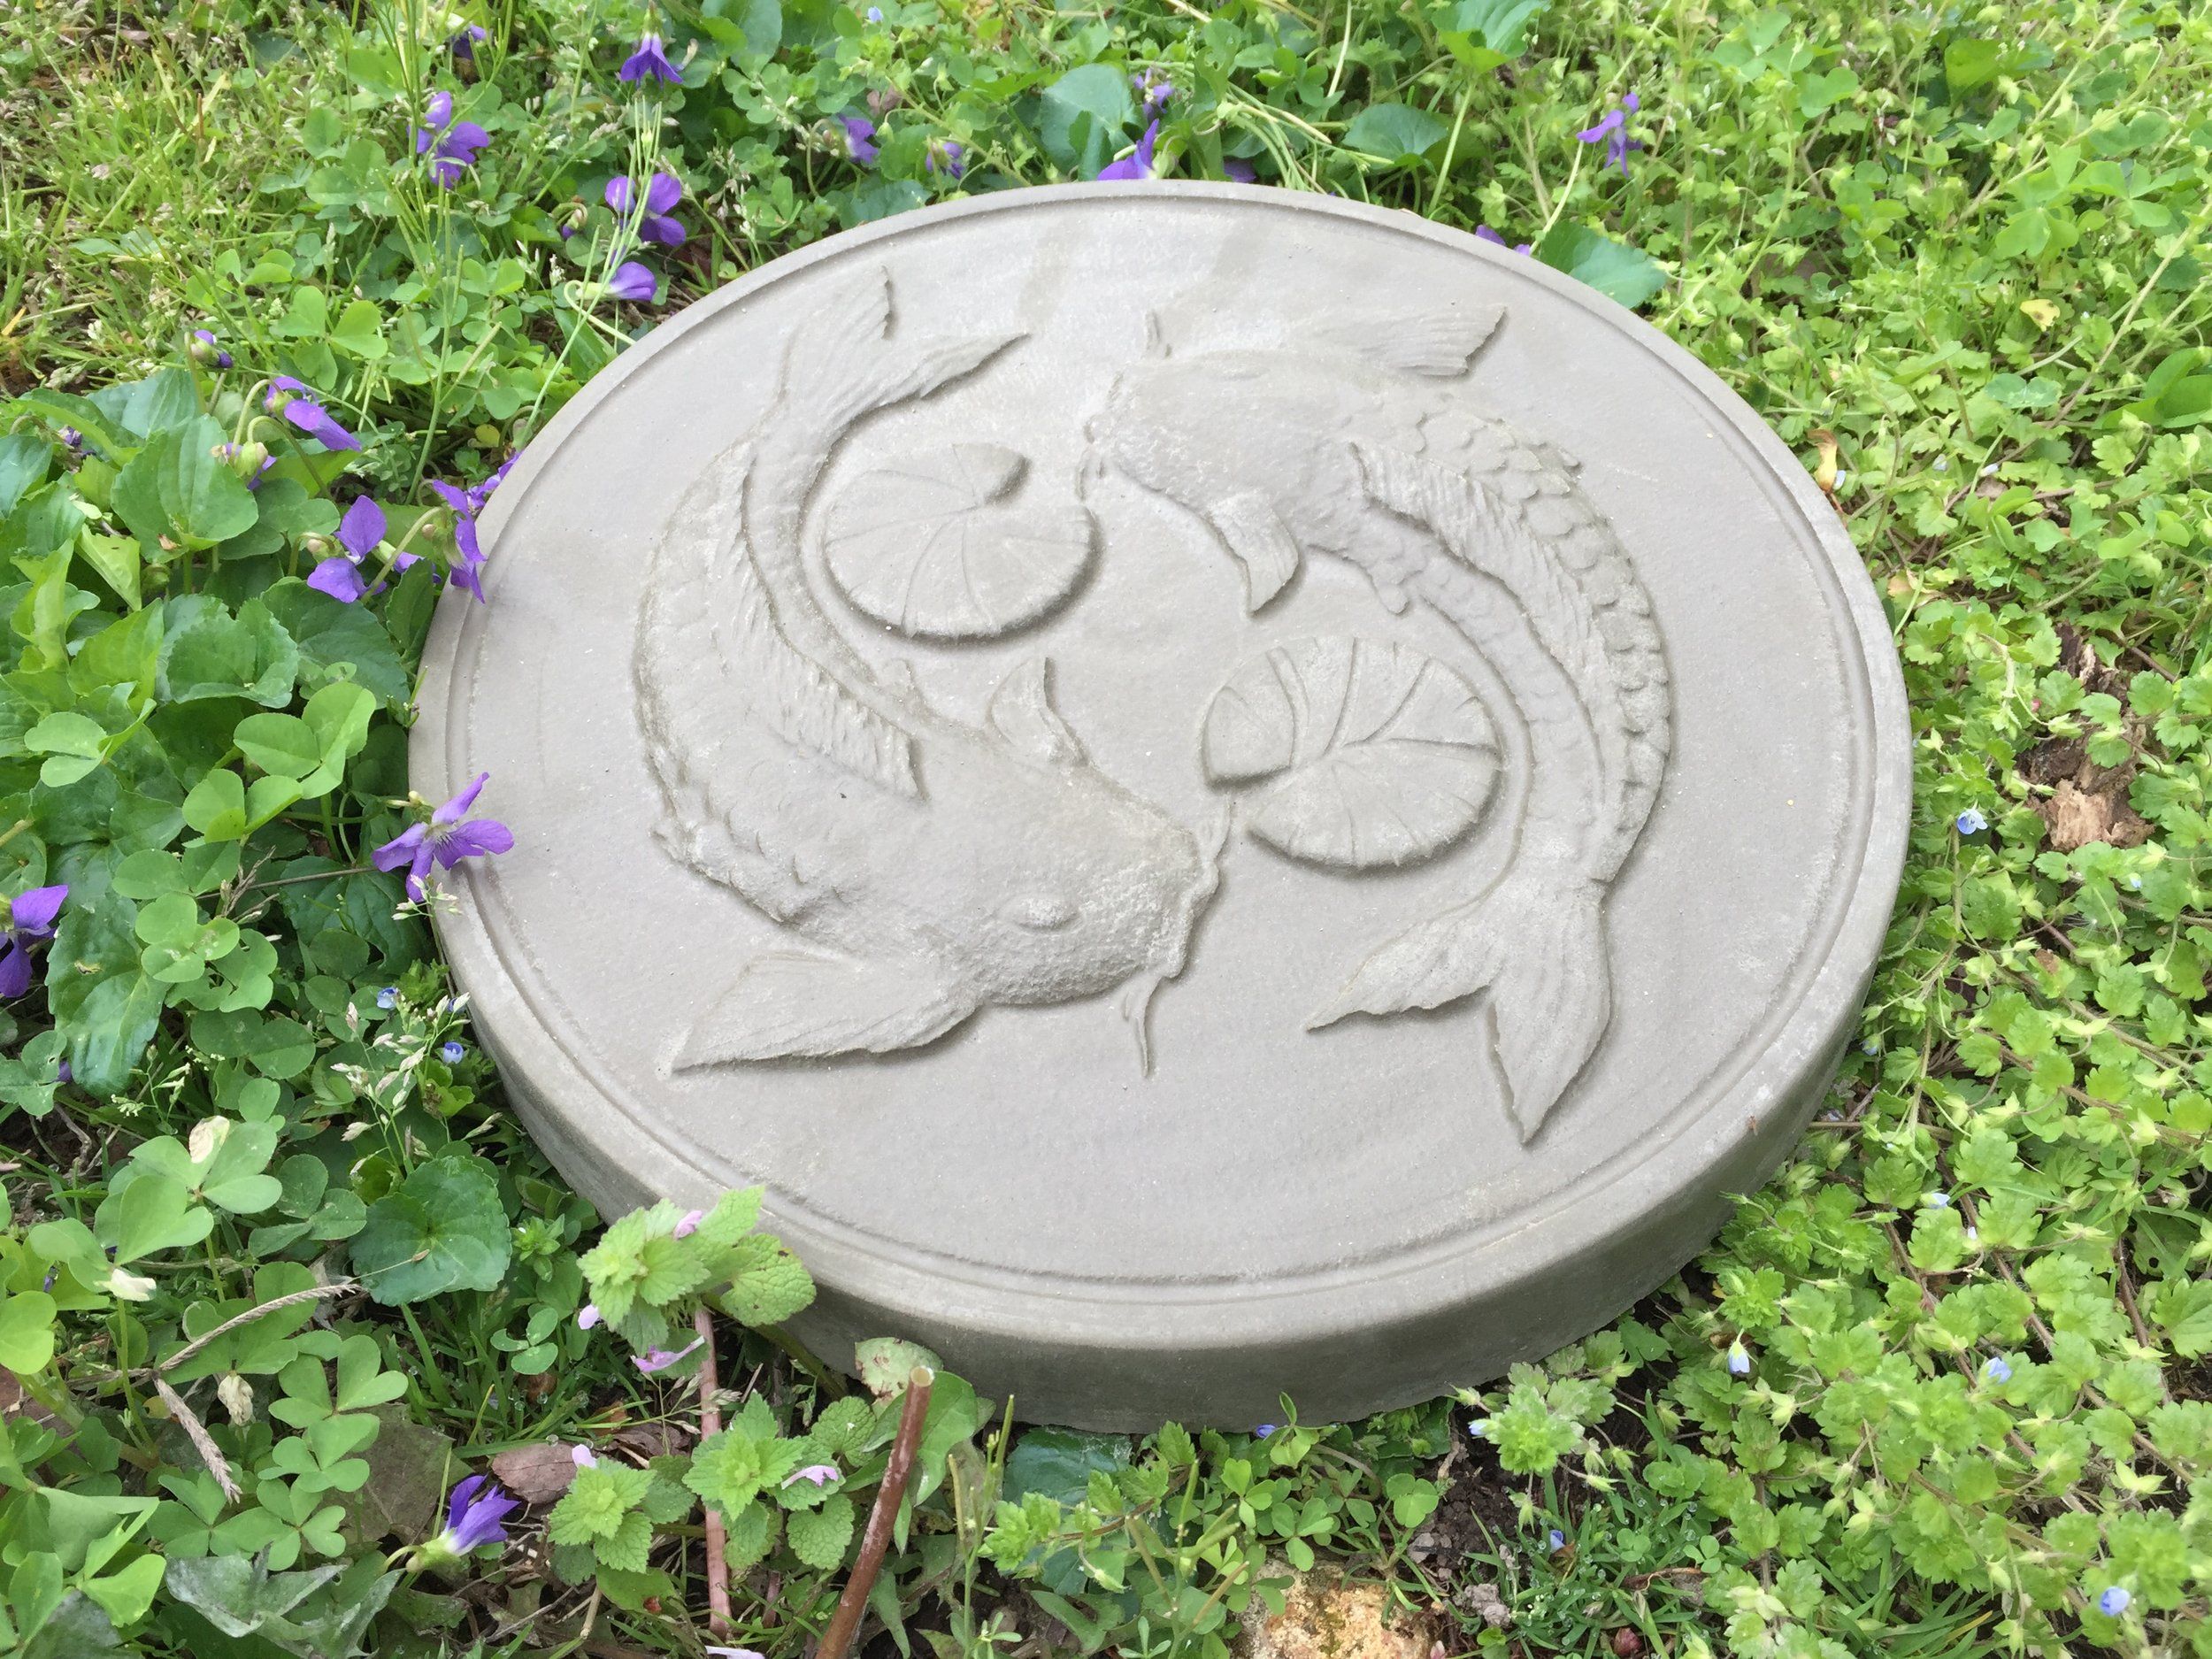
The Fishy Dilemma: Keeping Your Aquatic Friends in Place
Sometimes, the fish just… won’t cooperate. They float, they shift, or they end up looking wonky. This is probably the most important part!
Why do fish misbehave?
- Buoyancy: Fish (especially plastic ones) tend to float in the wet concrete.
- Movement during setting: The concrete needs to be set to stay in place.
- Wrong placement: if the fish are not placed right, they could also look weird.
Solutions for fish placement:
- Weight them down: Before pouring your concrete, weigh down your fish with small pebbles or weights. This will help keep them in place. You can also use some glue on the bottom of the fish, to make sure they do not move.
- Partially embed them: Gently press the fish into the wet concrete so they are partially submerged. This helps anchor them.
- Use a thicker concrete mix: A thicker mix can help the fish stay put.
- Add a layer: Pour a thin layer of concrete, position your fish, then pour the rest.
- Let it set: Give the concrete time to firm up before moving the fish around. You can also use something like toothpicks to help position the fish.
Concrete Type Troubles: Choosing the Right Mixture
Not all concrete is created equal, and picking the right mix is crucial for success.
Why the right mix matters:
- Strength: Some mixes are stronger than others.
- Workability: Some mixes are easier to work with.
- Appearance: Different mixes have different finishes.
Tips for choosing the right concrete:
- Read the label: Pay attention to the intended use of the concrete. Look for concrete that is suitable for outdoor use and can withstand the elements.
- Consider your project: For stepping stones, you’ll want a mix that is strong, durable, and has a good finish.
- Use a concrete that is designed for stepping stones: There are many concrete mixes that are designed to be used for stepping stones.
- Try different mixes: Try different mixes to see which one you like best.
- Ask for help: Do not be afraid to ask for help. The people at the hardware store are usually happy to help you.
Color and Finish Fiascos: Achieving the Look You Want
Getting the color and finish right can be a challenge, but it’s worth it for that final touch.
Common issues:
- Uneven color: Color can sometimes distribute unevenly.
- Fading: Colors can fade over time, especially in direct sunlight.
- Rough finish: The surface might be rough or uneven.
Tips for success:
- Use colorants properly: Follow the manufacturer’s instructions for adding colorants. Mix the colorant thoroughly.
- Seal it up: Seal your stepping stones with a concrete sealer to protect the color and the finish. Sealing also prevents water from getting into the concrete, which can help prevent cracking.
- Experiment: Test your colorants on a small sample of concrete before you commit to the whole project.
- Control the finish: Use different tools to make different types of finish.
- Be patient: Let the concrete cure completely before adding anything to it.
Mold Mishaps: Dealing with Difficult Demolds
Getting your stepping stone out of the mold can be a tricky process.
What makes demolding difficult?
- Mold material: Some materials are harder to demold than others.
- Undercuts: Any features on your stepping stone that curve inward can make demolding difficult.
- Not enough release agent: A release agent helps prevent the concrete from sticking to the mold.
How to make demolding easier:
- Use a release agent: Apply a mold release agent to your mold before pouring the concrete. You can buy these at most hardware stores.
- Use a flexible mold: Silicone molds are often easier to demold than rigid molds.
- Tapping and wiggling: Gently tap and wiggle the mold to loosen the stepping stone.
- Patience: Demolding takes time. Be patient and avoid forcing it.
- Use the right mold: Make sure you are using the right mold for your project.
So there you have it, my friends. A rundown of the most common problems you’ll encounter when creating those magical fish-in-water stepping stones, and the solutions to help you succeed. Remember, it’s all a learning process. Don’t get discouraged if your first attempt isn’t perfect. Every mistake is a lesson, and every project is a chance to learn and improve. Keep experimenting, keep creating, and most importantly, keep having fun. With a little patience, practice, and these troubleshooting tips, you’ll be crafting stunning stepping stones that will bring joy to your garden for years to come. Now go forth and create some stepping stone magic. Happy crafting, and I’ll see you next time. And remember, if you have any questions, please ask. I am always here to help.