Hey everyone, it’s your friend back again! Today, we’re going to get our hands dirty, but in the best way possible. We’re going to be talking all about Tree of Life stepping stone molds – those amazing forms that let you craft beautiful, meaningful pathways in your gardens or any space. I’ve been playing around with these molds for years, and honestly, it’s a craft that keeps on giving. There’s a certain magic in taking raw materials and turning them into something that lasts, something that connects you to nature, and something that has a ton of meaning behind it. Let’s get started.
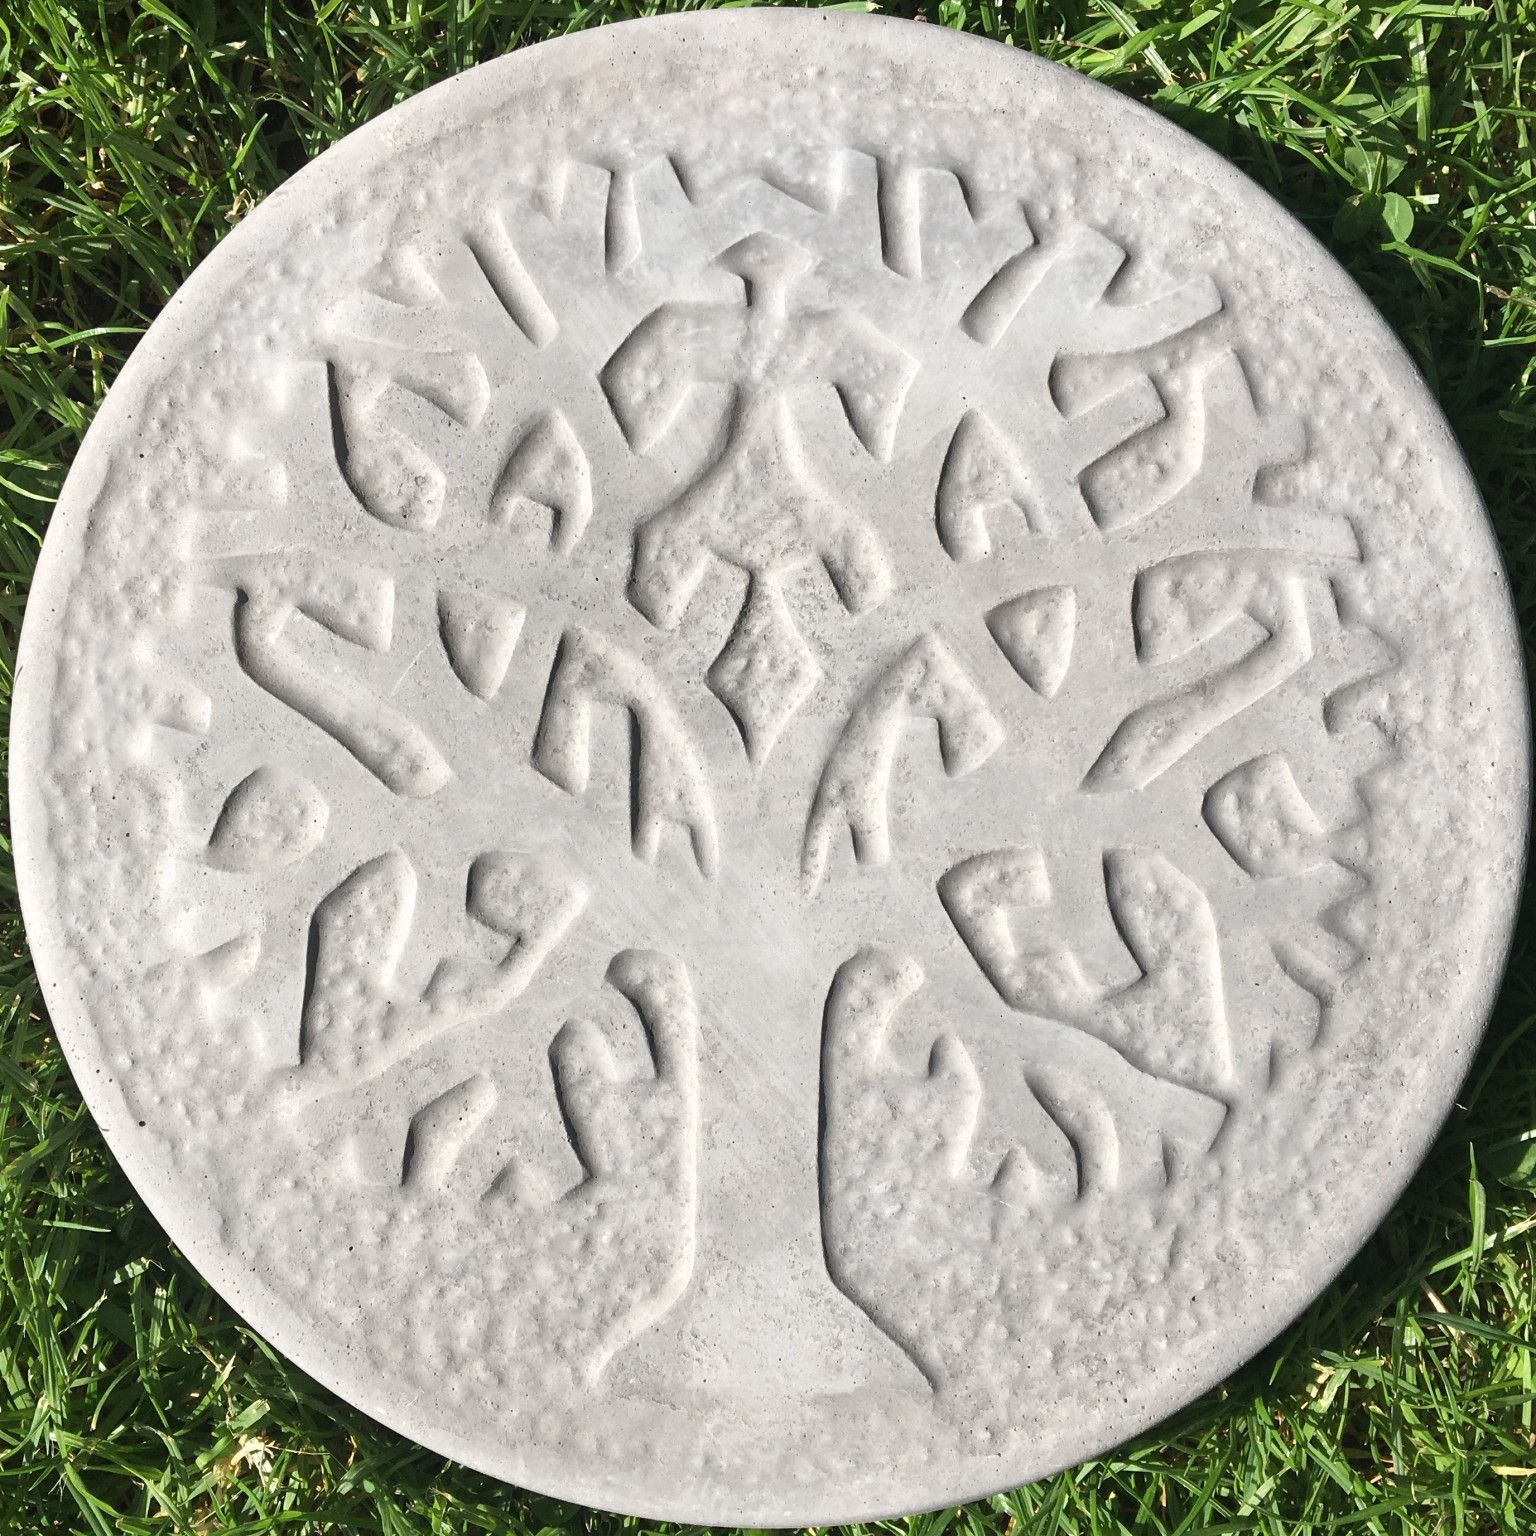
The Tree of Life is a powerful symbol, embodying growth, strength, and connection. What could be better than bringing that symbolism into your home, your yard, or your community? Tree of Life stepping stone molds offer a fantastic way to do just that. Whether you’re a seasoned crafter or a complete beginner, these molds open up a world of creative possibilities. The best part? It’s easier than you might think to get started. I’m going to share some of my tried-and-true techniques and insights that I’ve picked up over the years, so you can create your own stunning stepping stones.
Choosing Your Tree of Life Stepping Stone Mold
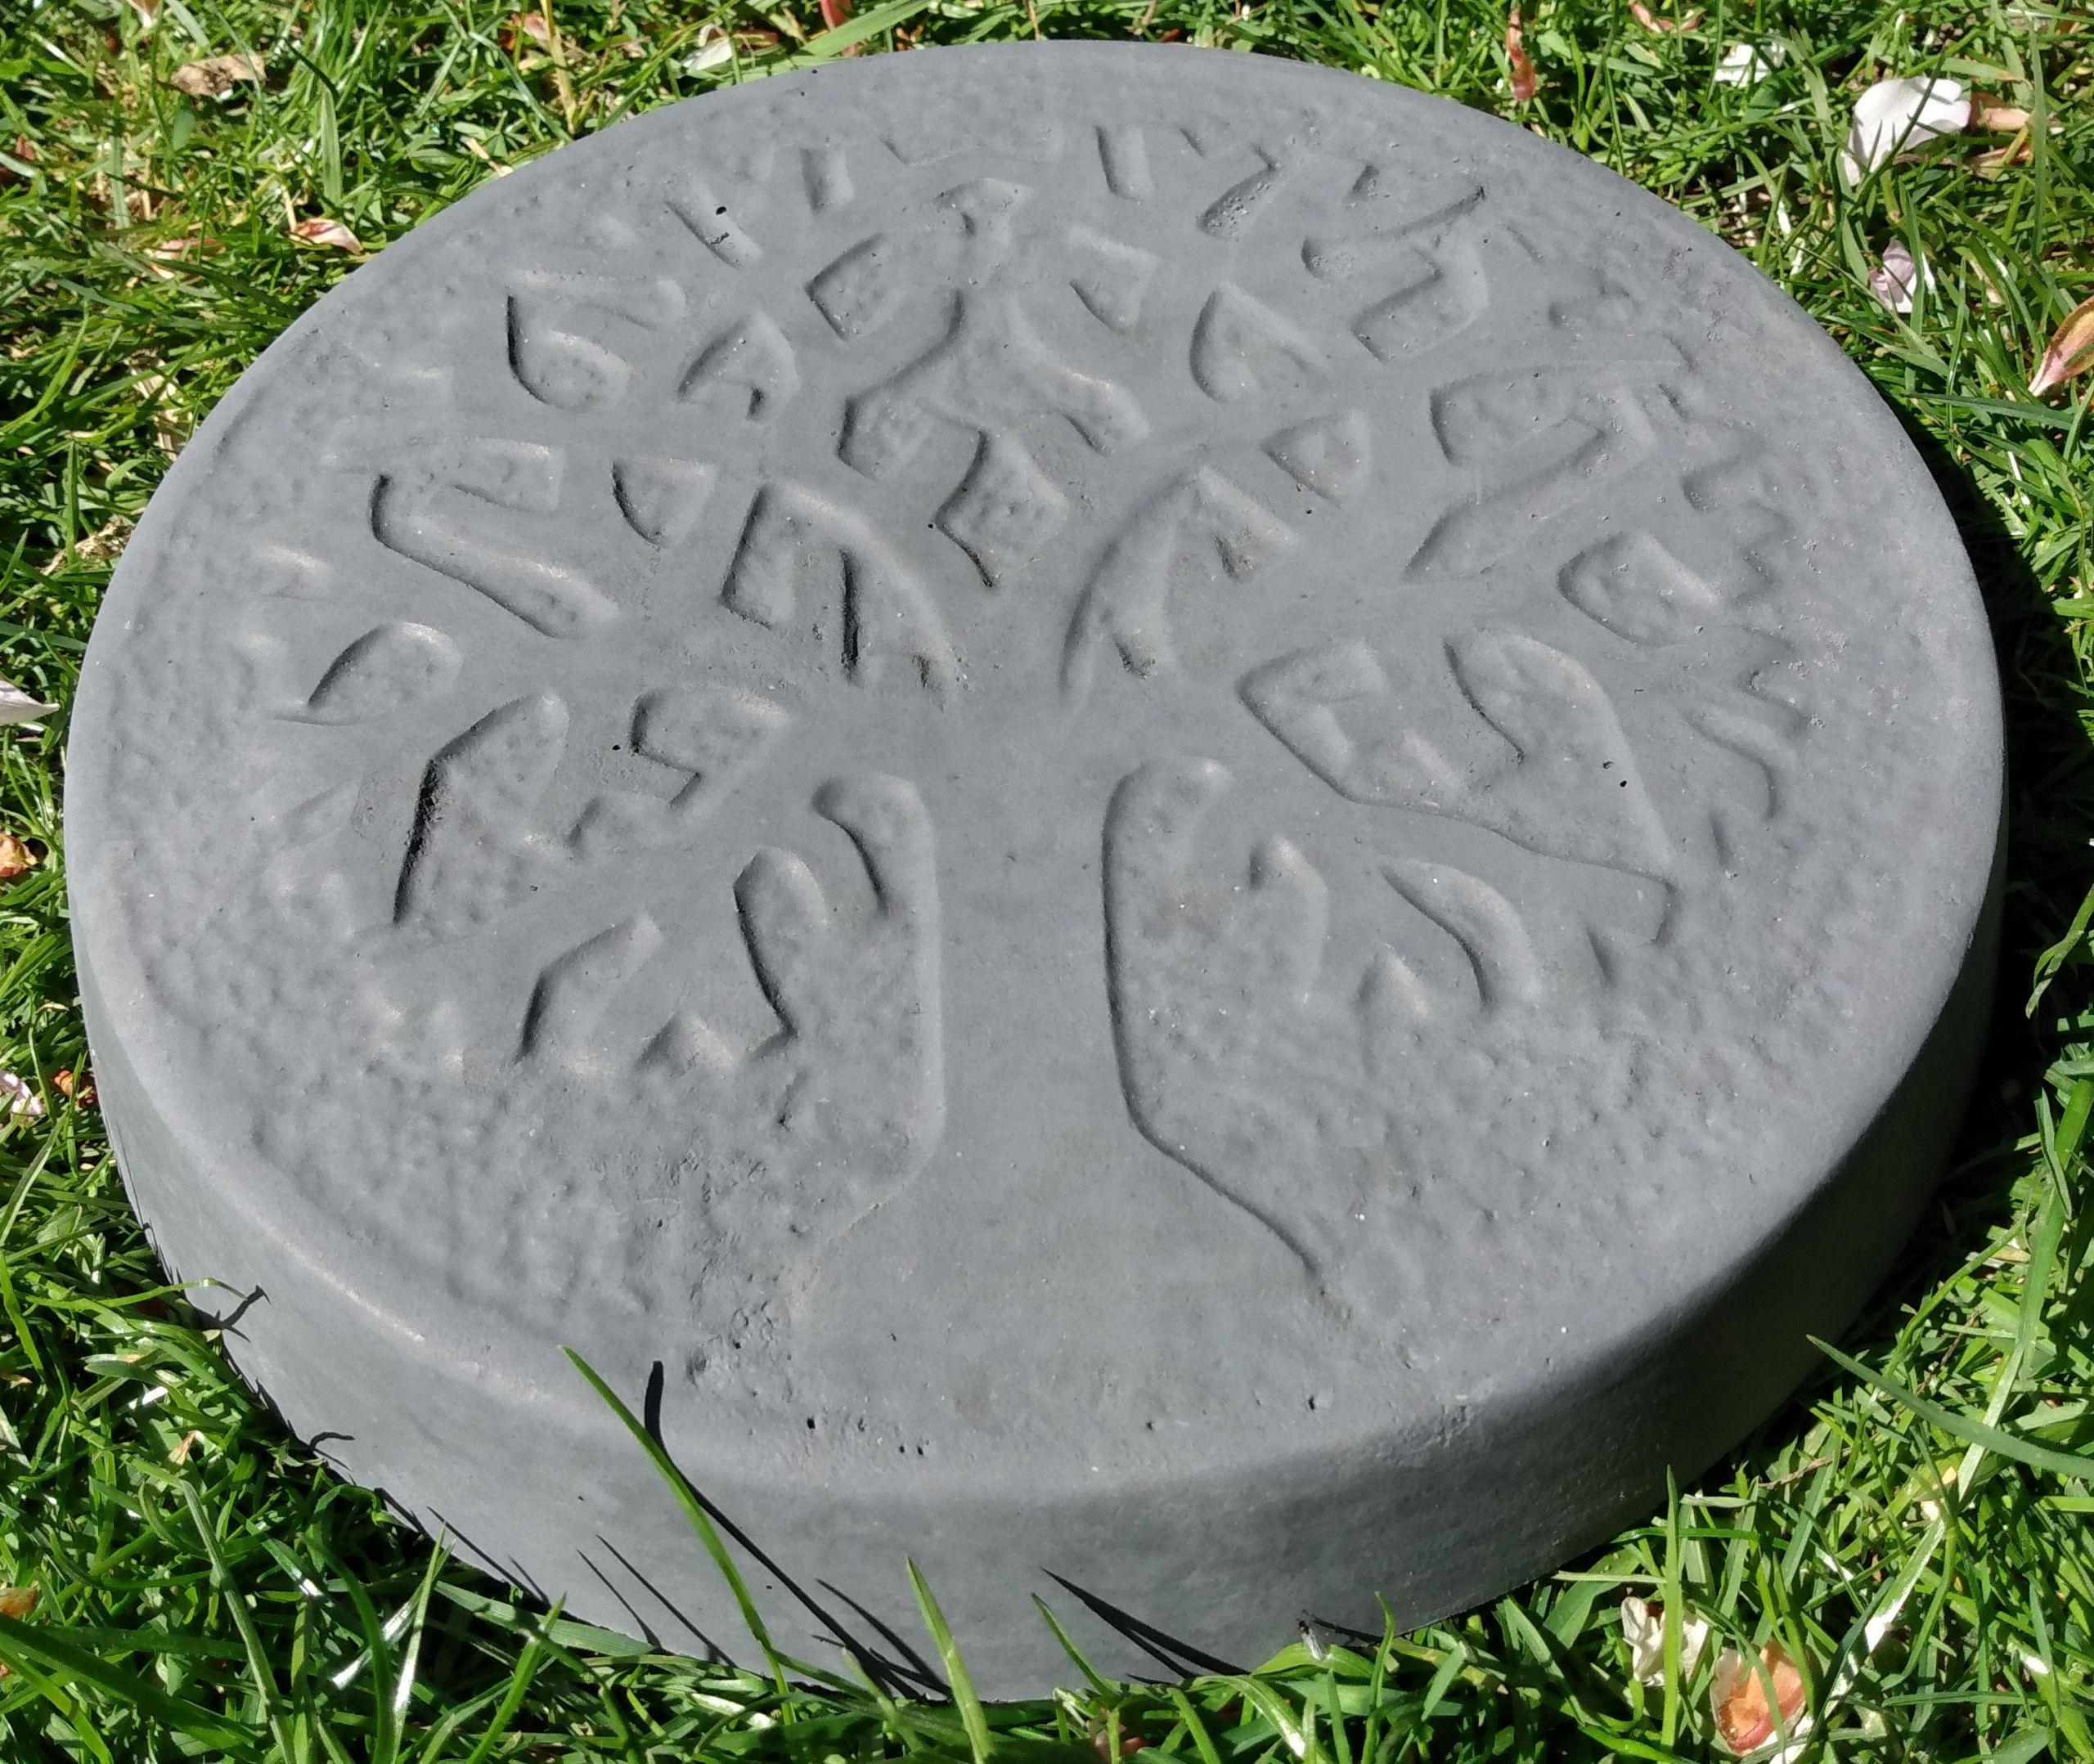
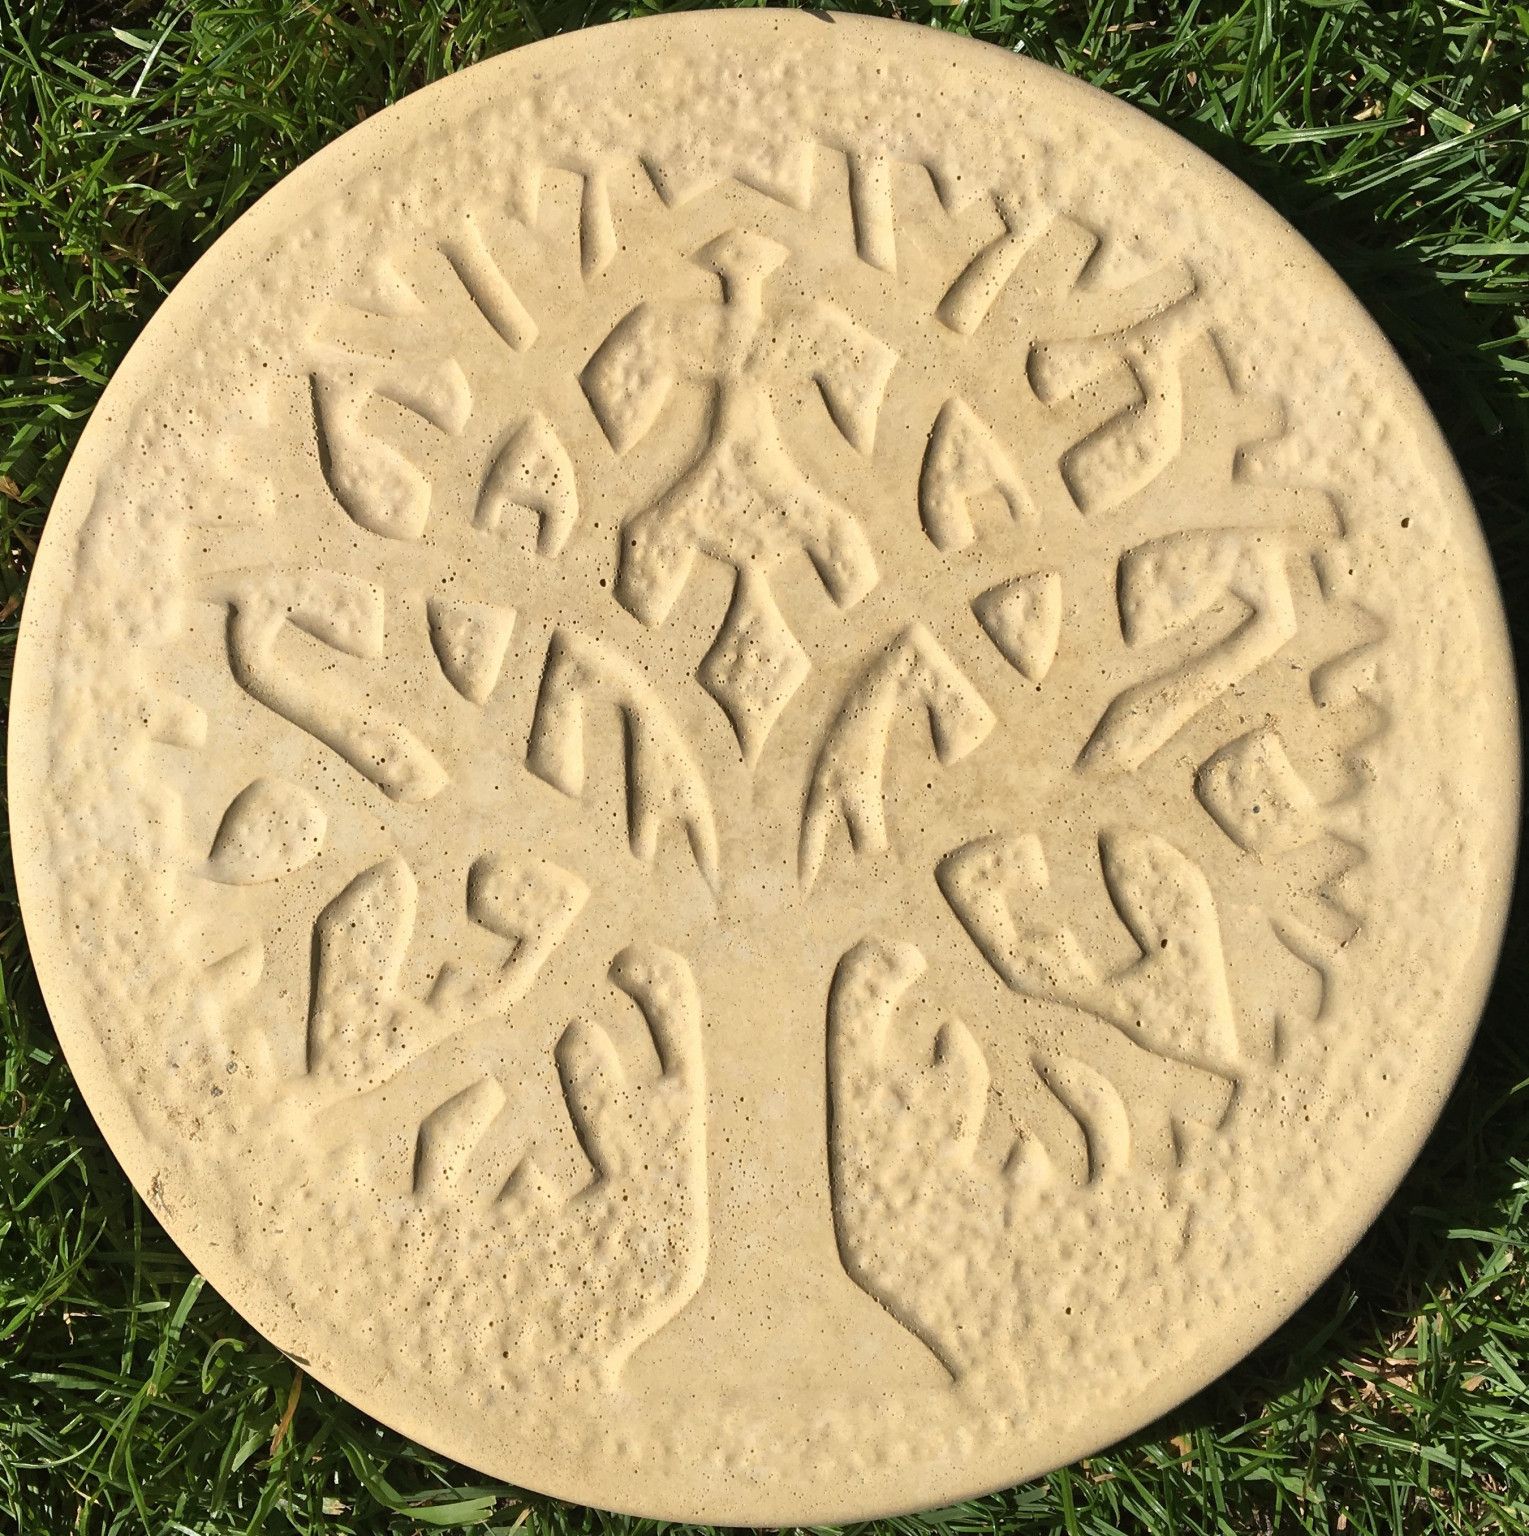
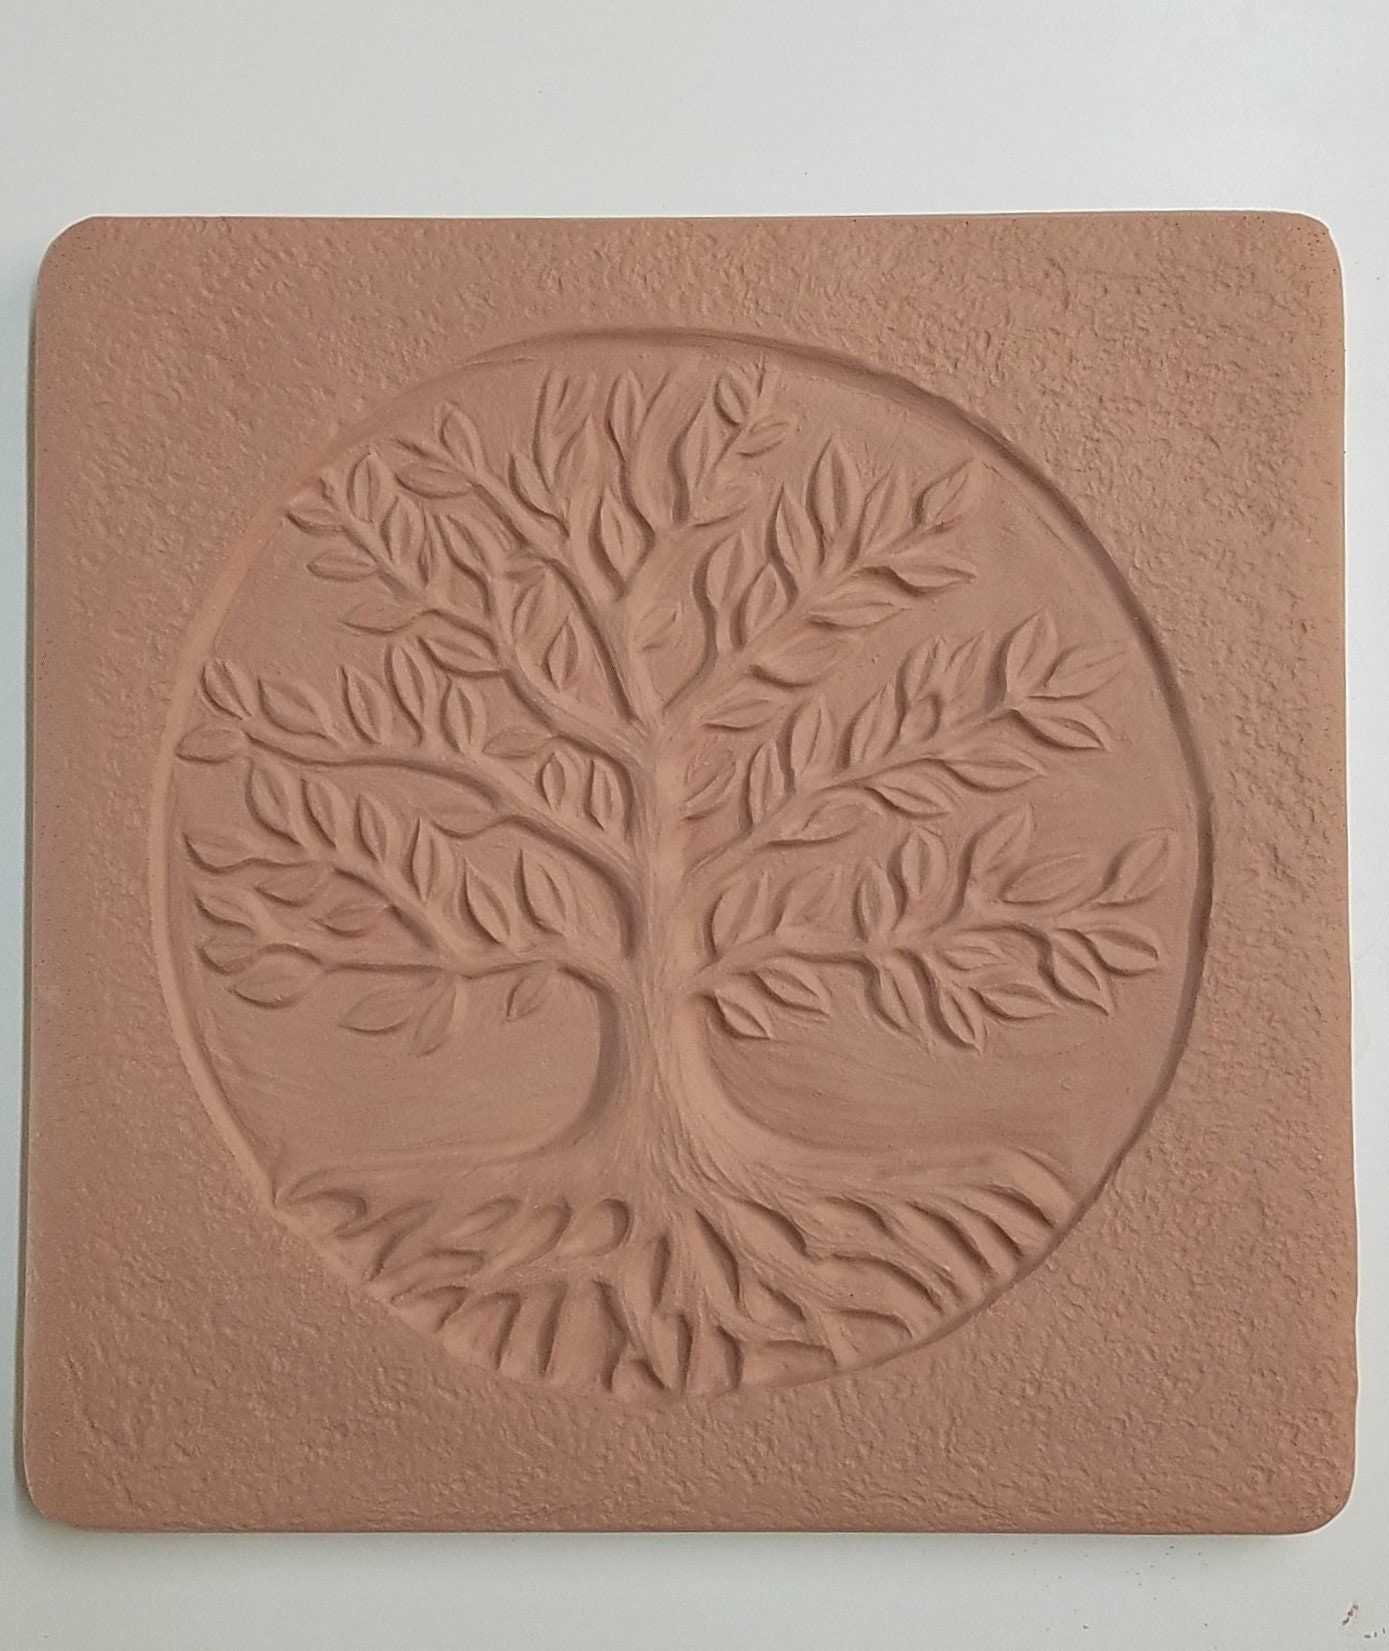
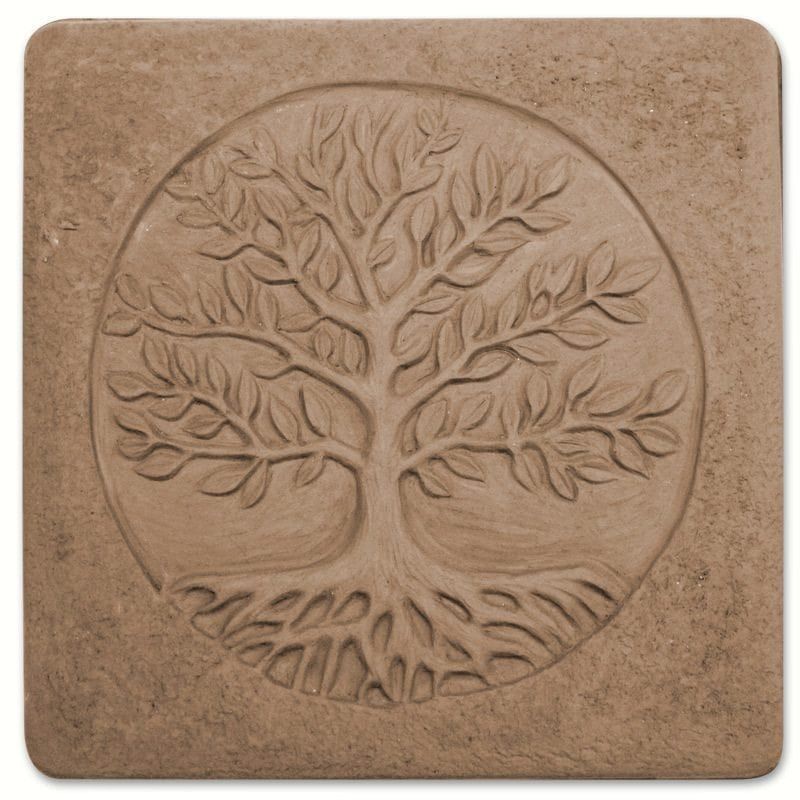
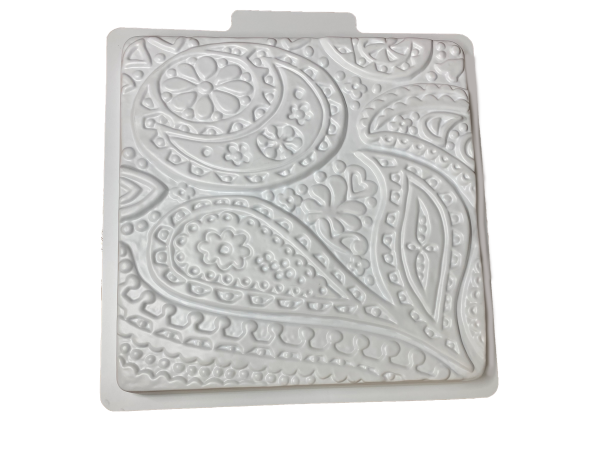
First things first: selecting the right mold. There are a ton of options out there, so how do you choose? Consider the material. Silicone molds are super flexible and great for detailed designs, making it easier to pop your finished stones out. Plastic molds are usually more budget-friendly and can be durable, but they might require a little more finesse to remove your creations. Think about the size and the design itself. Do you want a large, impactful stone or a smaller, more delicate one? A simple, bold design or something with intricate details? Browse around, look at reviews, and find a mold that speaks to you. I’ve also learned that a good mold should be easy to clean, so you can reuse it again and again. And and don’t rush this step, it’s the foundation of your project.
Mixing Your Concrete: The Foundation of Your Craft
The concrete mix is the heart of your stepping stone. You can buy pre-mixed concrete, which is super convenient, or you can mix your own. If you’re mixing your own, I recommend using a mix designed for outdoor use. You’ll need Portland cement, sand, and gravel. The ratio is often 1 part cement, 2 parts sand, and 3 parts gravel, but always check the instructions on your cement bag. The most important thing here is to follow the instructions on your cement, and to mix it well. The consistency should be like thick pancake batter – not too runny, not too stiff. Also, make sure you’re wearing a dust mask and gloves, because safety first, folks. And don’t forget to add water gradually, mixing as you go, until you get that perfect texture.
Pouring and Finishing: Bringing Your Vision to Life
Once your concrete is mixed, it’s time to pour it into your mold. Place the mold on a level surface. Gently pour the concrete into the mold, making sure to fill all the details. Tap the mold gently to release any air bubbles – this is super important for a smooth finish. Next, use a trowel or a similar tool to smooth out the top surface. You can also embed things here, like colored glass, or small stones to add some extra personality. I like to let it sit for about 24-48 hours to cure. After that you can carefully remove the stepping stone from the mold. Be gentle, especially with silicone molds – they’re pretty flexible, so they can be a bit more forgiving.
Adding Color and Texture: Personalize Your Creation
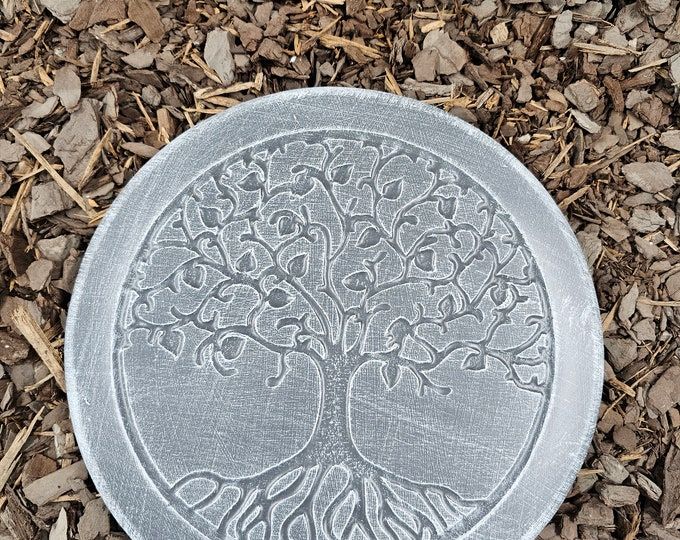
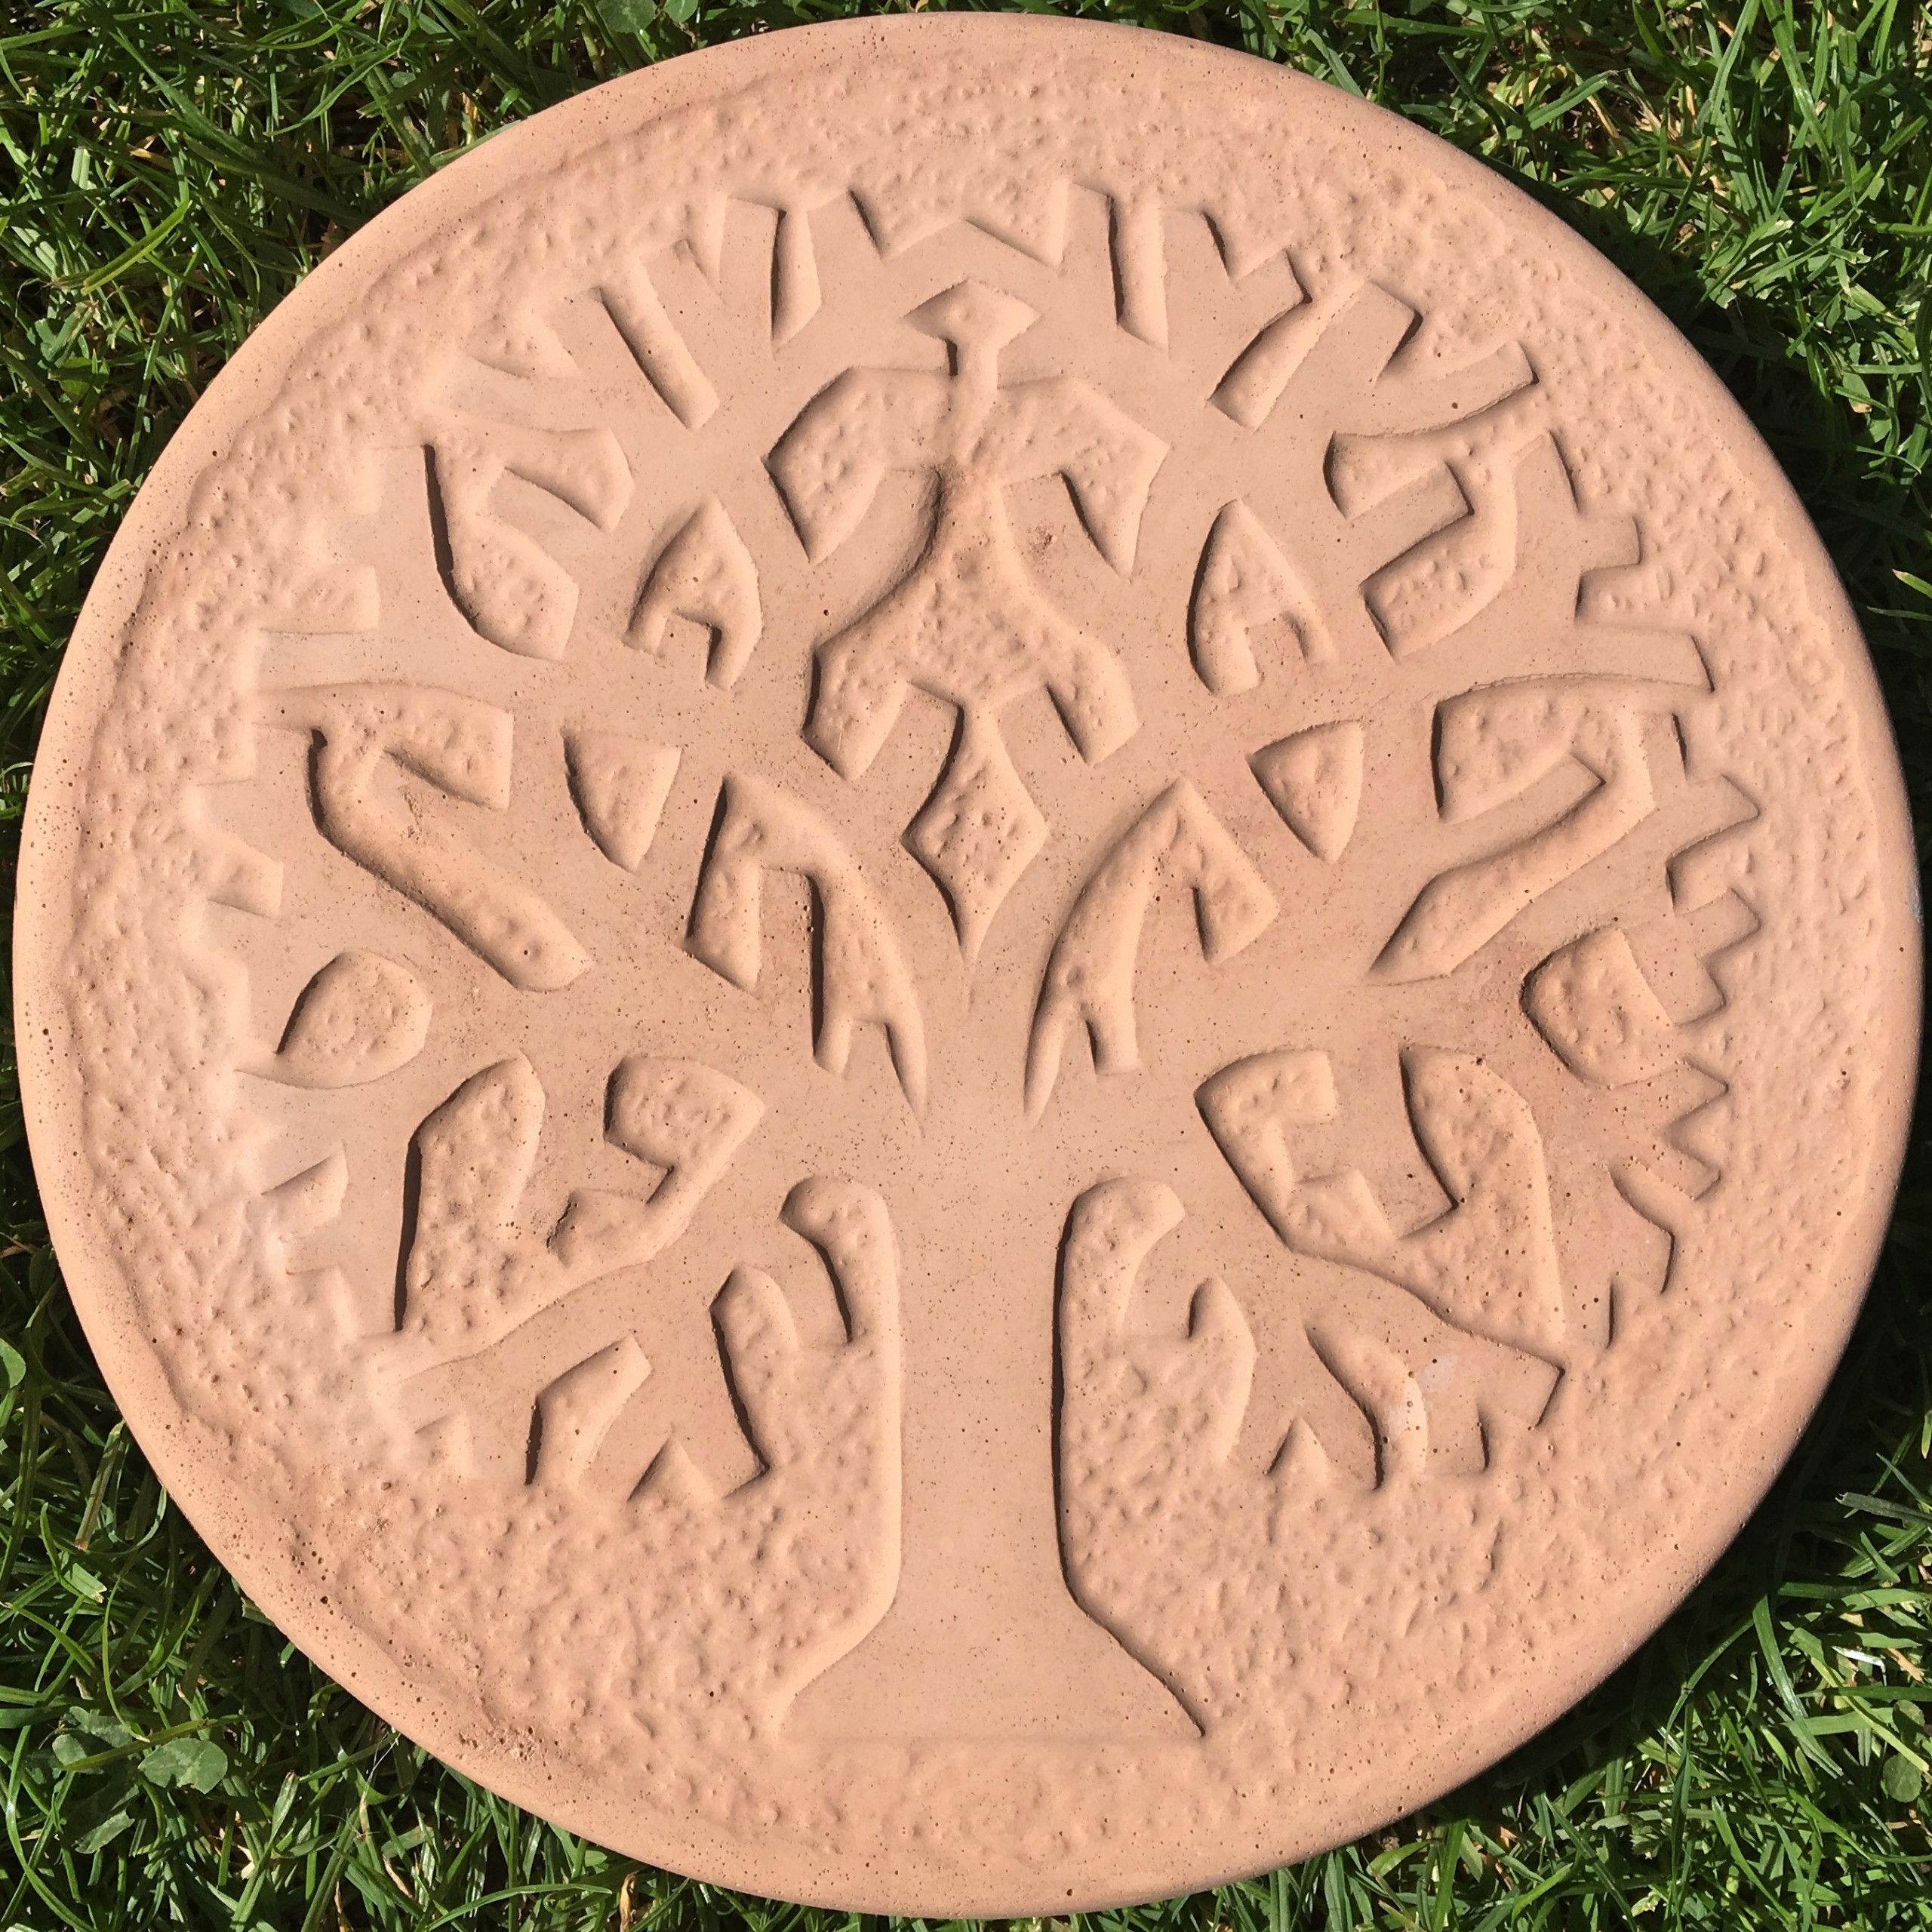
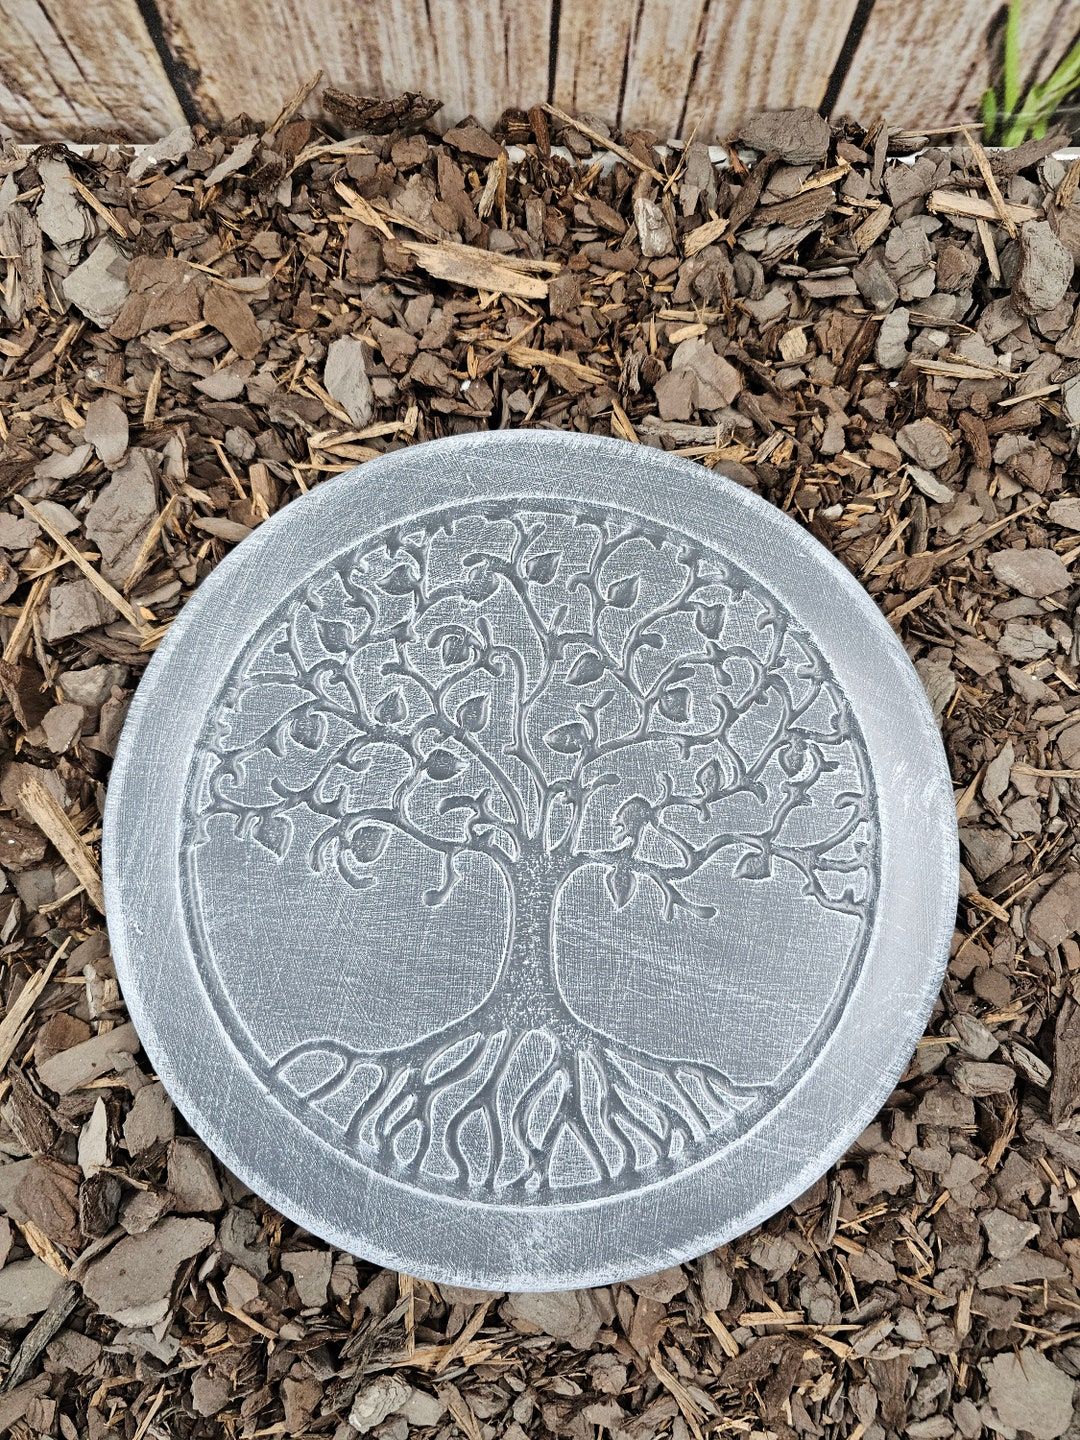
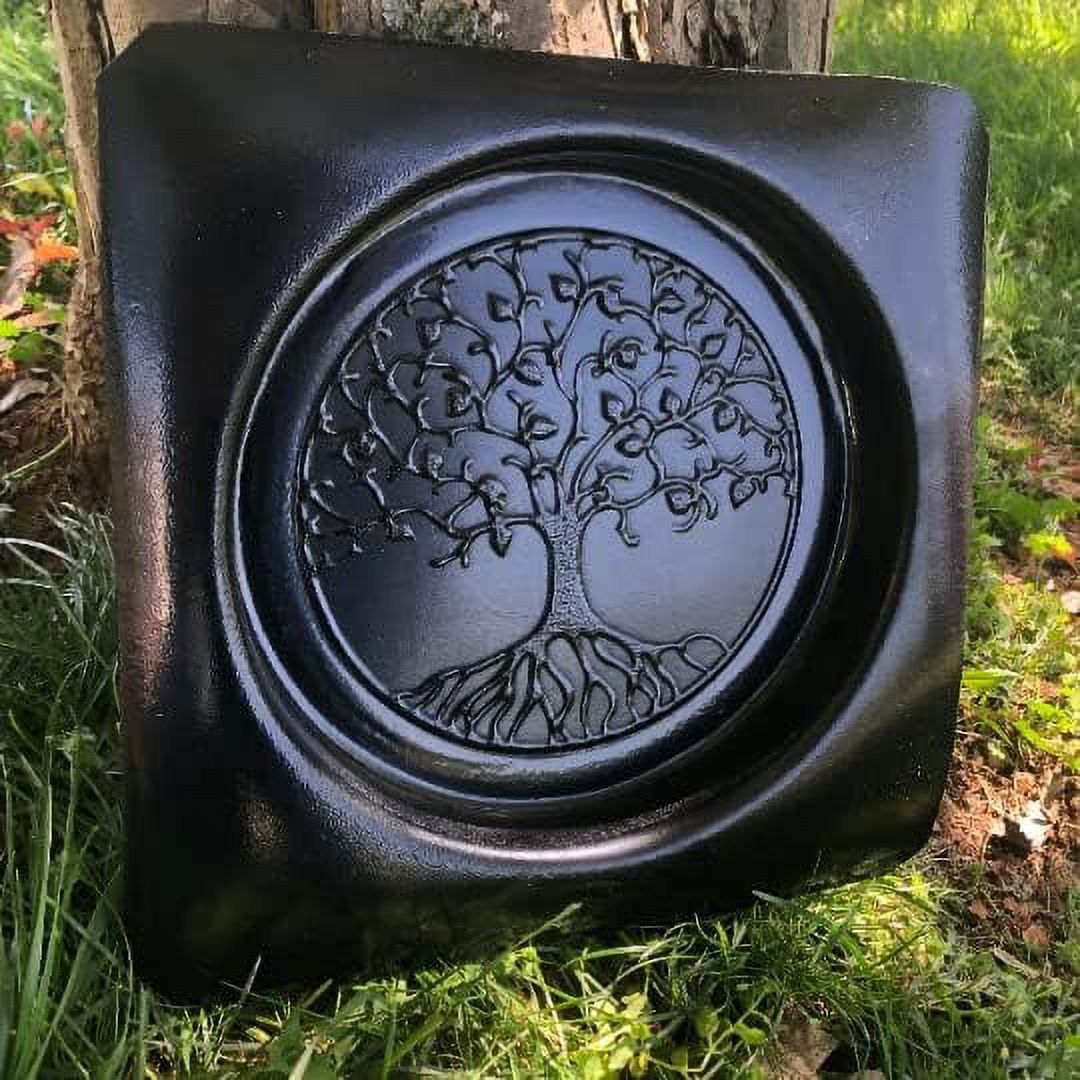
Okay, so you’ve got your stepping stone. Now, let’s talk about adding some pizzazz. You can use concrete dyes to color your mix before you pour it. This is a great way to get a consistent color throughout the stone. You can also paint your stones after they’ve cured. Acrylic paints designed for outdoor use work really well. For texture, consider using things like stamps, leaves, or even textured fabrics to press into the wet concrete before it sets. I love experimenting with different techniques. One of my favorite things to do is to use a sponge to create a weathered look. Just remember to seal your stone after it’s painted or textured to protect it from the elements. It’s all about making it your own.
Placement and Care: Making Your Stone Last
Once your stepping stone is finished, it’s time to find its forever home. Think about where you want to place it. A path, a garden bed, or even a patio are all good options. Make sure the ground is level before you place the stone. You might want to use some sand or gravel to help with leveling. To keep your stepping stone looking its best, clean it regularly with mild soap and water. Avoid harsh chemicals or abrasive cleaners. If you live in a climate with harsh winters, you might want to bring your stones indoors during the coldest months to prevent cracking. Proper care will help your Tree of Life stepping stone last for years to come, a lasting symbol of your creativity.
Inspiration and Beyond: Unleashing Your Creativity
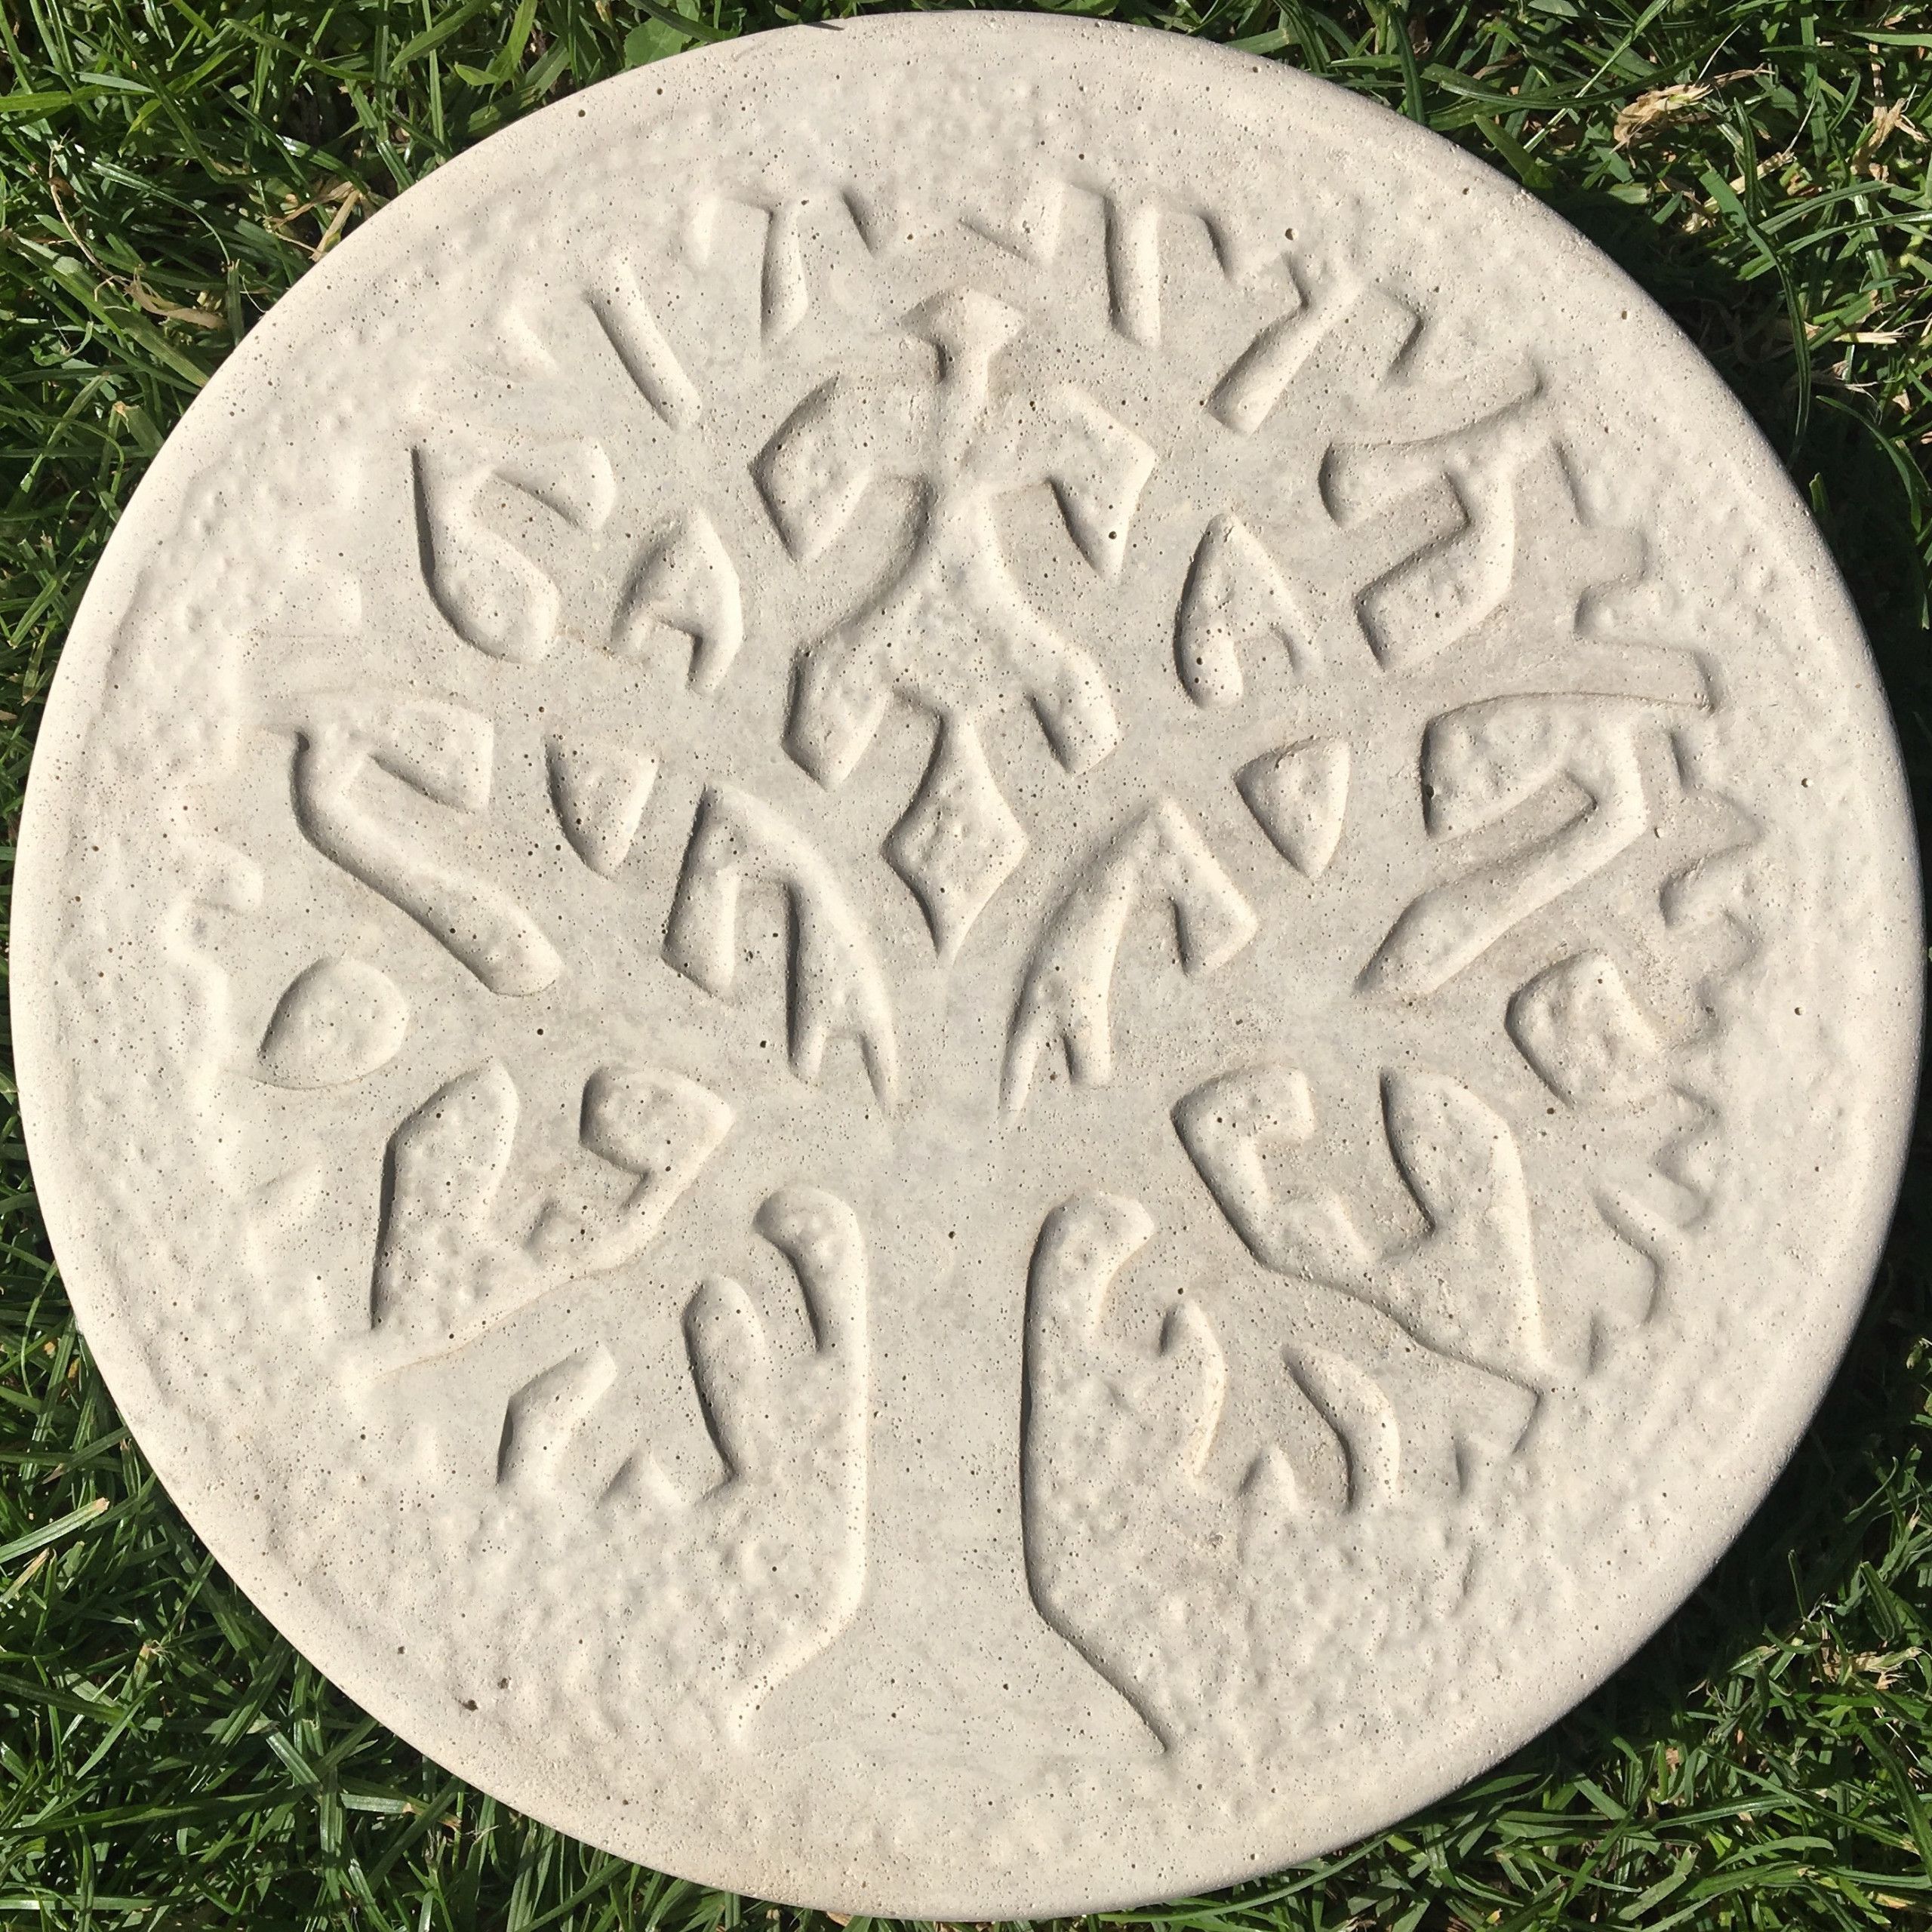
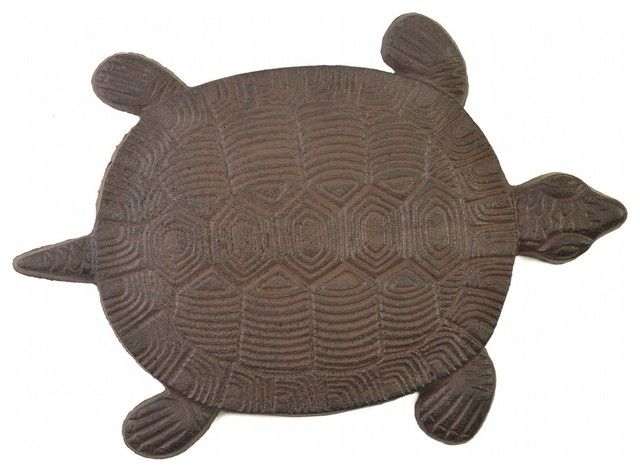
The best part about this craft is the endless possibilities. Don’t be afraid to experiment with different colors, textures, and designs. Look for inspiration everywhere – in nature, in art, in your own imagination. Maybe your Tree of Life represents your family, or your hopes for the future. Perhaps you could create a whole series of stepping stones, each with a different meaning or a different stage of life. Sharing your creations with others is also a great way to connect with the community. Consider giving your stones as gifts or selling them at a local craft fair. Whatever you decide, have fun with it. That is what it’s all about.
So there you have it: a complete guide to creating your own Tree of Life stepping stones using molds. From choosing the right mold and mixing the concrete to adding color, texture, and placing your finished stones. Remember, this isn’t just about making stepping stones. It’s about expressing yourself, connecting with nature, and creating something beautiful and meaningful that will last for years to come. I hope this guide has sparked your creativity, and I can’t wait to see what you create. Happy crafting, everyone. And, as always, feel free to ask any questions down below. Until next time, bye for now.