Hey everyone. It’s your favorite gardening guru here, ready to dive deep into one of my absolute favorite DIY projects: garden pavement molds. I’ve been playing around with these molds for years, and I can honestly say they’re a game-changer for any garden. They’re easy to use, super affordable, and the results are just breathtaking. Today, we’re going to break down everything you need to know to get started, from choosing the right molds and materials to achieving professional-looking results. Get ready to elevate your outdoor space and have some fun while you’re at it, alright.
Are you dreaming of a charming garden path winding through your flowerbeds? Perhaps a cozy patio perfect for evening gatherings? Well, garden pavement molds are the secret weapon you need to make those dreams a reality. These simple tools allow you to create custom walkways, patios, and decorative features with minimal effort and cost. Forget expensive professional landscaping – with a little know-how and some elbow grease, you can craft stunning outdoor spaces that reflect your personal style. And the best part, it’s a fantastic project for all skill levels, from complete novices to seasoned DIYers. Let’s get started, shall we.
Choosing Your Weapon: Selecting the Right Molds
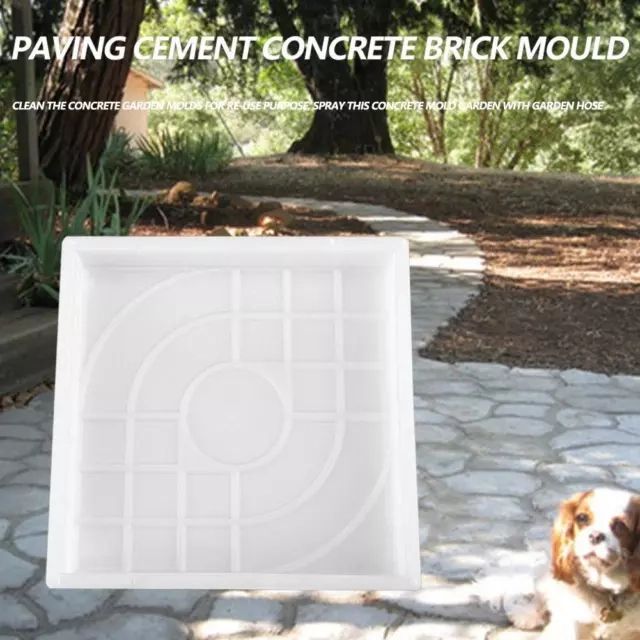
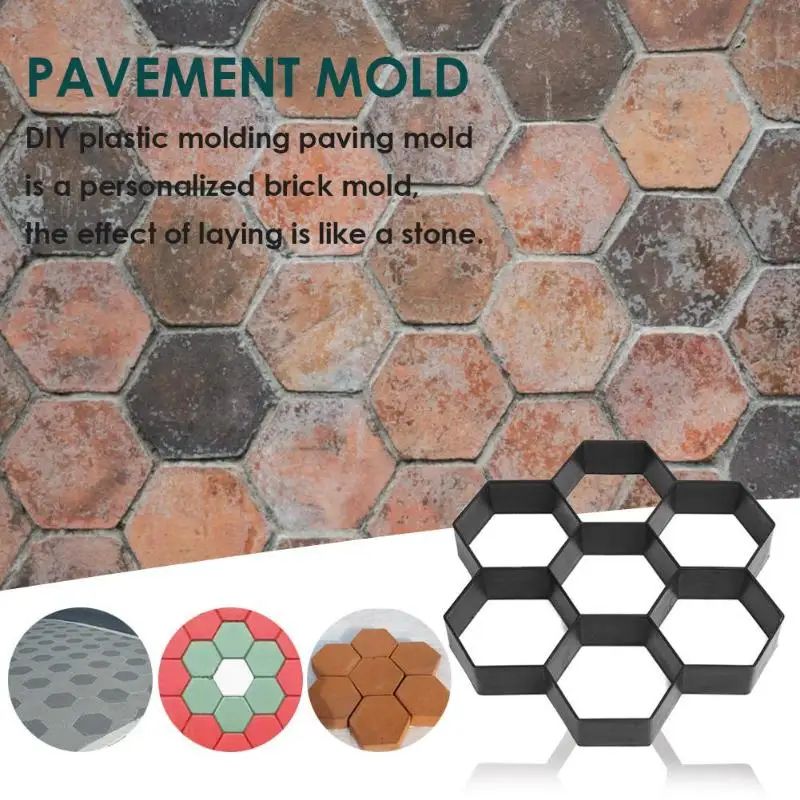
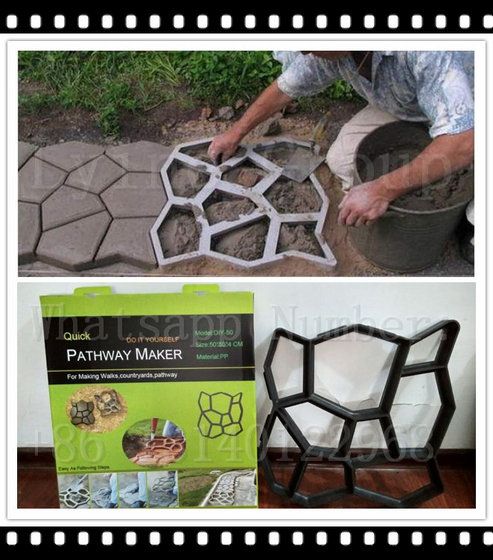
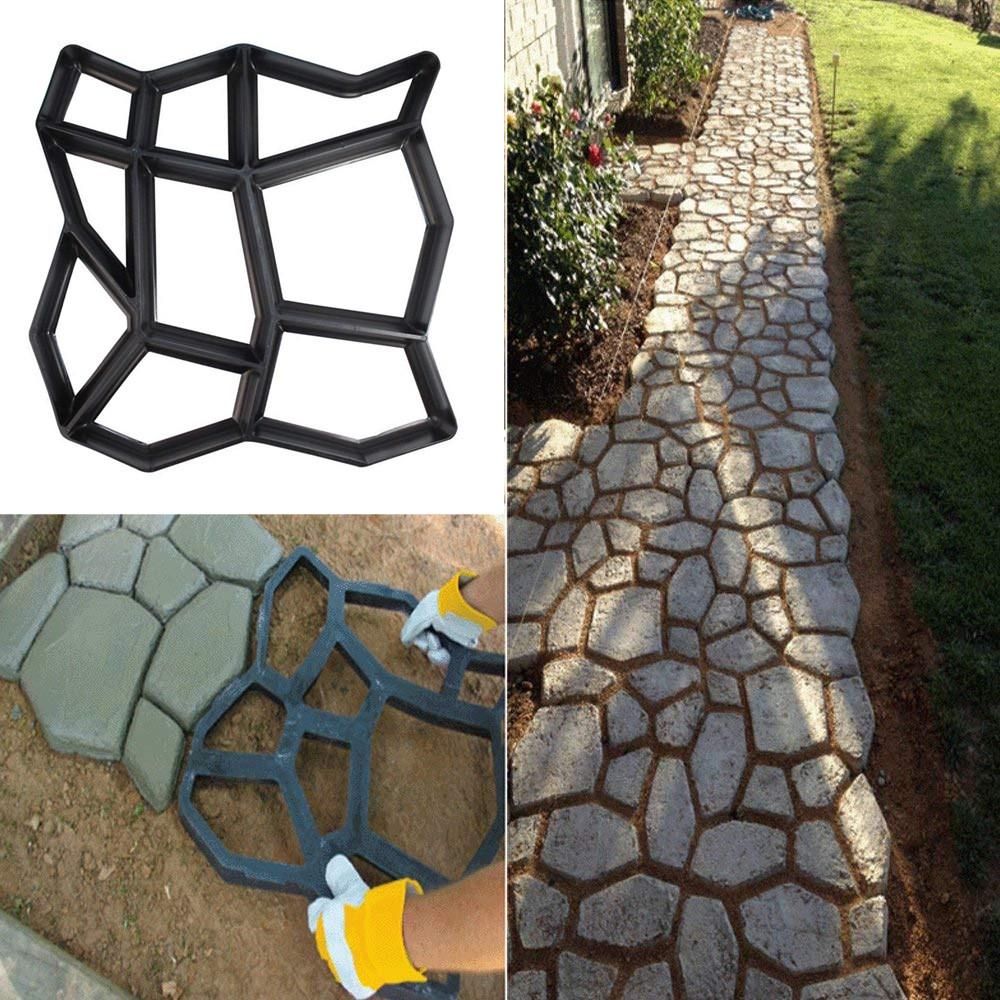
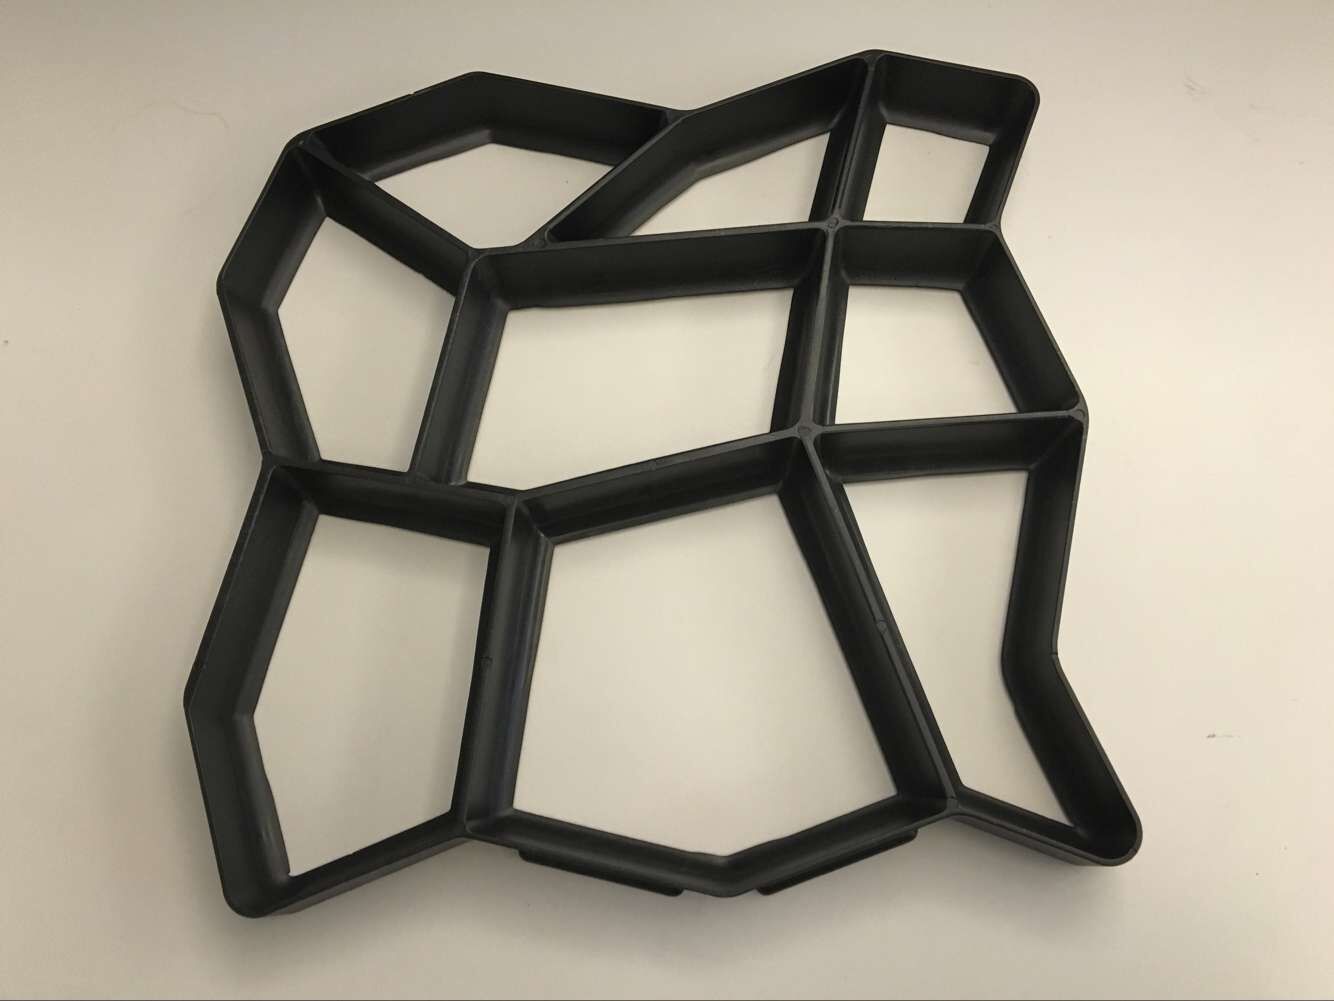
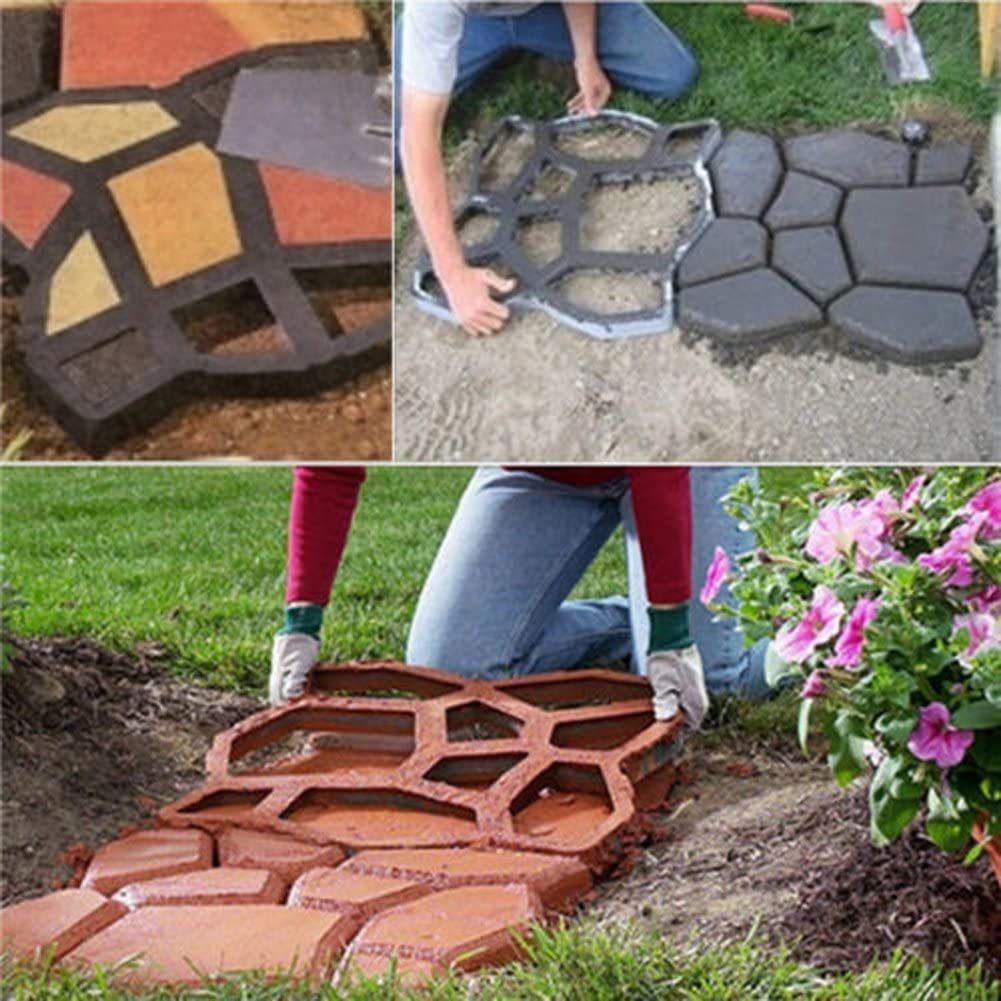
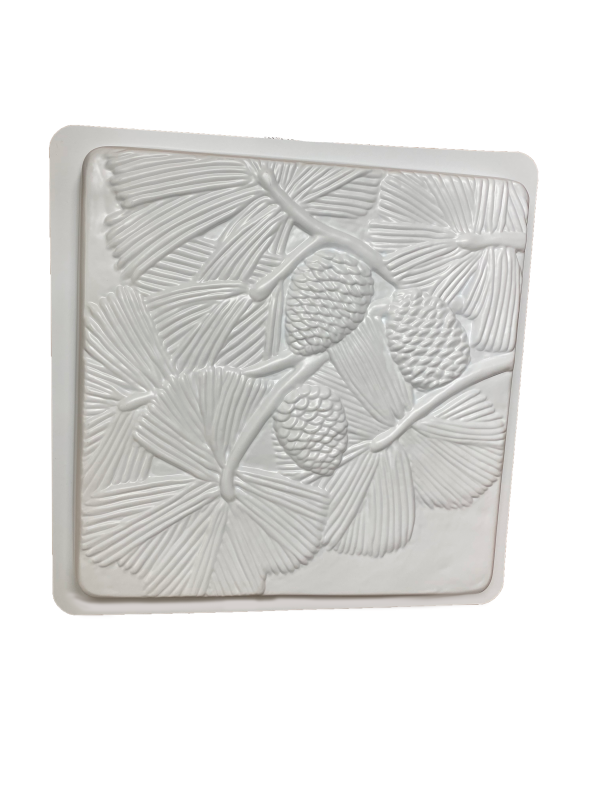
The first step is picking your molds. This is where the fun begins. Garden pavement molds come in a huge variety of shapes and sizes, from classic square and rectangular pavers to more intricate designs like cobblestone, flagstone, and even brick-like patterns. Consider the overall aesthetic you want to achieve. Do you want a rustic, natural look or something more modern and sleek?
Here are some things to think about when choosing molds:
- Material: Molds are usually made from plastic. Look for durable, high-quality plastic that can withstand repeated use and the weight of concrete. Some are even reusable.
- Size and Shape: Think about the scale of your project. Smaller molds are easier to handle, while larger molds can cover more ground quickly. Consider the overall dimensions of your path or patio.
- Design: Choose a design that complements your garden’s style. Do you want a uniform pattern, or something more organic and free-flowing?
- Ease of Use: Some molds are easier to work with than others. Look for molds with clear instructions and features that make it easy to remove the finished pavers, like built-in release mechanisms.
Material Matters: What You’ll Need Beyond the Molds
Now, let’s gather your supplies. The most important material is, of course, concrete. You can buy pre-mixed concrete at most home improvement stores, which makes things super easy. However, for more control over the final look, you could mix your own.
Here’s a basic list of what you’ll need:
- Concrete Mix: Choose a concrete mix appropriate for outdoor use. Consider using a mix that includes fiber reinforcement for increased strength and reduced cracking.
- Water: You’ll need water to mix with the concrete. Follow the instructions on the concrete bag for the correct water-to-concrete ratio.
- Mixing Container & Tools: A wheelbarrow, bucket, or other container to mix the concrete. You’ll also need a shovel or hoe for mixing.
- Level: A level is essential to ensure your pavers are installed evenly.
- Trowel or Float: To smooth the surface of the concrete.
- Gloves & Safety Glasses: Always protect your hands and eyes when working with concrete.
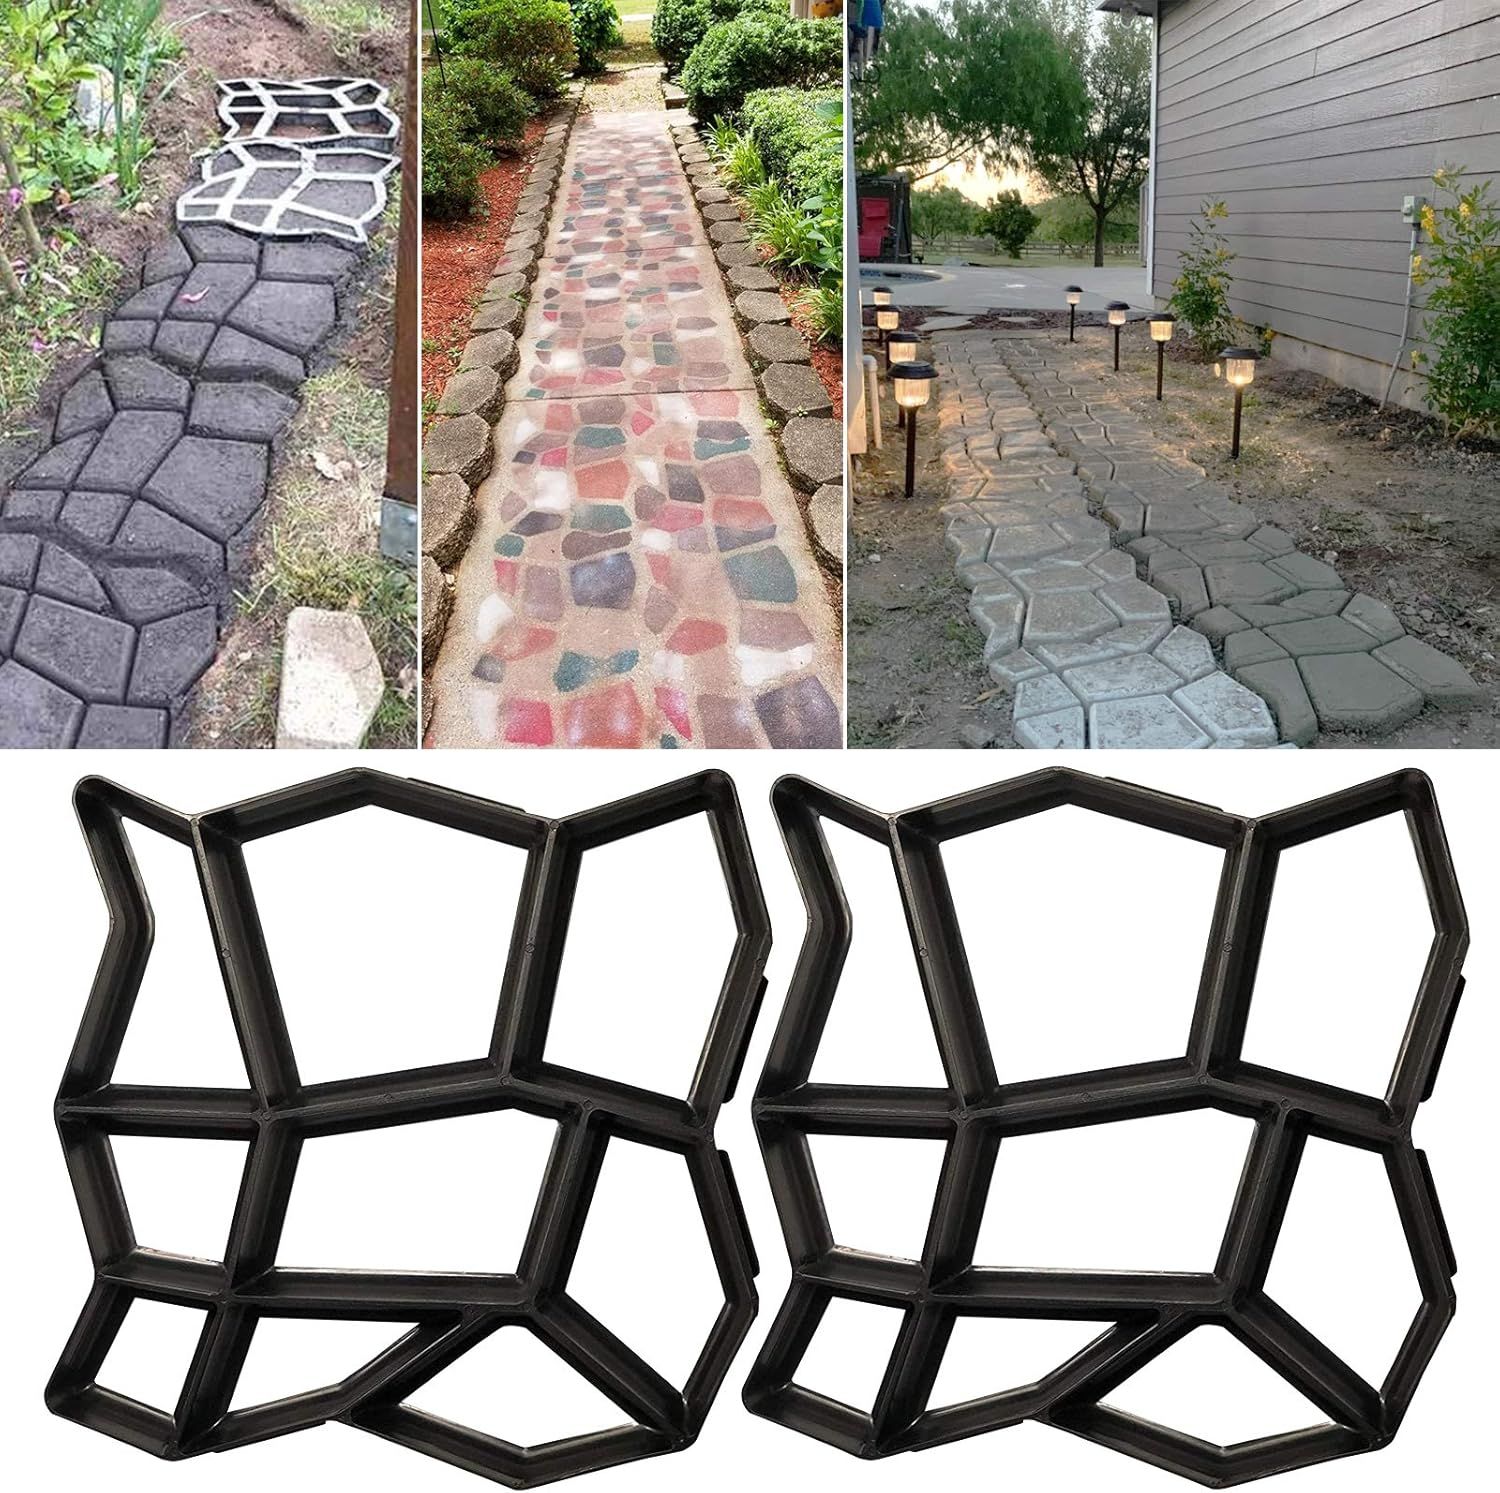
- Optional Additives: Consider adding color pigments to your concrete for a custom look. You can also add sealants to protect your pavers from the elements.
Step-by-Step: Bringing Your Pavement to Life
Alright, time to get your hands dirty. Here’s a simple, straightforward guide to using garden pavement molds:
- Prepare the Ground: Clear the area where you’ll be laying your pavers. Remove any grass, weeds, and loose soil. Level the ground as much as possible. You might want to add a layer of gravel or sand for drainage and stability.
- Mix the Concrete: Follow the instructions on the concrete mix bag to mix the concrete to the correct consistency. You want it to be thick enough to hold its shape but still pourable.
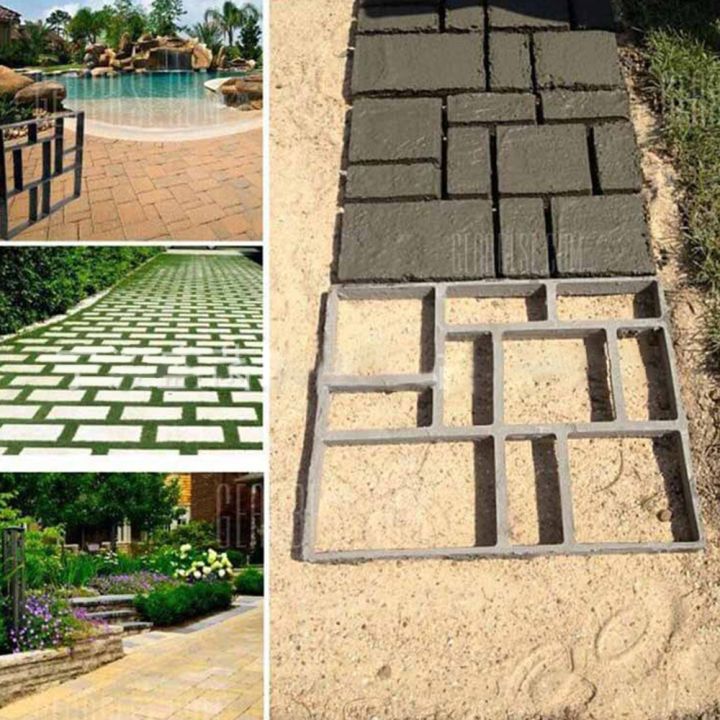
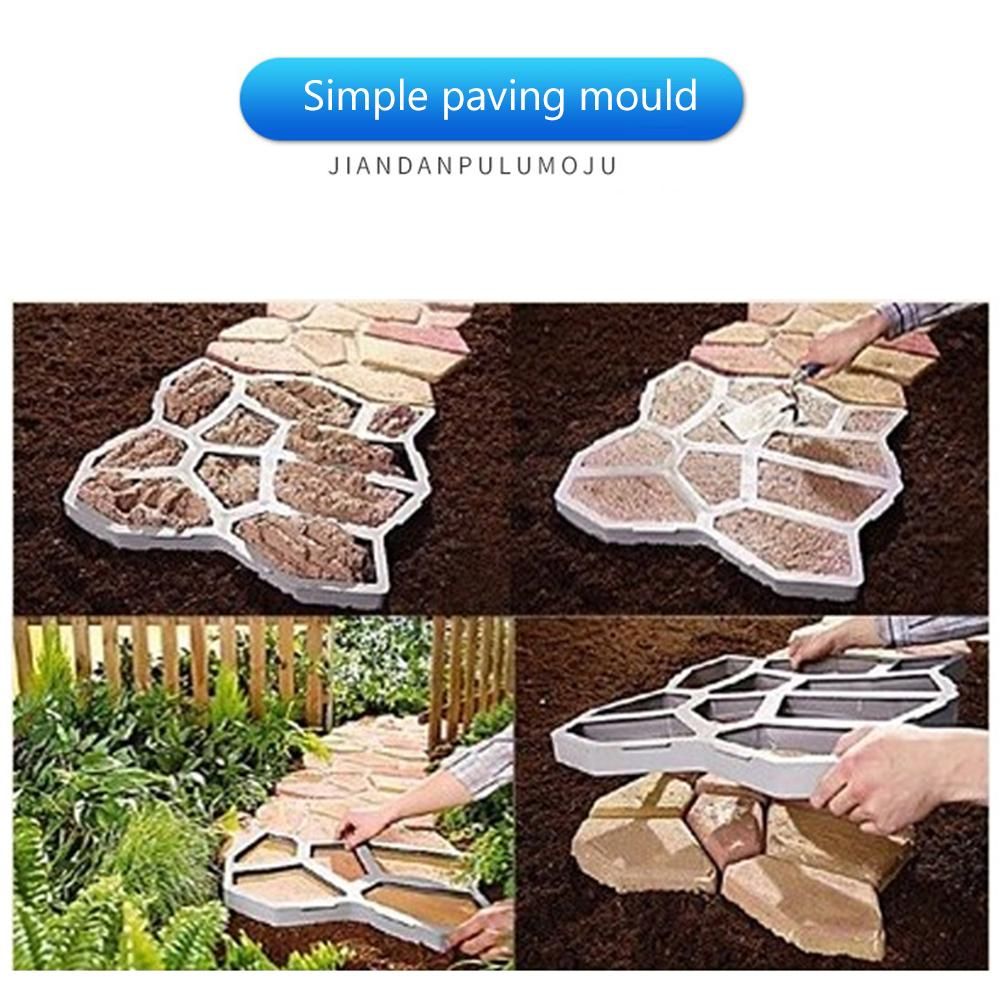
- Pour the Concrete: Place the mold on the prepared ground. Pour the concrete into the mold, filling it completely. Use your trowel or float to level the surface.
- Remove the Mold: Carefully remove the mold after a few minutes, allowing the concrete to set slightly. Don’t remove it too soon, or the paver will lose its shape. Don’t wait too long or it will be stuck.
- Repeat: Repeat the process, placing the mold next to the previously poured paver. You can create a continuous path or patio.
- Curing: Allow the pavers to cure for at least 24-48 hours, or as recommended by the concrete mix manufacturer. Keep the pavers moist during the curing process to prevent cracking.
- Finishing Touches: Once the pavers are fully cured, you can add sealant to protect them from the elements. You can also fill the joints between the pavers with sand, gravel, or mortar for a more polished look. Remember to brush the surface to remove any excess material.
Troubleshooting: Common Challenges and How to Overcome Them
Even the best of us run into a few hiccups along the way. Don’t worry; it’s all part of the learning process. Here are some common issues and how to deal with them:
- Cracking: Cracking can occur if the concrete dries too quickly or is not properly cured. Make sure to keep your pavers moist during the curing process and consider using a concrete mix with fiber reinforcement.
- Uneven Surfaces: Use a level to ensure your pavers are installed evenly. If you’re having trouble, adjust the ground beneath the mold before pouring the concrete.
- Difficulty Removing the Mold: Sometimes, the concrete sticks to the mold. Try applying a thin layer of oil or mold release agent to the mold before pouring the concrete. Also, avoid removing the mold too soon.
- Color Inconsistencies: If you’re using color pigments, make sure to mix them thoroughly into the concrete to avoid uneven coloring. You can also use pre-colored concrete mixes for more consistent results.
Beyond the Basics: Inspiring Ideas and Creative Applications
Garden pavement molds aren’t just for paths and patios. Get creative and think outside the box. Here are some inspiring ideas:
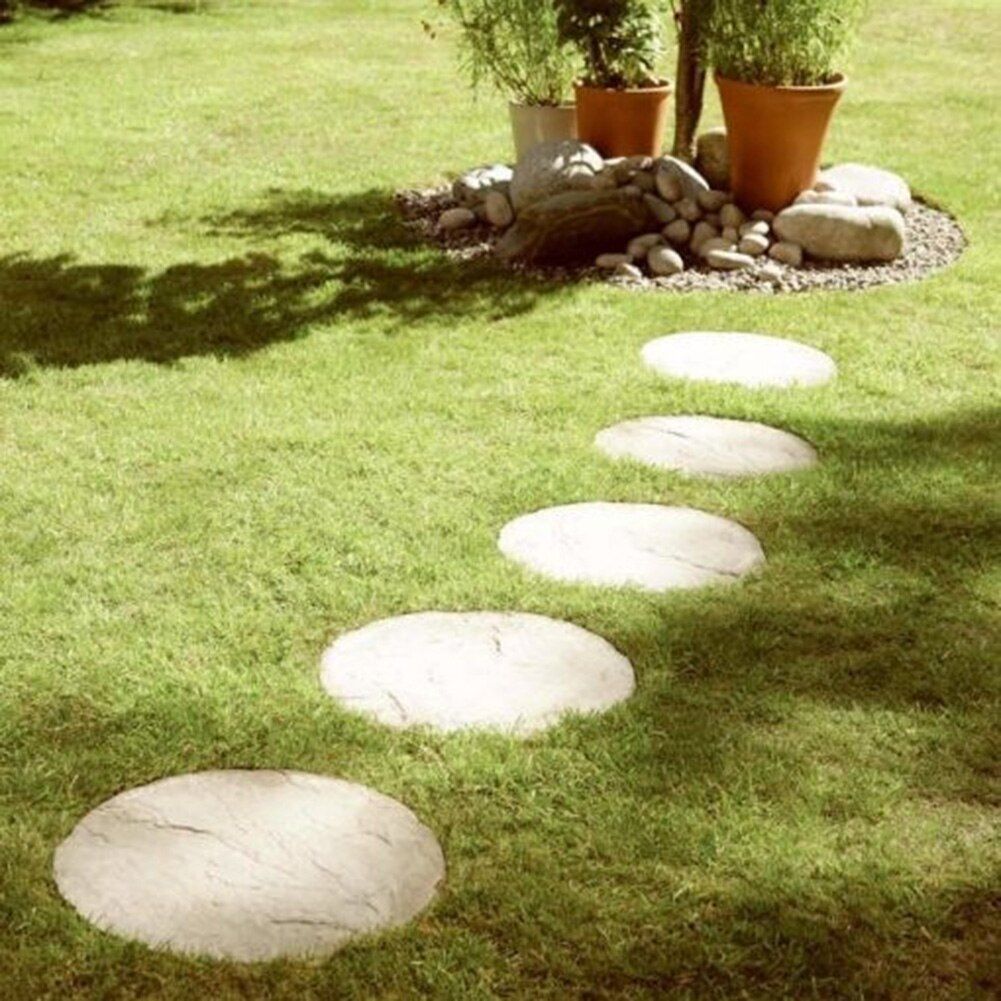
- Stepping Stones: Create charming stepping stones to lead through your flowerbeds.
- Outdoor Kitchens: Build a stylish outdoor kitchen area with concrete pavers.
- Wall Accents: Use pavers to create decorative accents on garden walls or fences.
- Planter Boxes: Design and build custom planter boxes using concrete pavers.
- Water Features: Incorporate pavers into your water features for a polished look.
The possibilities are truly endless. Let your imagination run wild, and you’ll be amazed at what you can create. Consider adding interesting details, like imbedding small stones, sea shells, or even glass pieces into the wet concrete for a unique touch. Don’t be afraid to experiment with different colors and textures to achieve the perfect look for your garden.
Safety First: Protecting Yourself and Your Workspace
Working with concrete involves some safety considerations. It’s essential to protect yourself and your workspace. Here are some important safety tips:
- Wear Protective Gear: Always wear gloves, safety glasses, and a dust mask when working with concrete. Concrete can be irritating to the skin and eyes.
- Ventilation: Work in a well-ventilated area to avoid inhaling concrete dust.
- Proper Mixing: Avoid overmixing the concrete, which can create excessive dust.
- Safe Handling: Lift heavy bags of concrete with proper form. Get help if needed.
- Clean Up: Clean up any spills immediately to prevent slips and falls. Wash your hands thoroughly after working with concrete.
- Keep Children & Pets Away: Keep children and pets away from the work area while you’re working with concrete.
So there you have it. Garden pavement molds are a fantastic way to create beautiful and functional outdoor spaces. With the right tools, materials, and a little bit of effort, you can transform your garden into a true oasis. So, what are you waiting for? Grab some molds, gather your supplies, and get started. I can’t wait to see what you create. Remember, the most important thing is to have fun and enjoy the process. Happy gardening, everyone. And don’t hesitate to share your projects with me, I always love seeing your creativity. Let’s build something beautiful, together.