Hey everyone, it’s your friendly neighborhood gardening guru here! If you’re anything like me, you adore the cheerful vibe sunflowers bring. That sunny disposition, the way they follow the light… It’s just magic. Today, we’re diving headfirst into a fantastic project: making your own sunflower stepping stones using molds. Whether you’re a total newbie or a seasoned DIY-er, I’ll walk you through every step, ensuring your path to a beautiful garden is paved with… well, sunflower stepping stones! Let’s get started, shall we?
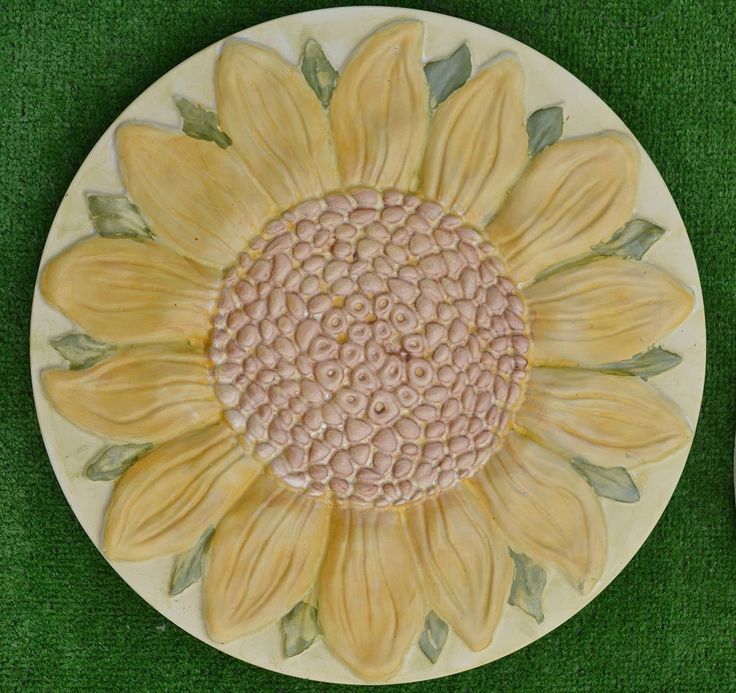
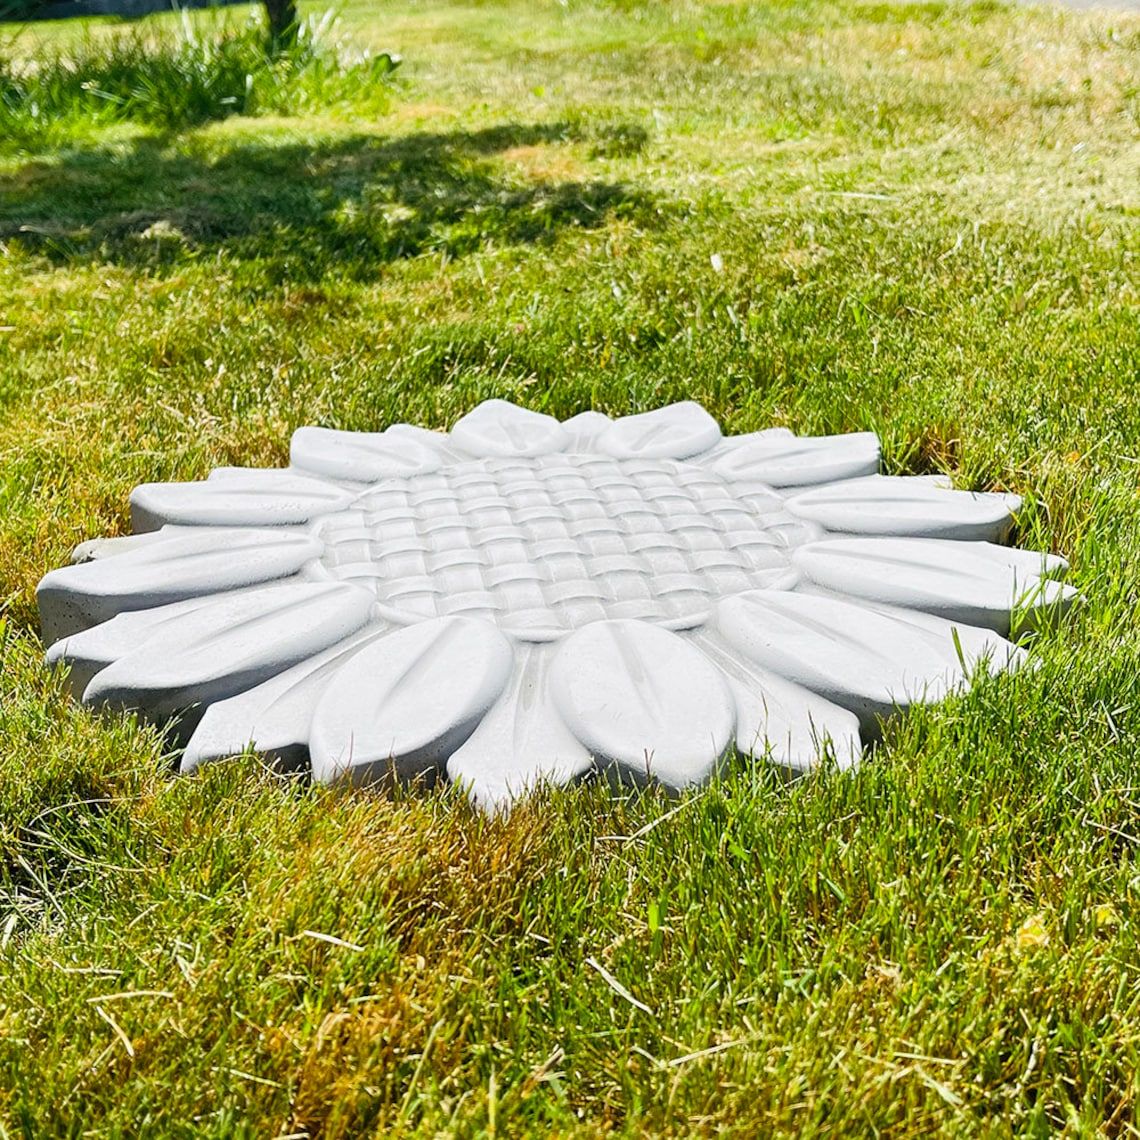
Stepping stones are a fantastic way to add personality, functionality, and a touch of whimsy to any outdoor space. They define pathways, provide access to different garden areas, and can be a real focal point, drawing the eye and creating a sense of flow. Sunflowers, with their iconic shape and vibrant colors, are perfect for this. They’re cheerful, universally loved, and, when crafted into stepping stones, bring a constant reminder of summer’s joy. Plus, making them yourself is incredibly rewarding and a lot of fun. Trust me; you’ll be hooked after the first one. And, and the best part, it’s a project the entire family can enjoy.
Gathering Your Supplies: The Essentials
Before we get our hands dirty (literally!), let’s make sure you have everything you need. You’ll find that the materials are rather basic, and most can be found at your local home improvement store. Here’s your shopping list:
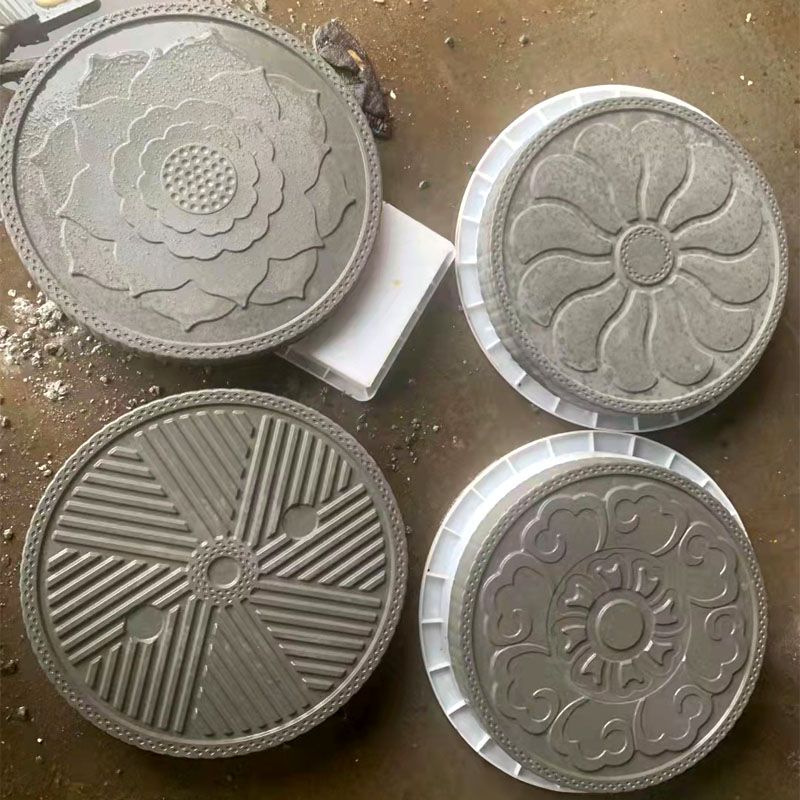
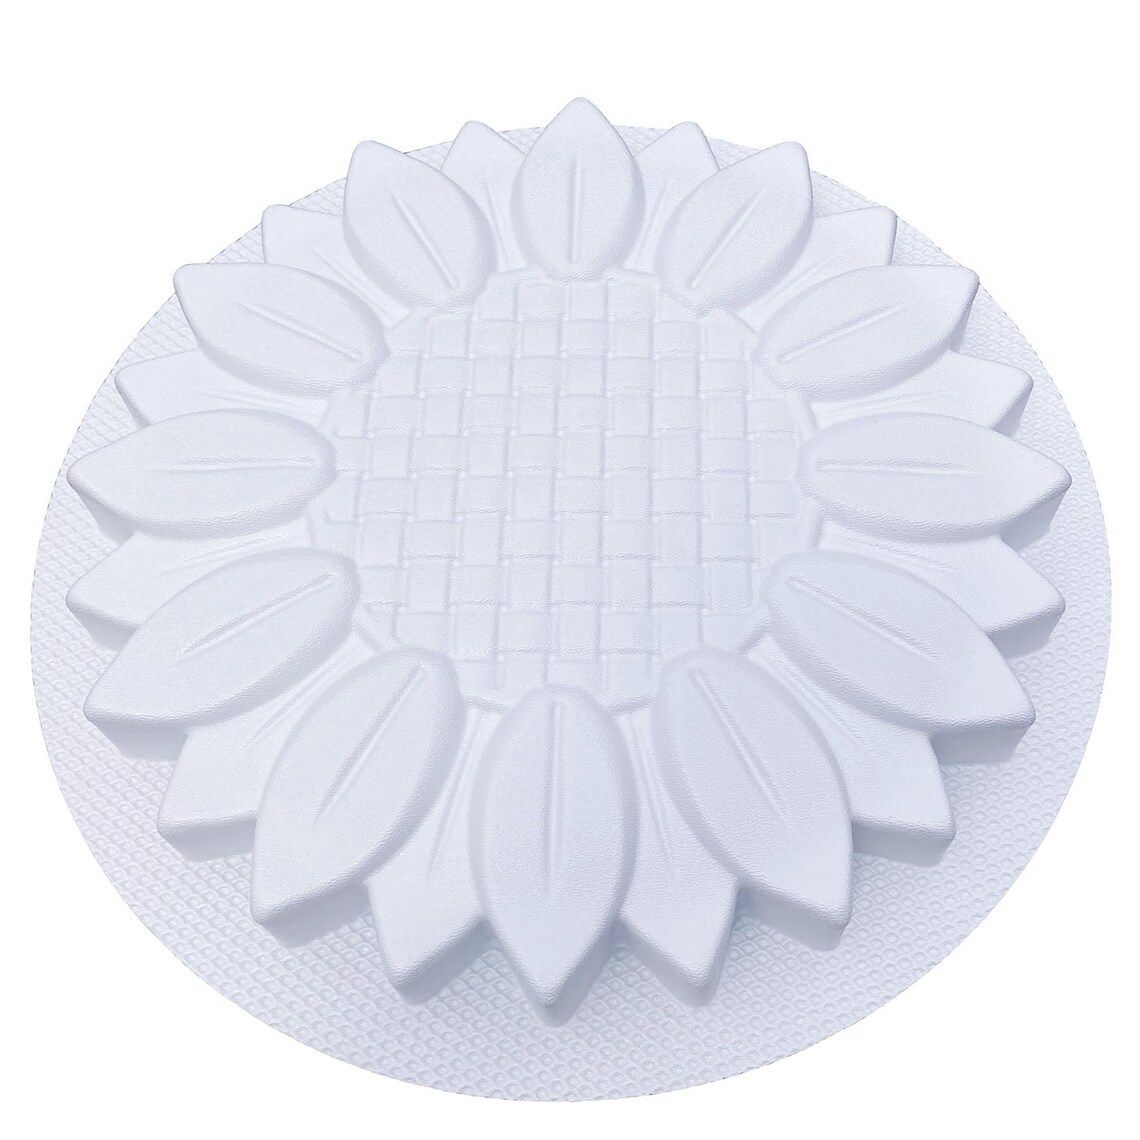
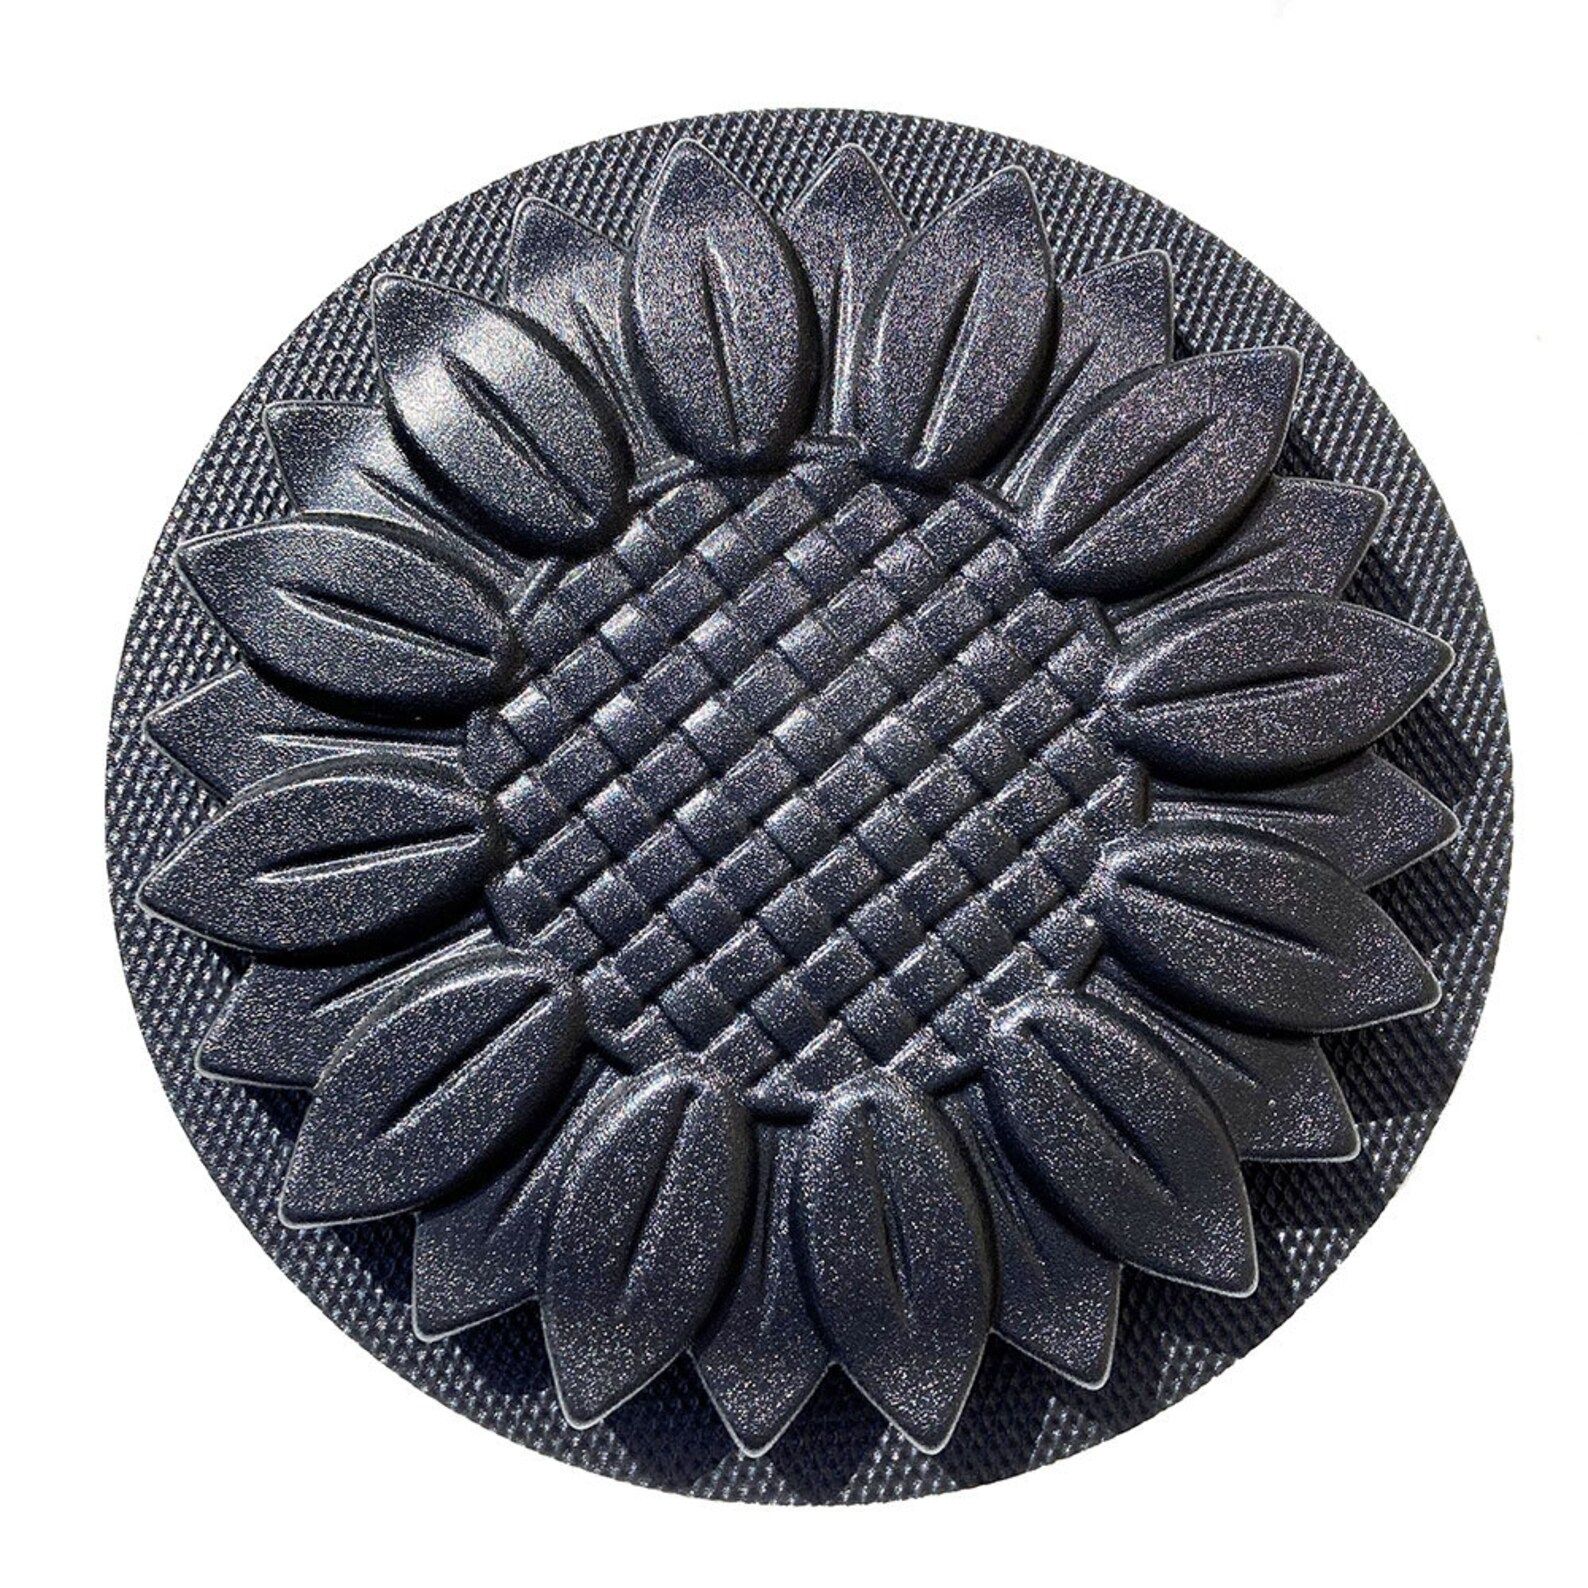
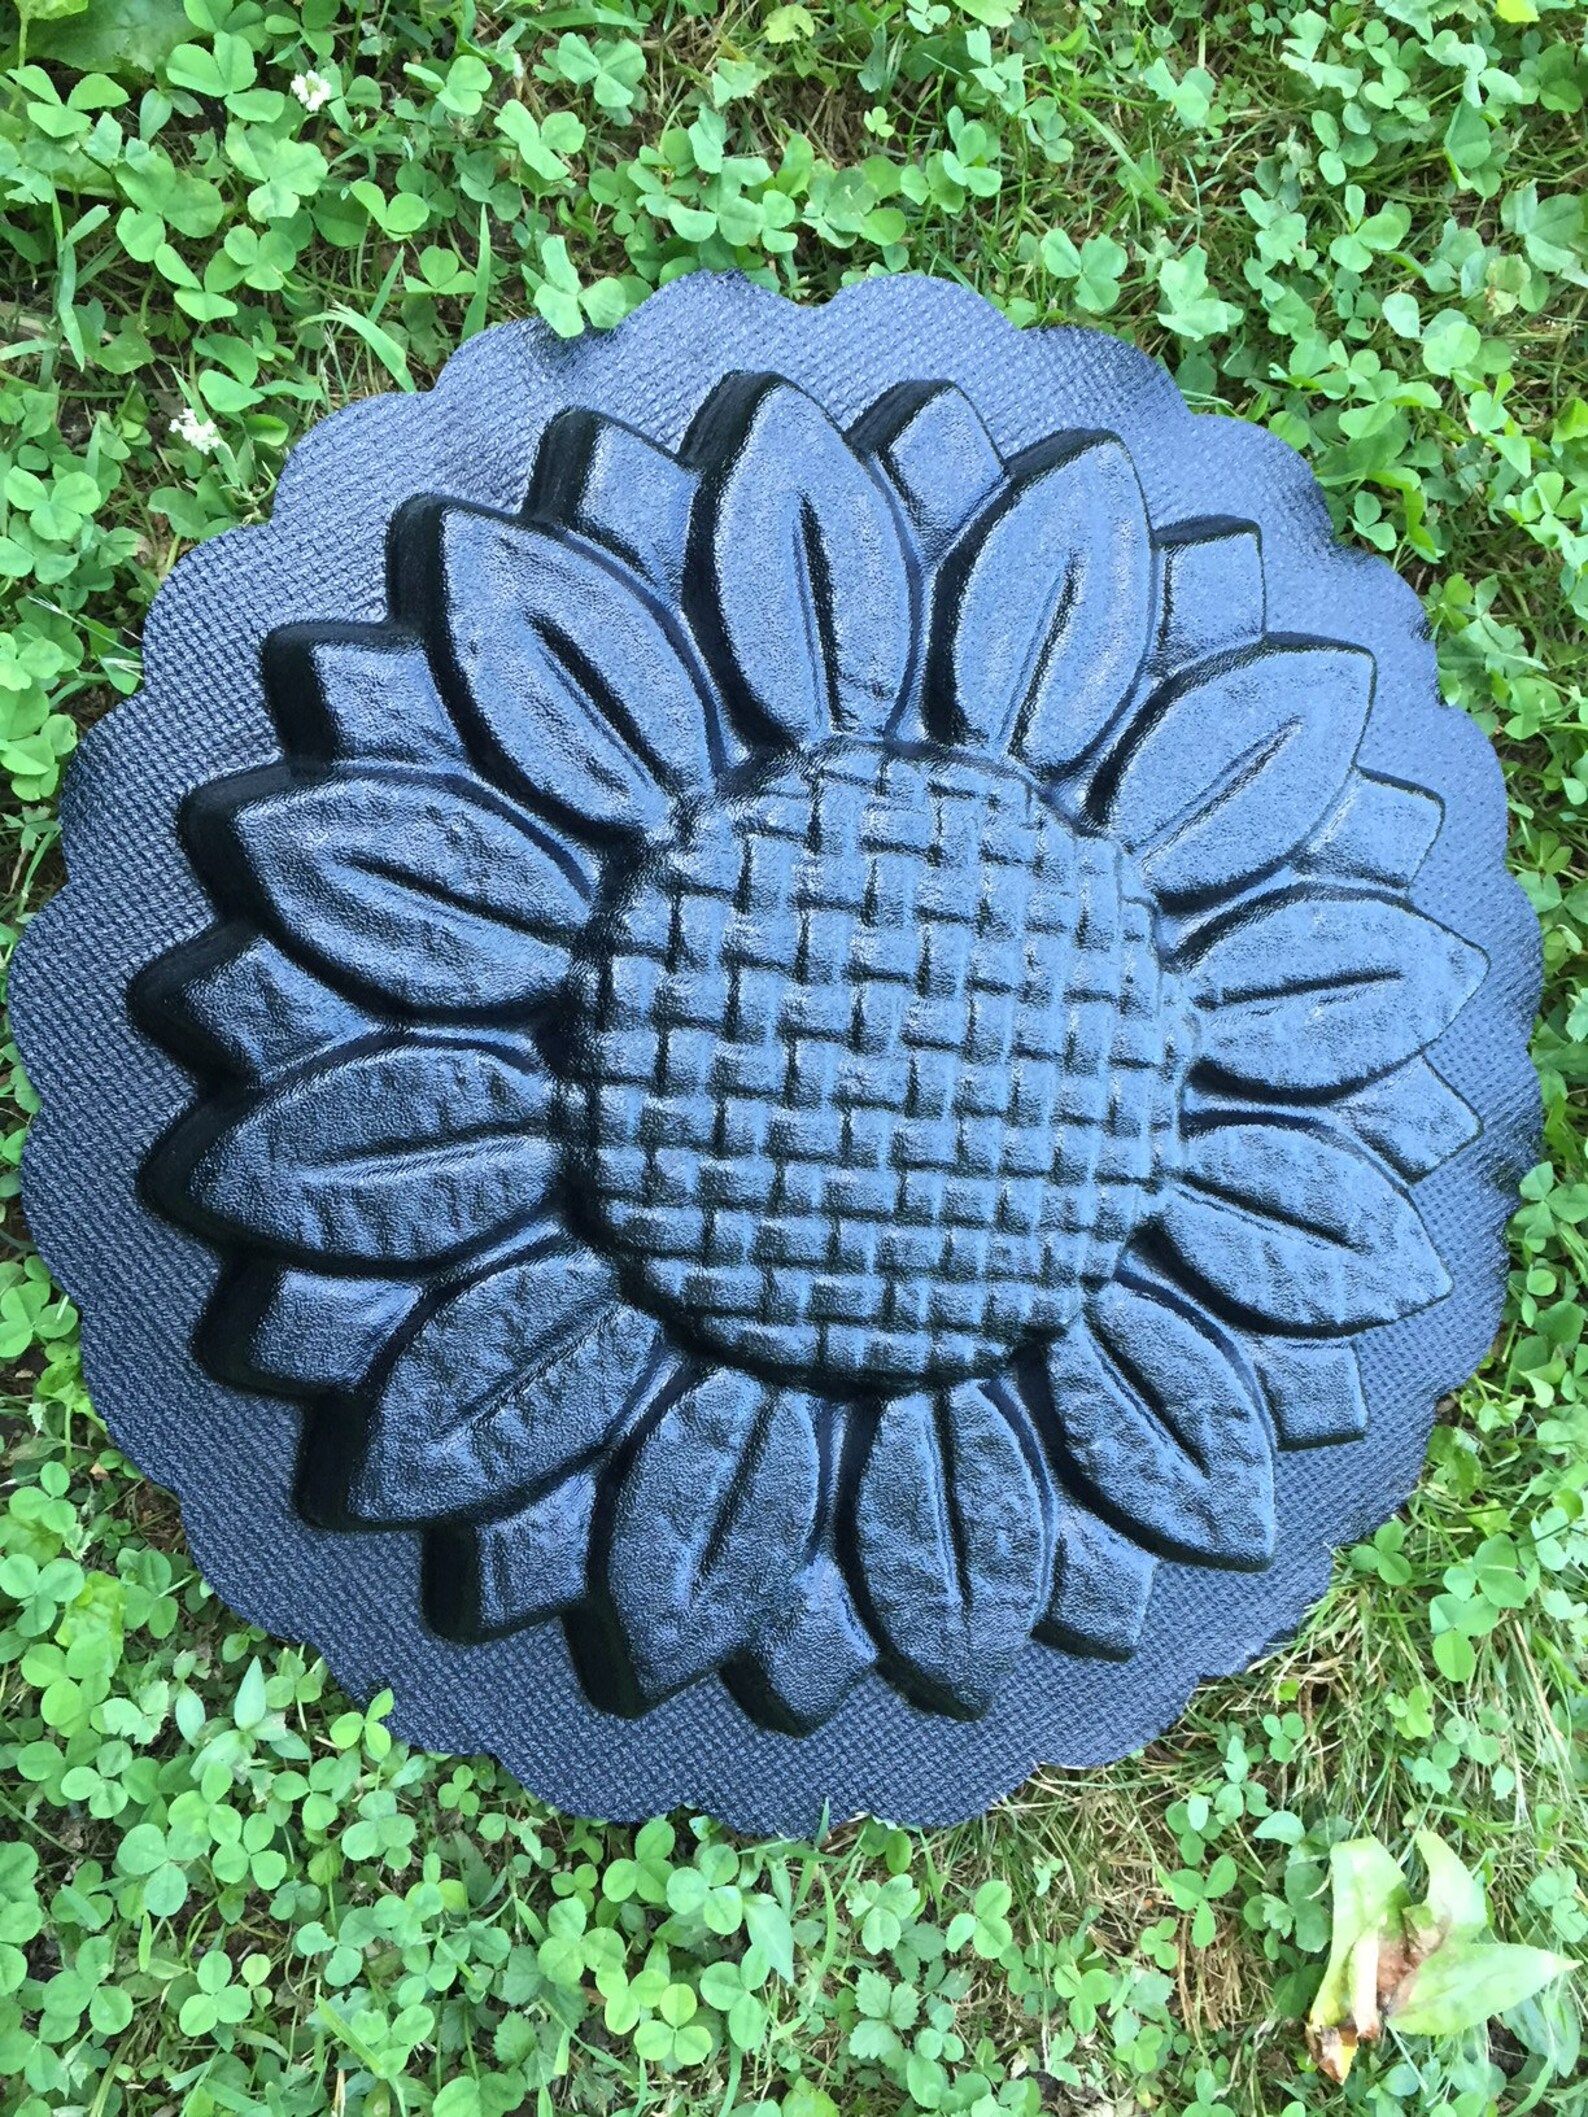
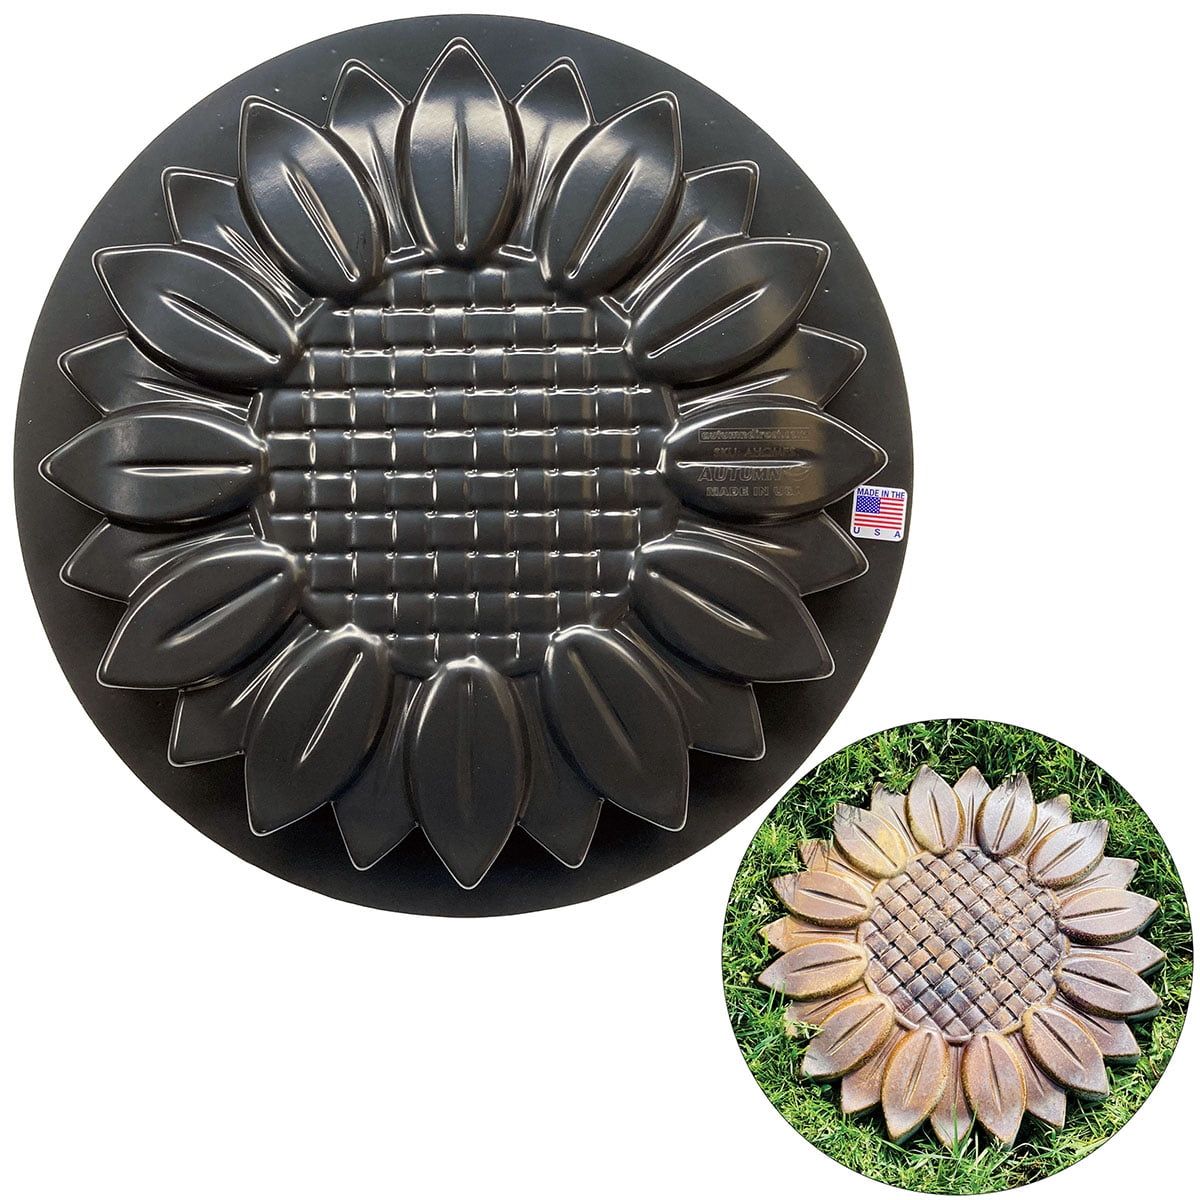
- Sunflower Stepping Stone Molds: This is, of course, the star of the show. You can find these online or at craft stores. Consider the size and shape you want. Do you want a simple, round sunflower, or a more detailed design?
- Concrete Mix: Pre-mixed concrete is the easiest option for beginners. You can get it in bags and just add water. Look for ‘concrete mix’ or ‘all-purpose concrete.’
- Water: For mixing the concrete. Follow the instructions on your concrete mix bag for the correct water-to-concrete ratio.
- Mixing Bucket and Trowel: A sturdy bucket to mix the concrete in and a trowel or small shovel for mixing and smoothing.
- Gloves: Protect your hands. Concrete can be drying to the skin.
- Safety Glasses: Protect your eyes from splashes.
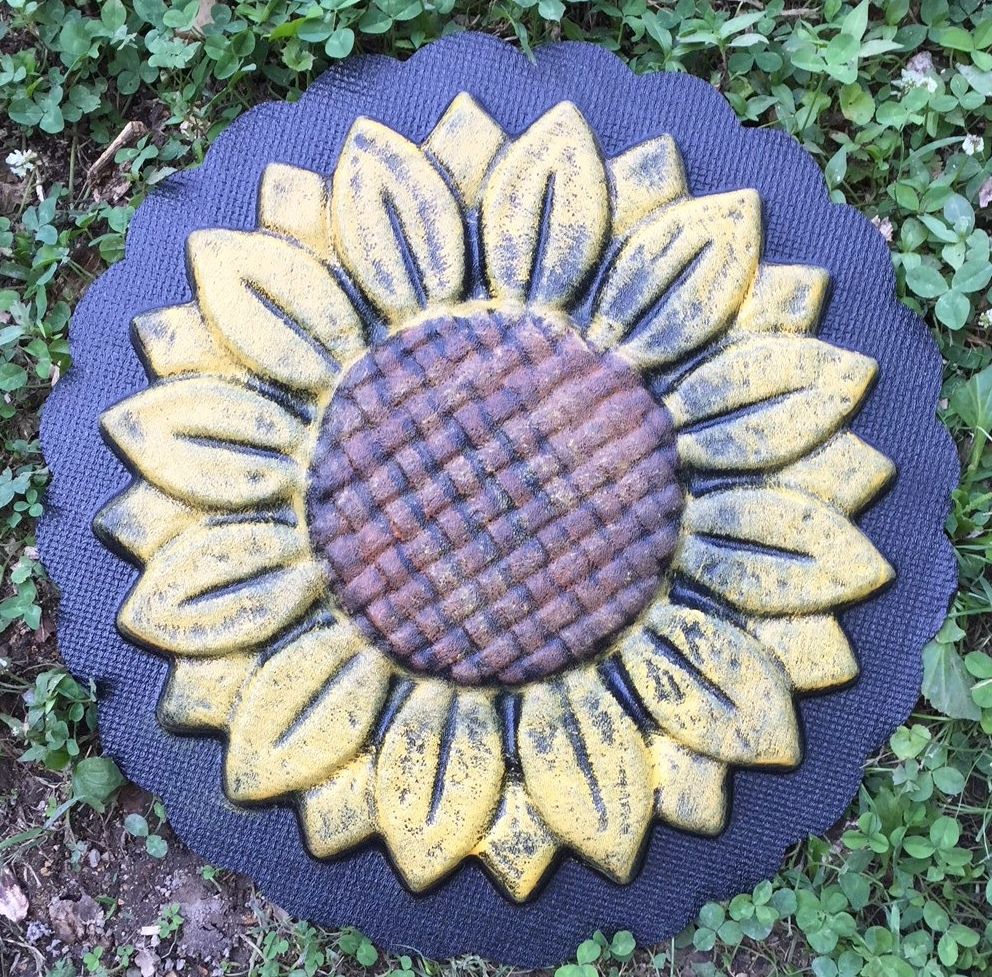
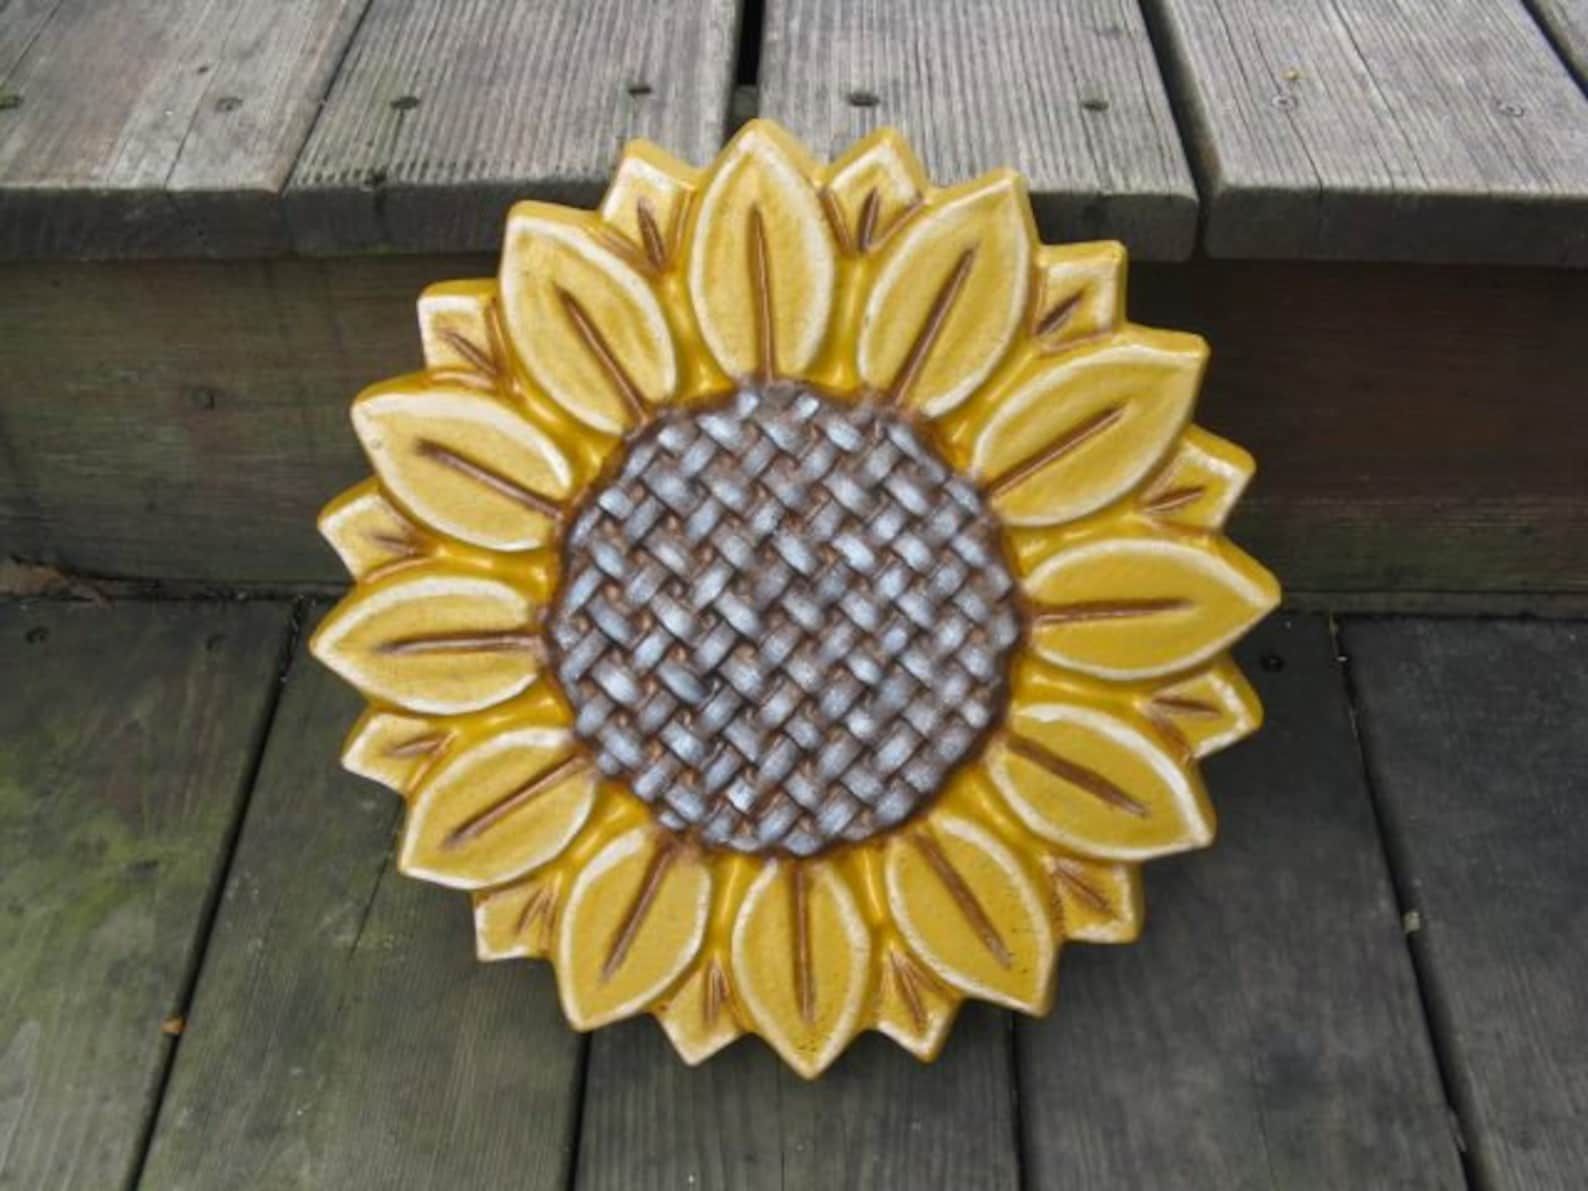
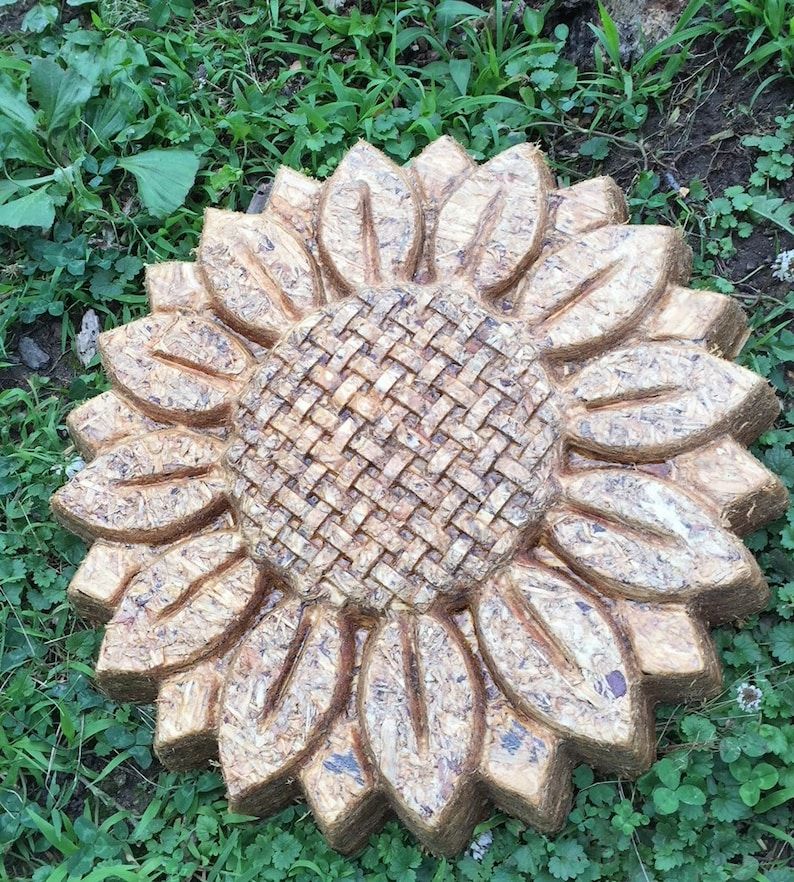
- Optional Colorants: If you want to add color, you can use concrete dyes or pigments. There are many options, and you can get very creative here.
- Optional Embellishments: Small pebbles, glass beads, mosaic tiles, or anything else you want to embed in your stepping stones to add extra character.
Mixing the Concrete: Getting the Consistency Right
This is where the magic begins! Follow these steps for perfect concrete every time:
- Prep Your Work Area: Set up in a well-ventilated area. Cover your work surface to protect it.
- Read the Instructions: Seriously. Every concrete mix is slightly different. The instructions on the bag will tell you the exact water-to-concrete ratio.
- Pour the Water: Pour the recommended amount of water into your mixing bucket.
- Add the Concrete: Slowly add the concrete mix to the water, stirring constantly with your trowel. This helps prevent lumps.
- Mix, Mix, Mix: Keep mixing until you have a smooth, even consistency, like thick pancake batter. It should be pourable but not too watery.
- Coloring (If Desired): If using colorants, add them now and mix thoroughly. Try doing a test batch, if you are unsure about the color.
Pro Tip: A little bit of patience here pays off. You want a smooth, lump-free mixture for the best results.
Pouring and Shaping: Bringing Your Sunflowers to Life
Alright, time to get pouring!
- Prepare Your Mold: Lightly spray your mold with mold release or line it with plastic to make it easier to remove the stepping stone later. This is important, trust me. Otherwise, you could damage your beautiful creation.
- Pour the Concrete: Slowly pour the concrete mixture into your sunflower stepping stone mold. Fill it to the top.
- Tap and Settle: Gently tap the sides of the mold to release any air bubbles. This helps prevent cracks. You can also gently shake the mold.
- Smooth the Surface: Use your trowel to smooth the surface of the concrete. Make sure it’s level and even.
- Add Embellishments (Optional): If you’re using embellishments, gently press them into the surface of the concrete while it’s still wet. Arrange them as you like, and don’t be afraid to get creative!
- Let it Cure: This is the hardest part: patience! Allow your stepping stones to cure in a cool, dry place for at least 24-48 hours, or as recommended on your concrete mix. Cover them with plastic to prevent them from drying out too quickly.
Demolding and Finishing Touches: Revealing Your Masterpiece
After the curing time, it’s time for the big reveal! Here’s how to get your stepping stones out of the mold:
- Flip and Tap: Carefully flip the mold over onto a flat surface. Gently tap the bottom and sides of the mold to loosen the concrete.
- Remove the Mold: Slowly lift the mold away from the stepping stone. If it’s stuck, don’t force it. Try tapping the mold again or using a putty knife to gently pry it loose.
- Inspect and Repair: Check your stepping stone for any imperfections. You can use a small amount of concrete mix to fill in any cracks or holes. Smooth it out with your trowel.
- Clean Up: Wipe away any excess concrete or dust.
- Sealing (Optional): For added durability and weather resistance, you can seal your stepping stones with a concrete sealant. Follow the instructions on the sealant package.
Important Note: Concrete continues to cure over time. Handle your new stepping stones with care, especially in the first few days.
Placement and Care: Showcasing Your Sunflower Stepping Stones
Now for the best part: showing off your handiwork! Here’s how to place and care for your new stepping stones:
- Pathway Planning: Decide where you want your stepping stones to go. Measure the distance between them to ensure a comfortable stride. A good rule of thumb is about 12-24 inches apart.
- Ground Preparation: Clear the area of any grass, weeds, or debris. Dig out a shallow hole for each stepping stone.
- Leveling: Place each stepping stone in its hole and use a level to ensure it’s even. You can add or remove soil to adjust the height.
- Backfilling: Fill in the gaps around the stepping stones with soil or gravel to help stabilize them.
- Ongoing Care: Inspect your stepping stones regularly for any cracks or damage. Clean them with mild soap and water as needed. Reapply sealant every few years to protect them from the elements.
Troubleshooting and Tips for Success
Let’s address some common challenges and provide some extra tips to help you along the way:
- Cracking: Cracking can happen. It’s often due to the concrete drying too quickly. Make sure to cure your stepping stones properly, and avoid making them in direct sunlight or extremely hot weather. Also, if your stepping stones are going in a place that gets a lot of foot traffic, you might want to consider using a concrete mix that has fibers in it, as this will help to prevent cracking.
- Air Bubbles: To minimize air bubbles, tap your mold gently after pouring. Also, make sure your concrete mix is not too thick.
- Mold Release is Key: Always use mold release or line your mold. Trust me; it will save you a headache.
- Experiment with Colors: Don’t be afraid to try different colors and embellishments to create unique designs.
- Safety First: Always wear gloves and safety glasses when working with concrete.
- Have Fun: This is supposed to be enjoyable, so let your creativity flow and don’t be afraid to make mistakes. Every project is a learning experience!
And there you have it: your complete guide to making beautiful sunflower stepping stones. From gathering your supplies to placing your finished creations in your garden, it’s a project that’s both rewarding and fun. Remember, this is about enjoying the process. Don’t stress about perfection; embrace the imperfections, and let your creativity shine. So, go forth, gather your supplies, and start creating your own little patches of sunshine. Your garden – and your feet – will thank you. Happy crafting, everyone. I can’t wait to see your sunflower stepping stones come to life, and don’t forget to share your creations with me! I’m always excited to see your work. Happy gardening, and I’ll see you in the next project.