Hey everyone, it’s your stone-loving friend here. Today, we’re diving deep into the amazing world of stone polishing, and specifically, we’re talking about those incredible tools: cheetah polishing pad sets. These pads, often referred to as “cheetah sets” because of the branding, are game-changers. They can transform dull, lifeless stone into surfaces that shimmer and shine. But, like any good craft, understanding the tools is half the battle. So, let’s get to it and learn how to unlock the secrets of stone polishing with these sets. Ready?
Polishing stone isn’t just about making it look pretty; it’s about preserving the stone’s natural beauty and longevity. Cheetah sets provide a systematic approach to achieve this, offering various grit levels that work together to smooth and polish the stone. Whether you’re a DIY enthusiast or a seasoned professional, knowing how to use these sets effectively will elevate your work and your results. We’ll explore the different grits, their applications, and some pro tips to get you started and achieve polished perfection. Let’s dig in.
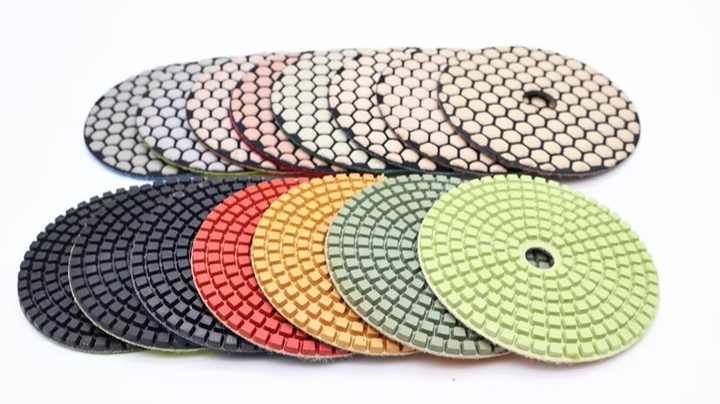
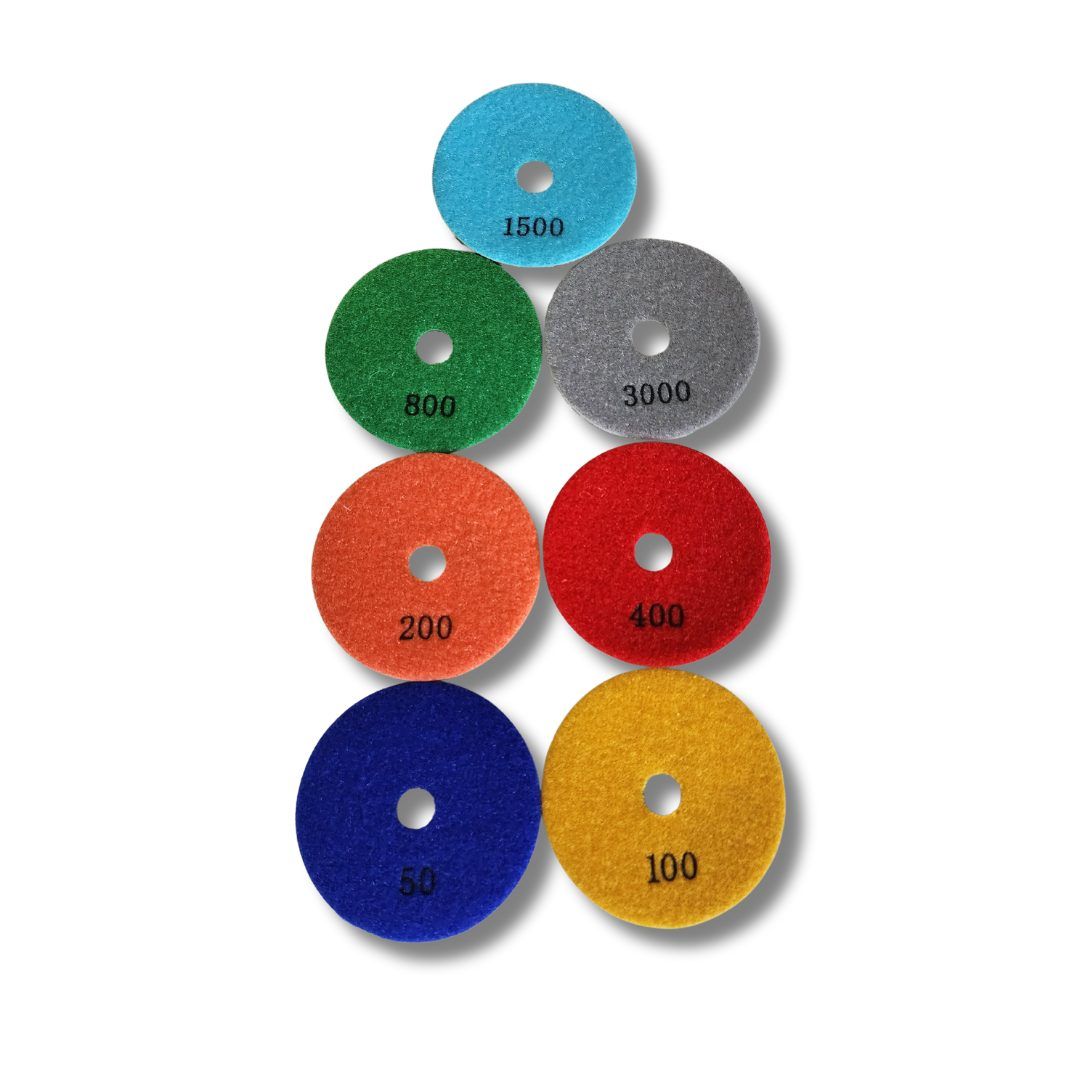
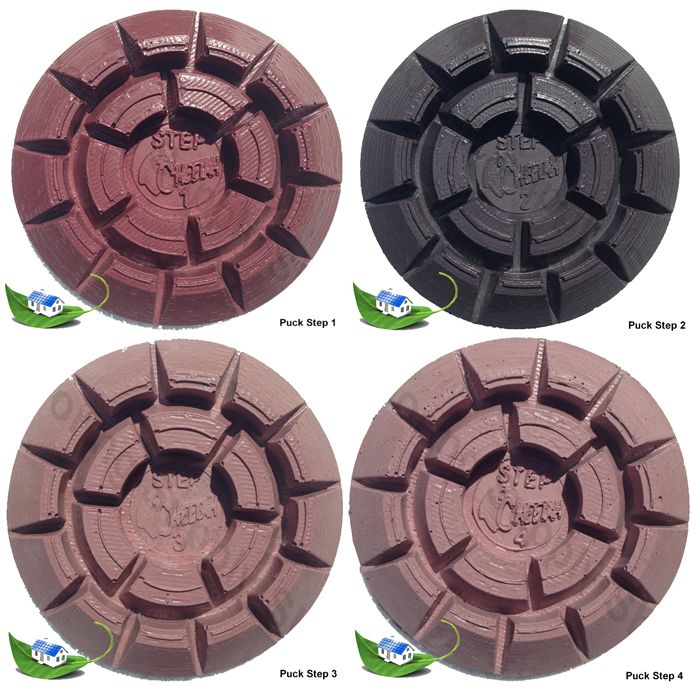
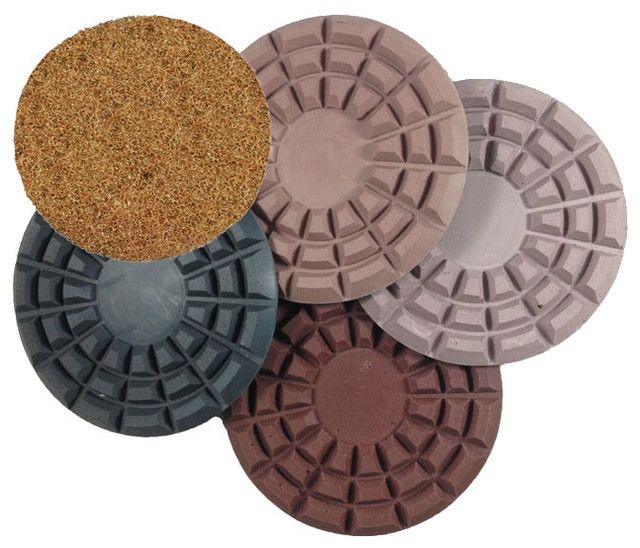
Grit: The Key to Smoothness
Grit is the measurement of the abrasive particles embedded in the polishing pad. It’s measured by a number, and this number indicates the size of the abrasive grains. Lower numbers mean coarser grits (bigger grains), used for aggressive material removal. Higher numbers mean finer grits (smaller grains), used for polishing and bringing out the shine. Think of it like sandpaper: coarse sandpaper removes material fast, and fine sandpaper smooths and polishes. The same principle applies to cheetah sets.
Here’s a general breakdown:
- Coarse Grits (50-100 grit): Used for initial grinding and removing deep scratches.
- Medium Grits (200-400 grit): Used for refining the surface and removing scratches from the coarse grits.
- Fine Grits (800-1500 grit): Used for pre-polishing and preparing the surface for the final polish.
- Very Fine Grits (3000-10000 grit and above): Used for polishing and achieving a high-gloss finish. This is where the real shine comes from, and the stone’s natural beauty is revealed.
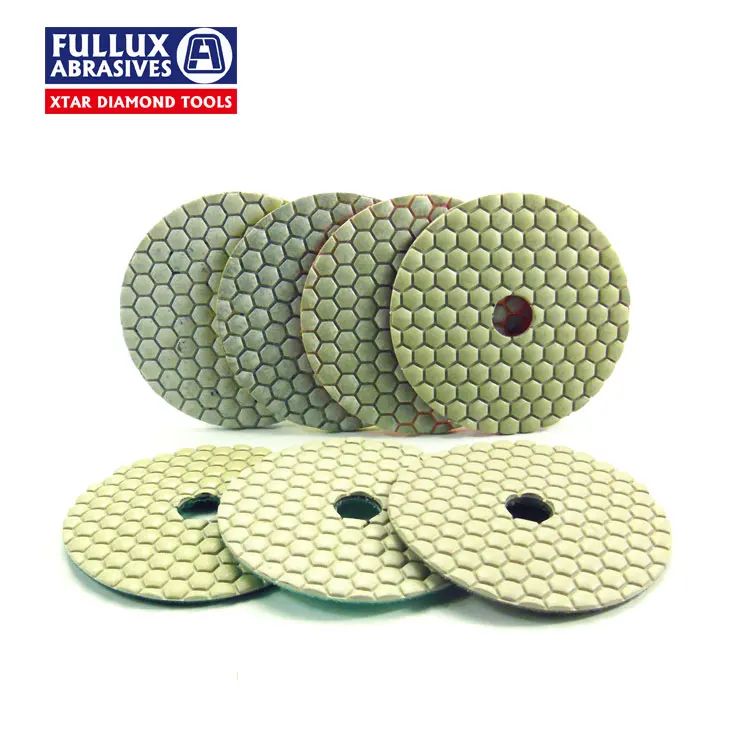
Remember, the specific grits included in a cheetah set can vary depending on the manufacturer, so always check the set’s instructions or specifications.
Cheetah Set Application: The Step-by-Step Guide
Using a cheetah set is a process, but it’s not hard. The key is patience and following the steps. Here’s a general guide:
- Preparation: Clean the stone surface thoroughly. Remove any dirt, debris, or old sealers. This is crucial.
- Coarse Grinding: Start with the coarsest grit pad. Apply the pad to a suitable polisher (usually a variable-speed grinder or polisher) and use a moderate amount of pressure. Work in a circular motion, overlapping each pass to ensure even coverage. Be careful not to stay in one spot too long, as this can create unevenness. Be sure to use water as a lubricant to help reduce heat and keep the pad from clogging.
- Progression: After the coarse grit, move to the next grit level in the set. Each time you go up a grit, you’ll be removing the scratches created by the previous grit and refining the surface. Continue with medium, then fine grits, always ensuring you’re removing the previous grit’s scratches.
- Polishing: Once you’ve worked through the fine grits, it’s time to polish. Use the very fine grit pads, and reduce the pressure. This is where the shine emerges. You might also consider using a polishing compound with the final pad for an even more dazzling result.
- Cleaning and Sealing: Once you have achieved the desired shine, clean the stone thoroughly and allow it to dry completely. Consider applying a stone sealer to protect the surface and enhance its longevity. This is a critical step to maintain the beauty of your polished stone.
Choosing the Right Cheetah Set for Your Stone
Not all cheetah sets are created equal. Different sets are designed for different types of stone. Granite, marble, quartz, and other natural stones have different hardness levels and require different polishing pads.
- Granite: Generally hard and can handle more aggressive polishing. Look for sets specifically designed for granite.
- Marble: Softer than granite, so it needs a gentler approach. Choose sets that are designed for marble or softer stones.
- Quartz: Often a manufactured stone, so check the manufacturer’s recommendations.
Pay attention to the pad’s backing material (e.g., velcro, threaded) and the polisher’s compatibility. Read reviews and consider the set’s grit sequence and the type of stone you’ll be working with. Also, remember that the quality of the pads themselves matters. Invest in a reputable brand for better results and durability.
Pro Tips for Polishing Perfection
Here are some extra tips to help you achieve stunning results:
- Water is Your Friend: Always use water during polishing. It lubricates the pads, reduces heat buildup, and helps prevent scratches.
- Consistent Pressure: Maintain consistent pressure throughout the process. Too much pressure can cause swirls and uneven polishing, while too little might not remove scratches effectively.
- Overlap Your Passes: Overlap each pass by about 50% to ensure even coverage and to avoid leaving unpolished areas.
- Check Your Work: Regularly inspect the stone surface under good lighting. This helps you identify any scratches or imperfections that need additional attention.
- Clean Pads: Keep your pads clean. Rinse them with water after each grit and let them dry. This will extend their life and improve their performance.
- Practice Makes Perfect: Don’t be discouraged if your first attempt isn’t flawless. Stone polishing takes practice and experience. Keep at it, and you’ll get better with each project.
Troubleshooting Common Issues
Even with careful attention, you might encounter some issues. Here’s how to address them:
- Swirl Marks: This is usually caused by using too much pressure or not changing grits effectively. Reduce pressure and ensure you’re progressing through the grits in the correct order.
- Haze: Haze can be caused by using the wrong grit sequence or using a contaminated pad. Ensure you’re following the correct sequence and that your pads are clean.
- Scratches: Scratches can appear if you skip a grit level or if there is debris on the pad or the stone. Double-check your grit progression and clean the stone and pads thoroughly.
- Uneven Polish: This can be caused by inconsistent pressure or not overlapping your passes. Pay close attention to these techniques and ensure that you’re working evenly across the surface.
If you are having trouble, don’t be afraid to consult with a professional or watch some videos demonstrating the process. Learning from others can really make a difference.
Beyond the Basics: Advanced Techniques
Once you’ve mastered the basics, there are advanced techniques you can explore. This includes using different polishing compounds with the final pads to create a specific level of shine. You might also look into using specific polishing pads for edges and corners, which can be tricky areas to polish. And for very intricate designs, you may have to resort to using hand-held polishers and pads. Always stay curious, and keep learning to improve your skills and expand your capabilities. Stone polishing offers so much potential for creativity.
Stone polishing with cheetah sets is a rewarding process that can transform dull stone surfaces into beautiful, lustrous features. By understanding the role of grit, following the correct application steps, and using the right tools and techniques, you can achieve professional-quality results. Remember to be patient, practice regularly, and don’t be afraid to experiment. With each project, you’ll gain experience, refine your skills, and unlock the true potential of your stone surfaces. So go out there, get polishing, and let your stone shine. I hope this helps, and happy polishing everyone.