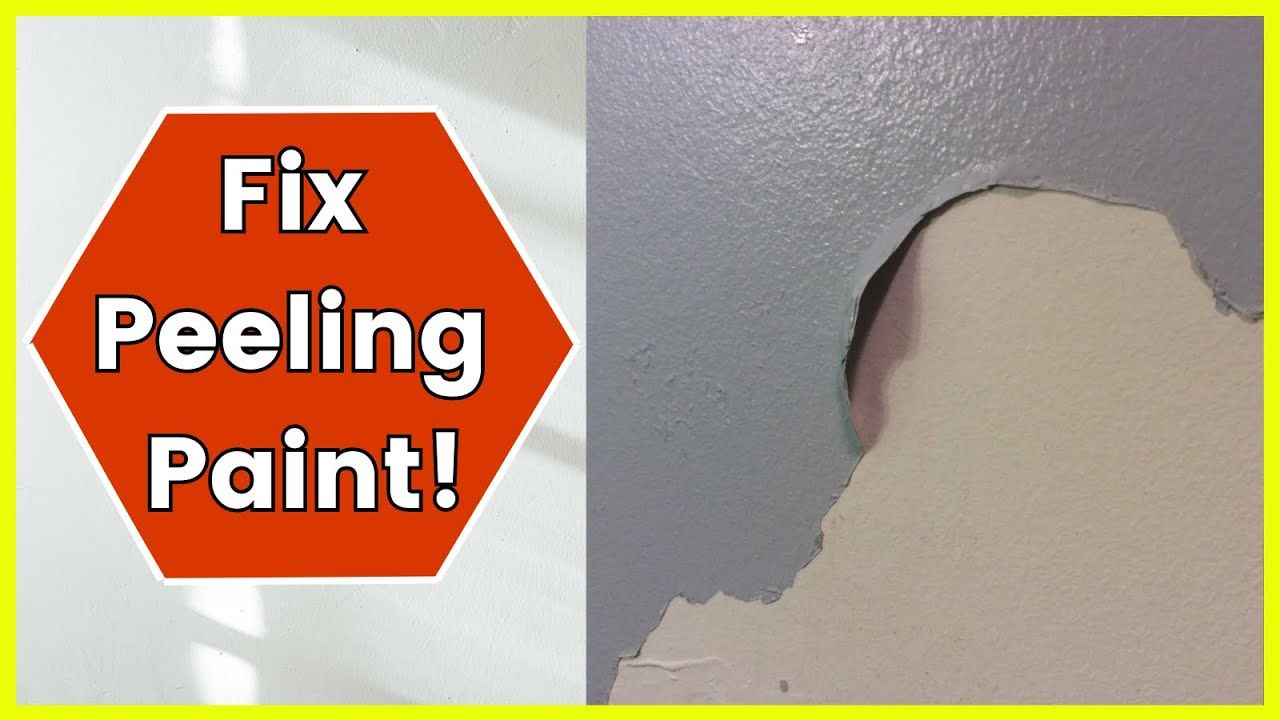
It’s one of those moments that makes you question everything you know about home improvement. You’ve spent hours choosing the perfect color, applying the paint with care, and suddenly… the paint starts peeling off like it’s never going to stay. It’s especially frustrating in bathrooms, where moisture is constant and expectations are high. But what really causes this? What are the common missteps that lead to such a costly and annoying mistake? Let’s explore.
Painting a bathroom can seem straightforward enough. You clean the walls, apply primer if needed, and go ahead with your chosen finish. But when that paint starts flaking away like old wallpaper, it’s not just an aesthetic issue—it’s a sign that something went wrong somewhere in the process. Whether you’re a seasoned DIYer or someone who prefers to hire professionals, understanding why bathroom paint peels is crucial. It’s not just about poor quality paint or bad luck. There are specific reasons that cause this issue, and most of them can be avoided with proper knowledge and preparation. This guide will walk you through the most frequent mistakes that lead to peeling paint and how to fix them before they happen.
Not Using the Right Paint Type
One of the biggest culprits behind peeling bathroom paint is using the wrong kind of paint. Bathrooms are unique spaces—high humidity, frequent water exposure, and temperature changes all play a role. Regular interior paint simply isn’t built to handle these conditions. It’s like trying to wear sandals in the rain. The paint needs to be specifically designed for bathrooms or high-moisture areas. Look for paints labeled "bathroom-safe" or "moisture-resistant." These formulas contain ingredients that resist mold and mildew, which are common in humid environments. Some brands even offer paints that are formulated for bathrooms with high steam usage, like those around showers or bathtubs. If you’re unsure, consult with your local paint store—they’ll know exactly what you need. Also, don’t overlook the fact that some paints have added fungicides that help fight off mold growth, which can cause peeling over time.
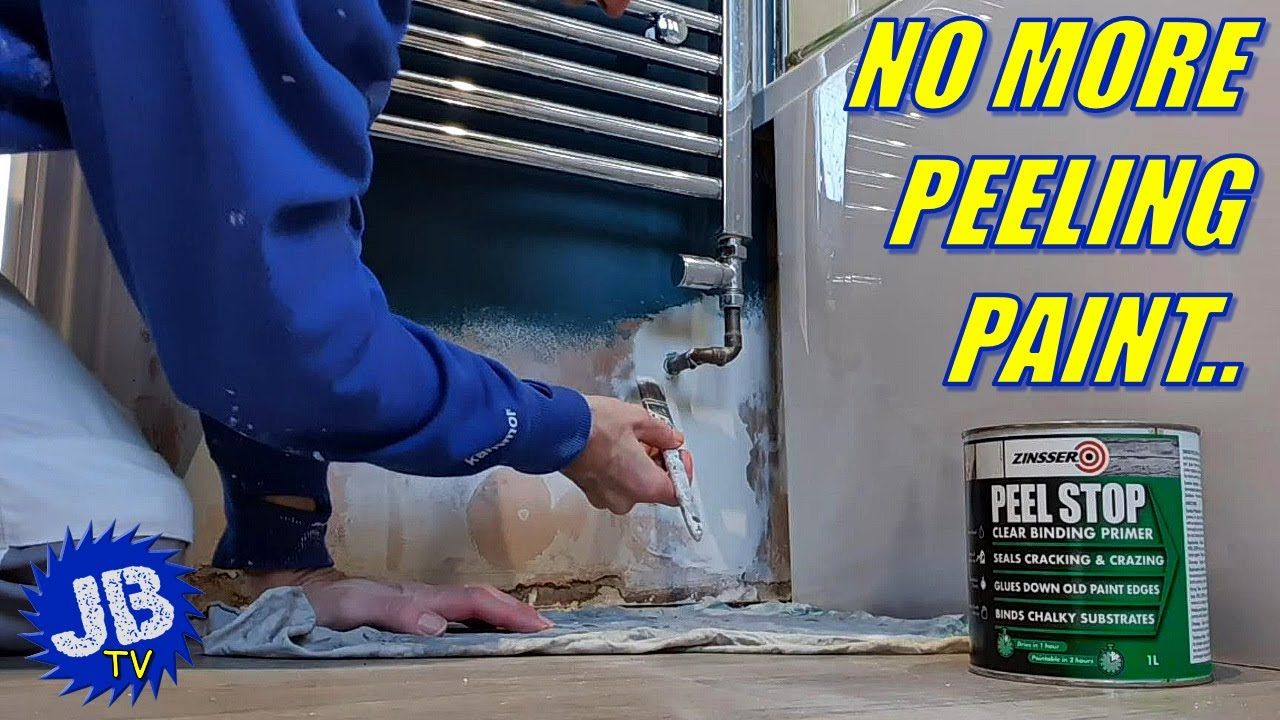
Skipping Proper Surface Preparation
This might be the most overlooked step in painting a bathroom, yet it’s critical for success. Before you even think about rolling on a coat of paint, you must ensure the surface is clean and ready. Old paint that’s chipped or peeling needs to be removed entirely. You don’t want to paint over a surface that’s already compromised. Sand the walls lightly to remove any glossy finish or loose material. A smooth, clean surface is essential for paint to adhere properly. Also, check for any cracks or holes and fill them with appropriate filler. Sometimes, you might find that the wall underneath is already damaged, which means you may need to do a bit more work than just paint. Don’t forget to wipe down the walls with a damp cloth to remove dust and grime. A little extra effort here can save you from major headaches later on. When the surface is prepared correctly, the paint will stick much better.
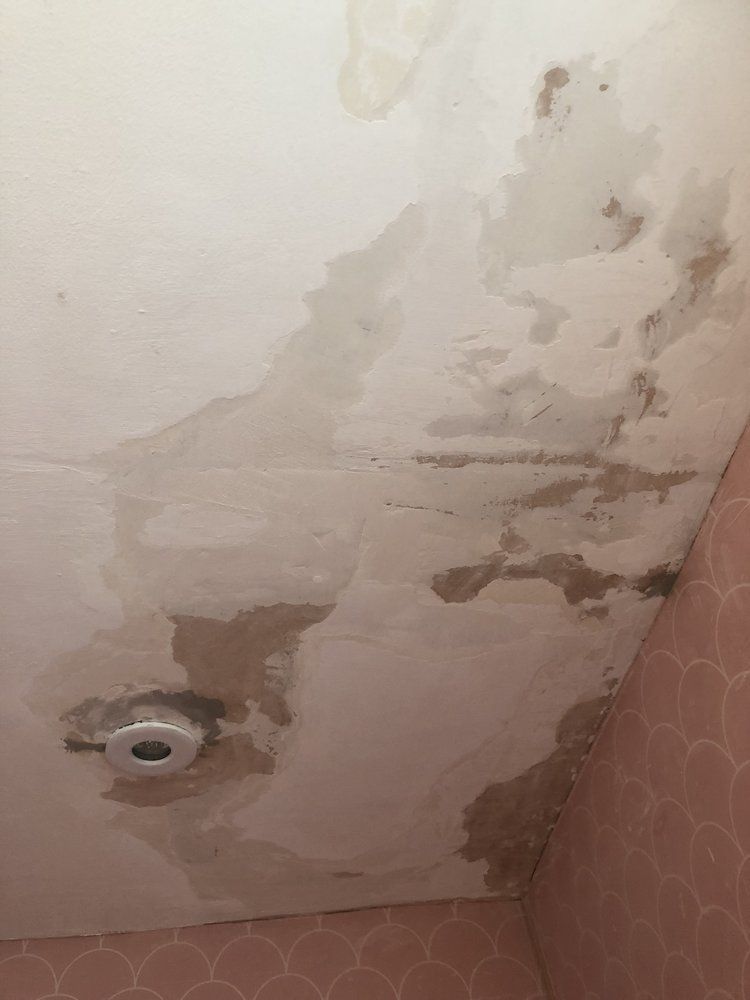
Ignoring Moisture and Humidity Issues
Let’s face it—bathrooms are inherently moist places. The steam from hot showers, the humidity from daily use, and the occasional splash of water all contribute to a high-humidity environment. If you ignore this reality, you’re setting yourself up for failure. Paint that isn’t designed for moisture will eventually break down under these conditions. The key is to wait until the bathroom is completely dry before painting. Even a small amount of residual moisture can cause problems. Additionally, consider the timing of your project. Painting during high humidity periods or right after a heavy shower can be problematic. If possible, use a dehumidifier or fan to reduce moisture levels. For example, if you’re planning to paint in the morning, wait until the bathroom has had time to dry out fully after the night’s humidity. Sometimes, even a few hours of ventilation can make a big difference. Understanding how moisture affects paint helps you avoid common pitfalls.
Applying Too Many Coats Too Quickly
There’s a temptation to get things done fast, especially when you’re excited about the new look. However, applying multiple coats too quickly can lead to peeling. Each layer of paint needs time to dry and cure properly. Rushing this process can trap moisture between layers, leading to bubbling or peeling. Typically, you should wait at least 24 hours between coats. This allows the paint to dry thoroughly and form a strong bond with the surface. Some painters think that applying more paint faster will give better coverage, but that’s often not the case. It’s better to apply thinner, even coats and allow each to dry completely. In some cases, you might even need to wait longer depending on the humidity and temperature in your bathroom. Patience pays off here. It might take a bit more time, but it ensures a lasting result.
Using Low-Quality Paint or Materials
The cost of paint might seem like a small part of the overall project, but it can make a huge difference in the outcome. Cheap paint often lacks the durability and adhesion needed for high-moisture areas. It may look good initially, but it will likely fail within months. Invest in a quality paint that’s specifically made for bathrooms or high-humidity areas. Check the label for features like mold resistance, mildew resistance, and low VOCs (volatile organic compounds). These qualities are important because they help the paint last longer and resist damage from moisture. Don’t be afraid to spend a bit more on a reputable brand. You might save money in the long run by avoiding repainting. Also, make sure to buy paint that matches your existing color or is easy to blend with previous coats if you’re touching up. Quality materials set the foundation for a successful paint job.
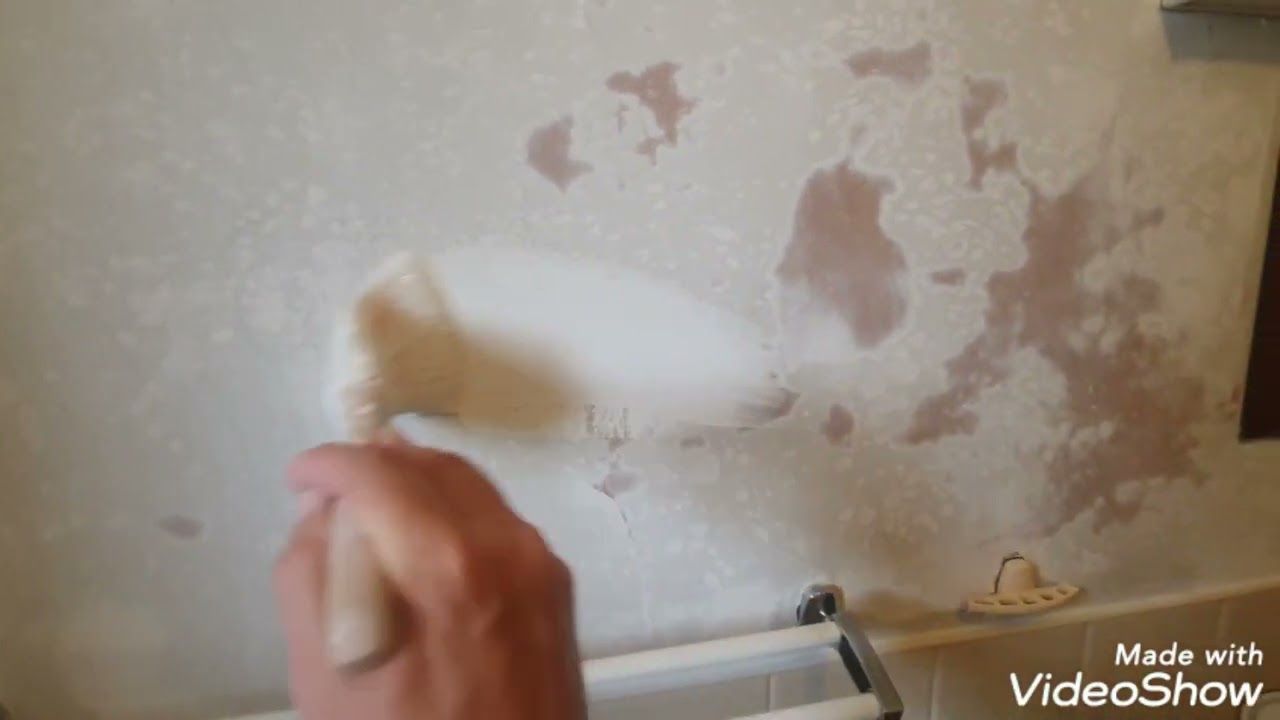
Not Addressing Existing Mold or Mildew
If you’re dealing with peeling paint in a bathroom, there’s a good chance you’ll also find mold or mildew. These organisms thrive in damp environments and can actually eat away at paint, causing it to lift and peel. Before painting, you must address any mold or mildew issues. Clean the affected areas thoroughly with a solution of bleach and water or a commercial mold remover. Always test a small area first to ensure the cleaner won’t damage the paint or surface. Once cleaned, let the area dry completely before applying any paint. If you see signs of mold or mildew, it’s worth considering whether the problem is deeper than just the paint. Sometimes, the underlying cause of moisture or poor ventilation needs to be addressed. A persistent mold problem might mean you need to improve the bathroom’s ventilation system or fix a leak. Fixing the root cause prevents future peeling and keeps your space healthier.
Peeling bathroom paint is frustrating, but it’s usually preventable with the right approach. From selecting the correct paint type to ensuring proper surface prep and addressing moisture concerns, each step matters. It’s easy to skip over details when you’re excited about a fresh new look, but taking the time to do things right will save you from future disappointment. Remember, the bathroom environment is challenging for paint, so your choices need to match the conditions. If you’re experiencing peeling, it’s not necessarily a sign of poor craftsmanship—it could be due to one of these common mistakes. By learning from them, you can avoid repeating the same errors and enjoy a long-lasting, beautiful bathroom finish. With patience, proper preparation, and quality materials, you can keep your bathroom looking great for years to come.