Bathroom tiles can crack for many reasons – from temperature changes to settling foundations. But before you panic and start planning wall removal, there’s good news. Many tile cracks can be fixed without the dramatic process of taking down entire walls. This guide walks you through practical solutions that will save you time, money, and the stress of major renovation.
Picture this: you’re enjoying a relaxing bath when you notice a small crack running through your bathroom tile. It’s not huge, but it’s there, and it’s starting to worry you. The immediate thought might be ‘Oh no, I’m going to have to rip out the whole wall.’ But what if we told you that wasn’t always necessary? Bathroom tile repairs can often be done with minimal disruption. Whether it’s a hairline crack or something more substantial, there are several approaches that can give you a solid solution without the headache of full-scale demolition.
Understanding Why Bathroom Tiles Crack
Before diving into repair methods, it’s important to understand what causes tiles to crack in the first place. These aren’t random occurrences – they usually happen because of specific conditions.
Temperature fluctuations can cause tiles to expand and contract, leading to stress fractures. Water damage beneath tiles can weaken the adhesive and cause movement. Even minor settling of your home can create pressure points in tile installations.
Some cracks appear suddenly after an impact, like dropping a heavy object on the floor. Others develop gradually over time due to aging materials or poor installation.
Understanding the root cause helps determine whether a simple repair will suffice or if there are underlying issues that need addressing. For instance, if water damage is the culprit, you’ll want to address that before sealing up the crack.
Assessing the Damage Before You Start
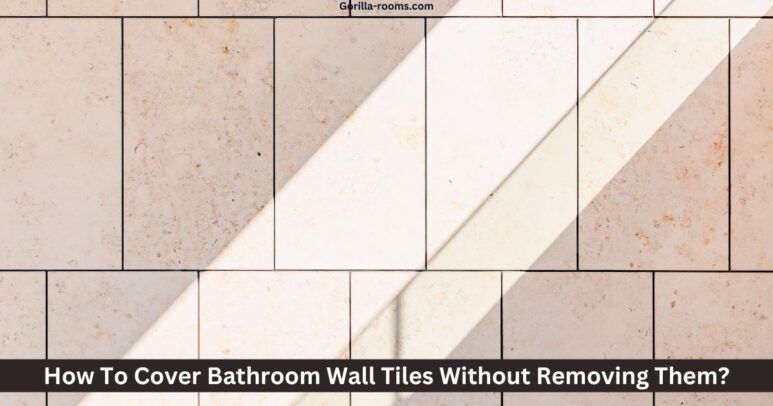
Not all cracks are created equal. Some are just cosmetic, while others could signal bigger problems. Take a careful look at your cracked tile:
• Is it a single hairline crack?
• Are there multiple cracks in nearby tiles?
• Does the crack run through the tile itself or just the grout?
• Is there any moisture around the area?
A single, shallow crack in a tile might only need surface treatment. But if you see widespread cracking or signs of water seepage, that could mean deeper issues requiring more attention.
For most cases involving minor cracks, a DIY approach works well. However, if the damage seems extensive or if you’re unsure, consulting a professional might be wise. Sometimes what looks like a simple crack is actually a symptom of structural problems.
Preparation Steps for Tile Crack Repair
Proper preparation makes all the difference in a successful repair. Before applying any fix, you need to clean the area thoroughly.
Start by removing loose debris from the crack using a small brush or vacuum. Clean the surrounding grout and tile with a mild detergent and water. Allow everything to dry completely.
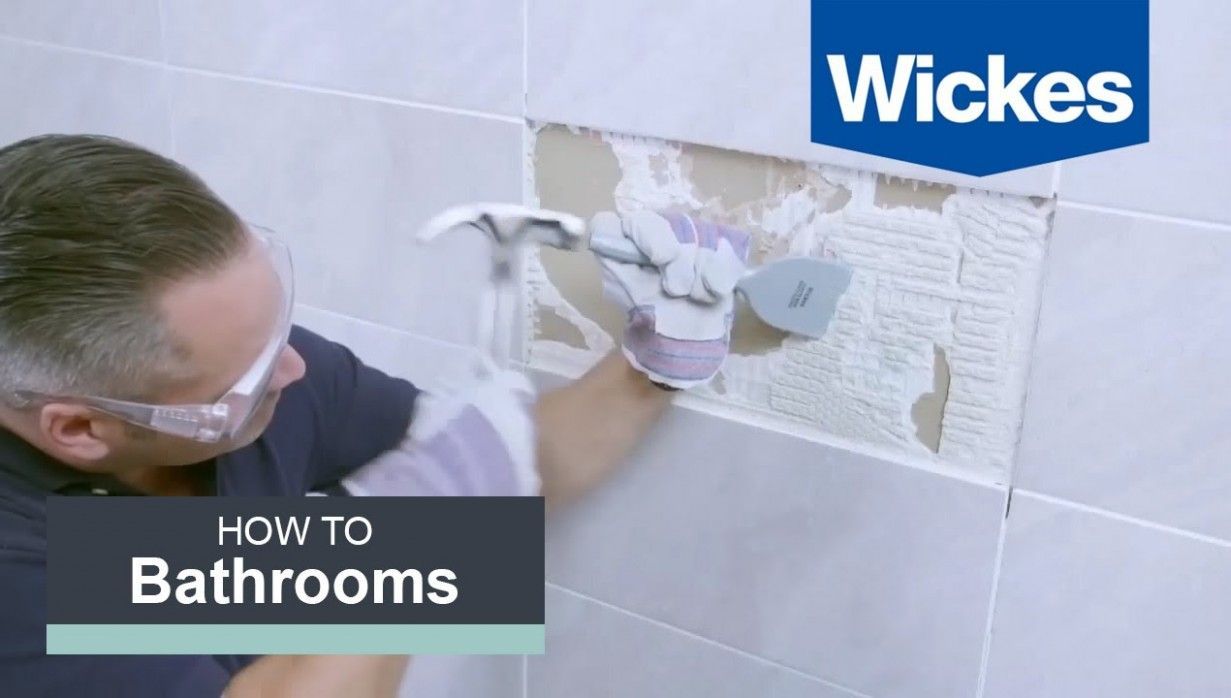
If there’s any loose or crumbling grout, remove it carefully with a grout removal tool or utility knife. The repair material needs a clean, stable surface to adhere properly.
For larger cracks, consider using a small chisel to widen the crack slightly. This creates better contact points for the repair compound. Just don’t go too deep – you want to avoid damaging the tile further.
Remember to wear safety gear like gloves and eye protection during this process. You never know what hidden materials might be underneath.
Choosing the Right Repair Materials
There are several types of products available for fixing tile cracks, each with their own advantages:
• Epoxy-based fillers work best for structural cracks that need strong bonding
• Silicone sealants are ideal for flexible joints and areas prone to movement
• Grout repair kits offer a convenient solution for smaller cracks and grout issues
• Polyurethane adhesives provide excellent durability for high-moisture environments
The key is matching your repair product to the type of crack and location. For example, if you’re dealing with a crack near a shower, you’ll want something that can handle constant humidity.
Consider the color match as well. Many products come in various shades to blend with existing grout or tile. If you’re working on a visible area, choosing the right color can make the repair nearly invisible.
Step-by-Step Repair Process
Here’s how to approach the actual repair:
- First, ensure the crack is clean and dry
- Apply a thin layer of your chosen filler or sealant directly into the crack
- Smooth it out with a putty knife or your finger
- Allow it to cure according to manufacturer instructions
- Once cured, lightly sand any excess smooth
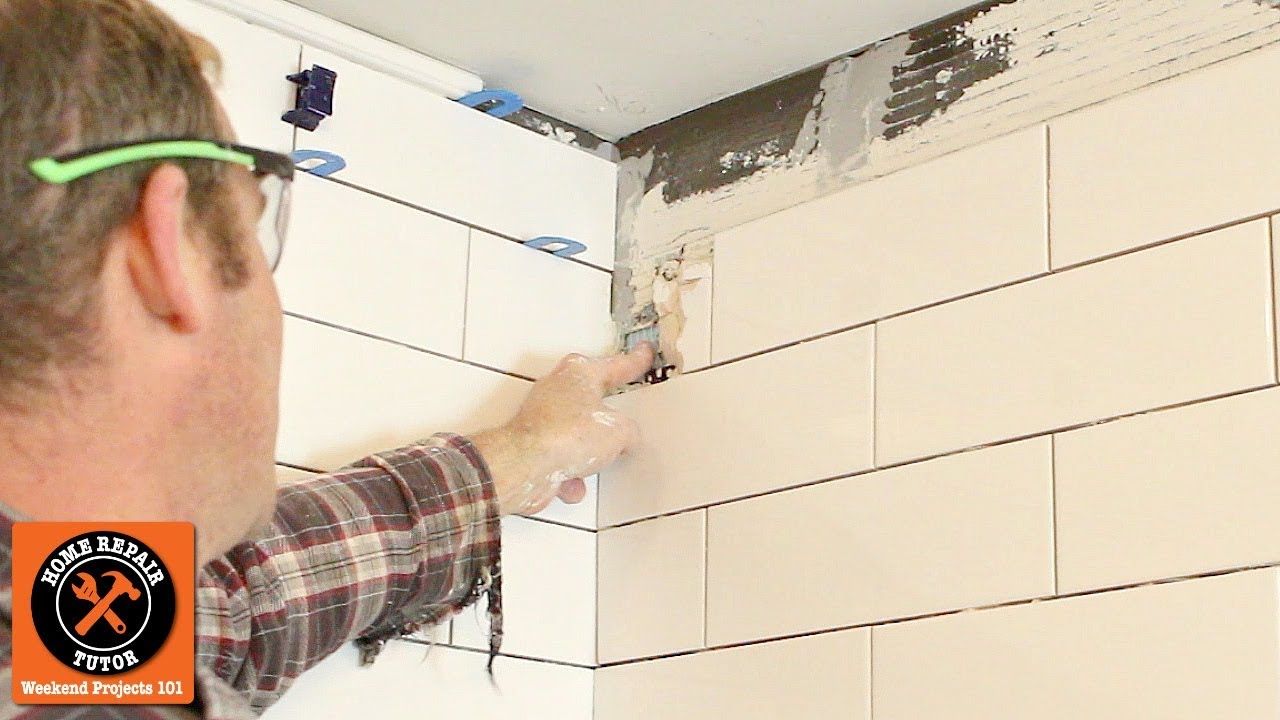
- For a finished look, apply a matching grout over the repaired area
This method works particularly well for hairline cracks and minor grout issues. For more significant damage, you might need to repeat the process or consider replacing individual tiles.
The curing time varies depending on the product used. Some take hours, while others might require a full day. Always follow the manufacturer’s directions carefully for best results.
When Professional Help Might Be Necessary
While many tile cracks can be handled DIY-style, some situations call for expert assistance:
• Cracks that extend across multiple tiles or rooms
• Signs of water damage or mold growth
• Structural issues related to foundation settling
• Cracks in areas with high traffic or heavy use
• When the repair doesn’t hold or keeps reappearing
If you’re unsure about the extent of damage or if previous attempts haven’t worked, don’t hesitate to call in a specialist. They have the tools and experience to identify hidden problems and provide lasting solutions.
Sometimes what seems like a simple crack repair becomes a more complex project once professionals examine the situation. That’s why it’s always smart to get a second opinion when dealing with significant damage.
Fixing bathroom tile cracks without removing walls is definitely possible, and it’s often much easier than people think. With proper assessment, good preparation, and the right materials, you can tackle many common issues yourself. The key is understanding what you’re dealing with and choosing the appropriate repair method.
Whether it’s a small hairline crack or something more substantial, taking action early prevents bigger problems down the road. Don’t let one cracked tile become a source of ongoing stress. With a little effort and the right approach, you can restore your bathroom’s appearance and functionality without the hassle of major renovations.
Remember, every repair job is different, so adapt these techniques to fit your specific situation. Sometimes, even the smallest fixes can make the biggest difference in how your space looks and feels.