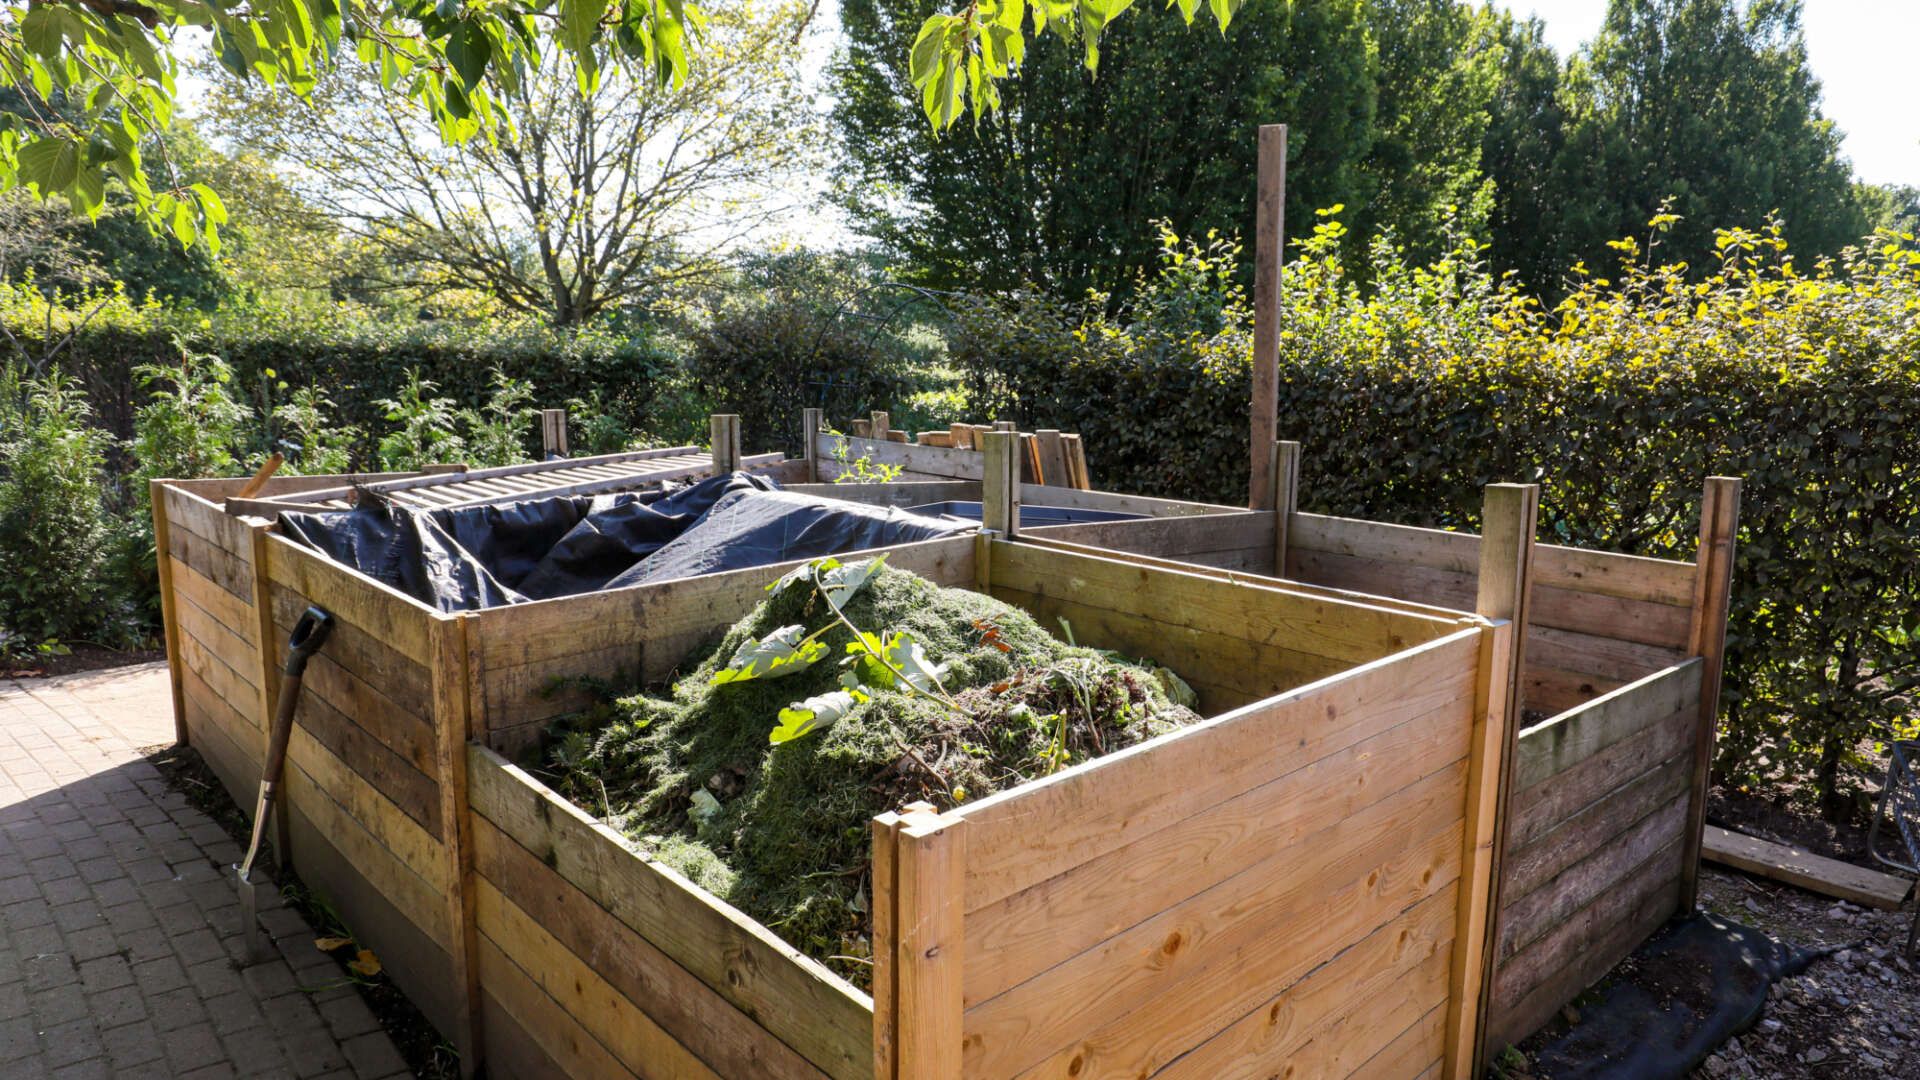
Picture this: you’re standing in your backyard with a shiny new compost tumbler, ready to transform kitchen scraps and yard waste into nutrient-rich soil amendment. It’s exciting, isn’t it? But then you realize… how do you actually make it work? What goes in? What goes out? And most importantly, how do you avoid the common pitfalls that send so many beginners off track? This guide will walk you through everything you need to know to make your first compost tumbler setup a total success.
Composting might seem like a simple concept, but setting up your first tumbler can feel overwhelming. You’ve probably seen those beautiful, dark piles of compost in your neighbor’s garden and thought, ‘I want that!’ But when you get home with your brand-new tumbler, suddenly you’re questioning everything. What materials are safe to compost? How often should you turn it? And why is my pile so wet or so dry? These are all legitimate concerns that every beginner faces. The good news? With a few simple steps and some basic knowledge, you’ll have your tumbler running smoothly in no time. This guide will take you from zero to composting hero, covering everything from the basics to troubleshooting common issues.
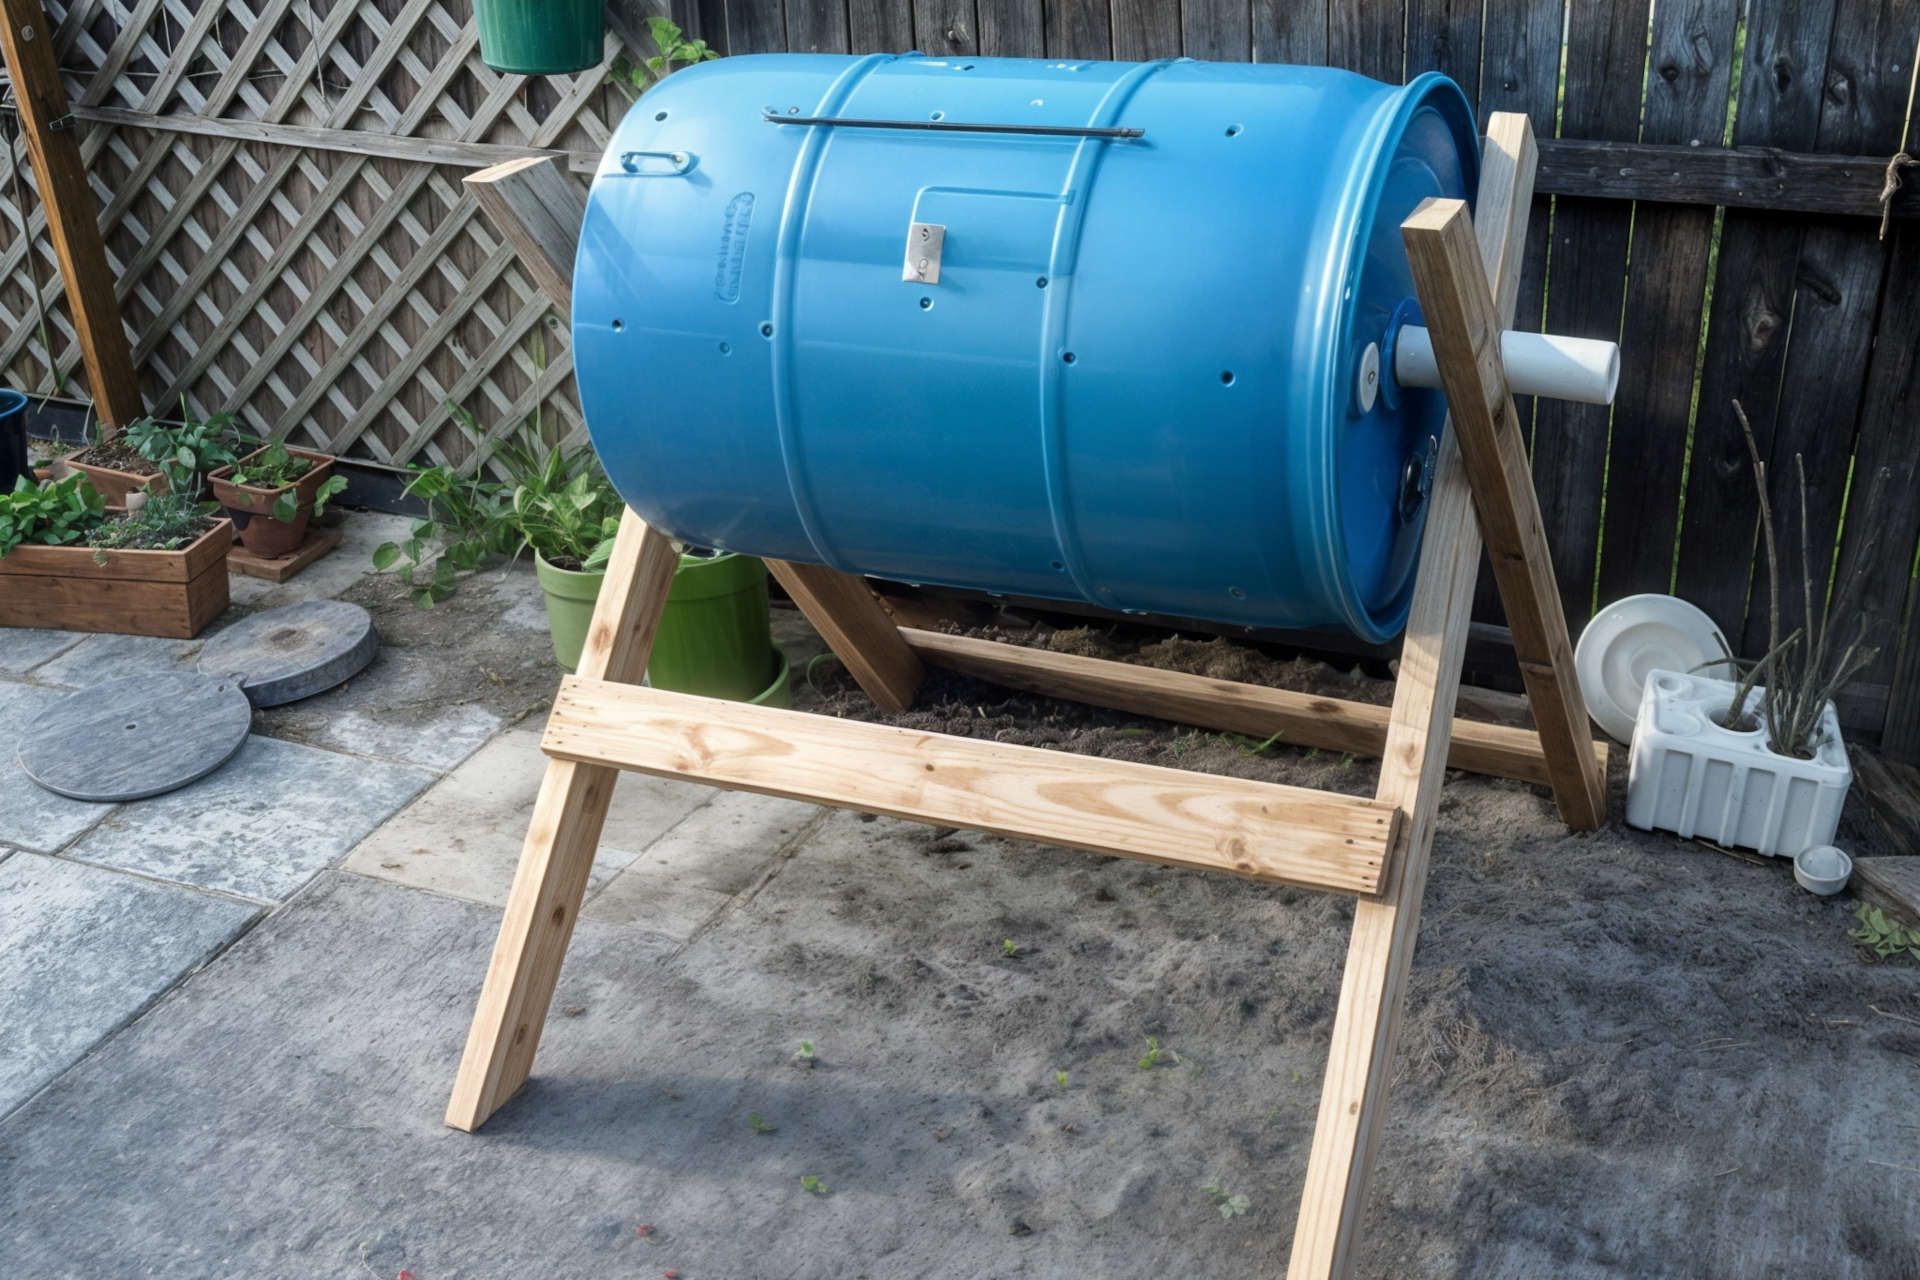
Choosing the Right Compost Tumbler
The first step in your composting journey is picking the right tumbler. Not all tumblers are created equal, and choosing incorrectly can set you back before you even start. Consider your space first. If you have a small patio or apartment, a compact 3-bushel tumbler might be perfect. For larger yards, a 5-gallon model could be more suitable. Size matters because you want something that’s manageable for your household’s waste output.
Think about your lifestyle too. If you’re always rushing, look for a tumbler that’s easy to rotate and maintain. Some models come with features like built-in aerators or quick-release valves that can save you time. And don’t forget about durability – a well-built tumbler will last years, while a flimsy one might break after just a few months.
Consider your local climate too. If you live in a place with harsh winters, you might want a tumbler that can handle freezing temperatures without cracking. Some models are designed specifically for cold weather, featuring insulated walls or special materials that resist temperature changes. Also, check if there are any local regulations about composting in your area. Some neighborhoods have restrictions on outdoor composting, so it’s worth checking before you buy.
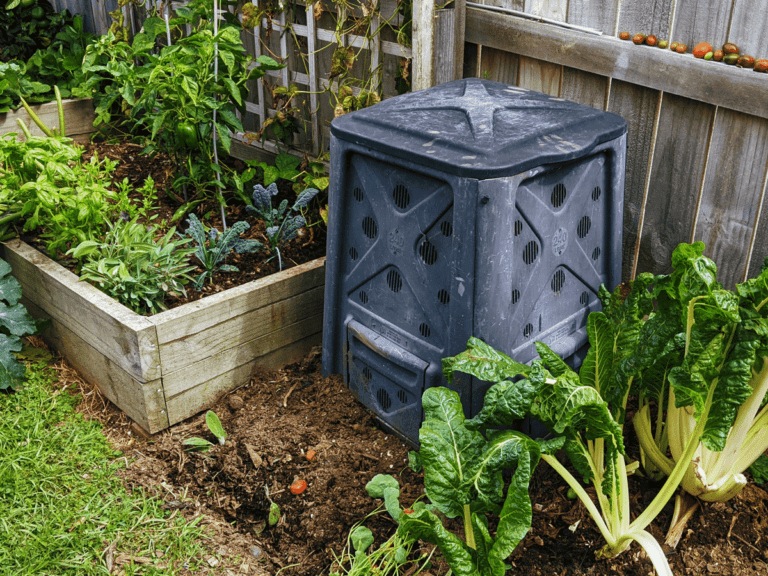
Setting Up Your Tumbler Properly
Once you’ve chosen your tumbler, proper setup is crucial. First, find a spot that gets partial sun and has good drainage. Too much direct sunlight can dry out your pile quickly, while too little light can slow decomposition. A spot near a water source is ideal, though you don’t need to place it right next to a faucet.
Before filling, make sure the tumbler is clean and dry. Any residual chemicals from manufacturing could interfere with the composting process. Check that all parts fit together properly and that the lid seals tightly. A leaky tumbler means soggy compost and potential odors.
Most tumblers come with instructions, but here’s a general approach: Start with a layer of brown materials like dried leaves or shredded paper. This helps absorb excess moisture and provides carbon for the microbes doing the work. Then add a layer of green materials like vegetable scraps or grass clippings. The ratio should be roughly 3:1 brown to green materials. This balance keeps things from getting too wet or too dry.
Don’t overfill your tumbler. Leave about 10% space at the top for air circulation. Overpacking can lead to poor airflow and anaerobic conditions, which cause bad smells. Think of it like a sandwich – you want layers, not a messy pile.
What to Compost and What to Avoid
One of the most confusing parts of composting is knowing what’s acceptable. The basic rule is to compost organic materials that will decompose naturally. This includes fruit and vegetable scraps, coffee grounds, eggshells, yard waste like leaves and grass clippings, and paper products.
Green materials are rich in nitrogen and include items like:
• Fresh vegetable peels
• Fruit scraps
• Coffee grounds and filters
• Grass clippings
• Fresh plant trimmings
• Manure from herbivores (like cows or horses)
Brown materials are high in carbon and include:
• Dry leaves
• Shredded newspaper
• Cardboard (cut into small pieces)
• Straw or hay
• Wood chips
• Paper towels
But wait, there are important exceptions. Avoid meat, dairy, oils, and pet waste. These can attract pests and create odors. Also steer clear of diseased plants, weeds with seeds, and anything treated with pesticides. These can contaminate your finished compost.
Some items are controversial. Citrus peels, for example, are generally okay in small amounts, but they can slow decomposition due to their acidity. Pine needles are fine in moderation, but they’re very acidic and can lower pH levels in your compost. It’s best to research individual items or stick to the tried-and-true basics until you’re confident in your system.
Maintaining Proper Moisture Levels
Moisture is the secret sauce that makes composting work. Too little water and your pile won’t decompose properly. Too much and you’ll have a soggy mess that smells terrible. The key is finding that sweet spot – about the consistency of a wrung-out sponge.
Check your compost regularly by squeezing a handful. If water drips out, it’s too wet. If it crumbles apart, it needs more moisture. Adding brown materials like dry leaves or shredded paper helps absorb excess water. If your pile is too dry, add water gradually and mix thoroughly. You don’t want to drown your compost, so start with small amounts.
A good tip is to water your pile once a week during dry periods. If you’re using a tumbler, you might notice it’s drier than a traditional pile because of better air circulation. Monitor the moisture carefully, especially during hot summer months when evaporation increases.
Also, consider your local weather. During rainy seasons, you might not need to add water at all. Conversely, during droughts, you may need to water more frequently. Keeping a simple log of rainfall and watering helps you develop a routine that works for your situation.
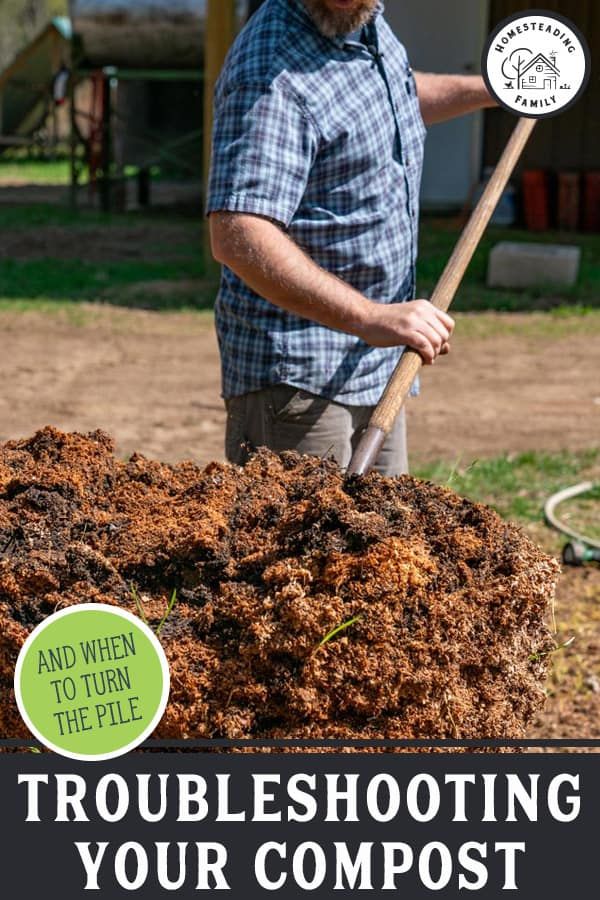
Turning Your Compost Regularly
This is where many people go wrong. They think composting is passive, but it’s actually quite active. Turning your tumbler regularly is essential for proper decomposition. Aim to turn it every 3-5 days for the first two weeks, then every 7-10 days as it matures.
Why does turning matter? It introduces oxygen, which is crucial for aerobic bacteria that break down organic matter. Without oxygen, the pile becomes anaerobic, leading to foul odors and slower decomposition. Turning also mixes materials evenly, ensuring consistent breakdown throughout the pile.
When you turn your tumbler, do it slowly and steadily. Most tumblers have a handle that you rotate 180 degrees or full circle. The rotation helps distribute moisture and heat throughout the pile. Some people prefer to turn it daily, others weekly – find what works for your schedule.
Keep track of how often you turn it and note any changes in smell or texture. If you notice a strong ammonia smell, you might be adding too much green material. If it’s too dry, you’ll see crumbling materials rather than a cohesive pile. Adjust your turning frequency based on these observations.
Troubleshooting Common Problems
Even experienced composters run into issues. The key is recognizing problems early and knowing how to fix them. One of the most common problems is odor. If your tumbler starts smelling bad, it’s usually because of too much green material or inadequate turning.
Here are some typical issues and solutions:
• Bad smell: Add more brown materials and turn more frequently
• Pile too wet: Add dry leaves or paper and reduce watering
• Pile too dry: Water more regularly and add fresh green materials
• Slow decomposition: Turn more often and ensure proper balance of materials
• Pests: Avoid adding meat or dairy, cover food scraps with brown materials
• Mold growth: This is normal in early stages, but excessive mold indicates too much moisture
If your compost looks like it’s not breaking down, don’t panic. It might just need more time. Composting is a gradual process that typically takes 3-6 months. Sometimes it takes longer, especially in cooler climates.
Another common mistake is not maintaining the proper balance of materials. If you’re adding too much of one type, it affects the whole process. Keep a mental checklist of your inputs to ensure you’re maintaining that crucial 3:1 ratio of browns to greens.
Harvesting and Using Your Finished Compost
After several weeks or months of careful attention, you’ll finally have finished compost. This dark, crumbly material should smell earthy and pleasant. How do you know it’s ready? The finished compost should look like rich soil with an earthy aroma. You might still see some recognizable bits, but they should be soft and broken down.
To harvest, simply open your tumbler and scoop out the finished product. Some tumblers have a spout or door that makes this easier. If you’re not ready to use all of it at once, you can store the rest in a separate container.
Finished compost is incredibly valuable for your garden. It improves soil structure, adds nutrients, and helps retain moisture. Apply it around plants as mulch or mix it into garden beds. For container gardens, a 2-inch layer works well. When planting new trees or shrubs, mix compost directly into the planting hole.
Remember to use your compost within a year of harvesting. While it won’t harm plants, its nutrient content may diminish over time. If you’re starting a new tumbler, you can use some of your old compost as a starter material to jumpstart the process.
Some people even use finished compost as a soil amendment for lawns. A thin layer spread over grass can provide nutrients and improve soil health. Just be careful not to apply too much at once – a light application is better than heavy doses.
Mastering your first compost tumbler setup isn’t just about following a list of steps – it’s about understanding the living ecosystem you’re creating. Every turn, every addition, every adjustment is part of a larger process that transforms waste into something truly valuable. You might face challenges along the way, but each problem you solve makes you more confident and skilled. Remember, composting is a learning process, and everyone starts somewhere. Whether you’re dealing with a stubborn pile or figuring out what to compost, keep experimenting and adjusting. The rewards are real – healthier soil, less waste going to landfills, and the satisfaction of creating something wonderful from everyday materials. Your first tumbler might not produce perfect results right away, but with patience and practice, you’ll soon be turning kitchen scraps into garden gold. So grab that handle, give it a spin, and enjoy the journey of becoming a composting expert.