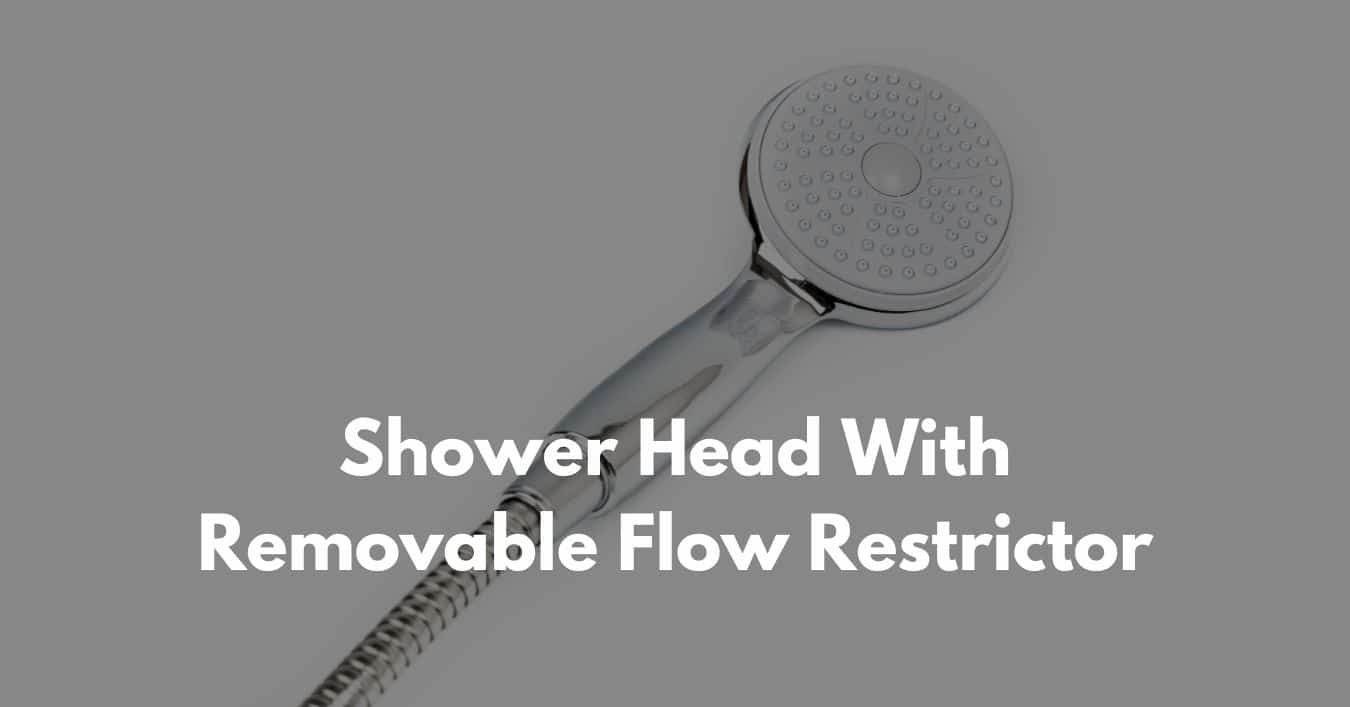
Most people never think twice about their shower experience until they notice the water pressure isn’t quite what it used to be. But there’s something sneaky lurking inside your showerhead that might be the culprit behind that disappointing spray. It’s called a flow restrictor, and it’s designed to limit how much water comes out. While this might sound like a good thing for saving water, many homeowners want to remove these little devices to get back that powerful, satisfying shower they once enjoyed.
If you’ve ever felt like your shower just doesn’t deliver the same rush anymore, you’re not alone. Many people find themselves wondering why their once-satisfying shower experience has turned into a lukewarm drip. The answer often lies hidden right inside the showerhead itself. These tiny devices, known as flow restrictors, are designed to limit water usage and comply with federal regulations. But for those who want more power and better performance from their showers, removing these restrictions can make a world of difference. Whether you’re dealing with a new installation or an old fixture, understanding how to properly remove flow restrictors across different brands is essential for getting the most out of your bathroom setup.
Understanding Flow Restrictors
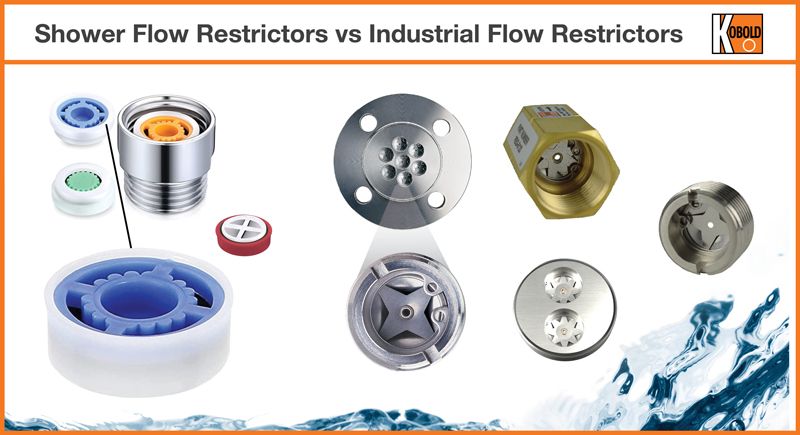
Flow restrictors are small plastic or metal components that sit inside showerheads to control how much water flows through them. They’re typically found in the showerhead body or attached to the internal components. These devices were introduced in the United States in 1992 as part of the Energy Policy Act, which aimed to reduce water consumption in homes. The standard restriction limits flow to 2.5 gallons per minute, which is roughly half the amount that older showerheads used to provide.
The problem is that while these restrictions help conserve water, they also significantly reduce water pressure. Many people notice a dramatic change in their shower experience after installing newer models that include these flow restrictors. For those who prefer a more robust shower flow, removing these devices can restore the water pressure they’re used to. However, it’s important to note that removing flow restrictors may increase water usage and could potentially lead to higher utility bills.
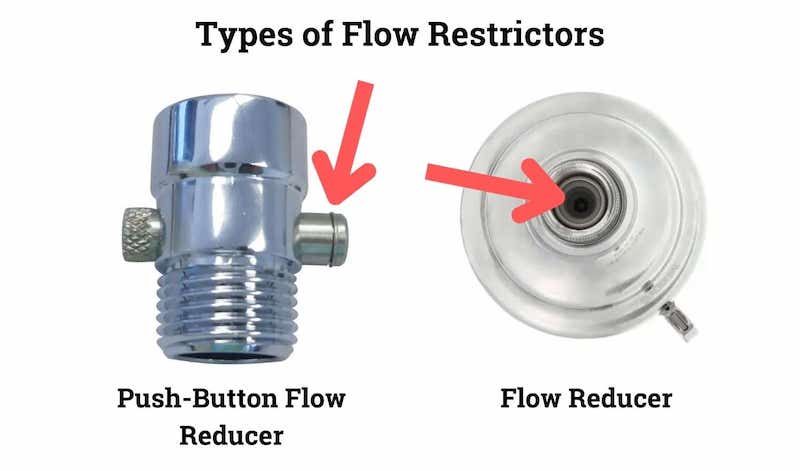
Identifying Flow Restrictors Across Brands
Not all showerhead manufacturers implement flow restrictors in the same way. Some brands, particularly those focused on luxury or high-end products, may not include them at all. Others, especially budget-friendly or government-compliant models, tend to have them built-in. Here’s what to look for:
• Moen: Most Moen showerheads have a small plastic or metal disc that can be removed from the showerhead body
• Delta: Delta’s flow restrictors are often located under the showerhead’s handle or within the internal components
• American Standard: These typically feature a small screen or mesh filter that can be unscrewed
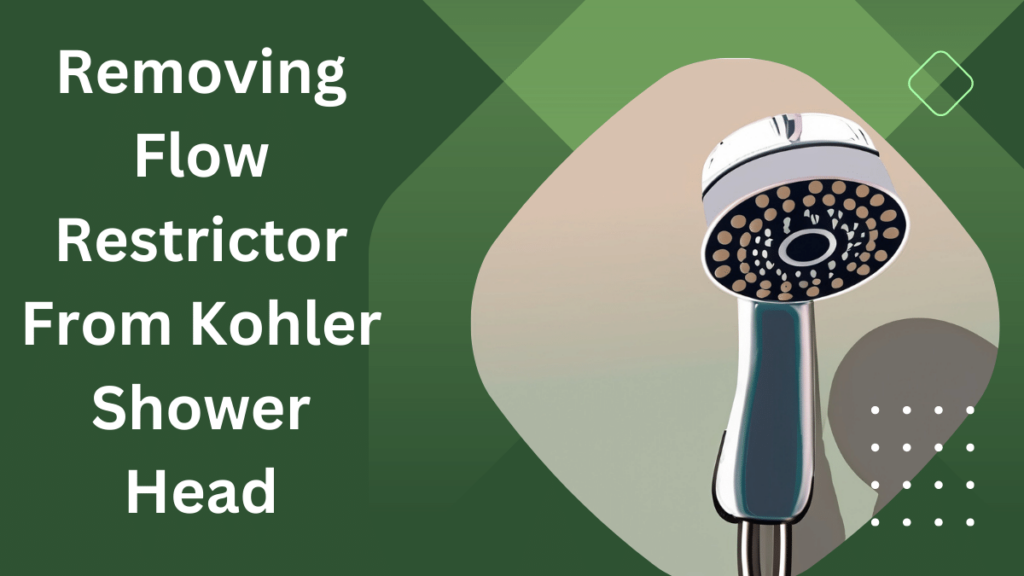
• Kohler: Kohler’s flow restrictors are usually found in the showerhead’s base or internal plumbing
• Jacuzzi: These often have a small plastic cap that covers the restrictor
Each brand’s approach varies, so knowing your specific model helps determine the best removal method. Some showerheads may have multiple restrictors, while others might have only one. Pay attention to any visible screws or caps that might hide these components.
Tools and Materials Needed
Before diving into the removal process, gathering the right tools will make your job much easier. You’ll want to have:
• Adjustable wrench or pliers
• Small flathead screwdriver
• Clean cloth or towel
• Penetrating oil (like WD-40) if components are stuck
• Replacement O-rings (if needed)
• Safety glasses
Some showerheads might require a special tool, such as a showerhead removal tool that’s specifically designed for certain brands. If you’re working with a particularly stubborn model, penetrating oil can help loosen rusted or corroded parts. Always wear safety glasses when working with tools near water fixtures. Having a clean cloth handy will help you wipe away any debris or water that might accumulate during the process.
Step-by-Step Removal Process
The actual removal process can vary depending on your specific showerhead model, but here’s a general approach that works for most cases:
- Turn off the water supply to prevent any unexpected spraying
- Remove the showerhead from the pipe using an adjustable wrench
- Look for the flow restrictor – it’s often a small disc or screen
- Gently unscrew or pull out the restrictor component
- Check for any remaining debris or residue
- Reassemble the showerhead carefully
- Turn the water back on and test the flow
Some models might require you to remove the handle first, while others might need you to unscrew the entire showerhead assembly. Take your time and don’t force anything. If you encounter resistance, it might be a sign that the restrictor is stuck or needs some lubrication. Patience and gentle handling usually yield the best results.
Common Challenges and Solutions
Removing flow restrictors isn’t always straightforward. Here are some typical problems you might face:
• Stuck components: If the restrictor won’t budge, try applying penetrating oil and waiting a few minutes before attempting again
• Missing parts: Sometimes the restrictor gets damaged during removal, so having spare parts on hand is helpful
• Water leaks: After removal, check that all connections are tight to avoid dripping
• Different threading: Not all showerheads have the same thread pattern, so ensure you’re using the correct tools
• Brand-specific issues: Some high-end brands have proprietary designs that might require professional assistance
If you’re dealing with an older model or one that’s been in place for years, corrosion might be an issue. In such cases, soaking the components in vinegar or using a specialized cleaning solution can help break down mineral buildup. Always double-check that you’re following the manufacturer’s recommendations for your specific model.
Safety Considerations and Best Practices
While removing flow restrictors is generally a simple DIY project, there are several important safety aspects to consider:
• Turn off water supply before beginning any work
• Wear protective eyewear to avoid injury from loose parts
• Use appropriate tools to prevent damage to fixtures
• Check local plumbing codes to ensure compliance
• Test the system after reassembly
• Be aware of water pressure changes that might affect other fixtures
It’s also wise to consult with a plumber if you’re unsure about any aspect of the process. Some situations might require professional attention, especially if you’re dealing with older plumbing systems or if the flow restrictor is integrated into the main water line rather than just the showerhead. Remember that increased water flow means higher water usage, so consider whether this trade-off is worth it for your situation.
Removing flow restrictors from your showerhead can be a rewarding project that brings back the water pressure you remember from before. Whether you’re upgrading from an older model or simply want to improve your daily routine, understanding how different brands handle these components is crucial. Remember that while the process is generally straightforward, each showerhead model might present its own unique challenges. Taking the time to research your specific brand and model, gathering proper tools, and proceeding with caution will lead to successful results. The end result? A more satisfying shower experience that feels closer to what you expect from a modern bathroom setup. Just keep in mind that with greater flow comes greater water usage, so factor that into your decision-making process.
![Kohler 3 In 1 Shower Head Flow Restrictor Removal [A Comprehensive Guide] with Remove Flow Restrictor From Showerhead (All Brands Compared)](https://dahomengarden.com/wp-content/uploads/2025/11/kohler-3-in-1-shower-head-flow-restrictor-removal-a-comprehensive-guide-with-remove-flow-restrictor-from-showerhead-all-brands-compared.jpg)