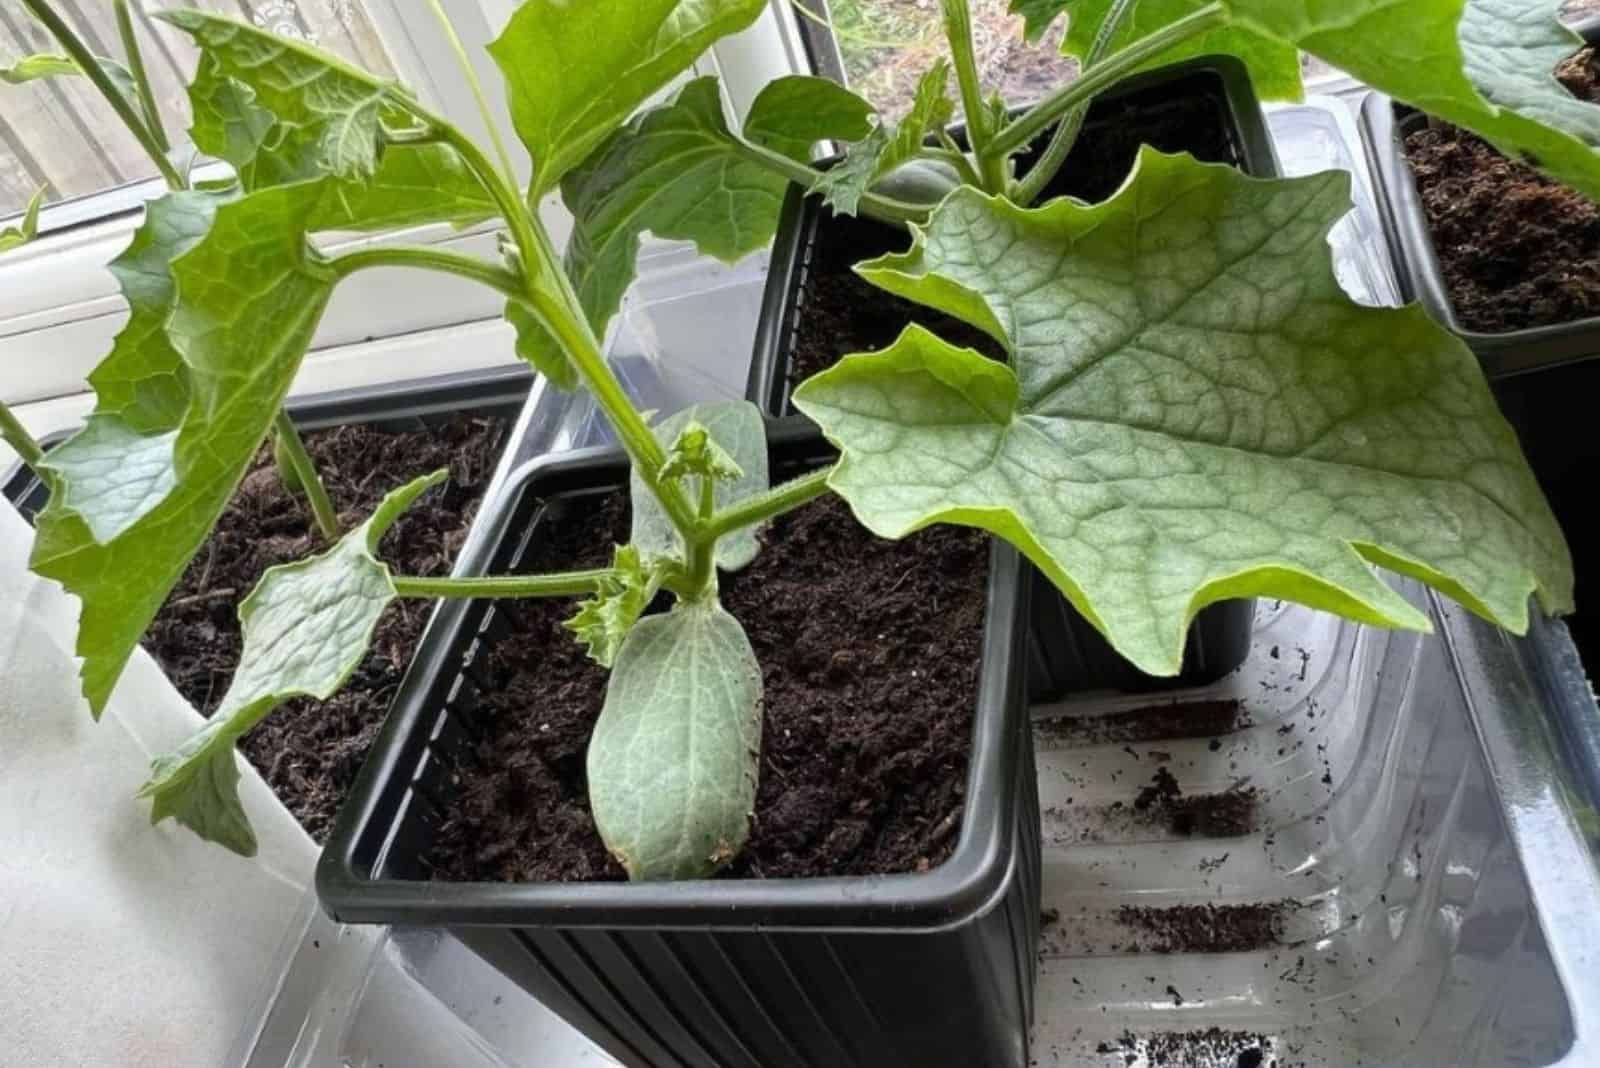
Imagine planting seeds in a natural, biodegradable container that nurtures your plants from day one. This isn’t just wishful thinking – it’s the reality of growing herbs and vegetables using loofah seed starters. These humble, plant-based containers have been quietly revolutionizing home gardening for decades, offering gardeners a sustainable alternative to plastic pots and peat pellets.
There’s something deeply satisfying about watching tiny green shoots emerge from the earth. For many gardeners, the journey begins long before those first tender leaves appear. It starts in the seed starter, where the magic happens. While commercial seed starting methods dominate the market, there’s a quiet revolution happening in gardens across the country. Natural loofah seed starters are proving to be one of the most effective and environmentally friendly ways to begin your herb and vegetable growing adventure. These aren’t just another gardening fad – they’re a return to basics that makes sense for both your garden and the planet.
What Are Loofah Seed Starters?
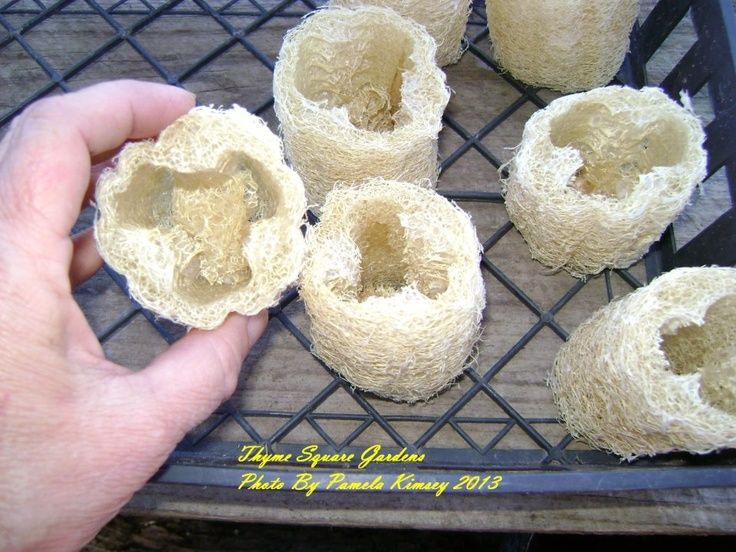
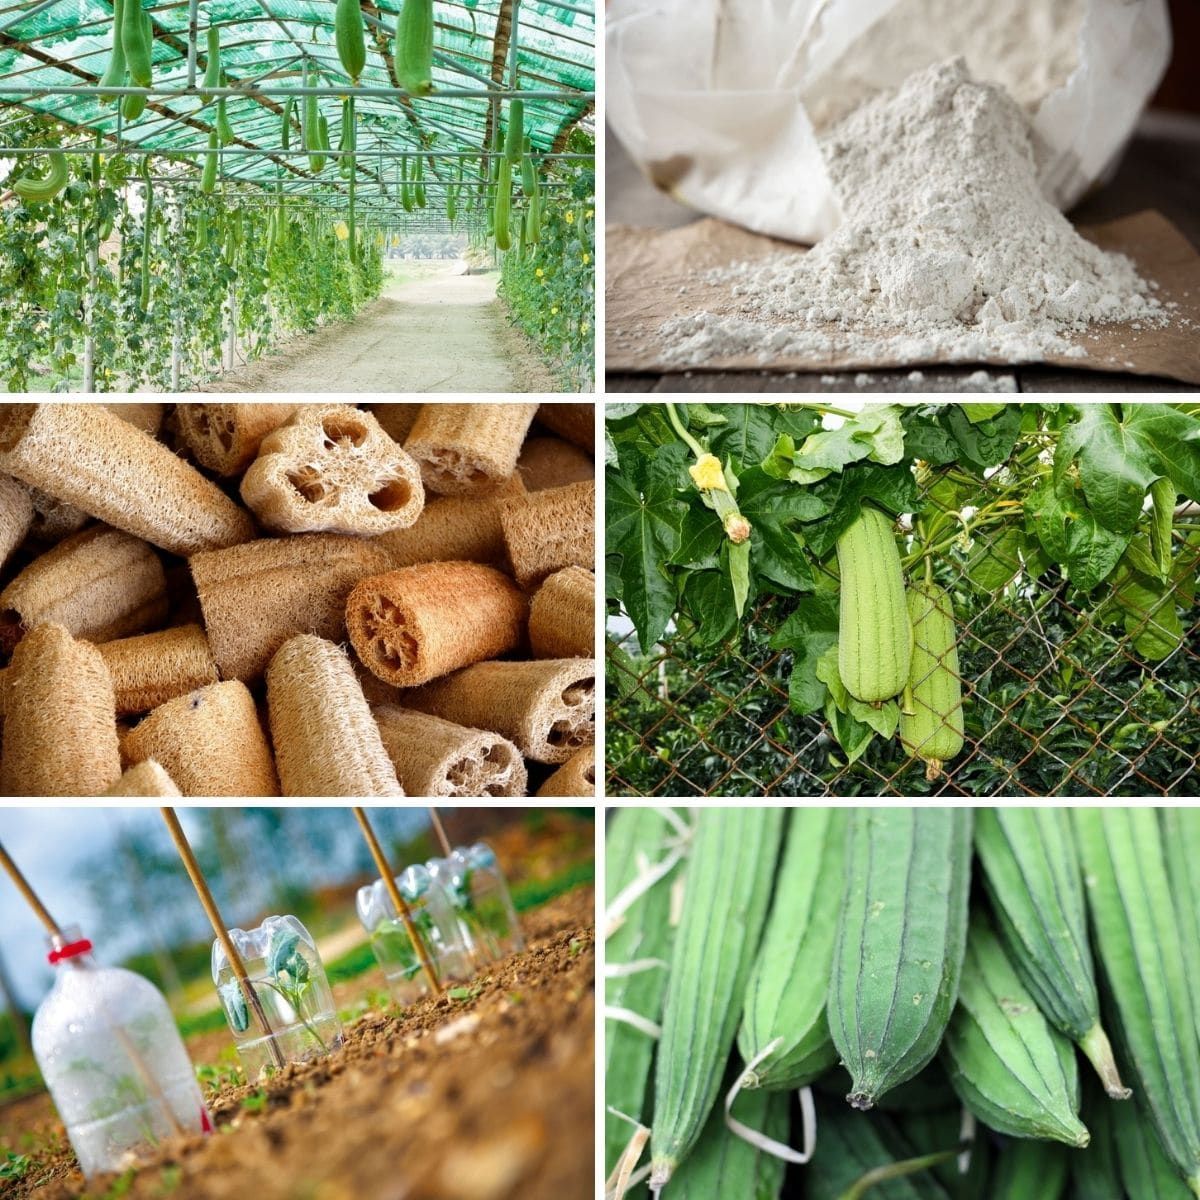
Loofah seed starters are made from the fibrous interior of mature loofah gourds, which are actually the dried fruit of a vine plant related to cucumbers. When the loofah plant matures and the fruit dries on the vine, the flesh inside becomes a spongy, fibrous material perfect for seed starting. This natural material provides excellent drainage while maintaining the right amount of moisture for germination.
The process is simple: harvest mature loofah gourds, remove the seeds and flesh, let them dry completely, and then cut them open to create seed-starting containers. The resulting structure is porous, lightweight, and completely biodegradable. Unlike plastic containers that can leach chemicals or peat pellets that contribute to environmental degradation, loofah starters offer a clean, chemical-free option that actually enriches the soil when planted directly in the ground.
Why Choose Natural Loofah Starters?
The benefits of using loofah seed starters extend far beyond their eco-friendly nature. Here’s why gardeners are making the switch:
• Biodegradable and sustainable: No plastic waste means no environmental harm
• Excellent root development: The porous structure encourages healthy root growth
• Natural drainage: Prevents waterlogging while maintaining moisture
• Cost-effective: Can be made from scratch or purchased inexpensively
• No transplant shock: Roots grow naturally through the material without damage
• Nutrient-rich: As they decompose, they add organic matter to soil
Consider this: when you plant a seedling in a plastic pot, you’re creating a temporary home that often stresses the plant during transplanting. With loofah starters, the entire container becomes part of the plant’s environment. It’s like giving your seedlings a gentle, natural transition from indoor nurturing to outdoor life.
How to Prepare Your Own Loofah Starters
Making your own loofah seed starters is surprisingly easy and rewarding. Here’s the step-by-step process:
- Select mature gourds: Choose loofah gourds that are fully ripe and brown. They should feel light when shaken.
- Remove the seeds: Cut the gourd open and scoop out the seeds and inner flesh.
- Dry thoroughly: Place the gourd halves in a sunny, well-ventilated area for several weeks until completely dry.
- Create containers: Once dry, cut the gourd halves in half to form small bowls or use whole gourds as larger containers.
- Prepare for planting: Fill with quality potting mix and plant your seeds according to package directions.
Some gardeners prefer to make multiple sizes to accommodate different plants. Small gourds work great for herbs like basil and parsley, while larger ones can handle tomatoes or peppers. The key is ensuring proper drainage and avoiding overwatering, which can cause seeds to rot.
Planting Success with Loofah Containers
When it comes to using loofah seed starters effectively, timing and technique matter. Start by choosing the right seeds for your region and season. Tomatoes, peppers, herbs, lettuce, and leafy greens all do wonderfully in loofah containers.
Watering techniques: These containers dry out quickly due to their porous nature. Check daily and water gently from the bottom to avoid disturbing delicate seedlings. A saucer method works particularly well.
Germination conditions: Most seeds prefer temperatures between 65-75°F. Place containers in a warm, sunny spot or under grow lights. The loofah material helps regulate temperature and moisture better than traditional plastic pots.
Transplanting: One of the biggest advantages of loofah starters is how easily they transplant. Simply plant the entire container directly into the garden or larger pot. The roots will grow through the fibers naturally, and there’s no risk of root damage during the move.
Common Mistakes and How to Avoid Them
Even experienced gardeners can encounter issues with new growing methods. Here are some common pitfalls and solutions:
• Overwatering: The porous nature of loofah can lead to rapid drying. Monitor moisture levels closely and adjust watering frequency accordingly.
• Poor drainage: If you notice water pooling, ensure the containers have adequate holes or use a well-draining potting mix.
• Timing issues: Planting too early or too late can affect success rates. Research your specific plants’ requirements carefully.
• Container size mismatch: Using containers that are too small for large plants can stunt growth. Plan ahead based on mature plant size.
Gardeners often find that loofah starters require slightly more attention in the beginning stages, but once you get the hang of it, they become second nature. Many report fewer failed seeds and healthier transplants compared to traditional methods.
Tips for Maximizing Your Loofah Starter Success
To get the most out of your loofah seed starters, try these proven strategies:
• Pre-soak before planting: Soaking the containers in water for 10-15 minutes before adding soil helps prevent rapid drying
• Use quality soil: Invest in good potting mix rather than garden soil, which may contain pests or diseases
• Label everything: It’s easy to forget which seeds you’ve planted, so use small labels or markers
• Keep records: Track which varieties perform best in your specific conditions
• Group similar plants together: Plants with similar water and light needs thrive better together
Many gardeners also recommend placing loofah containers in a location that receives morning sun and afternoon shade, especially during hot summer months. This balance of light and protection helps maintain optimal growing conditions.
Natural loofah seed starters represent more than just a gardening tool – they embody a shift toward sustainable, mindful growing practices. Whether you’re a seasoned gardener looking to improve your methods or someone just beginning your green thumb journey, loofah containers offer a practical, eco-friendly solution that delivers results. The investment in learning how to properly use these natural containers pays off in healthier plants, reduced waste, and a deeper connection to the earth. As you watch your seedlings grow stronger and more vibrant in these unique containers, you’ll discover that sometimes the simplest solutions are the most powerful. The future of gardening might just be rooted in the humble loofah, one seed at a time.