Composting isn’t just about reducing waste anymore. It’s about creating something magical – nutrient-rich soil amendment that transforms your garden. The tumbler system makes this process simple, efficient, and surprisingly satisfying.
Picture this: you’re standing in your kitchen, about to toss some banana peels and coffee grounds into the trash. But wait. What if instead of throwing them away, you could turn them into something that helps your plants thrive? That’s exactly what tumbler composting allows you to do. This method might seem intimidating at first, but once you get the hang of it, it becomes second nature. The beauty of tumbler systems lies in their simplicity and effectiveness. They’re designed to make the composting process easier while keeping things clean and odor-free. Whether you’re a seasoned gardener or someone who’s never touched a compost bin before, this approach offers a gentle entry point into sustainable living.
Understanding Tumbler Composters
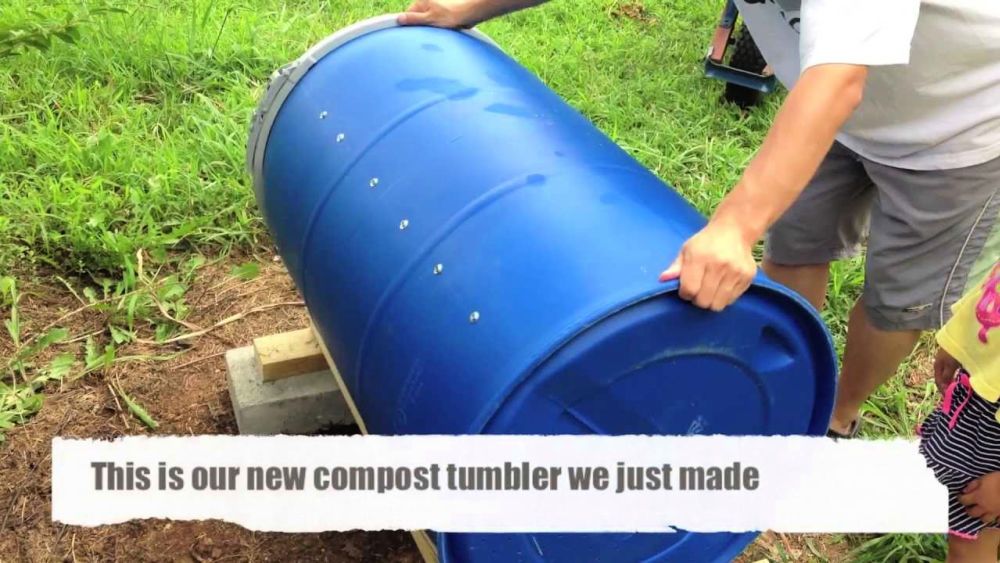
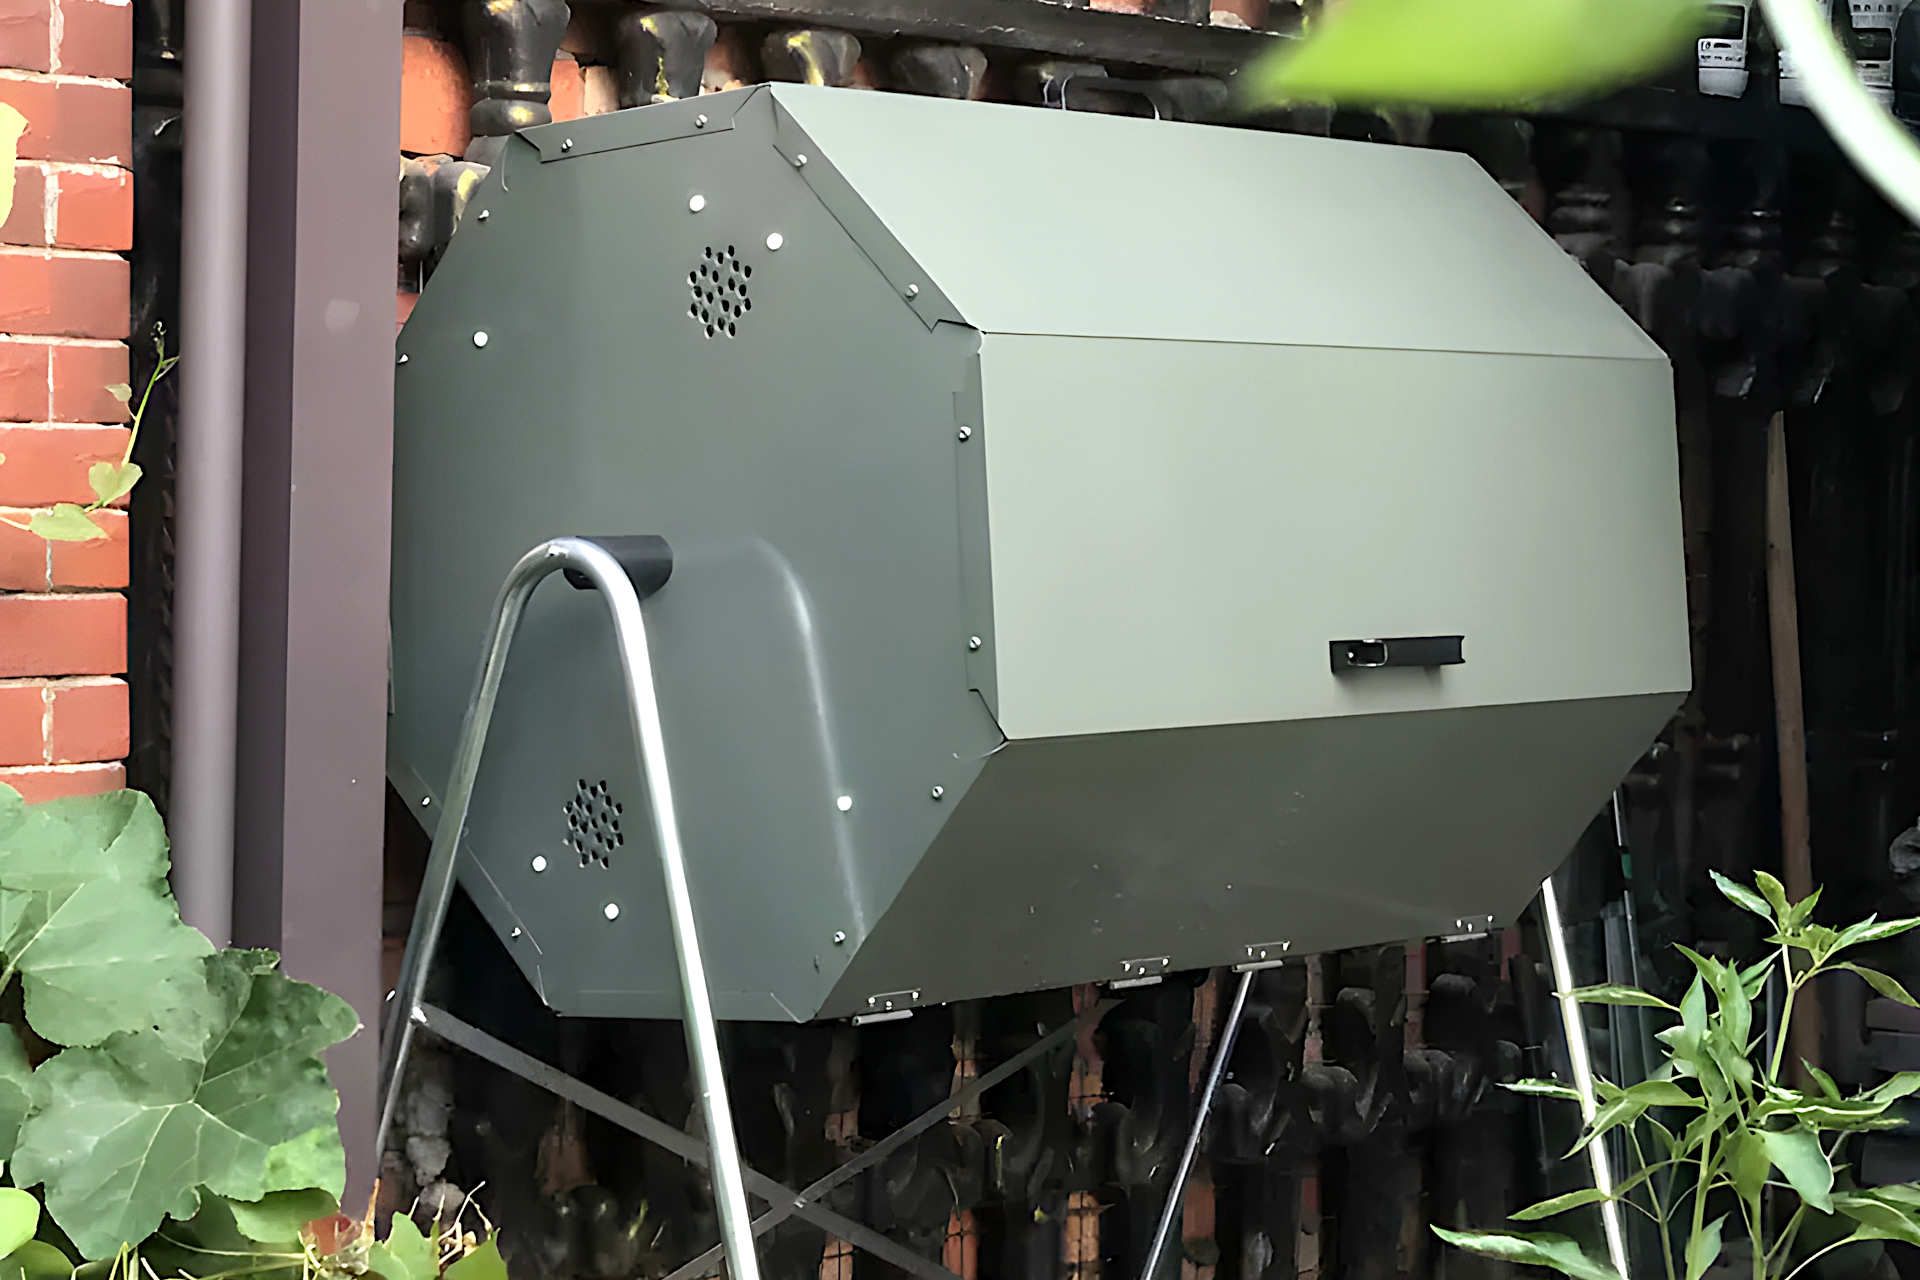
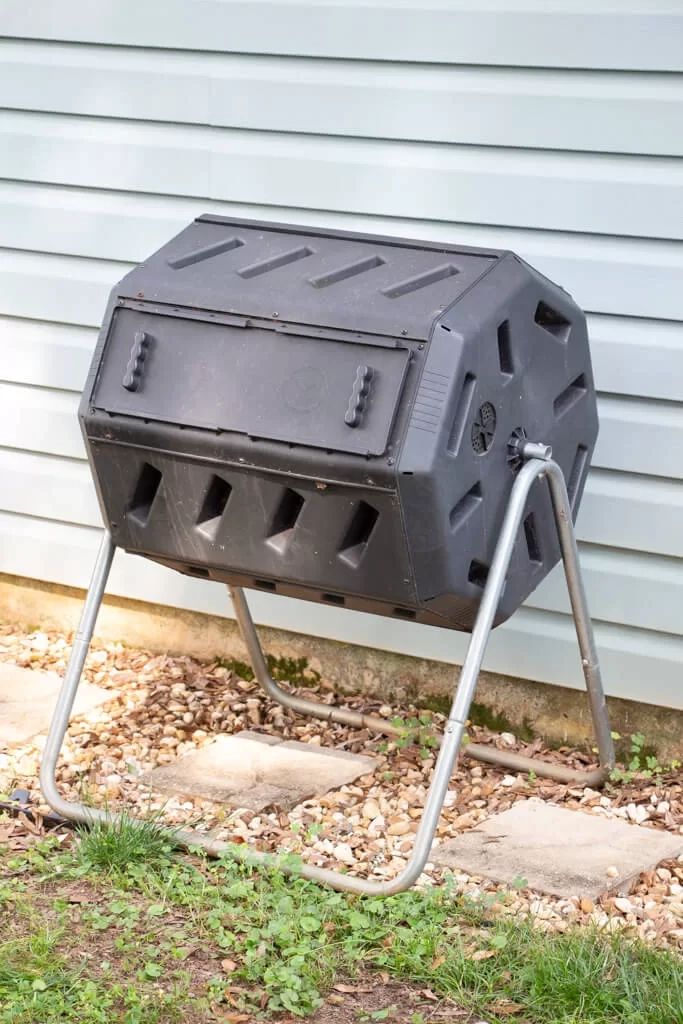
A tumbler composter is essentially a rotating drum that holds organic materials. Think of it as a specialized container that helps speed up decomposition. These systems typically have a handle that lets you turn the drum, mixing contents easily. You can find them in various sizes, from small models for apartments to large ones for bigger households.
The key advantage of tumblers is their ability to aerate materials quickly. Unlike traditional bins where you’d need to manually turn everything, tumblers do the work for you. This means faster breakdown of materials and less chance of bad smells. Many people appreciate how clean they are compared to open bins.
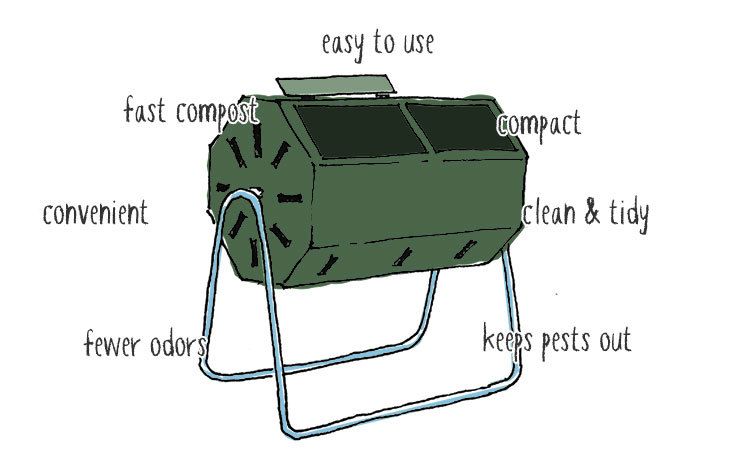
Here’s what makes them special:
• They’re easy to use and maintain
• They keep pests out
• They decompose materials faster than regular bins
• They’re odor-controlled
• They’re space-efficient
Some folks worry about whether they’re worth the investment. But when you consider how much time and effort you’ll save, plus the quality of compost you’ll produce, they often prove to be excellent choices.
Getting Started with Your Tumbler
Setting up your tumbler is surprisingly straightforward. First, choose a good spot in your yard or on your patio. It needs to be convenient and have some drainage. A location that’s protected from extreme weather works best. Make sure you can easily access it from all sides.
Before adding anything, give your tumbler a quick inspection. Check for cracks or holes that might let pests in. If you’re using a new one, follow the manufacturer’s instructions carefully.
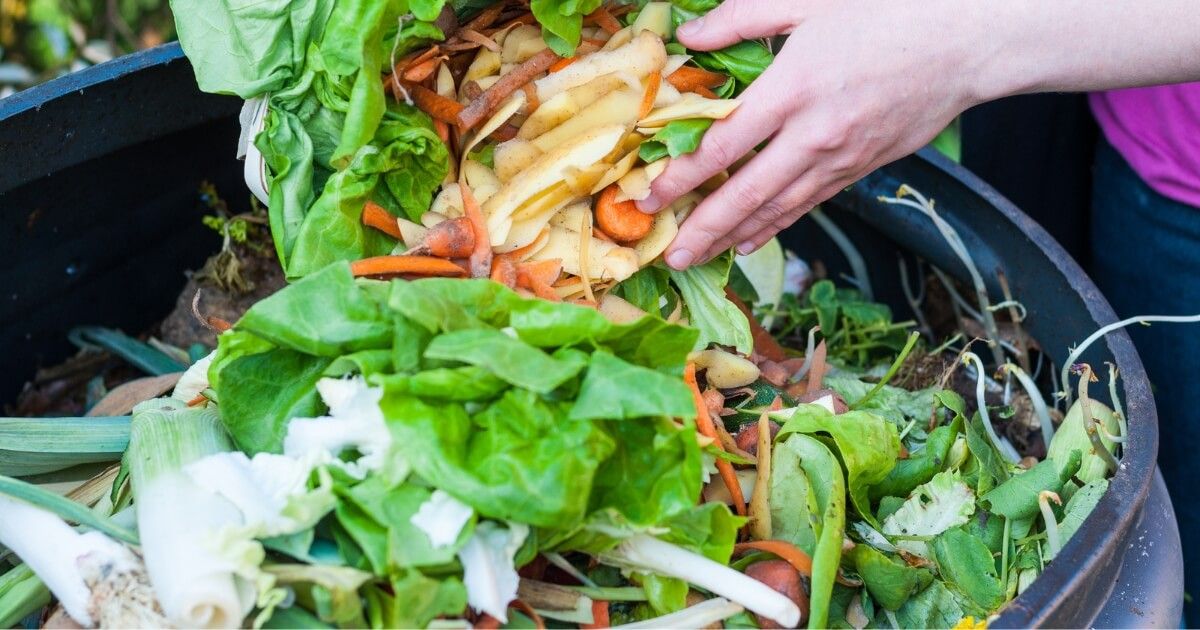
Next, add a layer of brown materials like dried leaves or cardboard. This foundation helps with drainage and gives the compost something to start breaking down. Then add your green materials like vegetable scraps and coffee grounds. The ratio matters, but don’t stress too much about being exact.
The golden rule: layer your materials. Start with a base, add greens and browns alternately, and finish with a top layer of browns. This approach helps maintain proper balance and prevents issues later on.
What to Compost and What to Avoid
Not everything goes into your tumbler. Understanding what’s safe and what’s not makes all the difference in successful composting.
Safe items include:
• Fruit and vegetable scraps
• Coffee grounds and filters
• Tea bags (remove staples)
• Eggshells
• Yard waste like grass clippings
• Paper towels and napkins
• Hair and fur
Avoid these items:
• Meat, fish, and dairy products
• Oily foods and grease
• Pet waste
• Diseased plants
• Weeds that have gone to seed
• Plastic or synthetic materials
This list might surprise some people. For example, many think meat scraps are okay, but they attract pests and create odors. Similarly, while eggshells are great, they take longer to break down than most people expect. Also, avoid anything that might contaminate your compost with harmful bacteria or chemicals.
Some gardeners experiment with unusual items like hair clippings or crushed eggshells. While these often work, they can sometimes slow the process if used in large quantities. Keep experimenting and observing what works best for your system.
Maintaining Proper Balance
The secret sauce in tumbler composting is maintaining the right balance between greens and browns. Think of this as a delicate dance. Too much green material and you’ll get smelly, wet compost. Too much brown material and you’ll end up with dry, slow-decomposing matter.
A good starting point is a 2:1 ratio of browns to greens. So for every two parts of brown materials, add one part green materials. This ratio helps ensure proper airflow and moisture levels.
What counts as green? Fresh plant materials, fruit and vegetable scraps, coffee grounds, fresh lawn clippings. These provide nitrogen that feeds the microorganisms doing the work.
Brown materials include dried leaves, paper, cardboard, straw, wood chips, and dried grass. These contribute carbon and help absorb excess moisture.
Don’t forget to mix regularly. Turning your tumbler every few days keeps everything well-aerated and evenly distributed. This action mimics nature’s way of breaking down organic matter, accelerating the process significantly.
Troubleshooting Common Issues
Even experienced composters run into problems sometimes. The good news? Most issues have simple solutions.
Smelly compost usually means too much green material or poor aeration. Add more browns and turn the tumbler more frequently. If you notice mold or fungus, it’s often because there’s too much moisture. Add dry materials and increase turning frequency.
If your compost seems to be taking forever to break down, check the moisture levels. It should feel like a damp sponge. If it’s too dry, add water. If it’s too wet, add more browns. Also, ensure you’re turning it regularly.
Pests can be a concern, especially with open bins. Tumblers generally do better at keeping pests out, but if you see activity, make sure you’re not adding inappropriate items like meat or dairy. Keep the lid closed tightly and check for any gaps.
Sometimes you might see worms in your compost. This is actually a good sign! Worms indicate healthy composting conditions and help break down materials faster.
Maximizing Your Compost Output
Once your compost is ready, it’s time to celebrate. Good compost looks dark and crumbly, smells earthy, and feels like rich soil. You’ll know it’s ready when it no longer resembles the original materials.
To get the most out of your composting system, try these tips:
• Add materials consistently rather than dumping everything at once
• Keep the tumbler filled to about 75% capacity for optimal performance
• Water when needed, but don’t overdo it
• Mix regularly to maintain airflow
• Keep a small container nearby for collecting scraps
When harvesting, you might want to sieve your finished compost to remove any large chunks that didn’t break down completely. This creates a finer texture that’s perfect for garden beds.
Consider using your compost in different ways. Some gardeners mix it into soil before planting. Others use it as mulch around existing plants. It’s also great for potting mixes or as a top dressing for lawns. The possibilities are endless once you’ve got a steady supply.
Tumbler composting represents more than just a way to dispose of kitchen scraps. It’s a pathway to connecting with nature and understanding how waste can become treasure. The process teaches patience, observation skills, and appreciation for the natural world. With practice, you’ll develop an intuitive sense of what your compost needs and how to respond to its signals.
The beauty of this method lies in its simplicity and effectiveness. You don’t need a green thumb to succeed, just willingness to learn and observe. Whether you’re composting for your garden or just want to reduce your environmental impact, a tumbler system provides an accessible way to achieve both goals.
Remember, composting is a journey, not a destination. Every batch teaches you something new about your materials, your environment, and yourself. So grab that tumbler, start adding those kitchen scraps, and watch as your garden begins to thank you for the gift of compost.