You know that familiar creaking sound when you sit down? Or maybe the seat feels loose and wobbly? That’s your toilet seat needing some attention. It’s one of those household tasks that seems daunting but actually takes less than five minutes to complete. We’re talking about replacing a toilet seat here, not some complex plumbing project. The good news is, anyone can do this with a little guidance.
Let’s face it, toilet seats aren’t exactly glamorous fixtures in our homes. But they play a crucial role in daily comfort and hygiene. Over time, these seats can become worn, cracked, or just plain old-fashioned. When that happens, replacing them becomes necessary. Many people avoid this task because they think it requires special skills or tools. Wrong! With the right approach and a few basic steps, you can have a new toilet seat installed in no time. This isn’t just about saving money – it’s about taking control of your home maintenance and feeling confident in tackling small repairs yourself.
Understanding Your Toilet Seat
Before diving into replacement, it’s helpful to know what you’re working with. Toilet seats come in different types, primarily based on shape and mounting style. Standard round seats fit most traditional toilets, while elongated seats offer more space and are becoming increasingly popular. The mounting system varies between brands and models. Some seats use nuts and bolts on the underside, others might have hidden hinges. You’ll want to take a quick look at your current seat’s design to ensure you get the right replacement. Check if there are any visible screws or brackets that indicate how it attaches. Sometimes, simply taking a photo of the existing seat helps when shopping for a new one. The key is matching the size and style to your toilet bowl.
Gathering Your Tools
You don’t need a full toolbox for this job. Here’s what you’ll need: a screwdriver set (flathead and Phillips), a wrench or pliers, and possibly a utility knife if there’s old adhesive residue. Most importantly, you’ll need to know your toilet seat measurements. If you’re unsure, measure the distance between the mounting holes on your existing seat. This measurement determines whether you need a standard or elongated seat. Don’t forget to bring the old seat along to compare sizes if you’re shopping at a hardware store. Sometimes, the best approach is to visit a store and test fit a new seat before buying it. Having a helper nearby can also make the process smoother, especially if you’re dealing with a particularly stubborn seat.
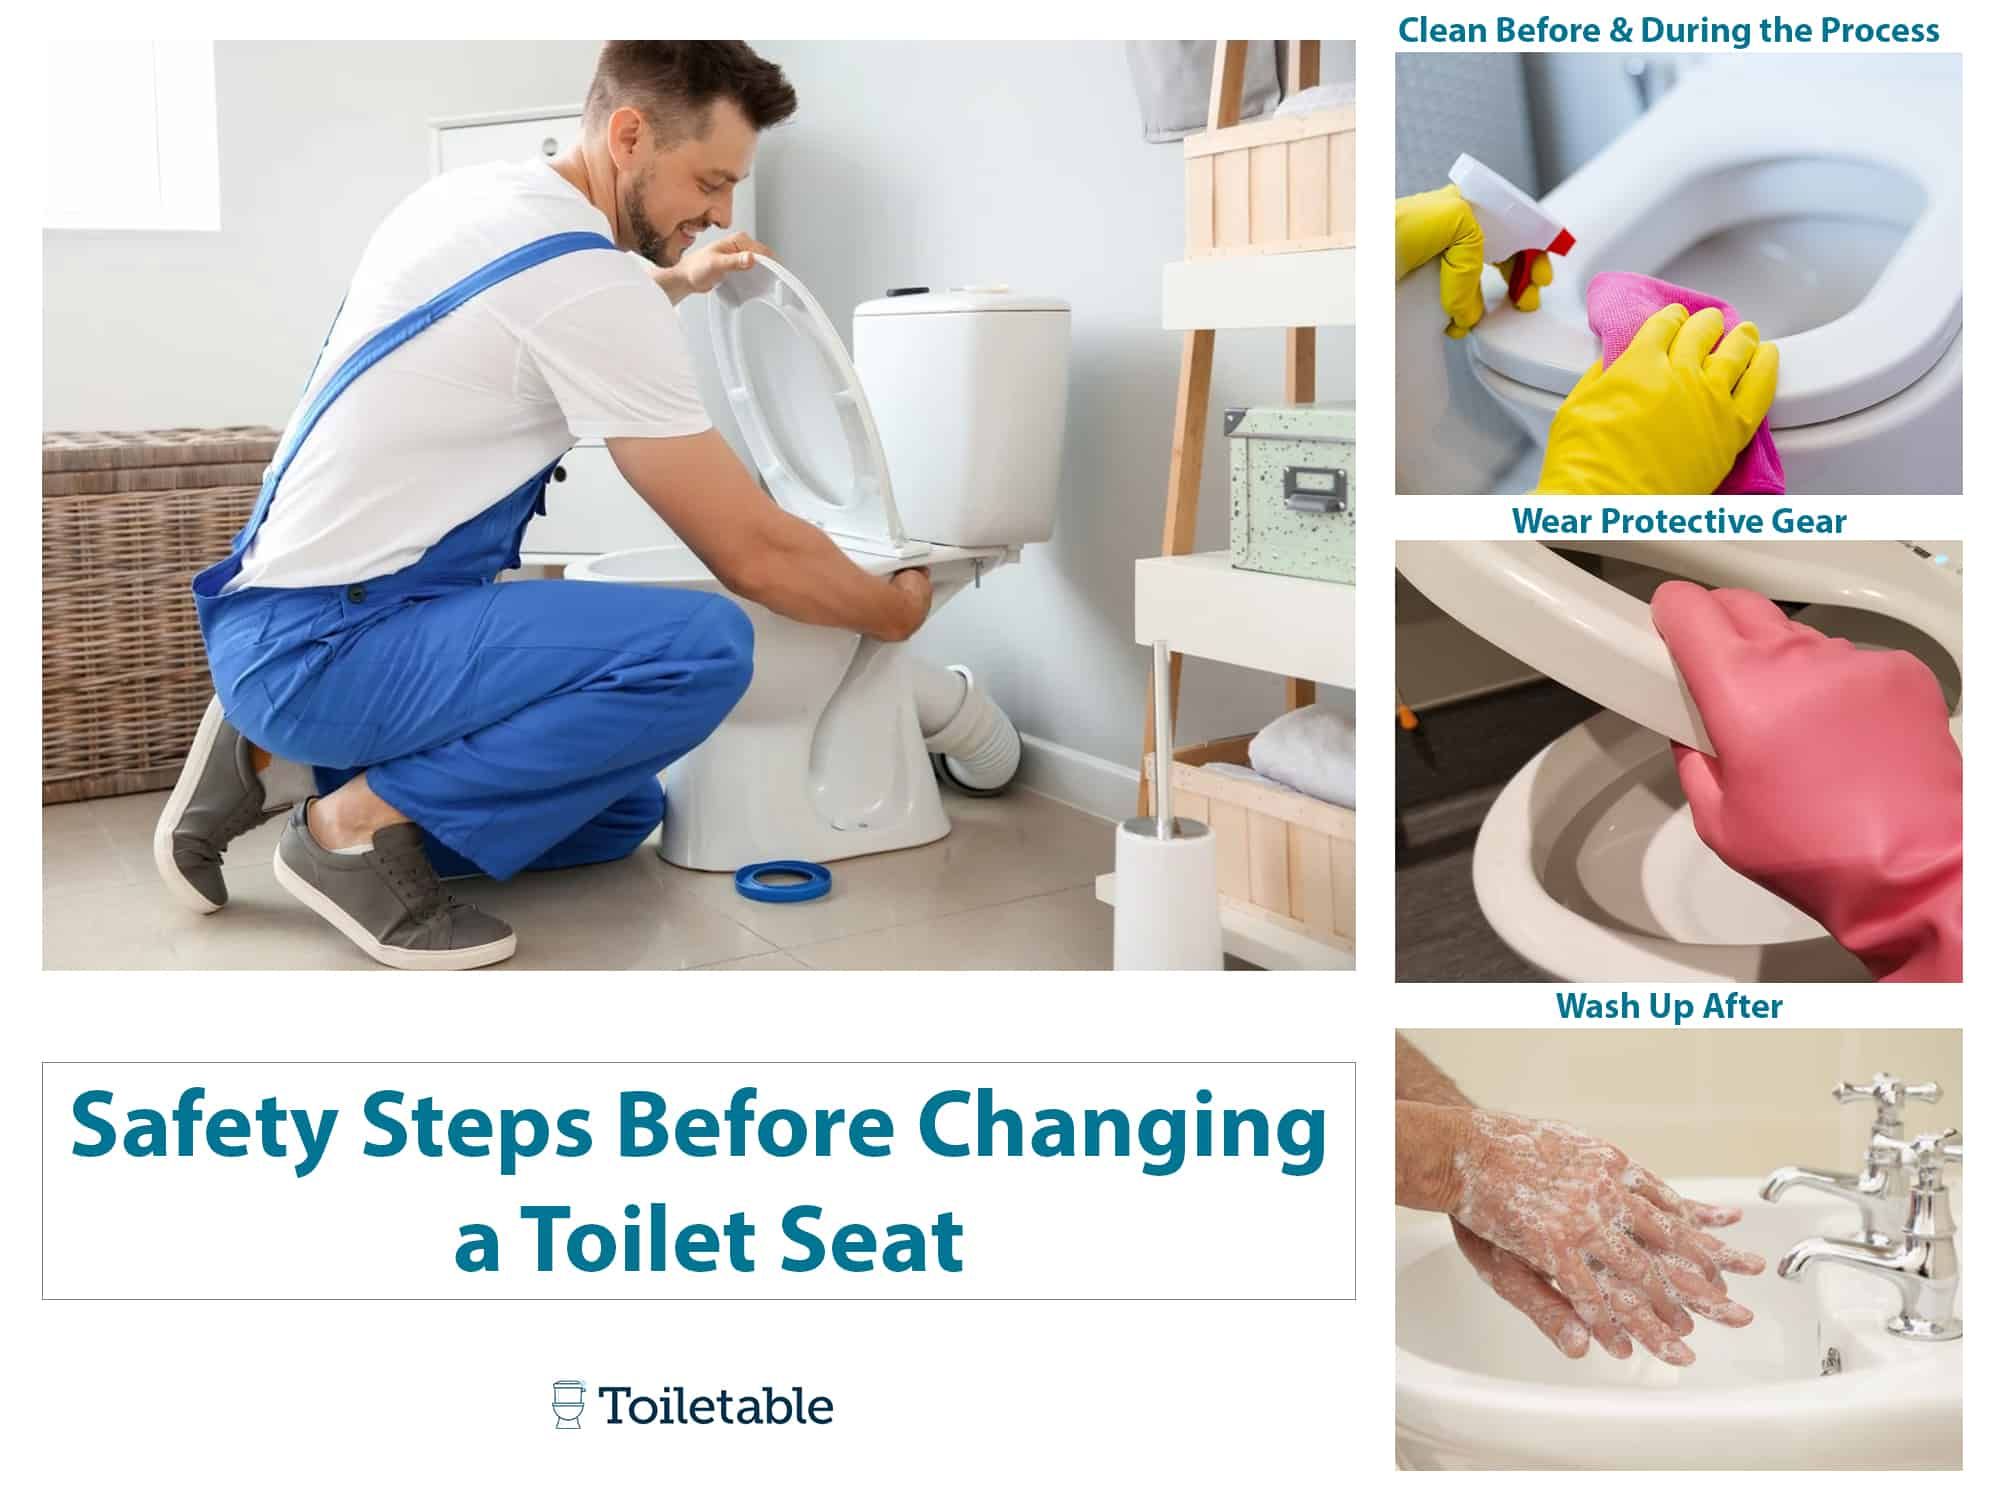
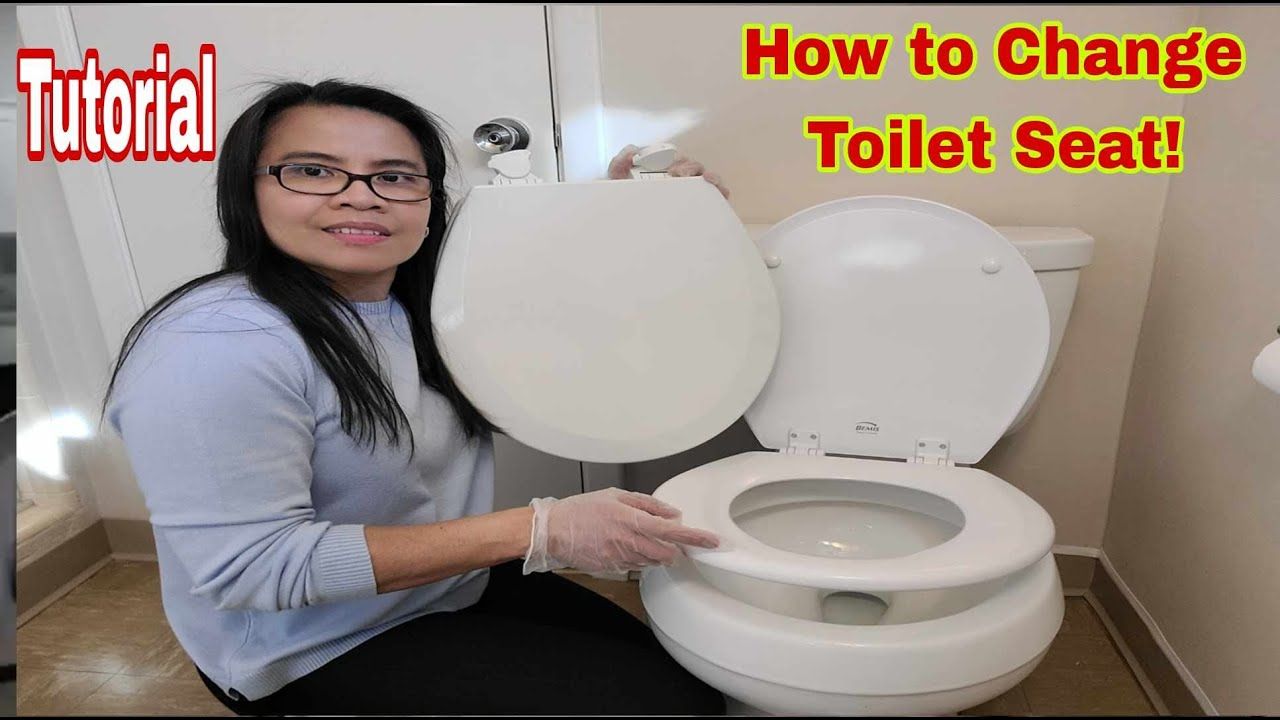
Removing the Old Seat
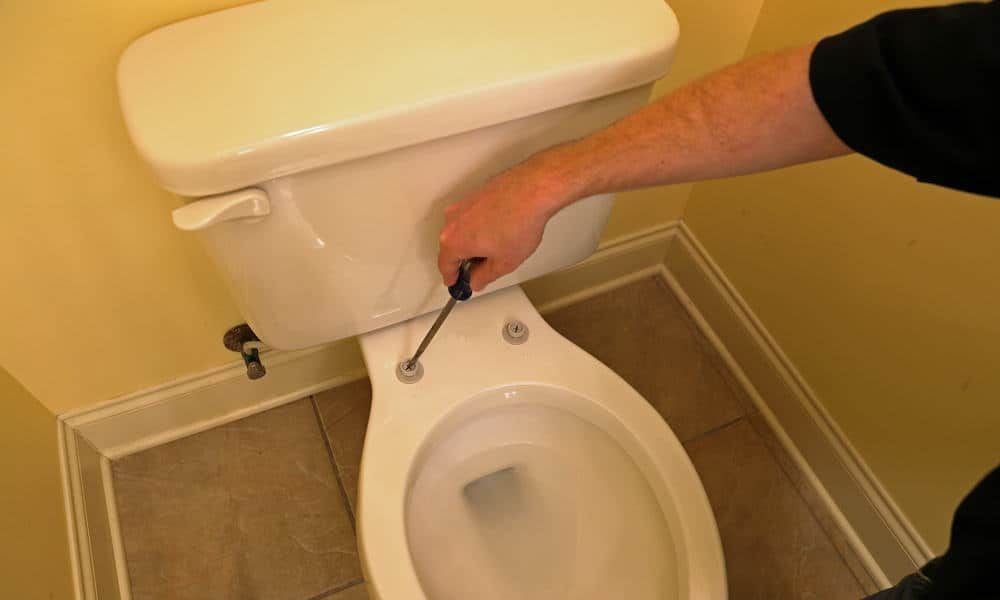
Start by turning off the water supply valve behind your toilet and flushing the bowl to empty it. Remove any visible screws from the underside of the seat, usually two screws per side. These might be hidden under plastic caps that you’ll need to pop off carefully. Once the screws are removed, gently lift the old seat straight up. It might feel stuck at first, but it should come off easily. If it doesn’t, check that you’ve removed all screws and consider using a gentle prying motion with a flat tool. Clean the area where the seat sits, removing any old glue or debris. This ensures proper adhesion for the new seat and prevents any wobbling issues later. Take note of how the old seat was positioned – this will help during installation.
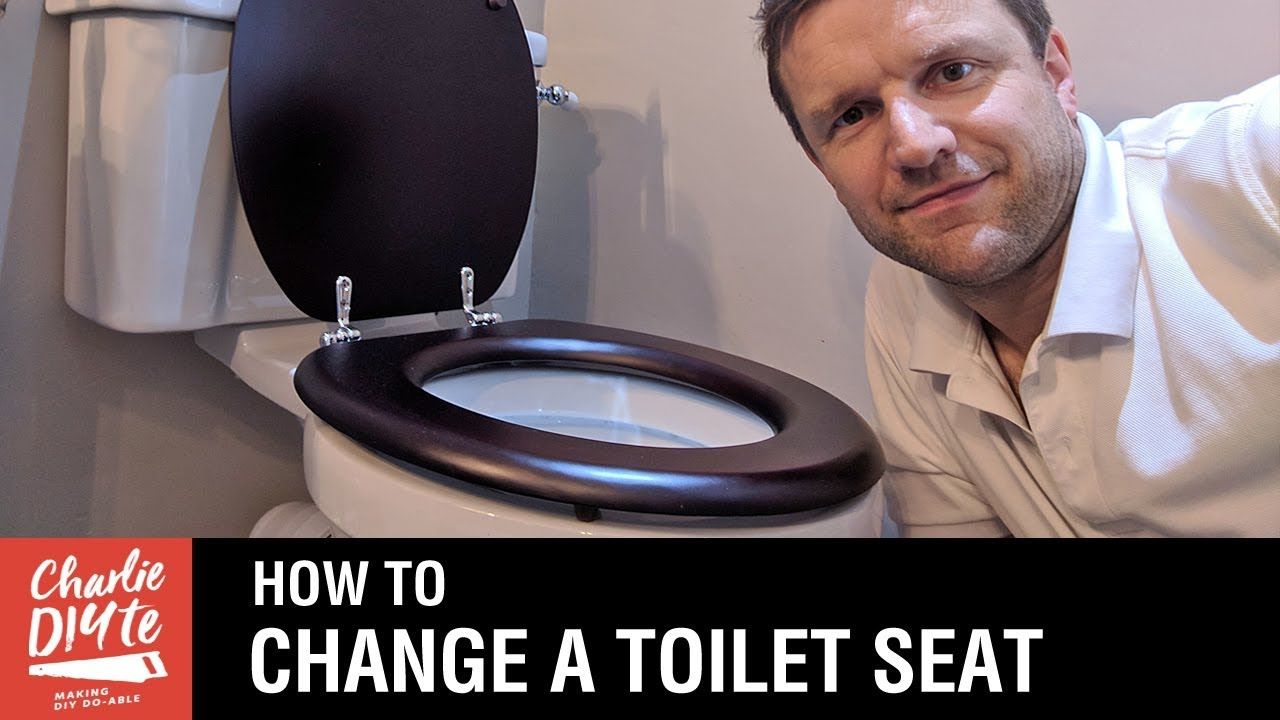
Installing the New Seat
Position the new seat over the toilet bowl, aligning it properly with the existing holes. Make sure the hinges are correctly oriented, usually facing toward the back of the toilet. Place the seat gently onto the bowl, ensuring it sits evenly. Now, reattach the mounting screws, tightening them securely but not overly tight. Over-tightening can crack the porcelain. If your new seat has a lid, make sure it opens and closes smoothly before finalizing the installation. Test the seat’s stability by sitting on it lightly. If it wobbles, double-check that all screws are properly tightened and that the seat is correctly aligned. A little patience goes a long way in achieving a secure fit.
Final Adjustments and Testing
Once the seat is installed, give it a thorough test run. Sit down slowly and check for any unusual noises or movement. The seat should feel solid and stable. If the hinges seem too loose or the seat still wobbles, you might need to adjust the screws slightly. Some seats come with adjustable mechanisms that allow fine-tuning of the fit. Make sure the seat covers the entire bowl opening and that there are no gaps around the edges. Check that the lid closes properly and that the seat doesn’t interfere with the toilet’s operation. A few minutes of testing can save you from future frustrations. Remember, the goal is a snug, secure fit that lasts for years.
Maintenance Tips for Longevity
Now that your new seat is in place, here are some ways to keep it looking and functioning great. Regular cleaning with mild soap and water helps prevent buildup that can cause squeaks or odors. Avoid harsh chemicals that might damage the finish or seal. Periodically check the tightness of the mounting screws, especially if you notice any movement. Sometimes, a quick adjustment every few months keeps everything secure. Consider using a protective coating or sealant on the hinges to reduce friction and noise. Also, be mindful of how much weight is placed on the seat and avoid slamming it shut. These simple practices extend the life of your investment and maintain comfort in your bathroom.
Replacing a toilet seat isn’t just about fixing something that’s broken – it’s about maintaining your home’s comfort and functionality. The process is straightforward enough that even beginners can tackle it successfully. The key is preparation, patience, and following the basic steps carefully. With just a few tools and some time, you can transform a frustrating situation into a simple DIY win. Don’t let a worn or damaged toilet seat affect your daily routine. Take charge of this small home maintenance task and enjoy the peace of mind that comes with knowing you can handle it yourself. Whether you’re upgrading for better quality or simply replacing something that’s worn out, this skill proves invaluable in keeping your bathroom in top shape.