Picture this: you’re standing in your kitchen, staring at a pile of vegetable peels, coffee grounds, and wilted herbs. Instead of tossing them in the trash, what if you could transform them into something magical for your garden? That’s exactly what a tumbler composter can do for you. It’s like having a secret weapon that turns your food waste into garden gold.
Every day, millions of pounds of kitchen scraps end up in landfills, contributing to greenhouse gas emissions and wasting valuable nutrients. But what if you could change that? What if you could take those forgotten vegetables, fruit peels, and coffee grounds and turn them into something incredibly valuable for your garden? Enter the humble tumbler composter – a simple yet powerful tool that’s revolutionizing home composting. This isn’t just another way to dispose of waste; it’s a transformation process that can dramatically improve your soil health and garden productivity. Whether you have a small balcony garden or a sprawling backyard, a tumbler can be your ally in sustainable gardening practices.
Understanding Tumbler Composters
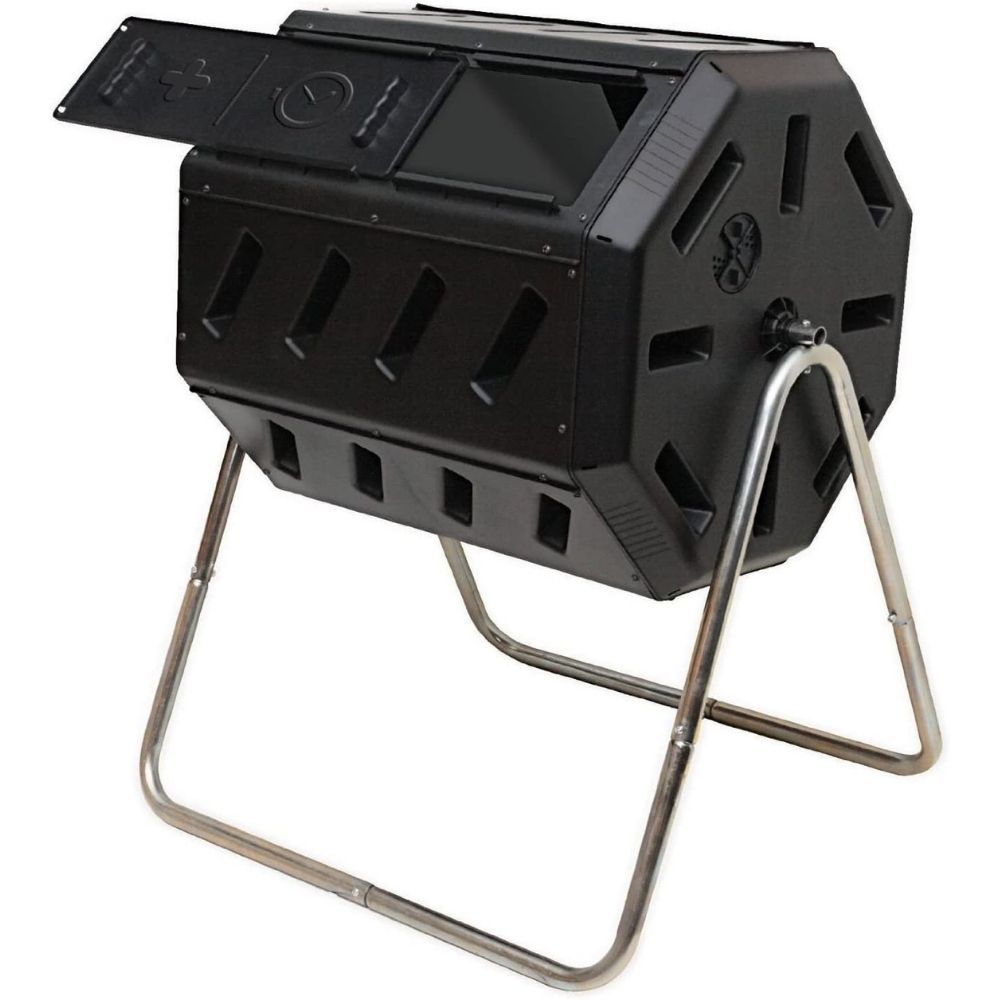
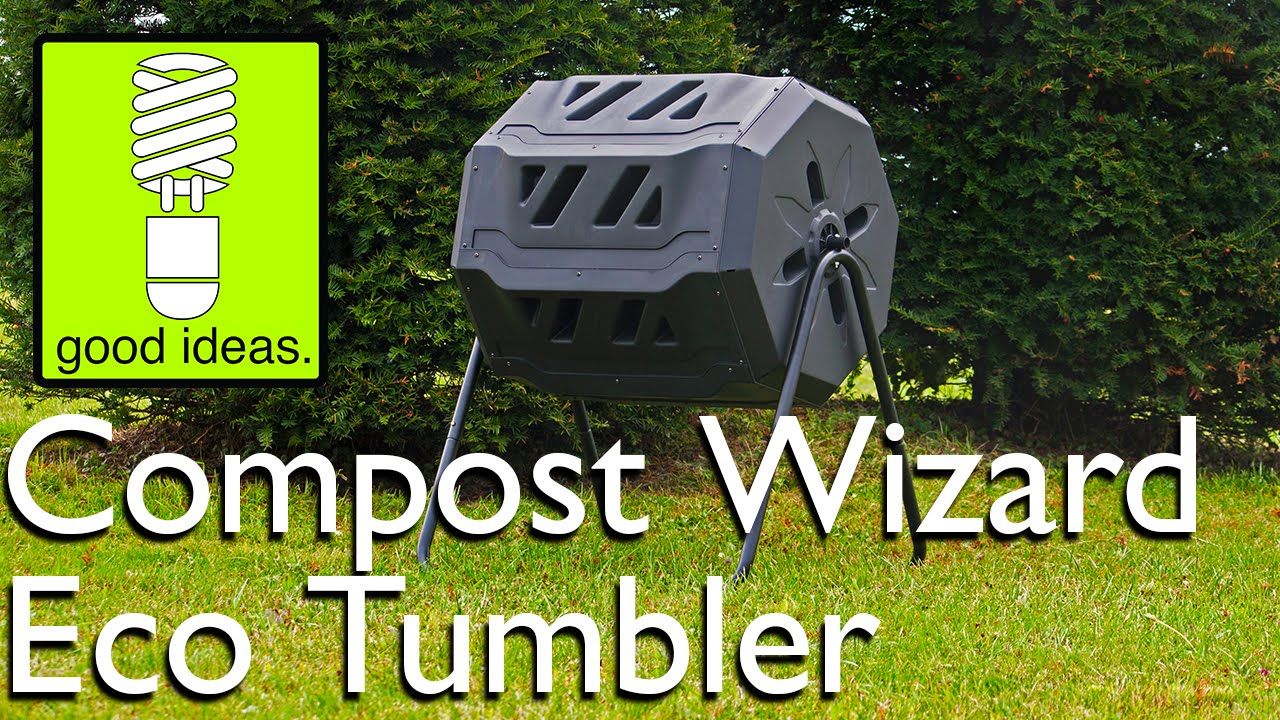
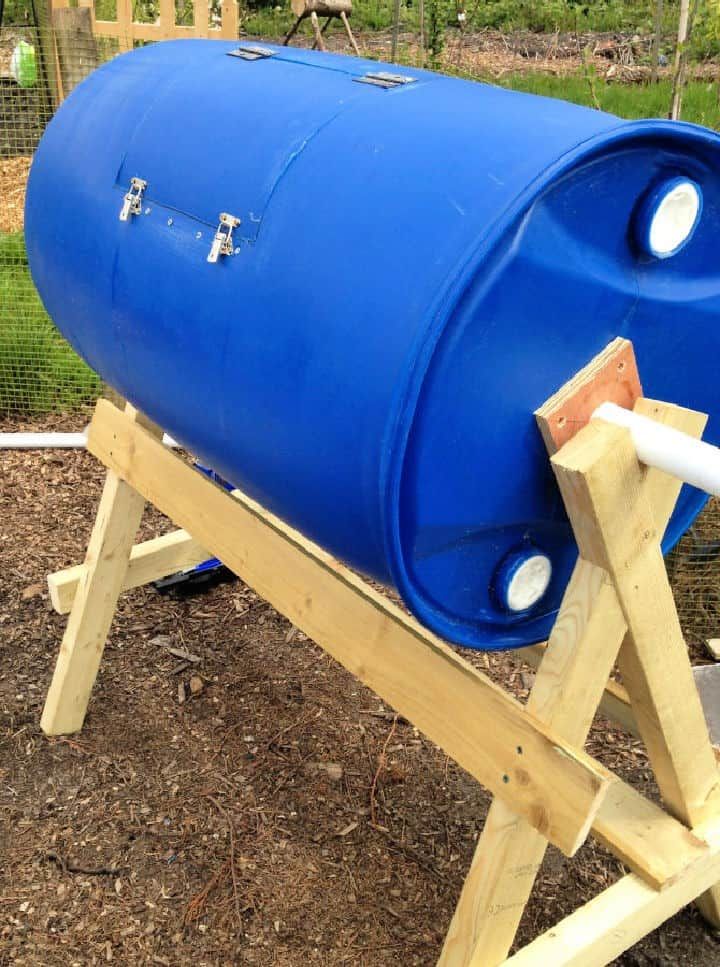
A tumbler composter is essentially a rotating drum designed specifically for efficient composting. Unlike traditional compost piles, these systems offer several distinct advantages. The rotating design ensures that materials get mixed regularly, which speeds up the decomposition process significantly. Think of it as giving your compost ingredients a gentle workout every time it spins. Most tumblers come in sizes ranging from 15 to 30 gallons, making them suitable for various household needs. The sealed design also helps control odors and keeps pests away. Many models feature aeration holes and drainage systems that further enhance the composting process. The beauty lies in its simplicity – you simply add materials, turn the drum occasionally, and wait for the magic to happen. You might wonder why this method works better than traditional methods, and the answer is quite straightforward: oxygen circulation and temperature regulation. When organic matter decomposes properly, it requires adequate airflow and consistent heat to break down efficiently. Tumblers naturally provide these conditions, often producing finished compost in just 2-4 weeks instead of months.
What You Can Compost
Not everything goes into your tumbler, but there’s actually quite a lot that works wonderfully. The key is understanding what’s considered ‘green’ versus ‘brown’ materials. Green materials include fresh vegetable scraps, fruit peels, coffee grounds, tea bags, and grass clippings. These nitrogen-rich items provide the protein needed for healthy microbial activity. Brown materials consist of dried leaves, cardboard, paper towels, wood chips, and straw. They supply carbon, which gives structure to your compost pile. A good rule of thumb is to maintain roughly equal amounts of green and brown materials for optimal decomposition. Some common kitchen scraps that work great include:
• Vegetable peels and scraps
• Fruit cores and rinds
• Coffee grounds and filters
• Eggshells (crushed)
• Tea bags (remove staples first)
• Dryer lint (cotton only)
Remember, avoid meat, dairy, oils, and pet waste – these can attract unwanted animals and create odors. Also, avoid diseased plant material or weeds with seeds, as they can spread problems to your garden. The right balance creates the perfect environment for beneficial microorganisms to thrive, turning your kitchen waste into rich, dark compost.
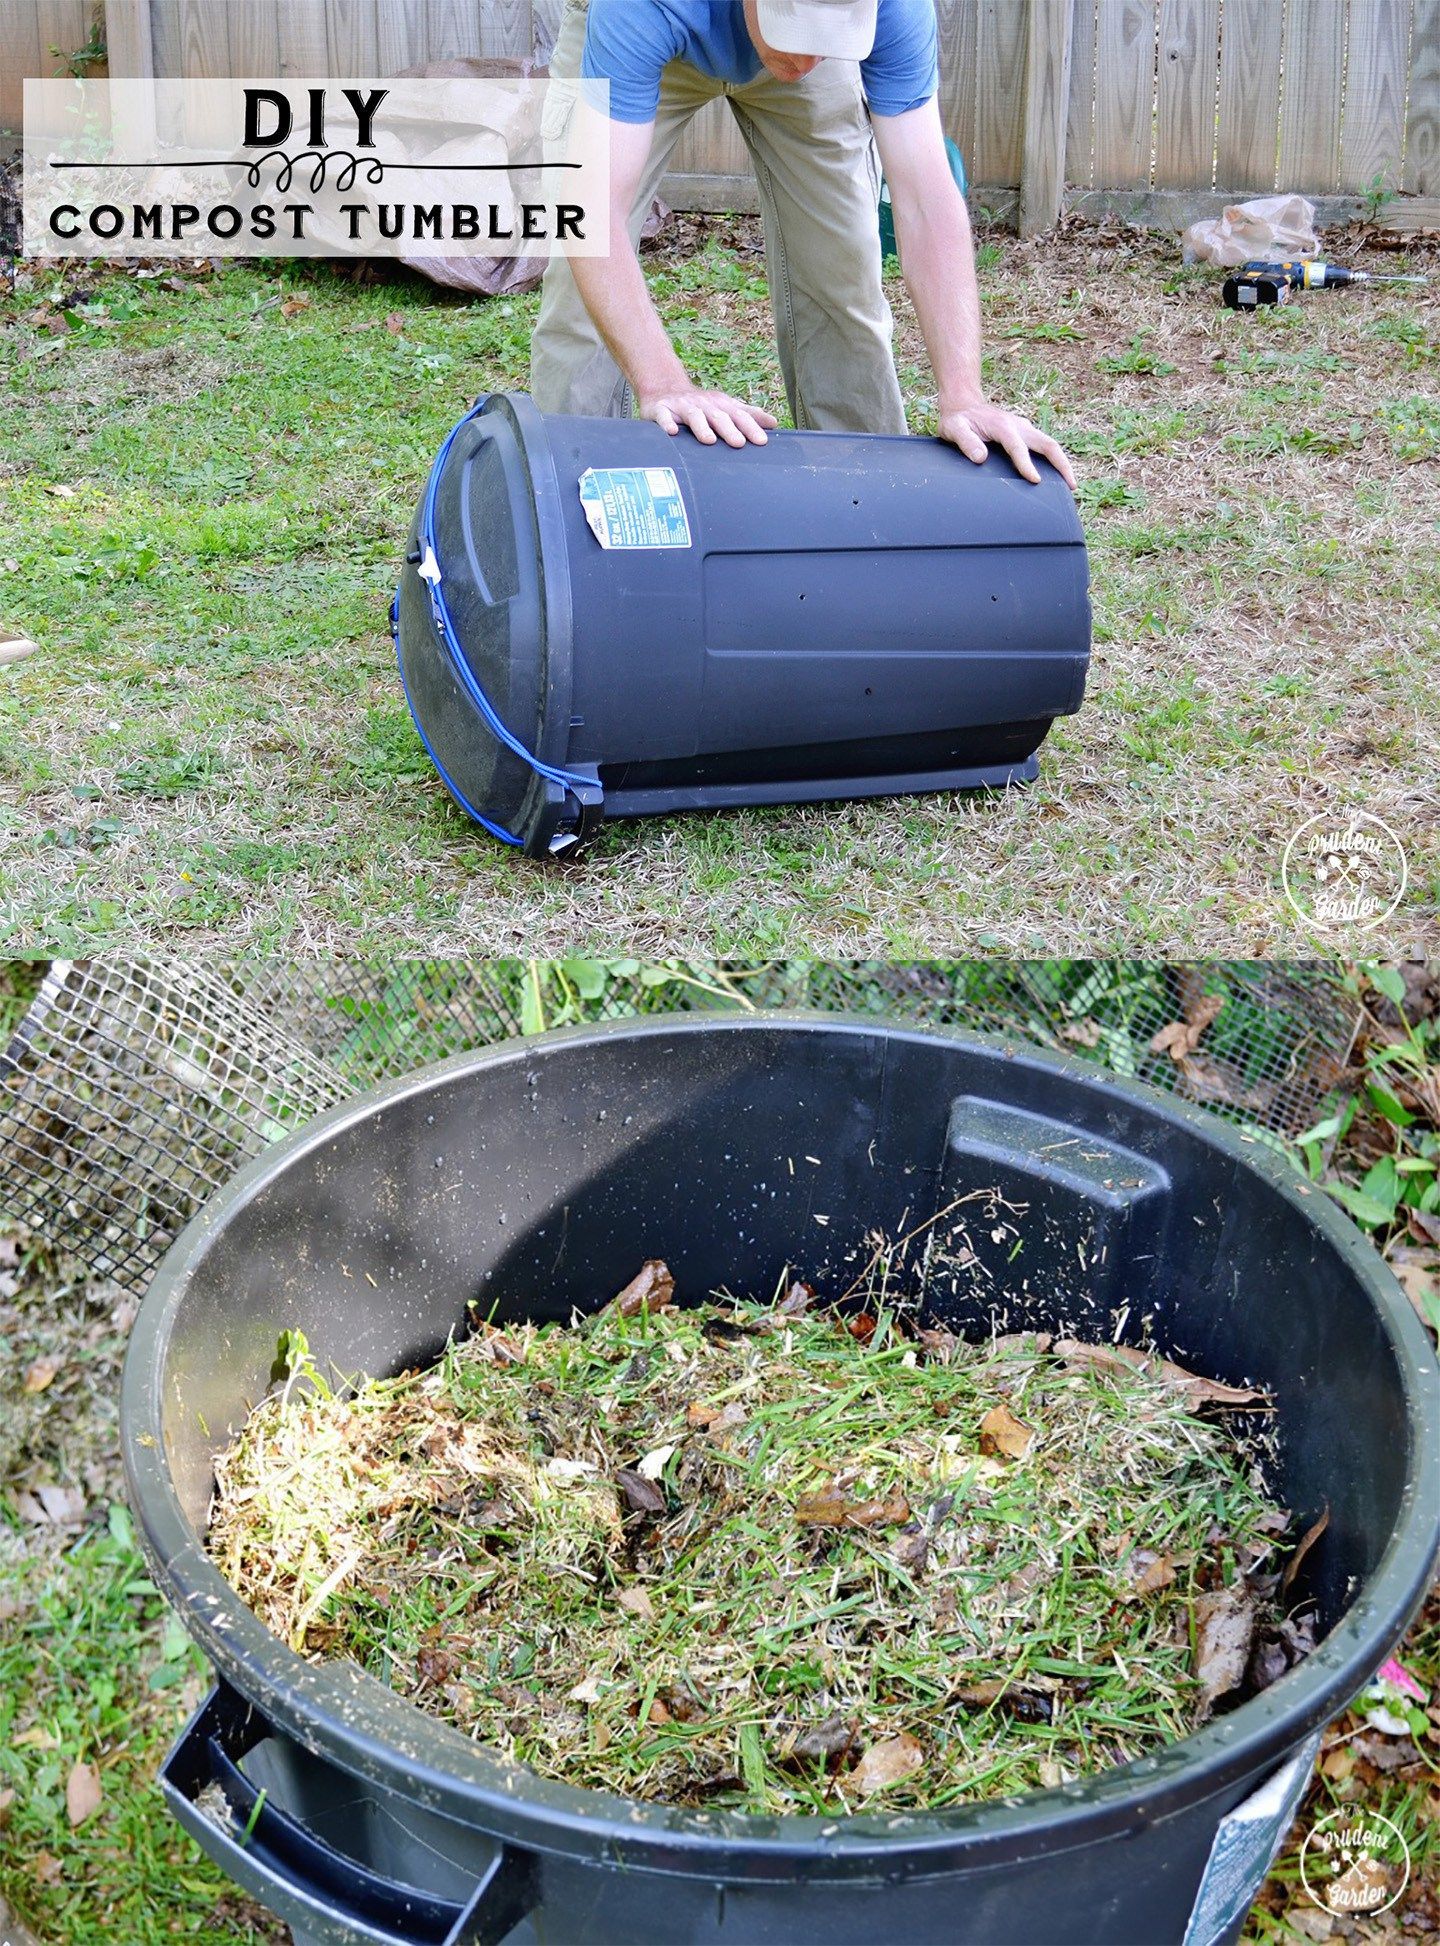
Setting Up Your Tumbler System
Getting started with your tumbler is easier than you might think. First, choose a location that’s convenient for you but also gets some sunlight – partial shade works well. The ground should be level and well-draining to prevent waterlogging. Most tumblers are designed to sit directly on the ground, though some models can be elevated slightly. Before adding anything, check that all components are properly assembled and that the drum rotates smoothly. Start with a layer of brown materials at the bottom – this helps with drainage and provides initial structure. Then add your green materials, aiming for a roughly 50/50 ratio. Don’t pack things too tightly, as air circulation remains crucial. Water the mixture lightly after each addition – it should feel like a damp sponge, not soaking wet. If you’re new to composting, start small and gradually increase your additions. This allows you to learn the rhythm and see how your specific materials respond. Consider keeping a small notebook to track what works best for your situation.
Maintaining Your Compost Process
Once your tumbler is loaded, the real work begins in maintenance. The most important task is regular turning – typically every 2-3 days, or whenever you notice the contents getting too hot or too dry. Turning mixes the materials and introduces fresh oxygen, which is essential for the aerobic bacteria doing the work. You’ll want to monitor moisture levels carefully. The ideal consistency should resemble a wrung-out sponge. If it’s too dry, add water gradually while turning. Too wet? Mix in more brown materials like dry leaves or shredded paper. Temperature is another key indicator – healthy compost will generate heat as it breaks down. If it feels cold, you may need to add more green materials or turn more frequently. Watch for signs of imbalance: bad odors usually indicate too much moisture or insufficient air; a strong ammonia smell suggests too many greens. With proper attention, your tumbler should produce rich compost in just a few weeks rather than months.
Troubleshooting Common Issues
Even experienced composters encounter challenges sometimes. Here are some typical issues and their solutions:
• Smelly compost: Usually caused by too much moisture or insufficient air. Add more brown materials and turn more frequently.
• Slow decomposition: May need more greens or less browns, or could require more frequent turning.
• Pests: Often attracted by food scraps left uncovered. Always bury materials under brown layers.
• Too dry: Add water gradually while mixing.
• Too wet: Incorporate more brown materials like dry leaves or shredded paper.
Sometimes the issue isn’t with your technique but with what you’re putting in. Certain materials break down faster than others, and some may need special handling. For example, citrus peels decompose slowly and should be added in small quantities. Large chunks of materials may need pre-processing by chopping or shredding. If your compost seems stuck, consider adding a small amount of finished compost to introduce beneficial microbes. Patience and experimentation are key – everyone’s situation is different, so learning what works best for your specific circumstances takes time.
Using Your Finished Compost
When your tumbler produces rich, dark compost that smells earthy and crumbly, it’s ready to use. This garden gold should be aged for at least two weeks before application to ensure it’s fully broken down and safe for plants. You can apply it in several ways: mix it into garden beds before planting, use it as a top dressing around established plants, or create compost tea by steeping it in water for a liquid fertilizer. The benefits are numerous – it improves soil structure, increases water retention, adds essential nutrients, and introduces beneficial microorganisms. For container gardens, blend it with potting soil at a ratio of about 1:3. In larger garden areas, you might work it into the soil at a depth of 2-3 inches. Some gardeners even use it as a mulch around trees and shrubs, helping retain moisture and suppress weeds. Remember that compost works best when applied regularly rather than in large quantities at once. Start with smaller applications and observe how your plants respond before increasing usage. The results speak for themselves – healthier plants, better yields, and more vibrant garden performance.
Transforming kitchen scraps into garden gold with a tumbler isn’t just about reducing waste – it’s about creating a sustainable cycle that benefits both your garden and the environment. The investment in a tumbler system pays dividends not just in soil quality, but in the satisfaction of knowing you’re part of a larger movement toward sustainability. You’ve learned how to select the right materials, maintain proper balance, and troubleshoot common issues. The key is consistency and patience – composting is a natural process that takes time to develop. Every kitchen scrap you divert from the landfill becomes a potential treasure for your garden. Whether you’re a seasoned gardener or just starting out, a tumbler system offers an accessible and effective way to make your gardening more sustainable. The rewards extend far beyond your garden boundaries, contributing to a healthier planet one compost pile at a time. So go ahead, give it a try – your garden will thank you, and you’ll discover just how satisfying it is to turn waste into something truly valuable.