You’ve probably seen those frustrating videos online where someone’s faucet won’t stop dripping. What if you could fix it yourself? With the right tools and know-how, replacing a faucet cartridge isn’t just possible – it’s pretty straightforward. No need to call a plumber when you have the essentials in your toolbox.
Let’s face it, dripping faucets are annoying. They’re not just inconvenient, they’re also a waste of water and money. When you see that persistent drip or notice your faucet isn’t working properly, you might think you’re stuck with a plumber. But what if you could handle this yourself? It’s more common than you think. Many homeowners successfully replace their faucet cartridges using basic tools and a bit of patience. The key lies in understanding exactly what tools you need and how to use them properly. This guide will walk you through everything you need to know to tackle this job yourself, saving both time and money.
Understanding Faucet Cartridge Types
Before diving into tools, it’s crucial to understand what kind of cartridge you’re dealing with. There are several types, each requiring slightly different approaches. Compression cartridges work differently from ball-type cartridges, and ceramic disc cartridges have their own unique characteristics. You’ll want to look at your faucet’s design to determine which type you have. Some faucets have visible markings or labels indicating the cartridge type, while others require a bit more detective work. Knowing this upfront helps you choose the right tools for the job. For instance, a compression cartridge needs different wrenches than a ball cartridge. Understanding these differences prevents frustration and potential damage to your faucet. Take a few minutes to research your specific faucet model before grabbing tools. It’s like knowing your car’s engine before attempting repairs.
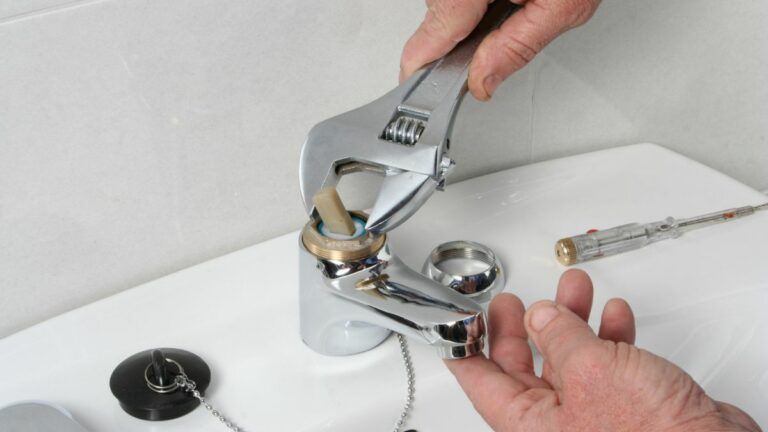
The Must-Have Toolkit
You don’t need a full workshop to replace a faucet cartridge, but having the right tools makes all the difference. Here’s what you’ll want in your arsenal:
• Adjustable wrench – For gripping nuts and bolts securely
• Basin wrench – Perfect for tight spaces under sinks
• Screwdrivers (flathead and Phillips) – For removing decorative caps and screws
• Pliers – Both standard and needle-nose varieties for precise work
• Socket wrench set – For specialized fasteners
• Penetrating oil – To loosen rusted components
• Protective gloves – To keep hands safe during the process
These basic items cover most scenarios. Some situations might call for specialty tools, but starting with these fundamentals gives you a solid foundation. Don’t overlook the importance of quality tools either – cheap versions often break or slip during critical moments. Investing in good tools pays off in the long run, especially when dealing with stubborn or old fixtures.
Step-by-Step Preparation Process
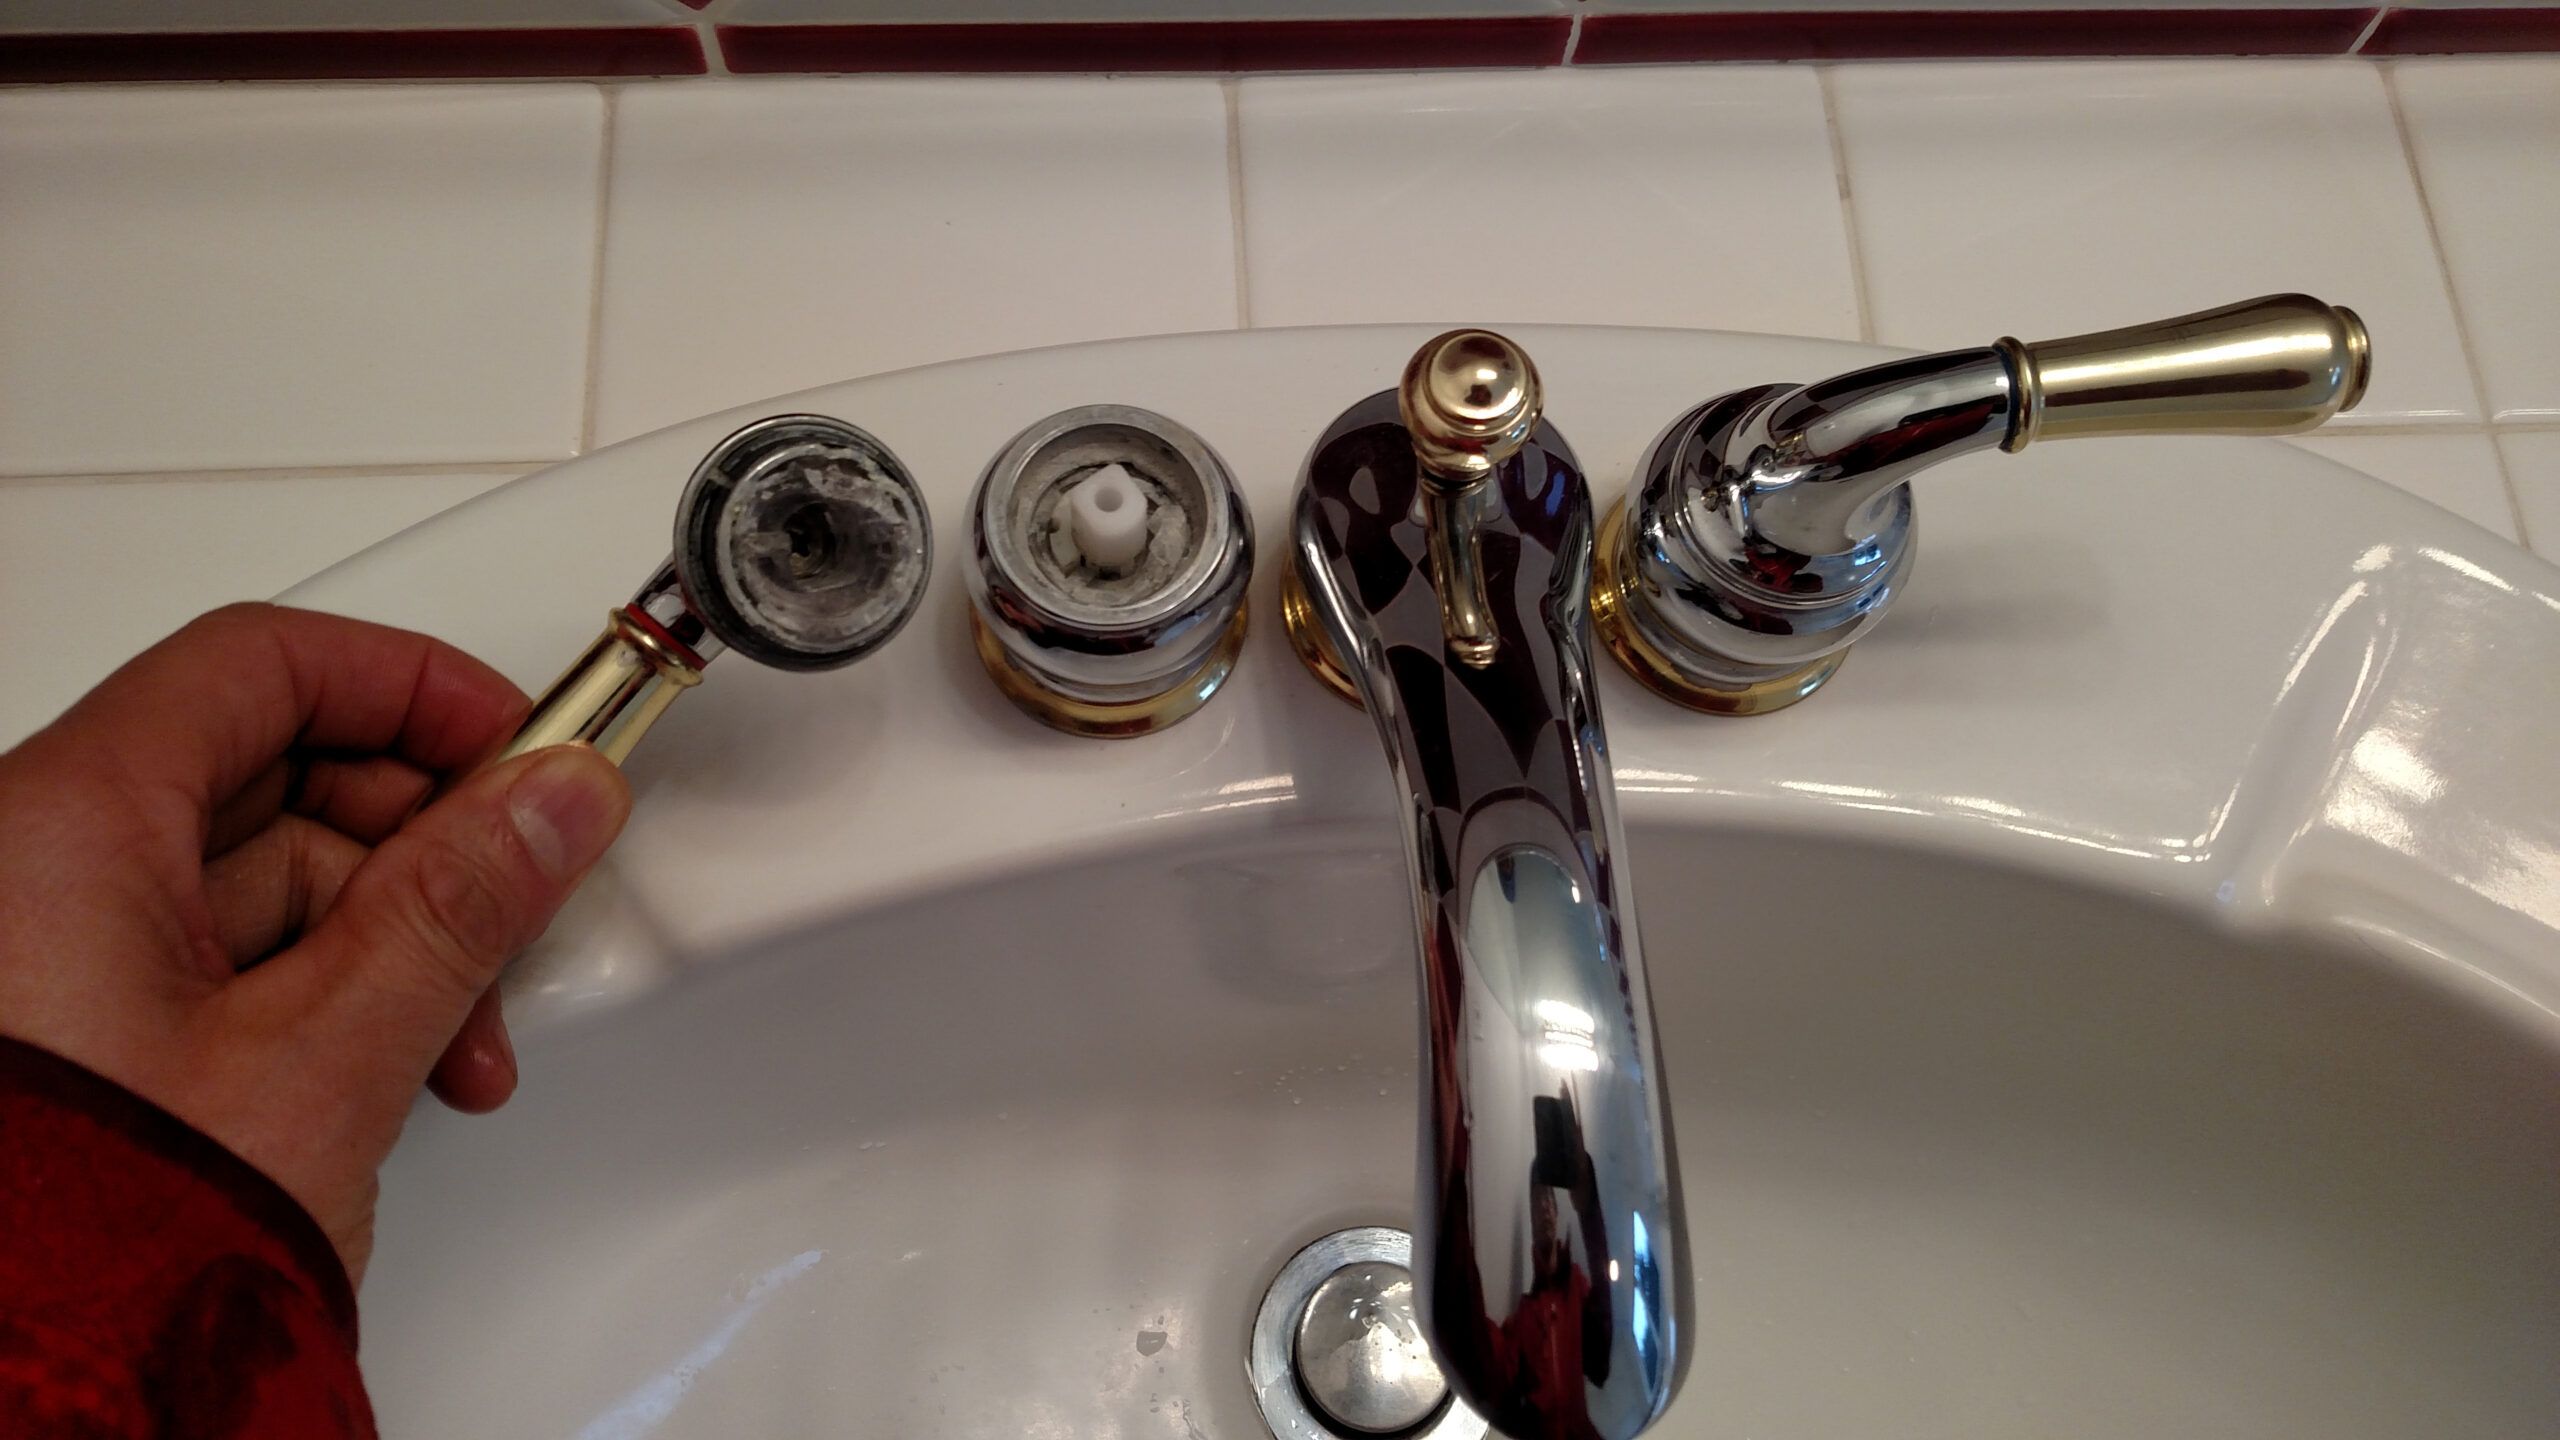
Proper preparation sets the stage for success. Start by turning off the water supply valves completely. You’ll want to shut off both hot and cold water lines to prevent any unexpected leaks. Next, turn on the faucet to drain remaining water from pipes. This simple step prevents water damage during the repair process. Remove any decorative elements first – these often hide important screws or access points. Sometimes there are small caps or covers that pop off easily. Take photos of the faucet assembly before disassembly, especially if it’s an older model. These visual references become invaluable when reassembling. Clear the area around the sink and lay down towels or a plastic sheet to catch any drips or debris. Good preparation means fewer headaches later.
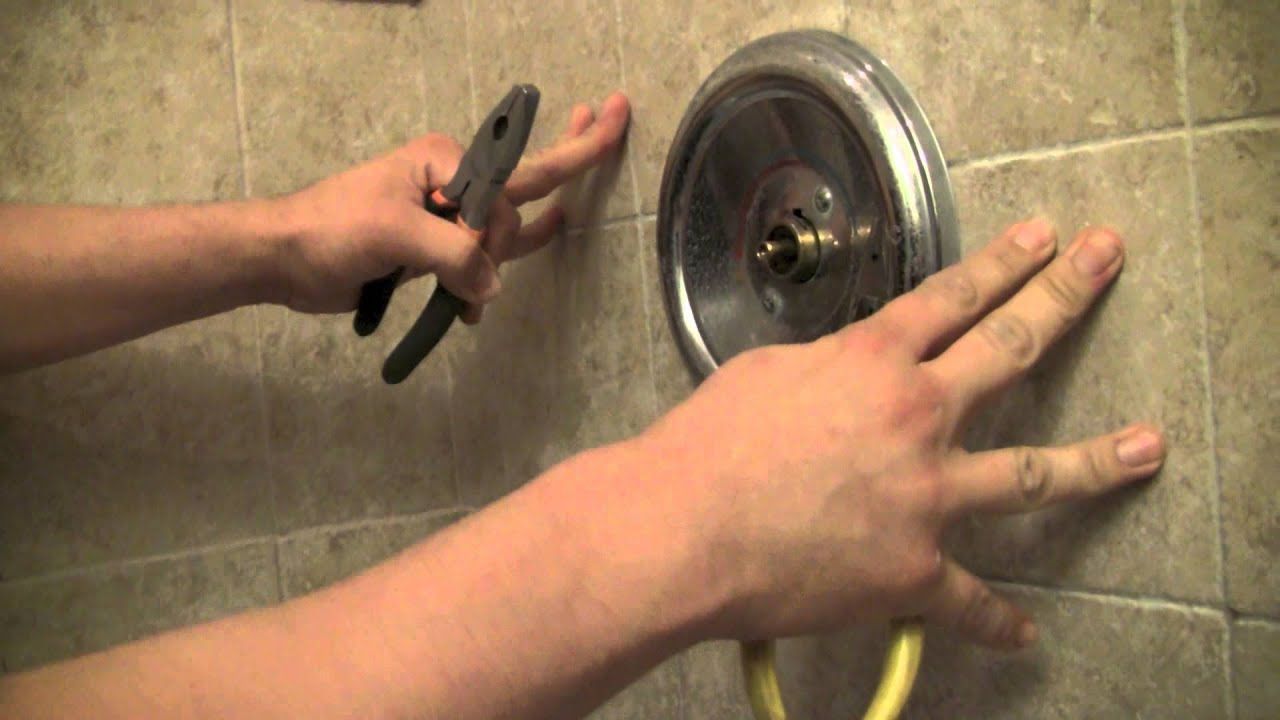
Removing the Old Cartridge Safely
This step requires patience and the right approach. First, remove the handle and any decorative components that obstruct access. You might need to remove a screw underneath the handle or unscrew a decorative cap. Once you expose the cartridge, you’ll need to remove the retaining nut. Use your adjustable wrench carefully – too much pressure can damage the surrounding components. If the nut is stuck, penetrating oil can help. Apply it generously and wait a few minutes before trying again. Some cartridges have a specific removal direction – check manufacturer instructions or online resources. You might need to pull the cartridge straight out or twist it in a particular way. If it feels stuck, don’t force it. Try a gentle rocking motion or apply even pressure from multiple angles. Sometimes a rubber mallet can help loosen stubborn parts.
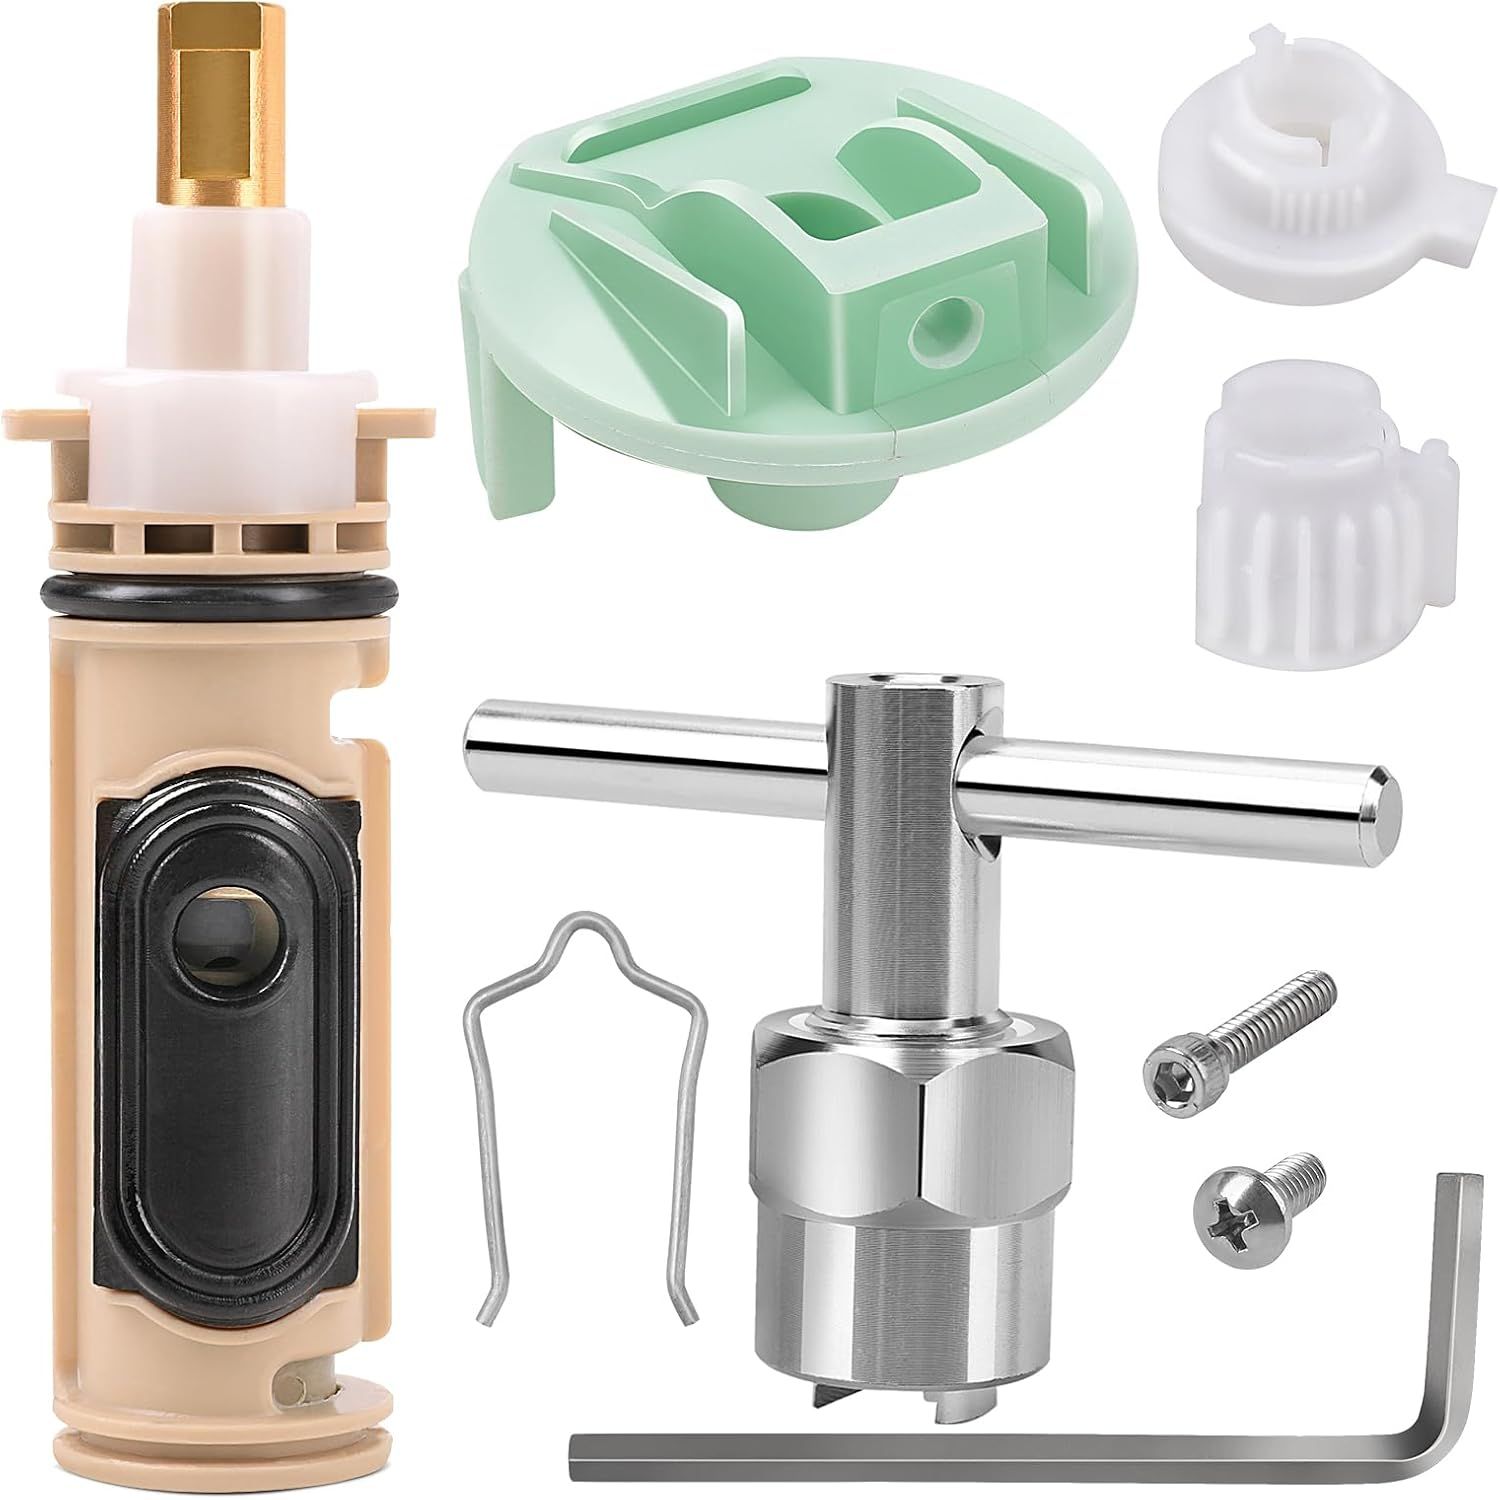
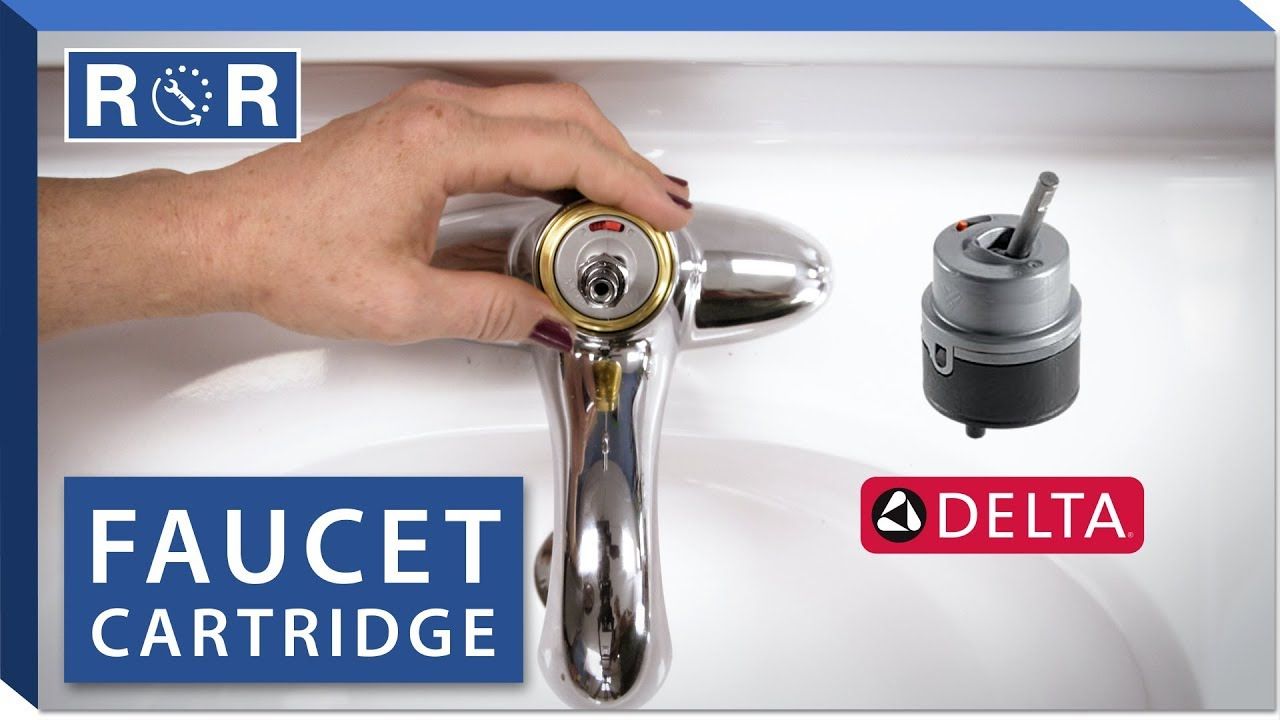
Installing the New Cartridge Properly
Once you have the new cartridge, it’s time for installation. Make sure it matches exactly with your old one in size and shape. Check that all the grooves and features align correctly. Apply a thin layer of silicone lubricant to the O-rings and seals. This helps prevent future leaks and makes installation smoother. Carefully insert the new cartridge following the same path as the old one. Push it in until it seats properly against the valve seat. Some cartridges have directional arrows that indicate proper orientation. If you’re unsure, consult your faucet manual or search online for your specific model. The retaining nut should go back on snugly but not overly tight. Hand-tighten first, then use your wrench for final adjustment. Don’t overtighten – this can crack ceramic components or strip threads.
Testing and Final Checks
After installation, it’s time to test your work. Turn the water supply back on slowly. Watch for any signs of leaks around the base of the faucet or along the cartridge connection. If you see water seeping, you might need to adjust the tightness of the retaining nut. Let the water run for a minute or two to ensure everything is working properly. Check that the handle operates smoothly and the water temperature responds correctly. Test both hot and cold water separately. Look for any unusual noises or vibrations during operation. If everything works perfectly, give yourself a pat on the back. A successful DIY faucet replacement can save you significant money and provide a sense of accomplishment. Remember to clean up your workspace and put away your tools properly.
Replacing a faucet cartridge doesn’t have to be intimidating or expensive. With the right tools, some preparation, and a bit of patience, you can solve this common household problem yourself. The key is understanding your faucet type, gathering essential equipment, and following proper procedures. Don’t let a dripping faucet stress you out anymore. You now have the knowledge to tackle this repair confidently. Remember, practice makes progress – the more you do this, the faster and better you’ll become. So next time you see that annoying drip, don’t immediately call a plumber. Instead, grab your toolkit and try this yourself. You might discover you enjoy fixing things as much as you dislike the inconvenience of a broken faucet.